
We may earn revenue from the products available on this page and participate in affiliate programs. Learn More ›
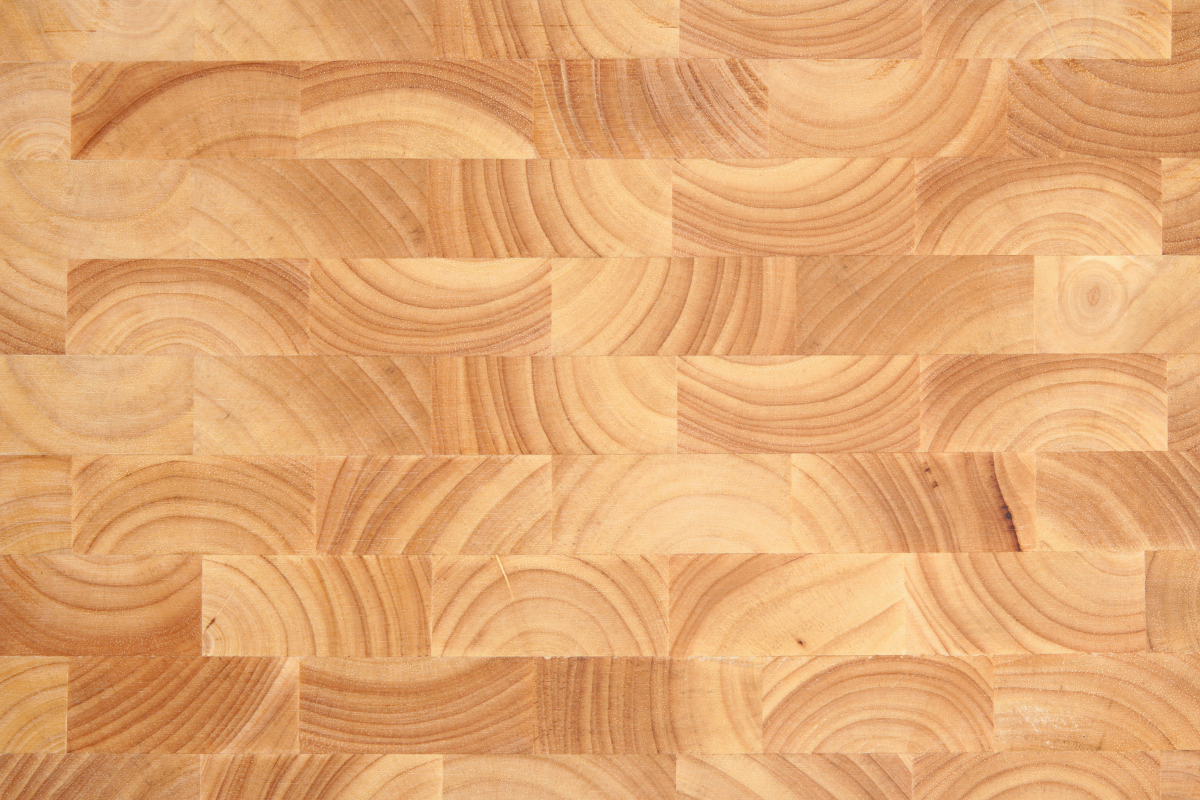
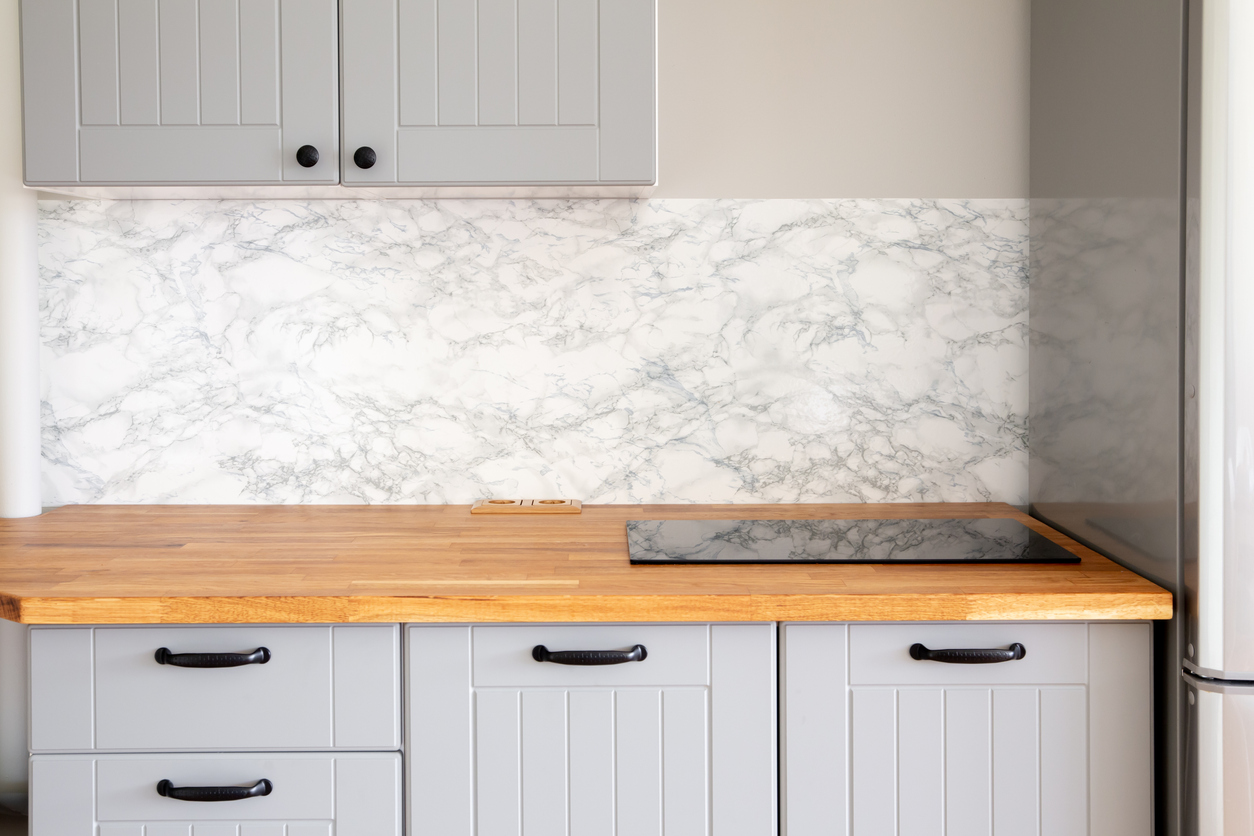
Butcher block is essentially a type of wood construction that typically consists of solid wood strips that have been bonded together to form a thick, durable slab of wood. Generally, the type of wood used for a DIY butcher block countertop is hardwood, such as maple, cherry, walnut, or oak. This is because hardwoods have a dense grain pattern that is perfect for reducing bacteria accumulation, which makes the countertop easier to keep clean and safe for food preparation.
If the natural look and finish of a kitchen with butcher block countertops is appealing to you, then this design could be a great option for your next home renovation project. However, before getting too excited, it’s important to learn how to cut butcher block countertop material to reduce the risk of making a mistake while installing butcher block countertops. Use this guide to discover how to install butcher block countertops, including cutting, staining, sealing, and joining butcher block countertops together.
Tools & Materials
Bobvila.com may earn a commission from purchases made through these links.
- Towels
- Bucket
- Channel lock pliers
- Screwdriver set
- Pry bar
- Measuring tap
- Hot glue gun
- Wood clamps
- Circular saw
- Drill
- Orbital sander
- Jigsaw
- Hole saw
- Paint brush
- Level
- Drop cloth
- Project panel
- Butcher block slab
- Painter's tape
- Mineral oil
- Shims
- 2-inch screws
Project Overview
Working Time: 8 hours
Total Time: 2 days
Skill Level: Intermediate
Estimated Cost: $20 to $70 per square foot
Before You Begin
There are a few factors to consider before learning how to install butcher block countertops. The first is an honest assessment of your DIY skill level. This isn’t an easy project, so it should not be undertaken by an inexperienced DIYer, especially if they do not have any skills or hands-on experience with woodworking. Instead, consider hiring a professional countertop installer to get a clean, finished butcher block countertop installation.
Even experienced DIYers that know how to finish a butcher block countertop may not have all the tools required for this job. Purchasing those tools for a one-off project can quickly drive up the cost, so it’s recommended to weigh the drawbacks and benefits of hiring a professional versus a DIY installation. While comparing the pros and cons, also factor in the time it will take to complete, which is about 2 days, on average.
For those that have the skills, tools, and time, this is a great DIY project that can be completed during a quiet weekend. Just make sure to unpackage the butcher block countertop material and let it acclimate to the room where it will be installed for about 48 hours prior to installation. This process lets the wood stabilize in the new environment, so that there is minimal movement, expansion, or shifting after the countertop is installed.
RELATED: How Much Does a Kitchen Remodel Cost?
STEP 1: Remove the sink and old countertops.
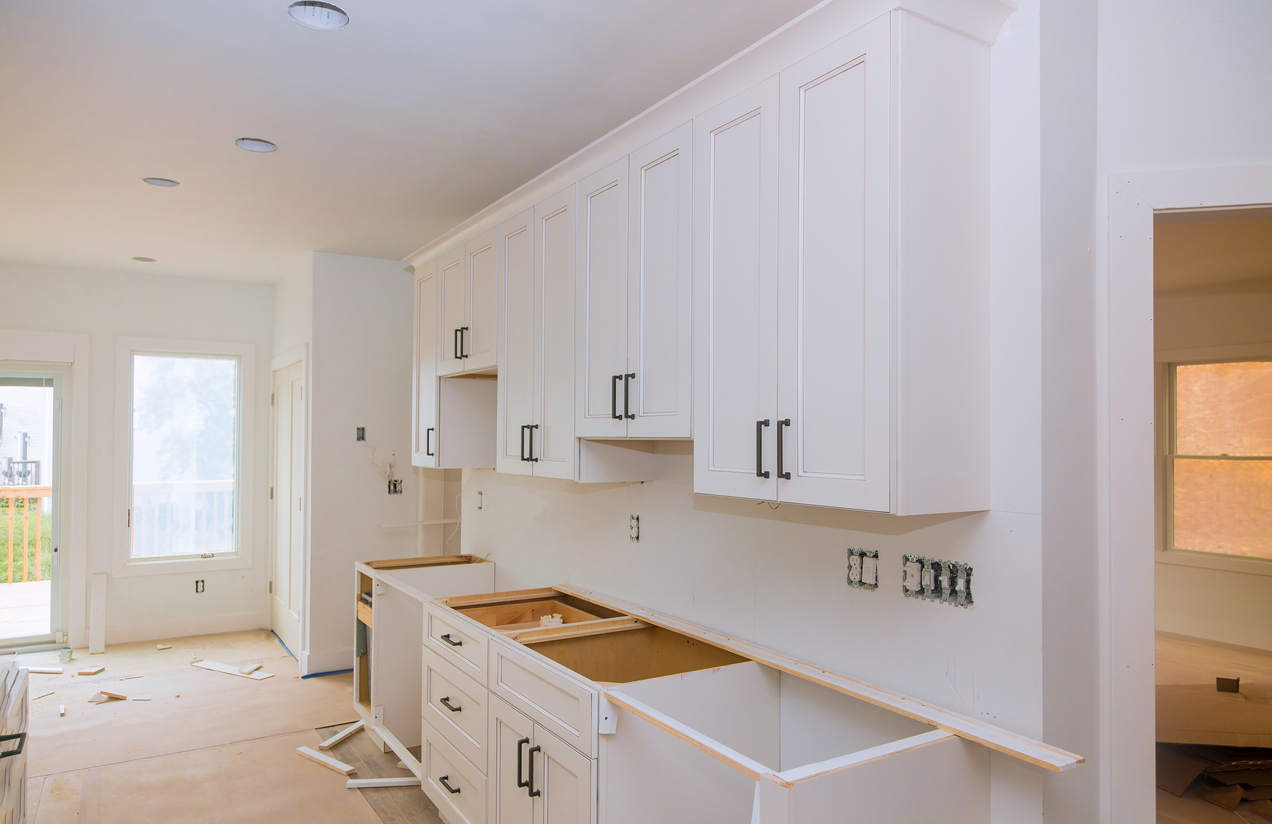
In order to get accurate measurements of the existing counter space, it’s necessary to remove the old countertops and the kitchen sink. The order in which these components need to be removed depends on the type of sink installation. If the sink is installed under the countertop, then you will need to remove the countertop first, but if the sink is installed on top of the counter, then the sink will have to be disconnected and lifted out before the old counter can be taken off.
Start by turning the water off to the sink using the hot and cold isolation valves. Open the faucet to release any trapped water before proceeding. Lay down a drop cloth and set a bucket under the sink. Use a set of channel lock pliers to loosen the hot and cold water lines, then loosen the net on the drain line to disconnect the sink from the plumbing system.
Check for any brackets, clips, or screws that may be holding the sink; then remove them. Lift the sink out and set it aside. Head back under the counter to find the fasteners that are currently securing the old countertop. Typically, the countertop will be held on with screws or brackets. Remove the fasteners and lift the old countertop off the base cabinets.
If the countertop is attached with adhesive or a sealant, use a pry bar to break through the bond, then remove the old countertop. You can also remove the doors and drawers from the base cabinets to make it easier to access the inside of the cabinets while you work, though this isn’t a necessary step.
Need help installing new countertops?
Get a pro to do it for you. Connect with qualified contractors today and get free project estimates.
STEP 2: Measure and create a template.

Template creation is one of the most important steps. Without accurate measurements and an equally accurate template, the butcher block counter may end up too big, too small, or simply uneven, with gaps along the back or in the corners. With this in mind, take it slow and make sure to check your measurements several times.
Use a measuring tape to take basic measurements of the length, width, and depth. Keep in mind that most countertops have a slight 1- to 2-inch overhang that will need to be accounted for in the measurements. You can have a larger overhang if you want a place to pull up a few chairs or stools, but this isn’t necessary.
If there is a short, straight run of cabinets, then you can likely install a single length of countertop, but if there is one or more corners, then you will need to cut multiple pieces and join the seams together. This is usually done by cutting both pieces at 45 degree angles, then joining the pieces.
Use the measurements and plywood project panels to create a template for the butcher block countertop. Lay the plywood project panels on top of the existing countertop or the kitchen base cabinets to form the perimeter of the countertop. Connect the project panels together with hot glue and mark any areas that need to be cut out, such as the sink and faucet holes.
Ideally, the template will be the exact size and shape that you want for the butcher block countertop. Don’t rush this part of the job. Check the template several times to ensure that it is correct before moving on.
STEP 3: Cut and join the butcher block countertops.
There is usually a top and a bottom with butcher block countertops. The bottom tends to have knots and noticeable wood filler, while the top is clean and presentable. Make sure to determine which side is which before starting. Once you are sure about the top and bottom, use painter’s tape to temporarily secure the template on top of the butcher block material, then trace it with a pencil.
Remove the template and set the butcher block on a workbench, sawhorses, or some other type of support that won’t interfere with the cut. Use a table saw or a circular saw with a track system to make any straight cuts in the butcher block countertop. If the counter is just a straight run, then you should only need to cut the length and width, but if there are corners, then you will need to cut angled pieces that can be joined together to complete each corner.
For this project to go smoothly, it’s important to know how to join butcher block countertops in a corner if the kitchen counter layout isn’t just a straight run. There are a few different ways to join two pieces of butcher block, including biscuit joints, miter bolts, and pocket holes.
- Biscuit joints involve connecting two pieces of wood by using a small oval wood biscuit as a connector. This is accomplished by aligning the wood and marking the placement on the bottom side of the countertop, then you use a biscuit joiner to cut a small oval-shaped slot into the side of both pieces of butcher block so that the two oval-shaped holes align. Next, add construction adhesive to the holes, then insert a wood biscuit and slide the pieces together. Hold the two pieces together with a wood clamp and wipe away any excess glue.
- Miter bolts can also be used to join two pieces of butcher block together. Use a router, a pattern bit, or a jig to cut a recess or slot into the bottom of each butcher block. The recess on both pieces should align. Apply construction adhesive to the inside edges of the countertop, then slide the pieces together. Insert a miter bolt into the recess, then tighten the bolt to secure the connection.
- Pocket holes are one of the easiest ways to join two pieces of wood, though this method may not be the most effective. The installer drills angled holes through the underside of one piece of butcher block and into the other piece, then secures the pieces together with screws.
STEP 4: Create a sink cutout.
The next step in the process is to create a sink cutout. Start by putting the template over the countertop to double check the size, shape, and position of the sink hole, as well as any additional cutout holes. Once you are satisfied, remove the template and set it aside.
Use a drill to make starter holes at each corner of the sink cutout, then use a circular saw to cut the edges. Finish the cut with a jigsaw, if required. For other cutouts, such as the faucet hole, use a drill equipped with a hole saw attachment to make clean, circular holes.
STEP 5: Sand and apply a finish.
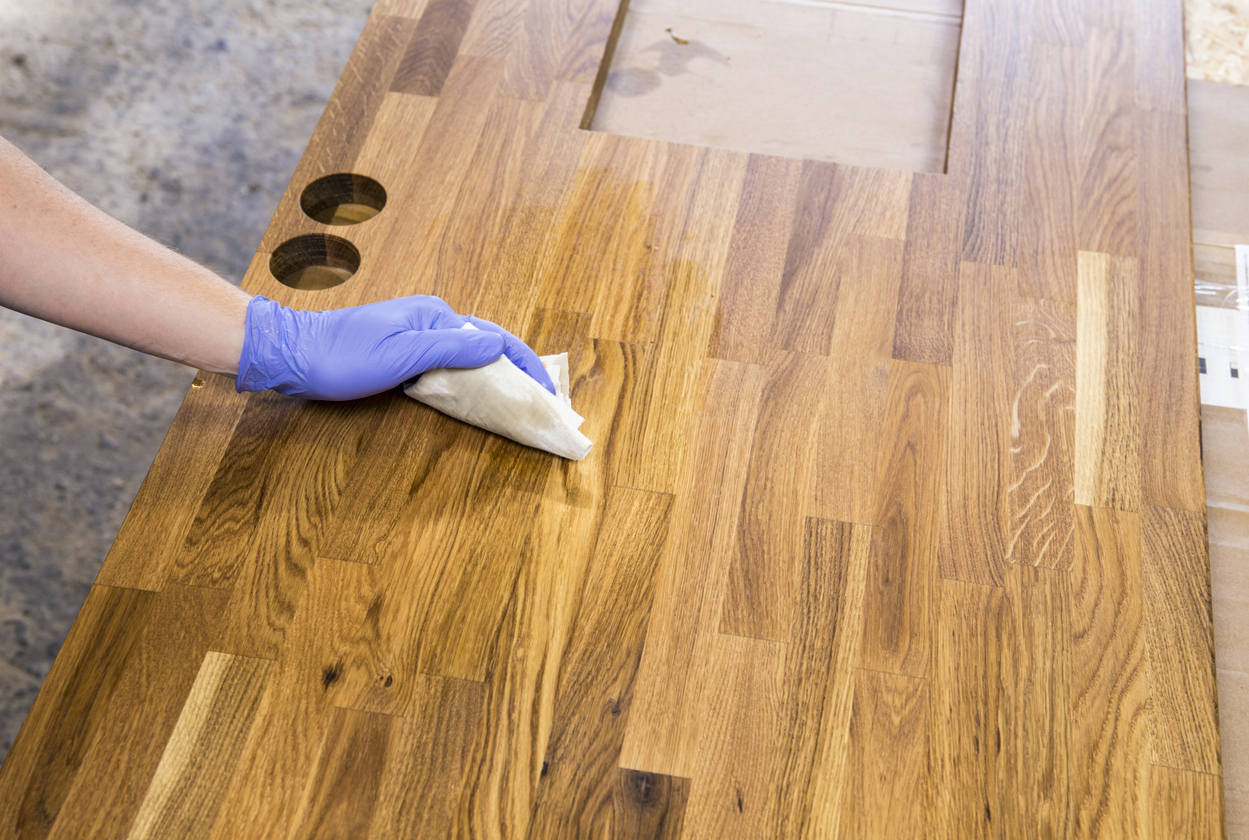
Butcher block countertops are made of wood, so they need to be treated to keep the material in good condition. Staining butcher block countertops is one option, though stain is not generally considered safe for food preparation areas. Sealing butcher block countertops with a food-safe mineral oil is a better choice, but before getting to the finish, you need to sand down the wood.
Use an orbital sander to smooth out the surface of the butcher block countertop. Make sure to avoid rounding out any edges that will be joined together, as this could create a noticeable divot or gap between the two pieces of butcher block. You can also use 120-grit sandpaper for a manual approach to preparing the countertop.
The reason for staining or sealing the countertops before installing them is to ensure that there aren’t any vulnerable gaps in the coating. This is easier to do with an individual piece of wood than it is when the wood is securely attached to a counter. Use a paint brush or clean cotton rags to rub the butcher block countertop sealer into the wood. Make sure to apply oil around the inside and bottom of any sink cutouts to prevent water from soaking into the wood.
STEP 6: Install the butcher block countertop.
It’s best to install butcher block countertops using screws. Some countertop materials can be installed with adhesives, but glue can restrain wood countertops too much, preventing the material from naturally shrinking or expanding with the ambient temperature. With this in mind, you will need to drill pilot holes through the cabinet braces.
The braces are the thin pieces of wood that stretch from the front to the back of the cabinet. Slide under the cabinet, then use a drill to make pilot holes through the corner braces. For #8 screws, you want to use an ⅛-inch drill bit, while a 9/64-inch drill bit is best for #10 screws.
Place the butcher block countertop onto the cabinet base and hold it in place temporarily with a set of wood clamps. Drill up through the pre-drilled holes in the braces and into the countertop. The drill bit should go about half-way through the countertop. It’s a good idea to wrap a piece of painter’s tape around the drill bit to act as a stop and to prevent you from drilling through the countertop.
Use a level to check that the countertop is level from left to right and front to back. Insert shims between the corner braces and the countertop as needed. Once the countertop is level, insert screws through the braces into the bottom of the countertop. Periodically check to ensure the countertop is still level while installing screws.
If the countertop has an overhang of more than 8 inches perpendicular to the grain, then you should install brackets every 24 inches. Similarly, if the countertop overhang is more than 12 inches in the direction of the grain, it will need brackets every 24 inches. This should keep the countertop from sagging.
Get the help you need
Connect with knowledgeable local pros and get free estimates for your project today.
STEP 7: Reinstall the sink.
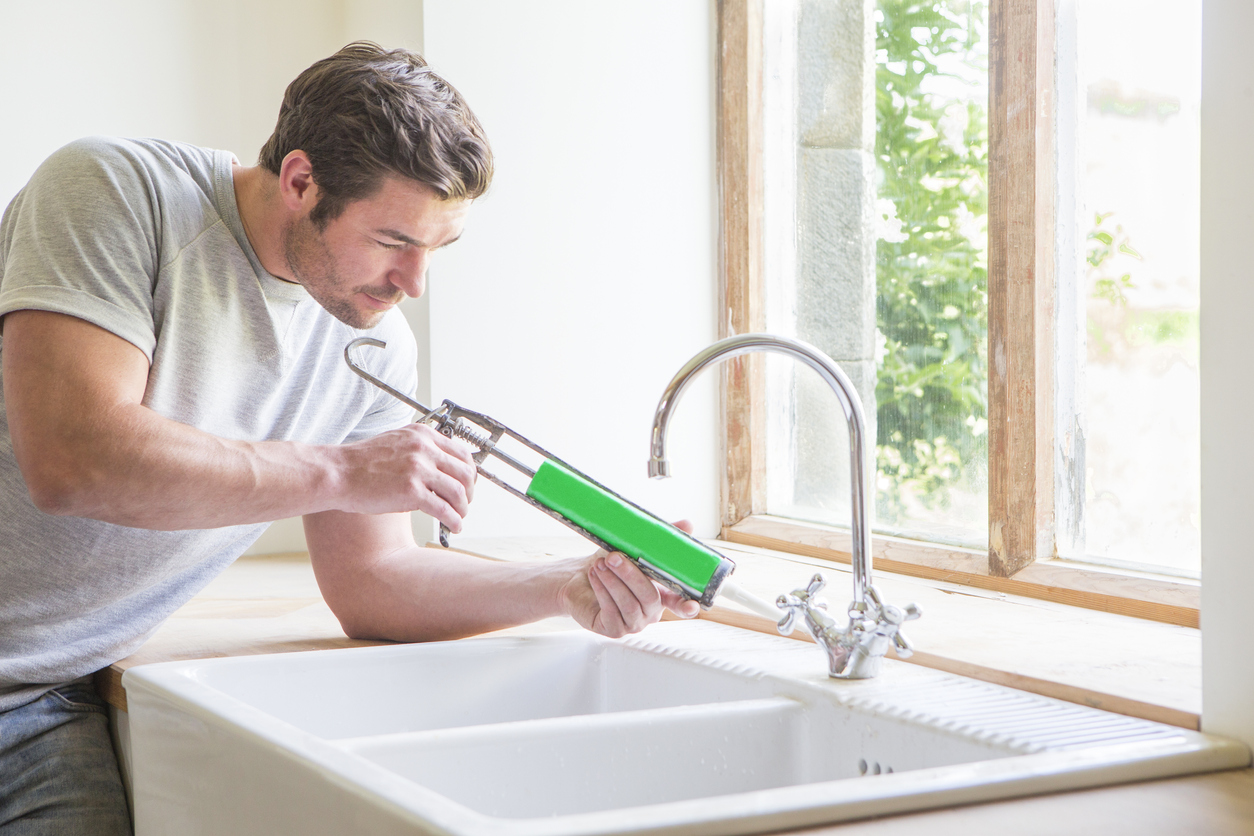
The sealant should be given about 48 hours to properly cure before installing the sink. Once the sealant has cured, you can lower the sink into the sink cutout. If it is the same sink, then everything should already be properly aligned. Simply reconnect the drain line, then slide the faucet into position and reconnect the hot and cold water lines.
You can use a caulking gun and waterproof silicone caulk to seal the gap between the sink and the butcher block countertop, though this isn’t strictly necessary as long as the butcher block was properly treated and sealed. After reinstalling the plumbing, turn the water back on and check for any leaks. If there aren’t any issues, then the last part of the job is cleaning up.
RELATED: 17 Types of Wood All DIYers Should Know
Final Thoughts
Installing a butcher block countertop can be a great way to update the appearance of the kitchen. Butcher block slabs cost less than many other countertop options, and the wood surface is excellent for food preparation, though it can get scratched, dinged, or otherwise damaged. When this occurs, simply sand out the blemish and seal the wood with mineral oil to get rid of unsightly marks, dings, and abrasions. However, it’s important to note that this project is not suitable for all DIYers. It’s only recommended for those with woodworking skills and hands-on experience. Otherwise, this renovation should be undertaken by a trained professional carpenter.
