We may earn revenue from the products available on this page and participate in affiliate programs. Learn More ›
Every December—occasionally as soon as the day after Thanksgiving—holiday-loving home decorators divide into two groups: team live evergreen versus team easy, artificial tree. While the best artificial Christmas trees have improved leaps and bounds for realism and convenience, they still pose challenges for storage in the off-season. So we’ve crafted a fake tree so stunning, simple, and problem-solving that this Christmas tree alternative may soon have its own camp of fans.
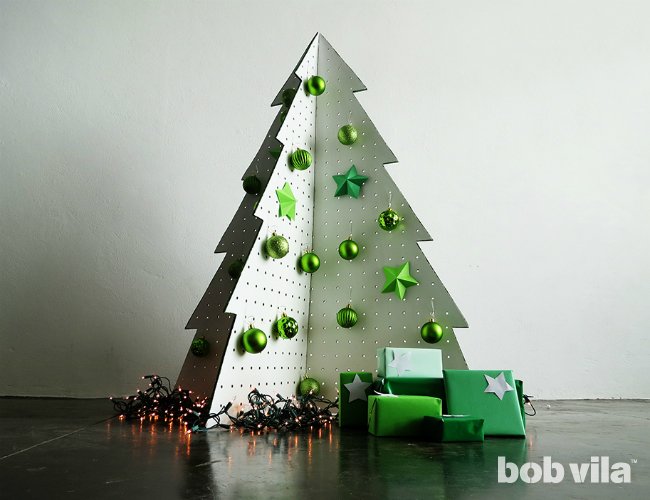
This season, transform an unlikely multi-tasking material into the beginning of a new tradition: the pegboard tree. The elegantly minimalist design mimics a cartoon tree in shape, using its trademark holes to easily hang hooked ornaments. And after the holiday passes, this snow-white tree disassembles into two 4-foot boards for compact storage, both sturdy enough to last for years. It’s a Christmas miracle!
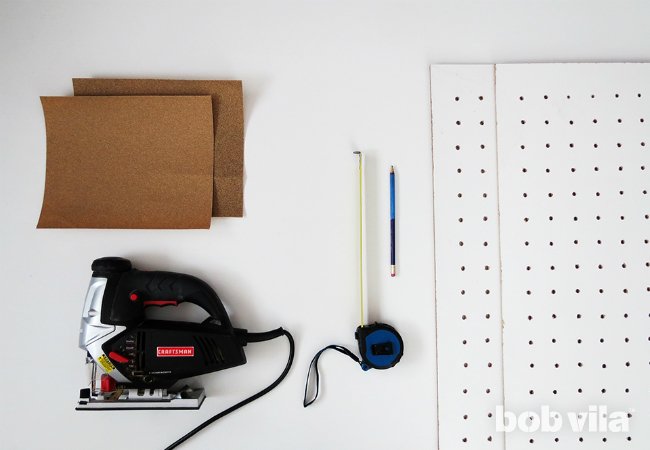
TOOLS AND MATERIALS
– White pegboard
– Tape measure
– Pencil
– Jigsaw
– Sandpaper
– Cloth towel
– Newspaper
– Paint primer
– White spray paint
– Green acrylic paint
– Foam brush
STEP 1
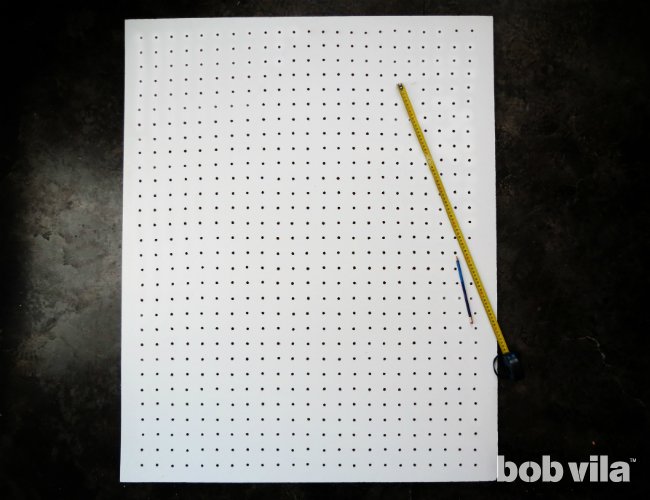
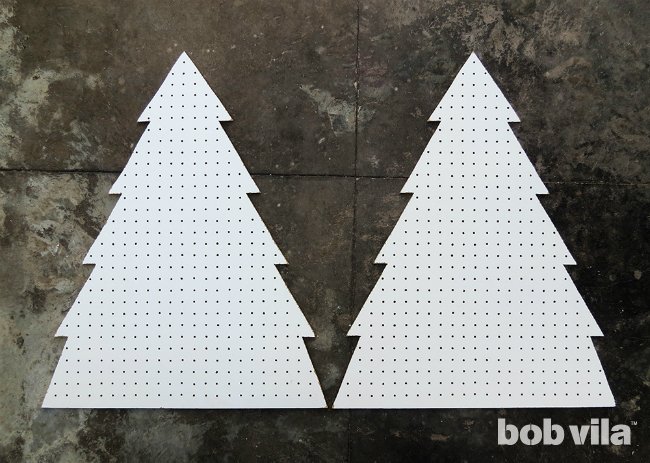
Cut your 3/16-inch white pegboard into two rectangles, each 4 feet by 3 feet. (When we’re finished, these dimensions will produce a tree that is 4 feet tall and 3 feet in diameter.) Don’t hesitate to ask for these cuts at the hardware store where you purchase your boards—smaller pieces will be even easier to carry home!
STEP 2
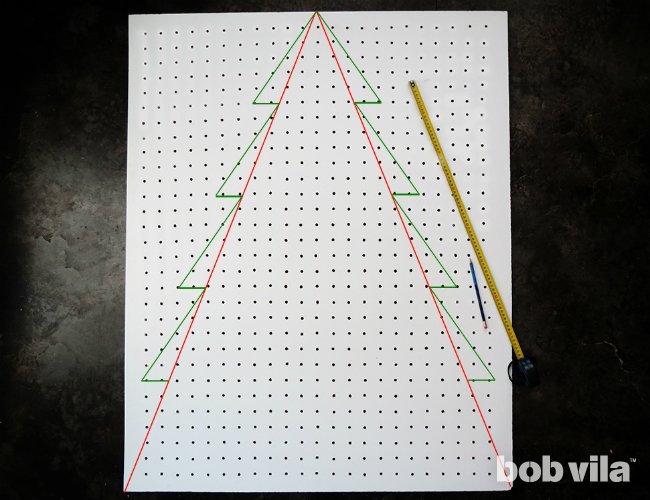
Pencil in the outline of your Christmas tree on one board. First make a triangle: Find the center at the top of the board, and use a tape measure or yardstick to help draw a line from this point to each of the bottom corners. Then, use the triangle as reference to draw the tree tips; we made each “branch tip” extend two holes from the initial triangle. As best as you can, try to make the dimensions even.
STEP 3

Use the jigsaw to cut out your tree shape. Always start from the side and cut towards the drawing, not toward yourself.
STEP 4
Once the first two-dimensional tree is completely cut out, lay it on top of the second pegboard and trace its shape. That will ensure that you create two identical pieces. Use the jigsaw to cut out the second tree, as you did in Step 3.
STEP 5
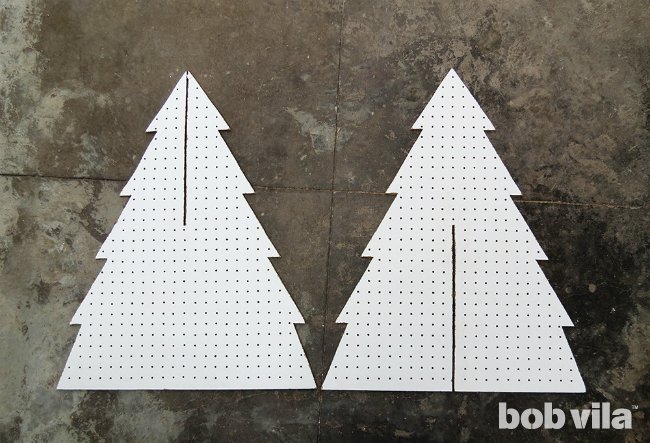
For easy assembly, make a 2′-long notch in each tree. On one, cut from the tip to the very center of the tree; on the other, make the cut extend from the bottom to the center. The slit need to be a little wider than the thickness of the pegboard (say, 1/4-inch wide) to make it easy for the pieces to slide together.
STEP 6
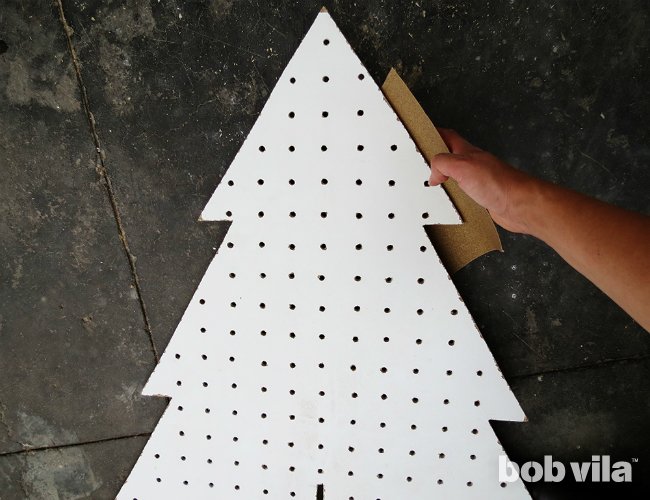
Sand all edges and the notch of each piece so that your holidays don’t include any splinters. Then, wipe down each shape with a slightly damp cloth to remove all the dust and dry.
STEP 7
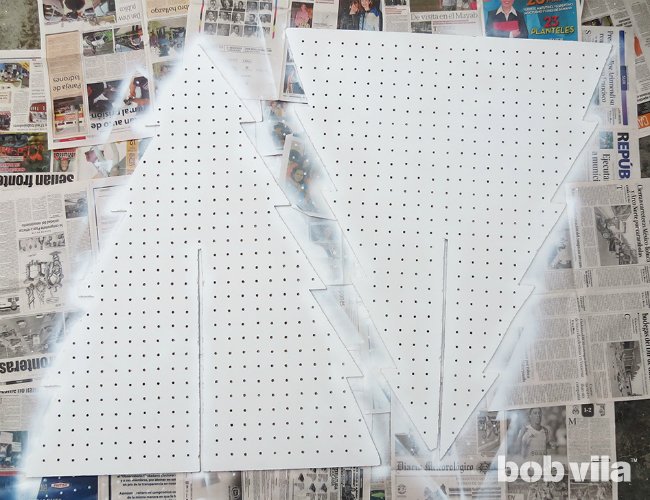
For a completely uniform tree, the back of the pegboard needs a quick paint job to match its white front. Cover your work space in old newspaper, and get to work! We used a spray paint, but you could also opt apply a coat of white acrylic using a paint roller. Regardless of how you go about it, start with one coat of primer and then cover with at least two topcoats for the brightest white.
STEP 8
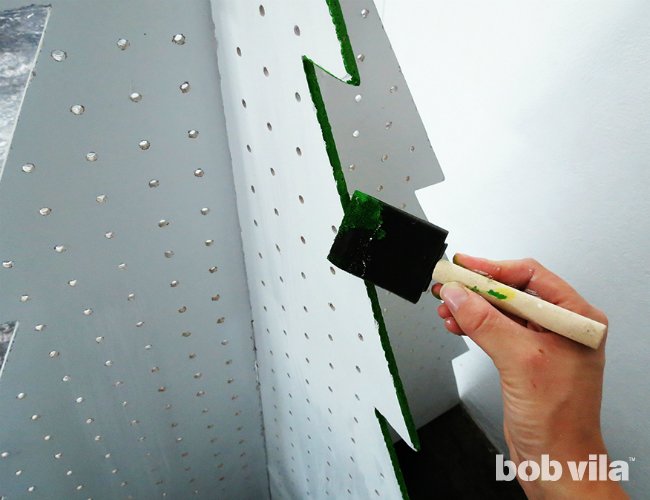
After the white has dried completely, highlight the tree’s shape by painting the edges of each board a holiday green. It’s helpful to first stand the tree, which you can do by sliding the tree with the notch in its bottom half over the tree with the notch at its top. Now pick up a foam brush dipped in paint, and apply carefully to the pegboard’s edging so that it doesn’t smear onto the sides. If you like, you can use painter’s tape to protect the white surfaces.
STEP 9
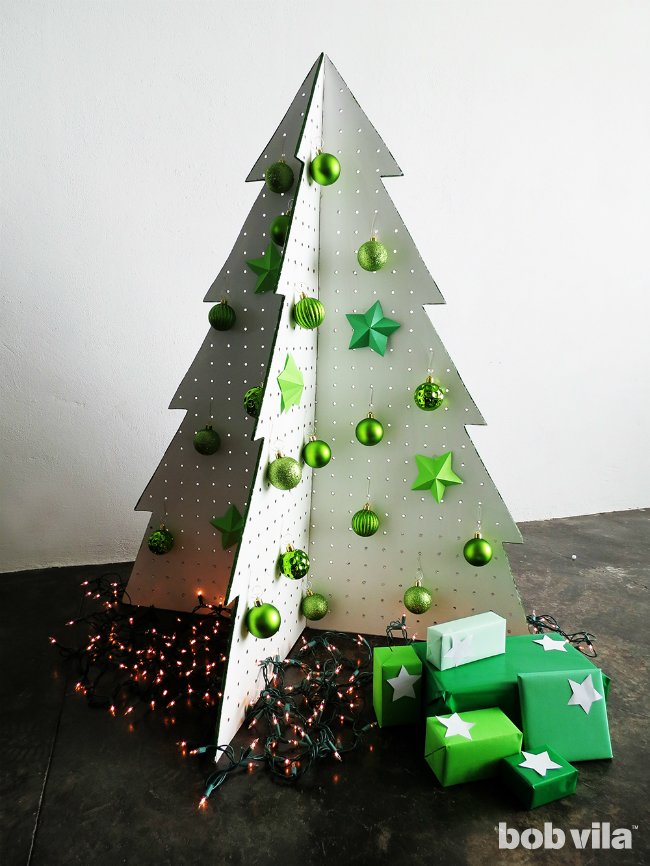
Once the paint is dry, you’re ready to decorate! You can hang any kind of ornament in your modern white tree by pushing hooks through the holes in the pegboard. Then, when it comes time to stow all the seasonal decorations, just remove your ornaments and pull apart the two panels. They stack easily on top of one another for flat, effortless storage 11 months out of the year.
Ama is a DIY addict and the creative mind behind Ohoh Blog. She likes home decor, lighting, and furniture projects that may involve painting, sewing, drilling…no matter the technique! Whatever she has on hand is inspiration to create, and fodder for her serious addiction to upcycling.