We may earn revenue from the products available on this page and participate in affiliate programs. Learn More ›
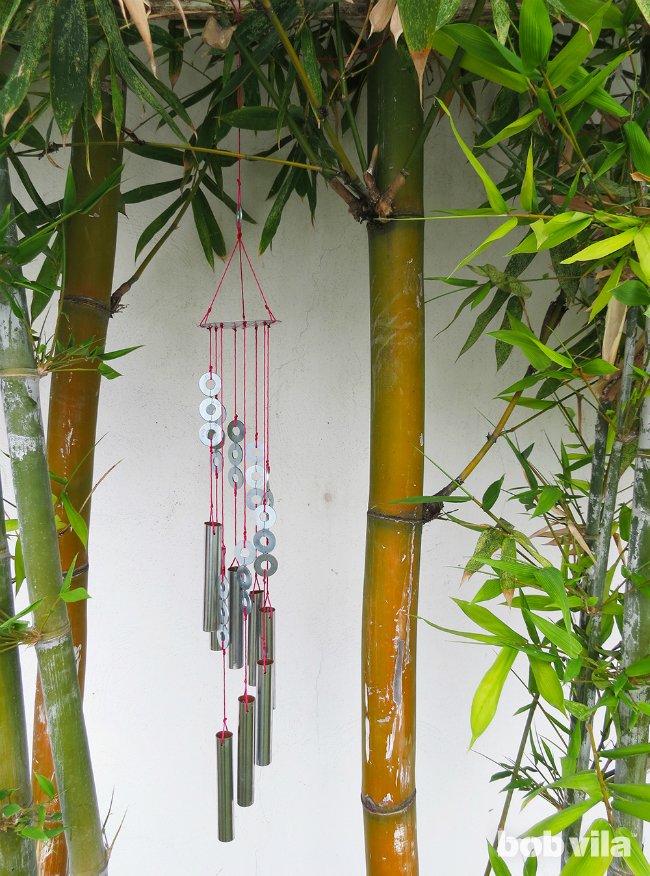
Looking to enhance your backyard escape with little more than an hour-long DIY project? Consider the charm of an accent that appeals to multiple senses: the humble wind chimes. With just a little creativity, you can make your own melodic outdoor ornament from bits of hardware supplies and around-the-house odds and ends. Hang the new set of chimes anywhere—deck, porch, or garden patio—and you can enjoy its soothing sounds as soon as the next cool breeze passes through.

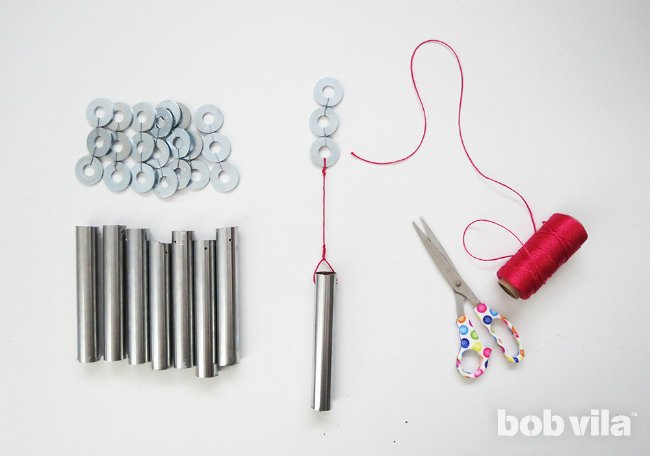
TOOLS AND MATERIALS
– 1-1⁄2-inch flat washers (25)
– Steel wire
– Pliers
– Wire cutter
– 56-inch metal curtain rod (or other piping)
– Clamp (optional)
– Metal saw or a tubing cutter
– Drill with a small metal bit
– Colored twine
– Scissors
– Superglue
– Shower drain cover
STEP 1
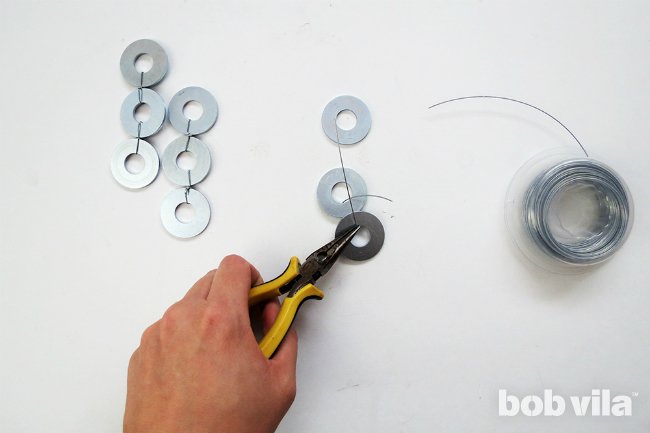
Thread thin steel wire through the centers of two 1-1⁄2-inch washers, and lay them flat on your work surface so that their edges touch. Use pliers to help you complete the loop and tie them together, then snip the excess length with a wire cutter. Connect a third washer to your chain in the same manner, making sure they all lie flat in a row.
Repeat this process until you have eight rows of three washers.
STEP 2
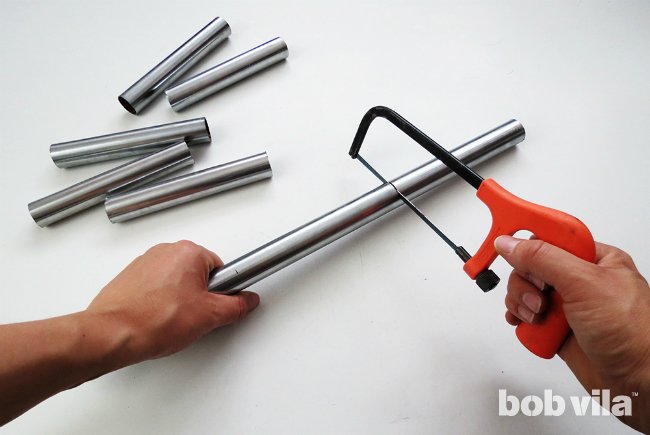
Use a metal-cutting saw or a tube cutter to slice your pipe into eight 7-inch pieces. We cut up an old, hollow curtain rod, but any metal pipe that is about an inch in diameter works for the chimes.
STEP 3
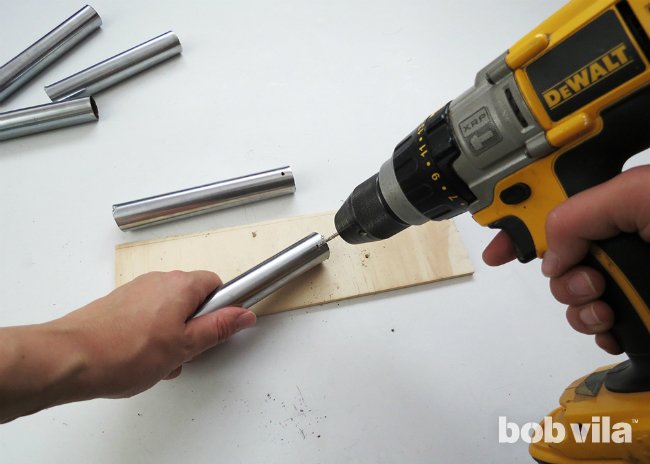
Hold the pipe steady with your hand or a clamp, and drill two small holes through opposite sides of the pipe at one end (you’ll thread twine through these in the next step when you start assembling the hanging design). For best results with the drill, switch to a bit that is designed to cut through metal and set your power tool to a slow speed.
Repeat on the seven remaining tubes.
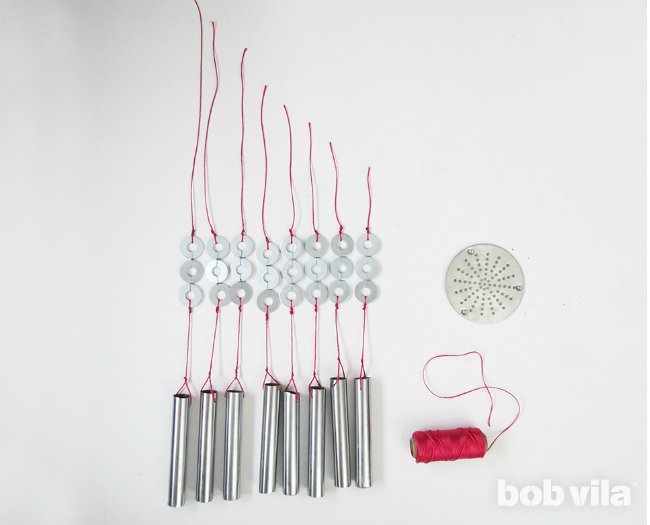
STEP 4
Now you’re ready to start stringing together the pieces. First, thread twine through both holes and knot it. Then, leave 5 inches of space before you thread the twine through one end of a washer set. To keep your knots from coming apart in strong winds, you can bond them with a drop of superglue.
Do this for all eight sets.
STEP 5
Now, you’ll cut the twine at varying lengths to suspend each chime: The longest is 15 inches, and each subsequent piece will be 1-½ inches shorter until the eighth and last cutting is 4-½ inches long. Tie one on the free end of each row of washers (again, securing each knot with a dot of superglue).
STEP 6
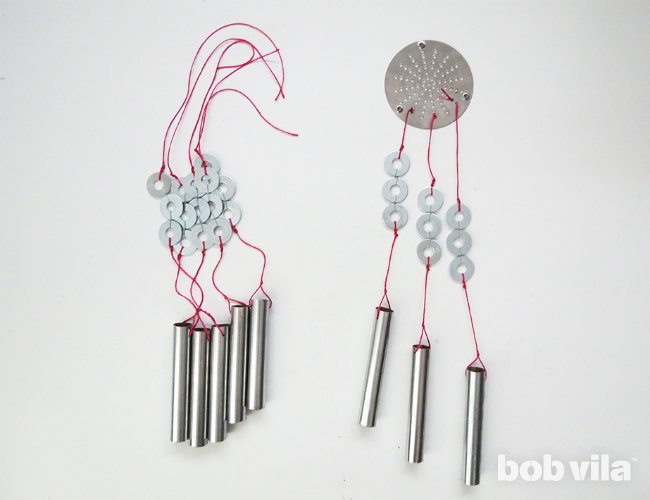
Now, for the secret to how this all comes together: a perforated shower drain cover. The contraption’s holes are perfectly suited for stringing the chimes up. Work in order from the shortest chime to the longest, tying each loose end of twine to the outermost holes along the circumference of the shower drain cover. Dab a bit of superglue over each knot.
STEP 7
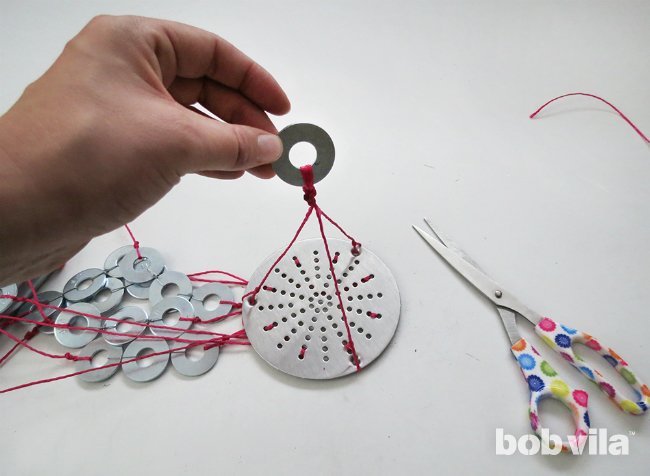
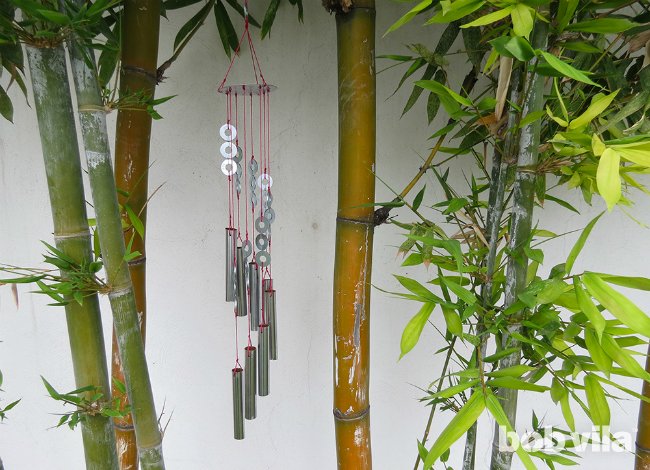
Finally, thread a piece of twine through each screw hole in the shower drain cover and tie them together around a single washer. Loop one more string through the top-most washer and knot it, and you’re ready to hang your handmade wind chimes up in the branches of your backyard.
Ama is a DIY addict and the creative mind behind Ohoh Blog. She likes home decor, lighting, and furniture projects that may involve painting, sewing, drilling…no matter the technique! Whatever she has on hand is inspiration to create, and fodder for her serious addiction to upcycling.
