We may earn revenue from the products available on this page and participate in affiliate programs. Learn More ›
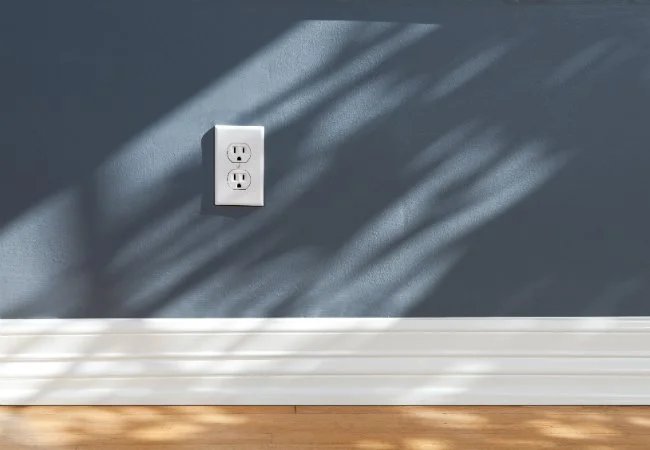
Whether you’re planning on replacing a floor or simply wanting to change up the style of trim in a room, your project to-do list will likely start with removal of the baseboard, that strip of wood or plastic that covers the joint between the walls and floor, as well as any shoe molding that may be present. Particularly if you want to save money by reusing the same baseboard over a new floor, it’s important to free the trim without damaging it—and without scratching, denting, or gouging the walls.
At one time, achieving such precision required a number of outmoded tools, hard work, lots of patience, and extra time and money spent repairing holes and replacing damaged trim. Now, with the help of an impressively simple new tool called the Trim Puller, obtaining a pro-quality job is a total snap, saving you time and money along the way.
Tools & Materials
Bobvila.com may earn a commission from purchases made through these links.
STEP 1
Examine the baseboards and determine the type of wall paint used in the room. Latex paint creates a seal between trim and walls, so if that’s what was used, take a 6-inch utility knife (or, in a pinch, a 5-in-1 painter’s tool) and carefully score along the length of the seam where the baseboard meets the wall so that you avoid pulling off any wall color. Tip: If you notice caulking along the top edge of the baseboard, apply caulk remover to the seam before scoring.
STEP 2
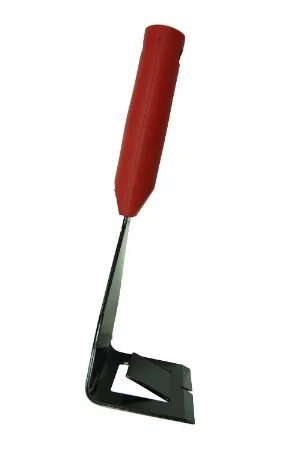
Loosen the pins or finishing nails that hold the baseboard to the walls. In the past, this task involved inserting a putty knife between the baseboard and the wall and giving it a twist. Now, you can instead enlist the Trim Puller, an ergonomic new tool that incorporates a 15-degree center wedge that’s designed for easy, efficient extraction, just perfect for this delicate process.
Starting at one end of the strip of baseboard, position the Trim Puller’s front face against the wall with the sharp edge on the scored seam. Next, strike the top of the Trim Puller with a hammer or mallet, driving the device between the baseboard and the wall. You will notice that the integrated center wedge automatically begins separating the baseboard from the wall, minimizing the work and speeding the process along. The Trim Puller’s comfortable EPDM rubber handle absorbs the impact vibration of the hammer, making the job pain-free!
STEP 3
Once you’ve wedged the Trim Puller between the trim and the wall, gently twist or pull to slightly separate the two. Continue along the wall in 12-inch increments, increasing the gap as you move toward the end of the wall until the baseboard is free.
If you’ve ever damaged trim, wall, or flooring while using a chunky, clunky crowbar or pry bar to remove baseboard, or sweated to insert a shim just right to keep those dings and dents at bay, you’ll really appreciate the ease and efficiency of the Trim Puller. It features a larger, flatter, and wider contact area than offered by older tools used for removing trim, and it boasts three contact points instead of one to make the job quicker and cleaner.
Voilà! Three simple steps later, your walls will be in fine shape, and the freed-up baseboard—once you get rid of any remaining pins or finishing nails with the claw end of a hammer or side-cutting pliers—will be ready for reuse so you can wrap up your weekend project.
This post has been brought to you by Zenith Industries. Its facts and opinions are those of BobVila.com.