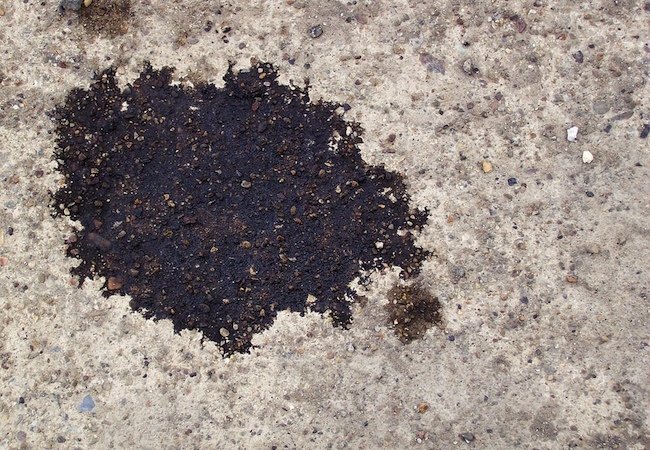
3 Fixes for Oil Stains

You never know when, but at some point in the cooking process it seems that oil finds itself out of the frying pan and into your fabrics. We found three smart solutions to remove it no matter where it lands.
Remove Oil Stains
Photo: fotosearch.com

Share

We may earn revenue from the products available on this page and participate in affiliate programs. Learn More ›

Cooking oil appears in many forms—olive, vegetable, canola, etc.—and is a necessary ingredient for almost anything you whip up in the kitchen. But everyday accidents are almost as common as this pantry staple, often leading to spills and splatters on your household fabrics. Whether you’re frying up veggies for dinner, noshing on a vinaigrette salad while watching TV, or transporting a pasta dish from the kitchen to the dining room, you’re bound to discover an oil stain on your clothes, upholstery, or carpets more often than you’d like. Quickly remedy these splotches with one of these three tips for removing common cooking oil stains.

POWDER YOUR CLOTHES

Remove Oil Stains - Clothes

Who hasn’t had a little oil hop from the pan and onto your favorite shirt during dinner prep? To remove these stains from your clothes, you’ll need to gather baking soda, an old toothbrush, dish soap, and paper towels. Start by blotting any excess oil with a paper towel. Sprinkle a light layer of baking soda onto the spot, and let it sit for 30 to 60 minutes. Next, use your toothbrush to scrape off the powder. (If it comes off in clumps, that’s a good sign—it means it’s absorbing the oil!) Once the baking soda is removed, gently work a few drops of dish soap into the stain, and then toss it into the washing machine on hot. Skip the dryer until you can confirm that the stain is totally gone, otherwise you’ll set the stain instead of removing it.

CARE FOR YOUR CARPETS

Remove Oil Stains - Carpet

Although you can use the same treatment mentioned above for oil spills on the carpet, you might need something a little stronger for set-in stains. If possible, scrape off any hardened oil with a spoon or butter knife, and then blot with a paper towel to soak up whatever you can. Next, dispense a small amount of rubbing alcohol onto a clean cloth, and test it on an inconspicuous area of your carpeting. If no discoloration occurs, reapply the alcohol to the rag and dab—don’t rub—the stain directly. Next, mix up a solution of water and dishwashing liquid (make sure the soap doesn’t contain lanolin or bleach), and apply to the stain with a sponge until it disappears. Finish by blotting with a dampened rag to remove any soap residue.

HELP YOUR UPHOLSTERY

Remove Oil Stains - Upholstery

If a rowdy football party (or spirited viewing session of your favorite reality TV show) leads to an oily food spill on your upholstery, don’t panic. First, check the tag and determine its cleaning designation. Then, depending on what the tag suggests, proceed with one of the following strategies:

• If your upholstery’s tag features an “X,” you should avoid spot treating it yourself and leave it to the professionals to take on.
• An “S” label indicates you should attack the stain with a water-free remover, like a dry cleaning solvent, cornstarch, or baking soda. If you choose a dry cleaning solvent, use one cloth to apply the formula following the manufacturer’s instructions, and then blot using a clean second cloth so that you continue to lift up (not reapply) the oil stain. If you’d rather use cornstarch or baking soda, simply sprinkle on a light layer and let it stand for 10 to 20 minutes before vacuuming it up; repeat the process if the oil stains still persist, or apply a bit of dry cleaning solvent using the method above.
• A “W” tag means a water-based method is best. Rub a small amount of dish soap onto the spot, let it sit, and then use a dampened rag to rinse the stain.
• “SW” ensures both a water-free or water-based solution will work. Once you determine which ingredients you have lying around, you can move forward with any of the above approaches to remove the stain and get back to what’s important: sautéing and savoring!