We may earn revenue from the products available on this page and participate in affiliate programs. Learn More ›
With the arrival of spring flowers, many turn to their lawn to look for signs of life. And while it can be exciting to see the world come alive after winter dormancy, looking out at a dull brown lawn might be disheartening. The great news is that grass bounces back after a long winter, especially with the right care. Spring months are some of the most active—and critical—for establishing a lawn care routine that will ensure the grass will be healthy all season long. These tips and tricks will have you there in no time.
- Not sure where to start? Check out the BobVila.com month-by-month lawn care calendar.

DIY Lawn Care. Simplified.
Bob Vila has partnered with Sunday to get your lawn exactly what it needs to thrive.
Free Lawn Analysis
Tools & Materials
Bobvila.com may earn a commission from purchases made through these links.
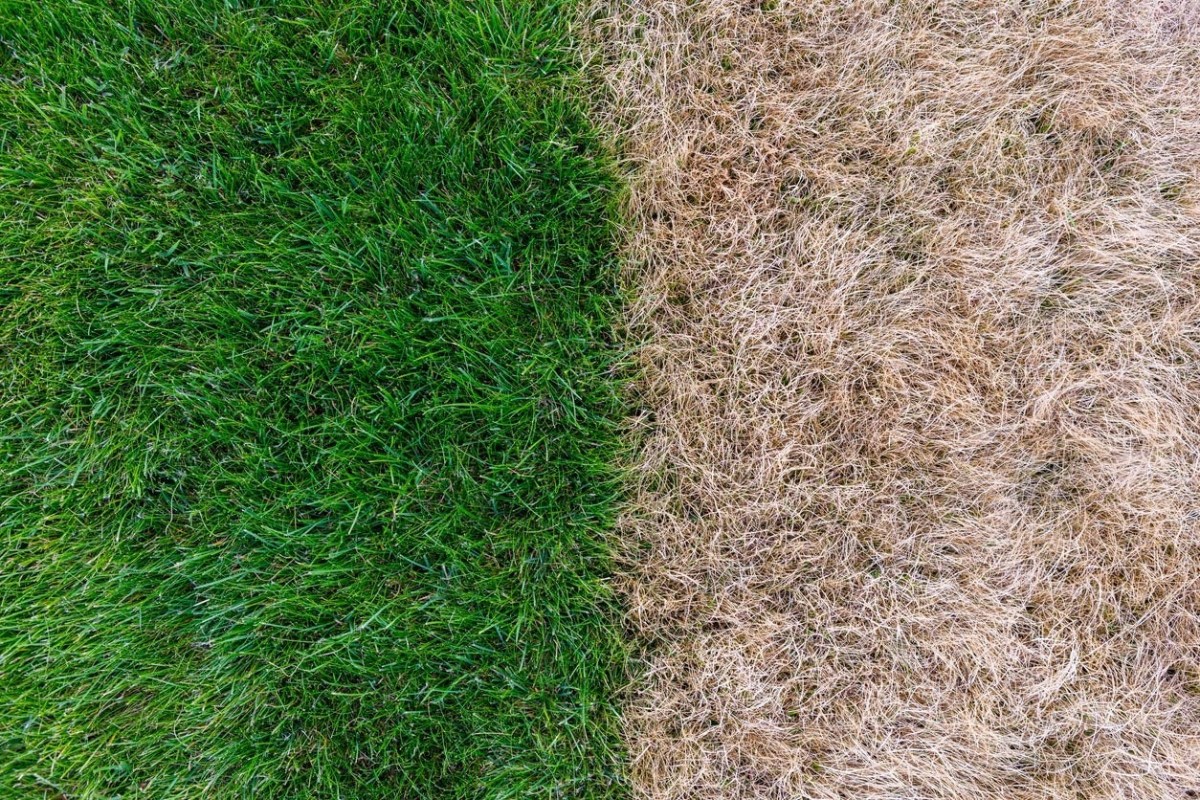
Is your lawn really dead, or just dormant?
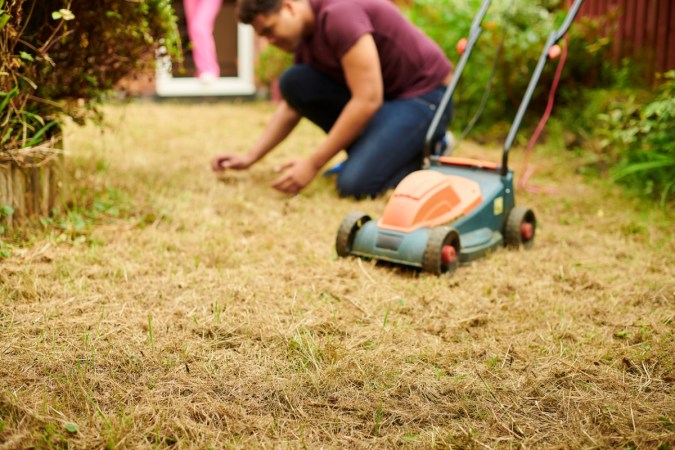
After a winter of looking out the window at grass that’s turning yellow and eventually a brown lawn, when spring weather starts to roll around there’s nothing like seeing that grass start to green up. The process can take time, so just because the sun is shining and the grass is brown, this doesn’t mean it’s dead. It’s more likely gone dormant for the winter. Depending on the climate zone, grass can go dormant when temperatures get low. Most grass, especially if it’s the right grass for the zone, will come back to life in the spring when temperatures rise consistently again. To check and see if the grass is dormant or dead, pull a few blades or a small section out. If it’s hard to unearth and the roots stay put, the grass is alive. If it’s easy to pull out, then it’s likely dead grass.
Cool-season grasses grow where temperatures dip below 32 degrees Fahrenheit for extended periods and grass goes dormant. In areas where temperatures dip below 50 degrees Fahrenheit, lawns are often planted with warm-season grasses, which can lose their green color. There are plenty of places in the mid-zone, which is why it’s important to get the right blend of grass for the climate.
Before You Begin…
Before taking steps to revive grass, it is wise to do a soil test. This will help determine the health of the lawn and what nutrients are—or aren’t—available in the soil. Some lawn care kits, like Sunday, include a soil test kit that allows an analysis of the soil and recommends fertilizer based on the needs of the lawn. A high soil pH can mean alkaline soil, which can slow the growth of grass. There are additional steps to take, whether you need to lower your soil’s pH or raise it.
Tools & Materials
Bobvila.com may earn a commission from purchases made through these links.
7 Crucial Tasks for Conquering Lawn Dormancy Fast
Following certain steps can help bring your grass back to life, so you can enjoy a lush, green lawn sooner than you think.

DIY Lawn Care. Simplified.
Bob Vila has partnered with Sunday to get your lawn exactly what it needs to thrive.
Free Lawn Analysis
1. Reduce stress on the lawn by removing debris like branches or leaves.
No matter how much yard cleanup took place last season, there’s always something to tidy up after winter fades. Make sure grass has room to grow by removing leaves and picking up winter debris such as branches and sticks. Use a regular leaf rake for this portion of the job and avoid getting too aggressive; just give the grass a good fluffing to make space for light and nutrients to reach the roots.
2. Dethatch the lawn to eliminate excess plant material that is blocking water and sunlight from reaching the grass’s roots.
After raking lightly, take note of any areas where the rake got stuck or raking wasn’t as easy. This indicates areas in the lawn that will require dethatching.
“While you should be gentle when raking your grass, don’t be afraid to get into it if you find grass blades that have matted together,” says Jeremy Yamaguchi, former CEO of Lawn Love. “Caused by snow molds, excessive watering, and compacted soil, matted grass can prevent new grass from sprouting.”
Dethatching is best done with a dethatching tool, which is essentially a sharp-bladed rake. A heavy-duty garden rake can substitute for this. Try to avoid dethatching too early in the season or after heavy rain because it’s easy to damage grass that is trying to establish itself.
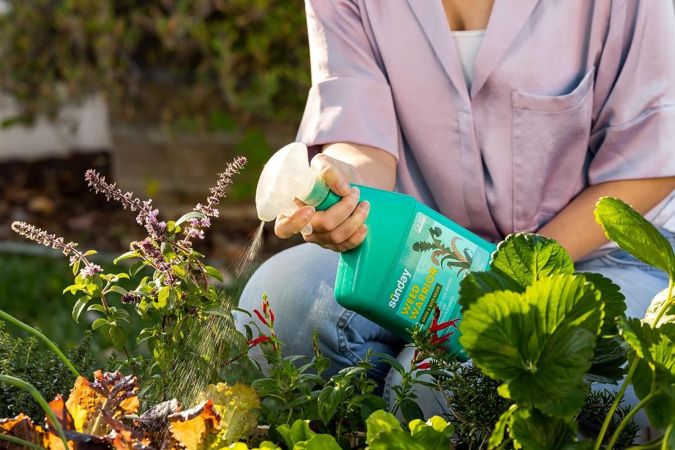
3. Weeds will need to be removed to reduce the grass’s competition for nutrients. Spraying a natural herbicide may be most efficient for dealing with significant weed growth.
While raking and dethatching, take note of any early-season weeds that may already be taking root. Remove them by hand, using a weeding tool. Aggressive and fast-growing weeds can compete with new grass for vital nutrients. In areas with winter dormancy, however, it’s not always easy to tell if roots are taking hold early in the season. For this reason, some gardeners opt for a pre-emergent herbicide. Most lawn care pros agree, though, that unless there is a known weed problem, it’s best to exercise caution if using any herbicides. “Some problems arise from overuse of weed killer and lawn treatment,” says Quinten O’Dea of Q&A Landscaping, based in Pittsburgh, Pennsylvania. “I’ve seen new grass die out from weed killer.”
4. If the lawn’s soil is hard or compact, aerating it will improve drainage and oxygen flow. This creates healthier growing conditions for grass.
Compacted soil can make it difficult for nutrients, air, and water to get down into the grassroots. An aeration tool puts holes in the lawn to allow these to penetrate down into the grassroots. When this happens, the grass is encouraged to grow deep roots, which in turn impacts the health of the lawn. Properly aerated lawns don’t require as much water and are less vulnerable to disease and pests. Even if the soil isn’t heavily compacted, aerating will benefit the grass in the coming months.
Aeration tools include inexpensive handheld versions, shoes with spikes that allow you to get those steps in while walking around the lawn, and power tools that can cover a larger area in less time.
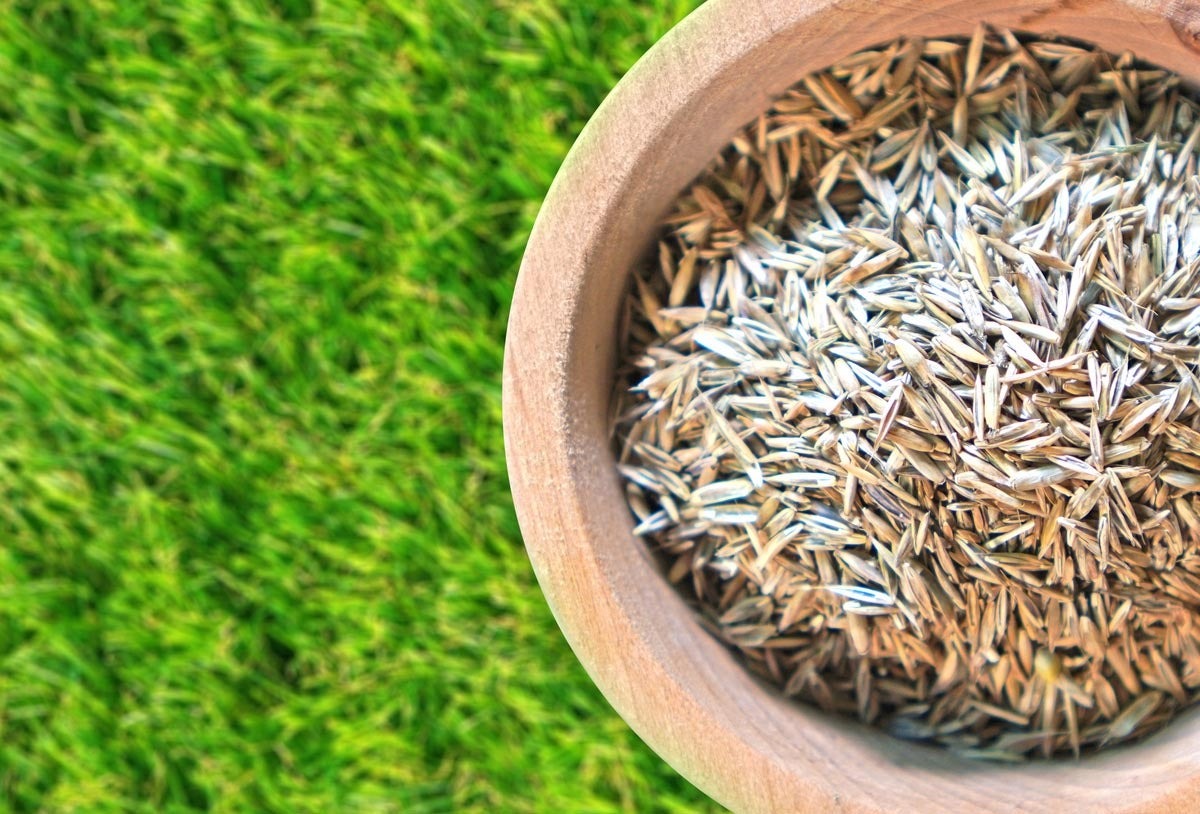
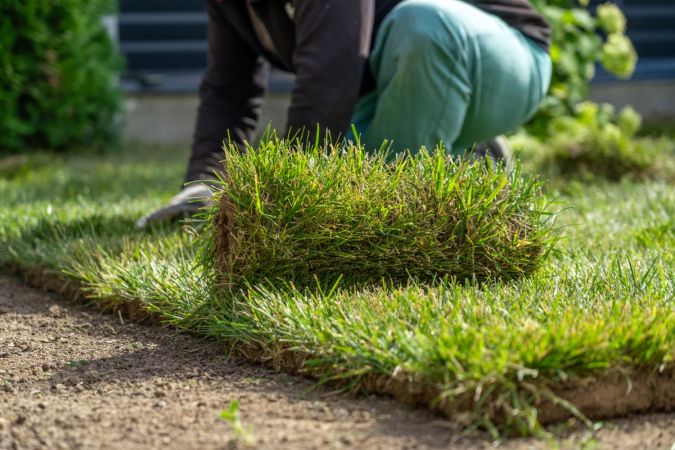
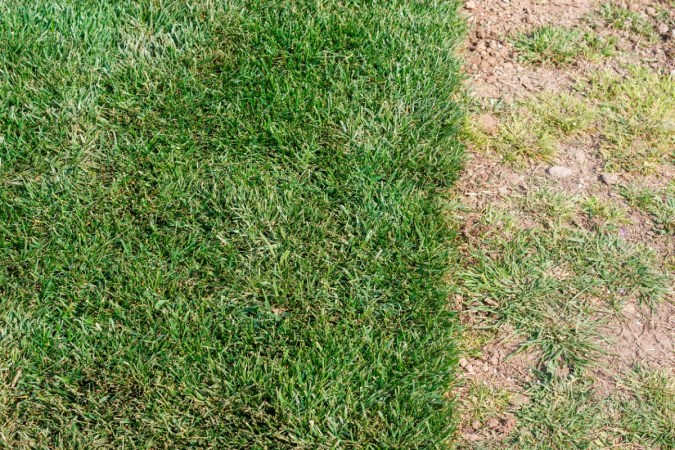
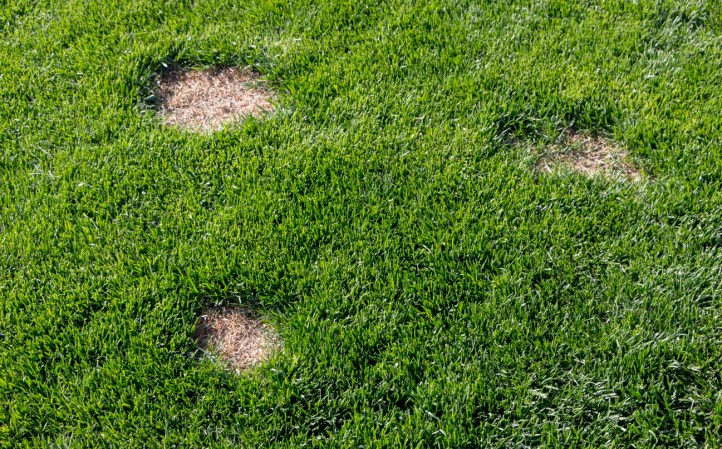
5. Patches of bare ground or dead grass can be repaired by overseeding.
After raking, dethatching, and aerating, look for any areas of the lawn that are bare or that look thinner than others. Early spring is a great time to overseed areas of the lawn
because seeds can get a head start over any weeds that may blow in for the summer, and potential spring rains can help seeds germinate. Overseeding can be done by hand or with the use of a seed spreader. It’s a straightforward process: simply walk around and spread the grass seeds on the lawn, especially on the bare spots and patches.
Water thoroughly after seeding, and then keep the soil evenly moist. How much water this will require will depend on the climate and weather. If there’s no rain, aim for watering 10 to 15 minutes three times a day until you see significant growth, which is typically between 1 and 2 weeks. Remember, the goal here is to keep the surface moist. Avoid walking on areas that have been reseeded until the grass is established.
“Most bags of grass seed have more than enough seed to cover a few patchy areas so there’s usually quite a bit of seed left over. I use the rest of that seed to overseed the rest of my lawn. I concentrate first on the patchiest areas and then take handfuls and lightly spread seeds throughout my entire lawn. It gives my lawn that lush appearance and helps cut down on weeds.”
—Amber Guetebier, BobVila.com contributor and former landscape and floral designer
6. Fertilizing the lawn will encourage growth and balance out any nutrient deficiencies in the soil.
Once those new grass seeds have been established, the rest of the lawn should be greening up, which is an excellent time to fertilize. The right lawn fertilizer will have a balance of nitrogen (for leaf growth), phosphorus (an essential for establishing healthy roots), and potassium (for overall health and a boost in resisting lawn stressors such as diseases, common garden pests, and heat stress or damage). This is also why a soil test is helpful. Based on the results, there may be a need for more nitrogen, the soil may be too alkaline, and so on.
The exact time to apply fertilizers depends on the climate, weather, and what type of fertilizer (liquid vs. granular), but the general rule of thumb is to apply when grass has started to green up. If you’re using a granular fertilizer, water the lawn thoroughly after applying, being careful not to flood the lawn and wash away all the product. If you’re using a liquid fertilizer, this step is not necessary.
7. Addressing persistent lawn problems such as disease or pest damage may require the application of specialized treatments.
Lawns can fall vulnerable to a host of common pests and diseases, including snow mold, pests like lawn grubs, and weeds. Depending on what the issue is, special treatments may be required. For example, crabgrass is one of the most common issues for lawns in all growing climates. A little crabgrass can be pulled by hand, but it can quickly spread.
The most important and timely application to prevent crabgrass begins in the early spring, says Mark Marino, owner of Lawn Phix, a lawn care company based in Bellingham, Massachusetts. “Crabgrass will begin germinating when soil temperatures hit 55 degrees and up for a few consecutive days.” If crabgrass has been an issue in the past, Marino recommends getting a jump start on it. “I prefer pre-emergent herbicides with the active ingredient prodiamine (Barricade) in the early spring.”
From Surviving to Thriving: How to Maintain a Lush Lawn
Once you’ve taken these seven steps to getting your lawn past dormancy, it’s time to think about maintaining its beauty throughout the spring and summer months.

DIY Lawn Care. Simplified.
Bob Vila has partnered with Sunday to get your lawn exactly what it needs to thrive.
Free Lawn Analysis
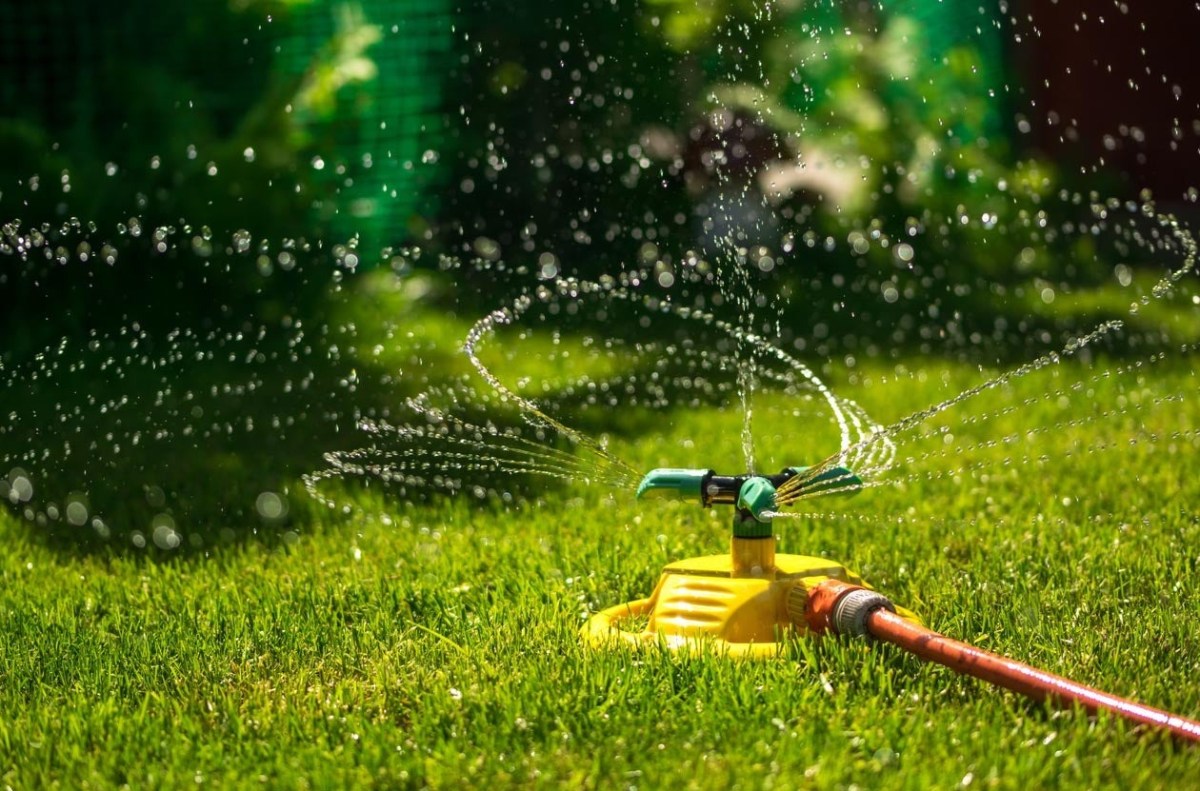
Watering deeply about once a week will keep the lawn hydrated without oversaturating it.
A good rule of thumb is to aim to give grass about 1 inch of water each watering session, watering once a week. This may need to increase or decrease depending on rain, weather, time of year, shade and sun conditions, and temperature fluctuations.
“Try this trick to see how long to water to achieve that 1-inch mark: Place tin cans (like a tuna can) around the lawn, then water for increments of 5 minutes, checking to see how long it takes to reach that 1-inch mark. For example, if it takes 15 minutes to get half an inch, then water twice a week for 15 minutes, or once a week for 30 minutes.”
—Amber Guetebier, BobVila.com contributor and former landscape and floral designer
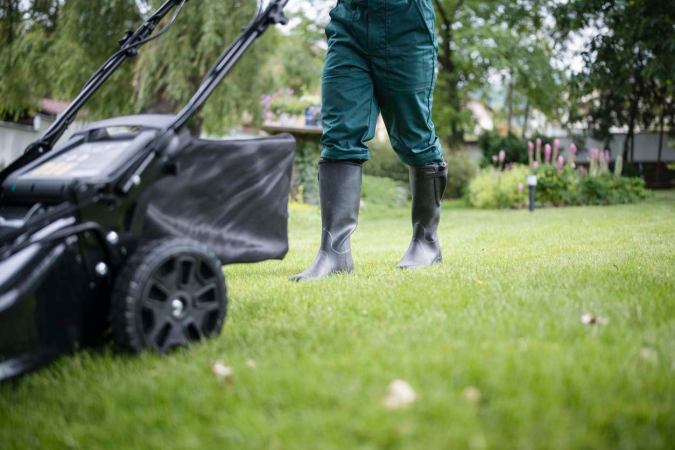
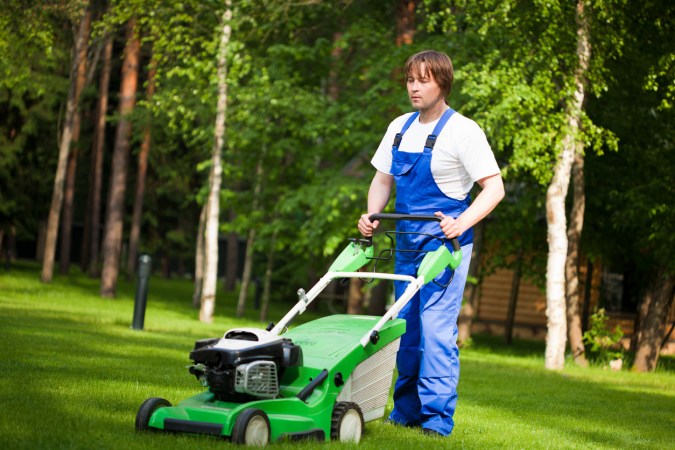
Regular mowing can promote healthy grass growth and prevent the spread of weeds.
Mowing is not just for the peak of summer. Keeping grass mowed regularly will help promote healthy growth and give a lawn that lush, thick appearance. While different grasses prefer different lengths, aim to trim about one-third of the length of the grass blades each time. Longer grass helps keep the soil moist and shades the roots, making it more tolerant to periods of drought.
“Remember to clean and service your lawn mower, particularly the blades, which need to be sharp and clean,” says Marino. Dull blades will tear the grass rather than give it a clean cut, and mowing with a dull blade means grass will need more time to recover. Plus, sharp blades cut faster and will reduce mowing time overall.
How I—a Lawn Care Expert—Revive My Lawn After Winter
I live in a climate that has very cold winters (Minnesota), so in addition to the usual winter dormancy I am often dealing with things like late spring snowstorms and snow mold. On the plus side, that means I also have lots of time to prep the lawn before the growing season takes off. I’ve tried a variety of products and methods over the years. Two things have been critical in ensuring my lawn looks good by the end of May: fertilizing early and overseeding.
Two years ago I signed up for a Sunday lawn care subscription service, and I have been really happy with the results. It’s very non-intimidating, which means that it’s an excellent choice for those new to lawn care, and it’s considered one of the best DIY lawn care programs. Each spring I’ve sent in a new soil sample for analysis, which helps Sunday determine if my lawn will need any specific additional nutrients. Then all I have to do is open the box and spray the fertilizer within the recommended time frame. I have signed up to get text reminders, too, because my own lawn care is often a task that ends up low on my priority list, especially in the spring. I’m an experienced landscaper but have only lived in the Zone 4 climate for a few years and am still learning the subtleties of late-spring thaw. For this reason, I love the recommendations for the suggested application time frames—they change a little each year!

DIY Lawn Care. Simplified.
Bob Vila has partnered with Sunday to get your lawn exactly what it needs to thrive.
Free Lawn Analysis
The biggest difference I’ve seen in the health of my lawn is overseeding in early spring. I’ve skipped this step in the past, and it took my lawn at least 3 weeks longer to look as good. Plus, when I don’t overseed I’m battling more bare spots throughout the season. I tend to have the same patchy places each year due to snow mold, salt runoff near the main walkway, and heavy foot traffic. I also put a small ice rink on our lawn every year, and there are usually at least two places on the lawn that seem to suffer from it, probably due to snow mold.
I sprinkle grass seed all over the lawn, with an emphasis on patchy places. The best time to do this is just after your lawn is starting to look a little green so that you can see which areas need the most attention. Sunday supplies the right seeds in my kit and provides instructions about when and how to apply them. Some people use a seed spreader, but honestly, I just use my hands so I can add a little extra seed where I need it most. Sunday fertilizer needs to be applied when temperatures reach between 50 and 85 degrees Fahrenheit, so I have a good month window to apply the seed Sunday sends before I can spray the fertilizer.
The Sunday products are very easy to use: You just attach the pouch to your hose-end sprayer and water your lawn. Mine takes about 30 minutes, and it’s actually quite a relaxing task. I was initially skeptical about the liquid fertilizer application, but I’ve found it to be much easier to apply, especially having pets and kids on my lawn. With this type of application there’s no granular mess to contend with.
- Interested in Sunday? Read the BobVila.com Sunday Lawn Care review.

