We may earn revenue from the products available on this page and participate in affiliate programs. Learn More ›
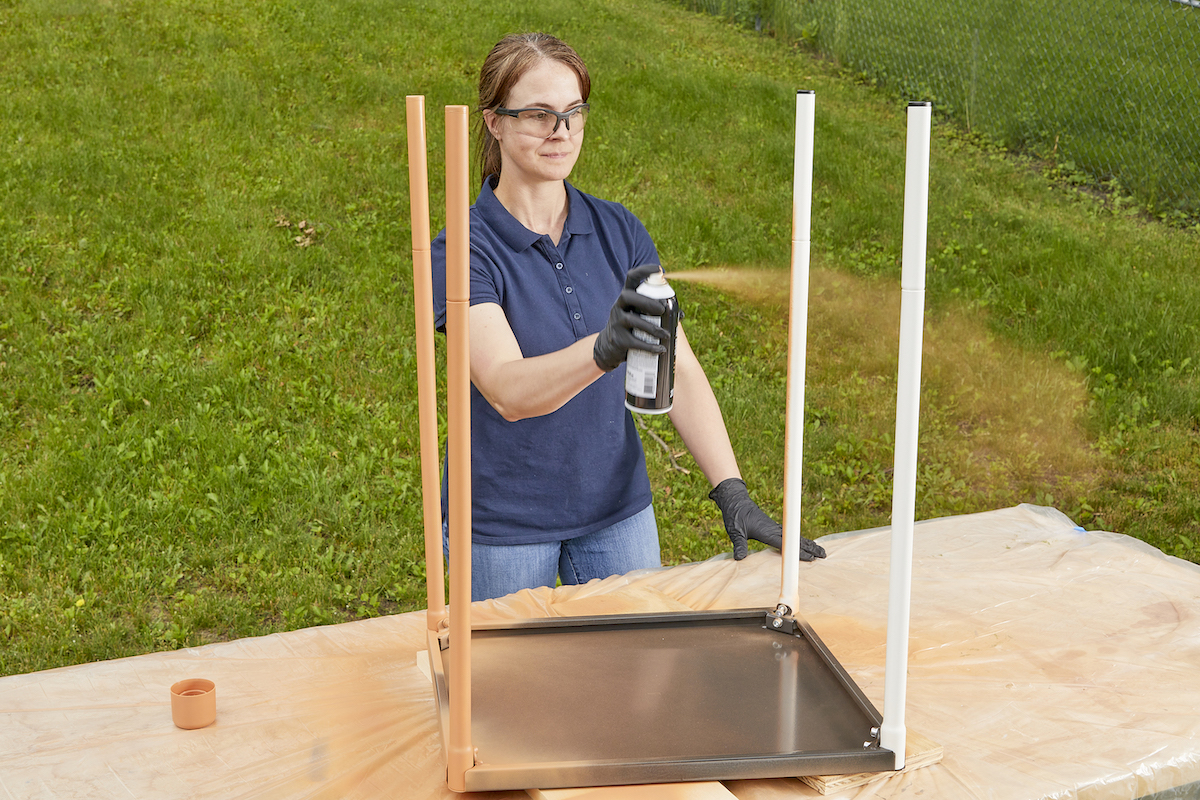
Metal furniture and ornaments are popular because they’re durable, but the longer a piece lasts, the older its look can become. The good news is that this is a problem that a fresh coat of spray paint can solve. Generally speaking, the best spray paint for metal is hard-wearing enamel. Its oil base makes it somewhat slow to dry, but it stands up to cleaning and use well; many enamel paints are rustproof, too. Read the label or ask your retailer if suitable for your project. Then stock up: The average 12-ounce can should yield 8 to 10 square feet coverage, but if your retailer has a good return policy, consider buying more than you think you need. It’s easy to underestimate, and you don’t want to run out in the middle of a project.
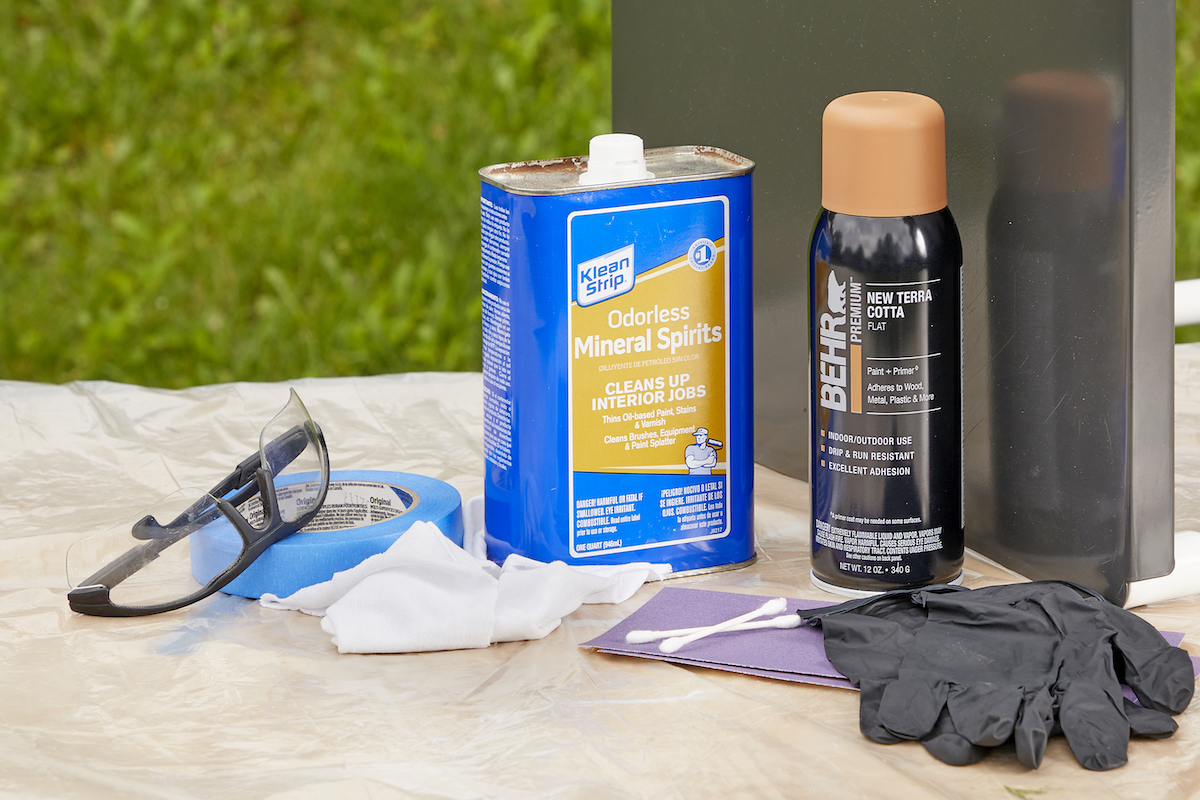
Tools & Materials
Bobvila.com may earn a commission from purchases made through these links.
Step 1: Sand the surface.
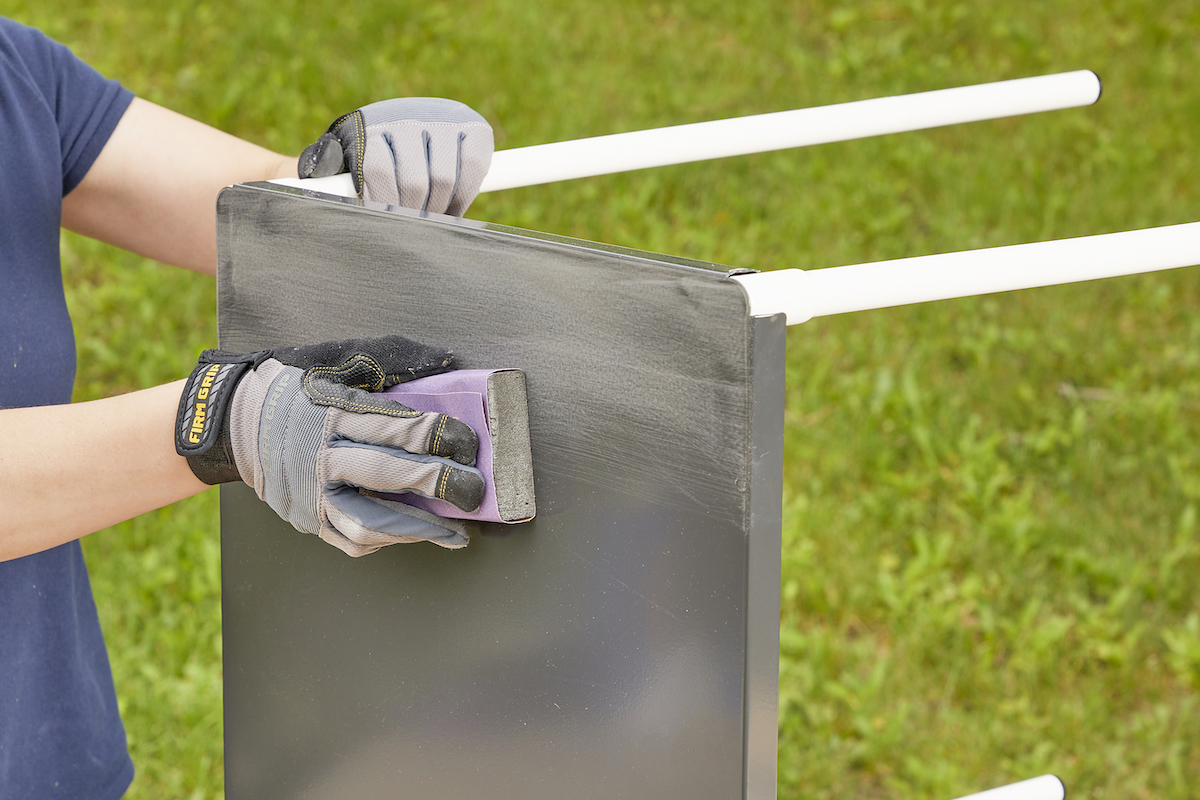
Proper surface prep is essential if you want the spray paint to adhere properly. The first order of business is to sand or brush off all loose paint and rust spots. Because paint doesn’t usually bond well to shiny objects, use the metal brush and sandpaper to lightly scour and dull the surface until it looks lightly scratched, almost like brushed nickel. A very lightly scoured surface will help paint bond; don’t be overly zealous or you’ll get gouges or scratches.
Step 2: Wipe the metal dry.
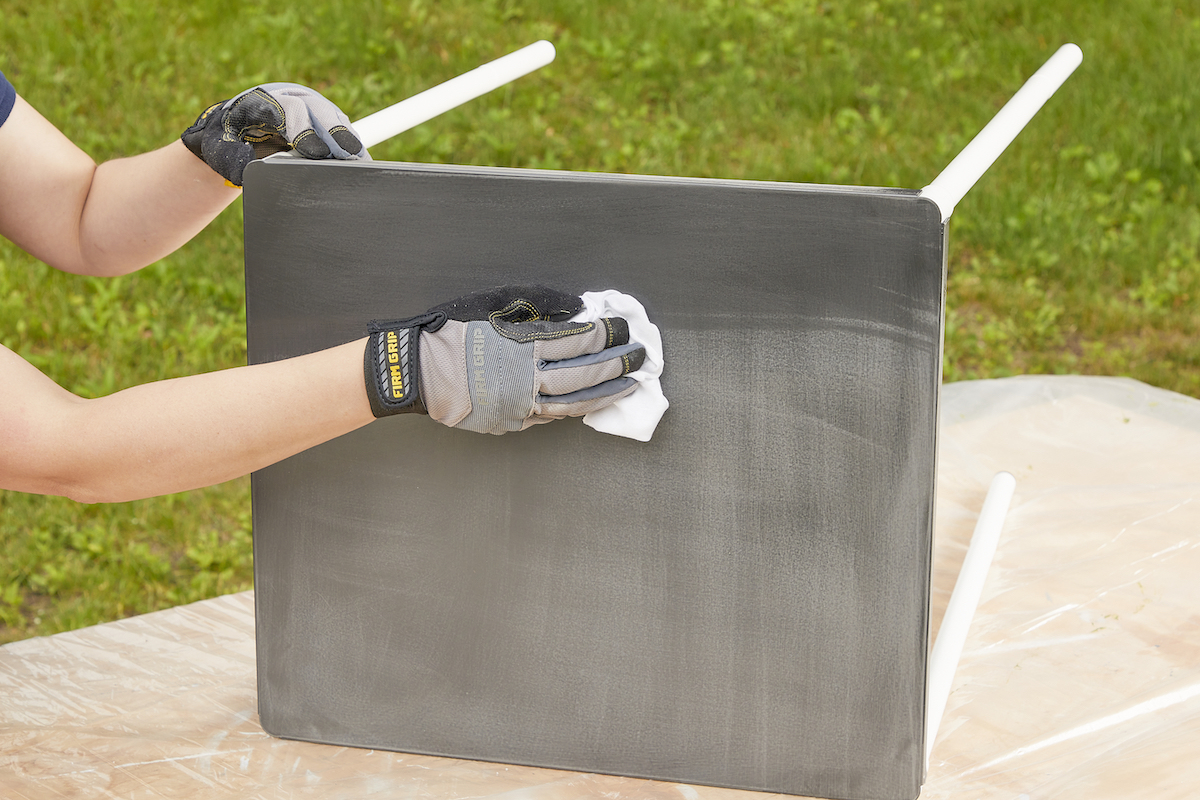
Wipe thoroughly with clean, dry cloth to remove dust, dirt, and debris. You may need to dampen the rag a bit to remove stubborn stains. Make sure the metal is 100 percent dry before painting.
Step 3: Prepare the painting area.
Paint outdoors if you can, in an area protected from wind. (Wind can blow leaves and pollen onto your project. It can also push your paint around, causing uneven results.) If you are working indoors, open doors and windows to ventilate the area well
Move all furniture from the area or cover with drop cloths, and protect floors with drop cloths or newspaper in a 10-foot radius around your work zone. Use masking tape to protect hardware or trim on your piece that you want to keep unpainted.
Step 4: Test the spray paint.
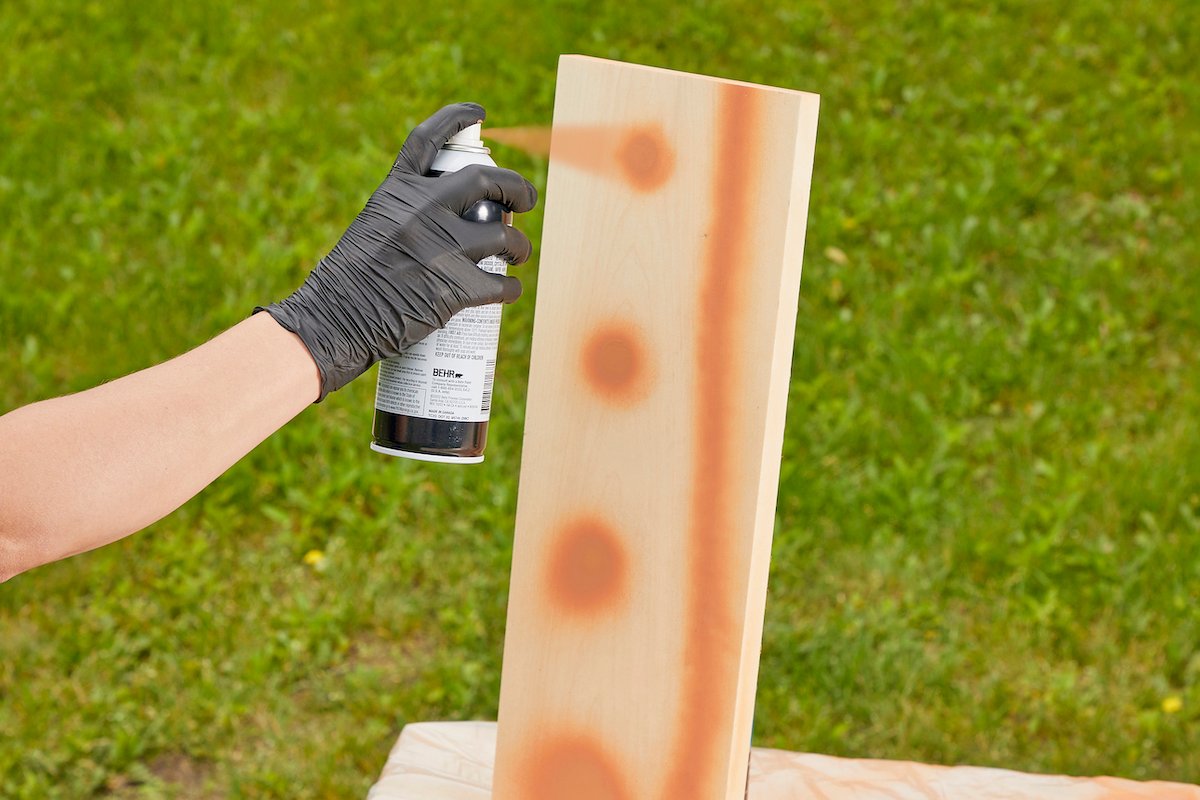

Get your mask, gloves, and goggles on and test your spray paint to ensure it provides a thin, fine mist. Shake the can vigorously for 45 to 60 seconds and spray onto a cardboard box or the bottom of your project. If you see spitting or uneven spray on a new can, return it for a replacement. Spitting can mean a malfunctioning nozzle, but it also might be a bit clogged; if dealing with a can of paint you’ve had for a while, try cleaning the nozzle with warm water. If that doesn’t resolve matters, dab lacquer or paint thinner onto the nozzle with a rag, then wipe it off and test it again.
Best Spray Paint for Outdoor Furniture

Rust-Oleum Stops Rust Hammered Finish Spray Paint
Rust-Oleum spray paint is ideal for outdoor furniture and works best on masonry, metal, and wood surfaces. Read the review.
Buy at AmazonStep 5: Prime the metal.
If your paint doesn’t have a primer in its formulation, follow the painting techniques in Step 6 with a spray primer formulated for use on metal, such as Rust-Oleum Clean Metal Primer. Allow it to dry thoroughly before repeating Step 6 for your first color coat.
Step 6: Paint the metal.
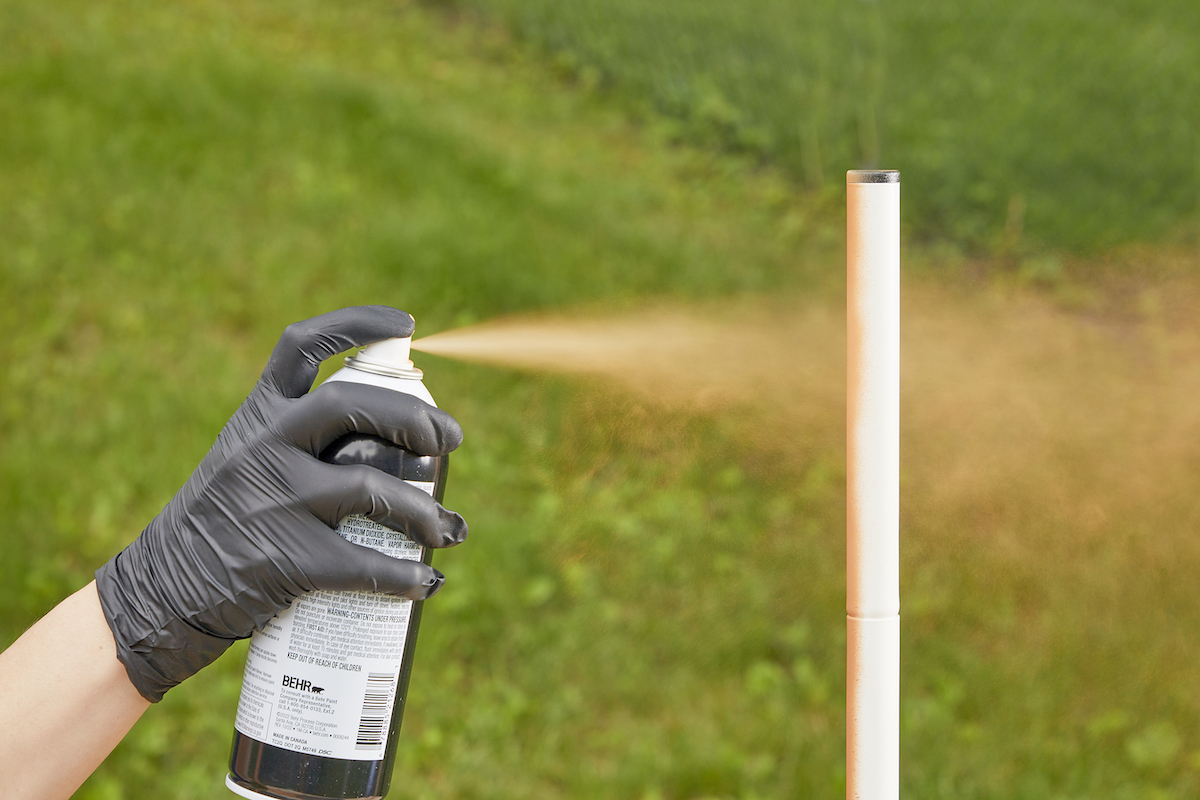
This technique will ensure smooth, even results. Repeat with as many as three applications, working in light, even coats.
- Always begin and end spraying off your project, by simply spritzing the air beside it, to ensure that the paint that hits the target is a steady, even, misting spray.
- Hold the can a foot from the painting surface, aim the light, fine mist on the object and sweep side to side or up and down to coat the width or length of your project. Each time you complete a single pass or row, stop spraying and give your can a quick shake for 5 to 10 seconds, then start spraying off the item before you do another pass. For every new spray, overlap with the last row of paint. Give the can frequent, brief shakes throughout the process.
- If you’re painting a larger item, like a bookshelf or an iron fence, step along sideways toward the direction of your spray. If you only move your arm, you may not maintain the same density of spray.
- Pausing even briefly, or hovering while spraying, can create drips or spots. If this happens, remove all excess wet paint with a clean, dry, lint-free cloth. If you don’t notice these drips until after the drying process, sand them down with a fine-grit paper and dry-wipe to remove the dust.
Step 7: Clean up paint splatters.
If you dribble paint as you’re working, use the label-recommended paint thinner or cleaning agent and a rag to clean it up as soon as possible, before the paint dries or cures. Allow your project to dry thoroughly. Drying time varies by paint type, coat thickness, and even weather and humidity—it could take anywhere from 3 hours to overnight. Wait 24 hours before using freshly spray-painted items.