
We may earn revenue from the products available on this page and participate in affiliate programs. Learn More ›
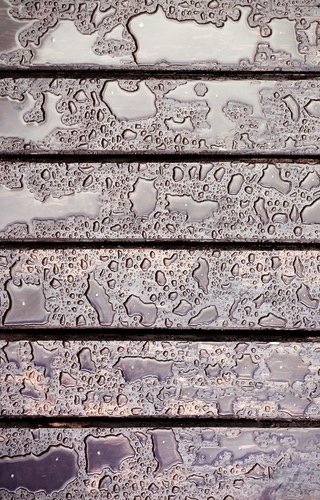
Slippery when wet! Those words of caution may be most familiar in the context of hospital and airport floors, but they also apply to porch stairs and backyard decking. Rain, sleet, ice, snow, and even soil on surfaces can cause the poor traction that leads to slips, trips, and falls in outdoor environments. So why not undertake a painting project to make your outdoor spaces—from a concrete patio to a wooden porch—less dangerous and more enjoyable. The secret ingredient? Sand!
Though non-slip paint formulas may be available at your local home center or hardware store , you can save money and achieve the same result with this helpful hack a devout DIYer is likely to appreciate.
Use the Right Sort of Sand
Simple as this DIY formula is to mix and use, for maximum effectiveness, use the right kind of sand. Resist the temptation to dig your fill of free sand from the beach or sandy soil from your backyard. Such sand can contain impurities likely to negatively impact the paint and leave you with a clumpy mess. Keep in mind, too, that coarser sand provides better traction than finer sand. Play sand—the sort sold for crafts and children’s sandboxes—is clean enough and coarse enough for this project.
Use the Proper Kind of Paint
Don’t break out that can left over from your last wall painting project or concoct a formula of your own. For this job, you’ll get best results with floor paint—or, ideally for an outdoor product, a specially formulated porch paint. Wall paints simply aren’t tough enough for the heavy traffic floors and stairs experience. A quality porch paint, typically suitable for wood and concrete, will also be mildew-resistant.
Tools & Materials
Bobvila.com may earn a commission from purchases made through these links.
- Wire brush or scraper
- Clean 1-gallon container
- Paint stirrer
- 3-inch paintbrush or ¼-inch nap paint roller
- Paint tray (if using a roller)
- Sandpaper or power sander
- Paint (ideally, acrylic floor paint)
- Play sand
Homemade Non Skid Paint in 4 Easy Steps
Why stress about slips and falls when you can mix up this simple formula and make outdoor surfaces safer.
STEP 1: Prep and clean the surface thoroughly.
Remove all cracked, flaking, or peeling paint from the area to be refinished with a scraper or stiff wire brush. Next, sand the area by hand or with a power sander. Continue sanding until there’s a roughed-up surface to which the paint can adhere properly. Rinse well with fresh water from the garden hose and allow the surface to dry completely before painting.

STEP 2: Mix four parts paint to one part sand, then apply.
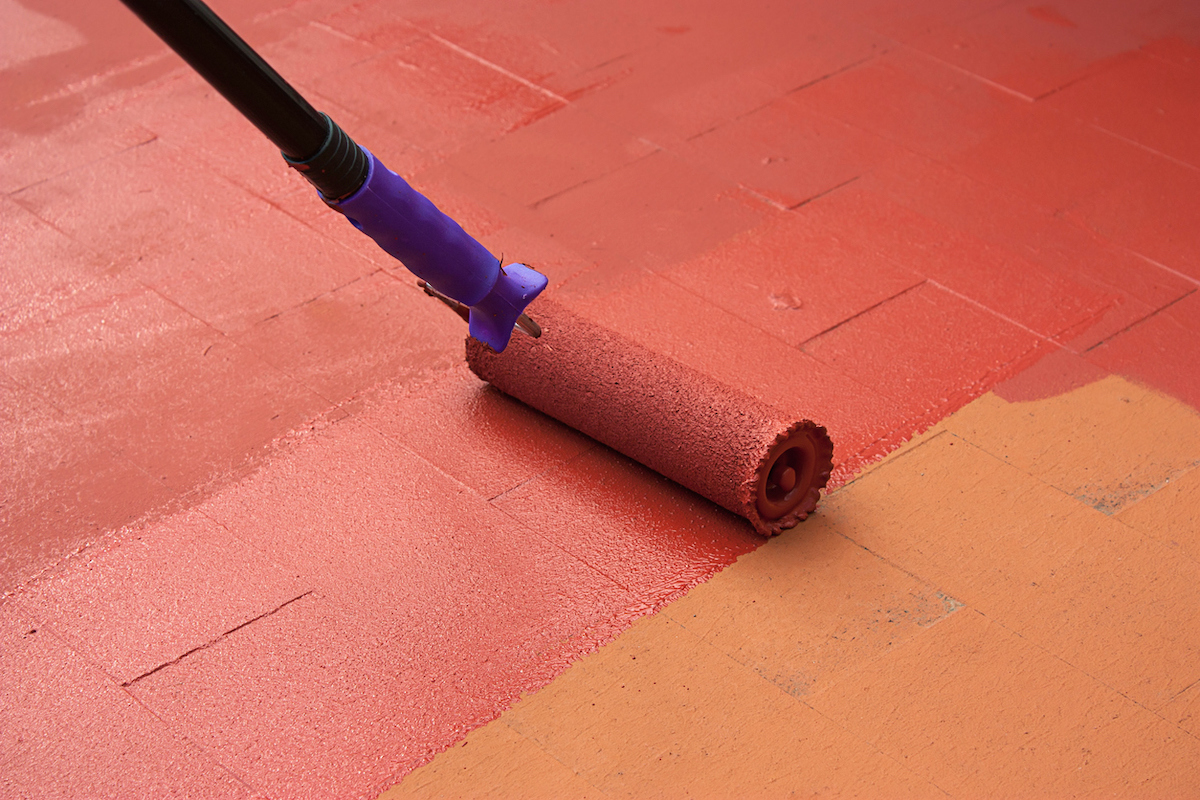
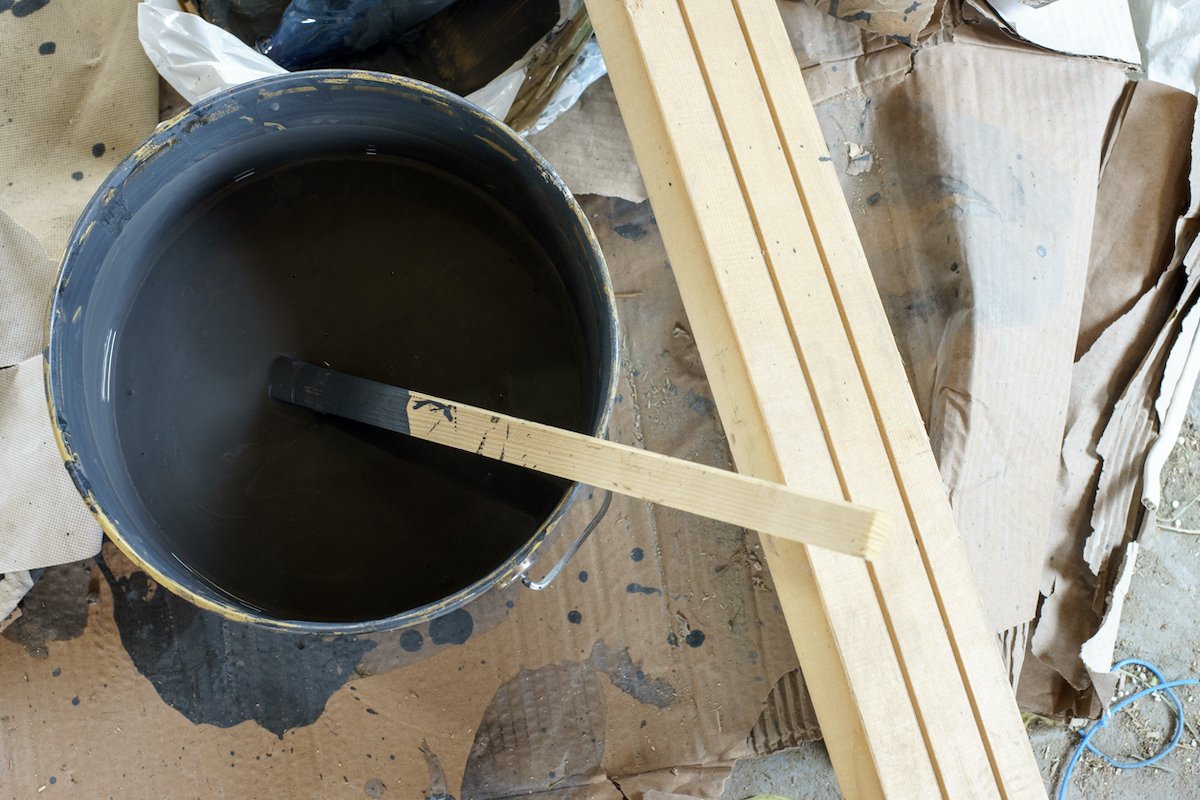
Pour about half a gallon of paint into a clean container, then slowly add sand and mix. Aim for a ratio of four parts paint for every one part sand. Stir well until sand is evenly distributed into the paint. If using a roller, pour a small amount of sand-and-paint combo into the paint tray and apply, or paint with a brush straight from the container. Stir the mixture occasionally throughout the painting process to ensure that the sand and paint remain well mixed.
STEP 3: Allow the initial coat to dry completely.
Let the first coat dry completely. While the sand should not affect dry time, keep in mind that cold temperature and high humidity can increase dry time. To be on the safe side, give the surface 24 hours to cure.
STEP 4: Apply a second coat of paint without sand.
Complete the job with a second, sand-free coat. This won’t impact the added traction, but it should make inevitable dark specks, caused by the sand, less noticeable. Over time and with wear, however, the dark spots are likely to show through.

Alternative Anti-Slip Tricks for Outdoor Surfaces
If painting a highly visible area and want a seamless, spotless look, skip sand and mix a clear plastic grit, such as Seal Krete Clear-Grip (view on Amazon), into the paint.
To gain traction on smooth concrete, consider etching it with a four parts water to one part muriatic acid solution. Safety Rule: Remember to add acid to water (not the other way around) to avoid a dangerous exothermic reaction. Pour it onto the surface until the slippery surface is lessened, then rinse well with clean water.
Another option is to glue down rows of coarse, non-slip strips (like those used to provide traction in the bathtub). While these strips lose their grit in time, so too does the mixture of paint and sand.
If you live somewhere with harsh winters, expect to reapply your treatment, whatever it is, every two or three years.

FAQs
Coarse rather than fine sand will provide better traction when mixed with paint. Avoid using sand from the beach, which is likely to have impurities and yield poor results. Play sand—the type used for crafts and kids’ sandboxes—is suitable for mixing with paint.
Yes, sand will mix well into acrylic paint. For best results on wood and concrete steps, ramps, decks, and floors, choose acrylic floor paint formulated for outdoor use.
Final Thoughts
Don’t stress over slips! To enjoy your outdoor areas without worrying about someone taking a fall, mix coarse sand into paint and apply it to porch steps, decking, and other areas that might otherwise be slippery when wet.
