We may earn revenue from the products available on this page and participate in affiliate programs. Learn More ›
There’s a lot to love about carpet when it’s new. It’s thick and fluffy, feels great on your feet, and adds warmth and comfort to your home. But after years of use, carpeting just doesn’t look or feel the same. The thick and fluffy pile becomes hard and compacted, while stains and discolorations may be visible reminders of household spills and mishaps.
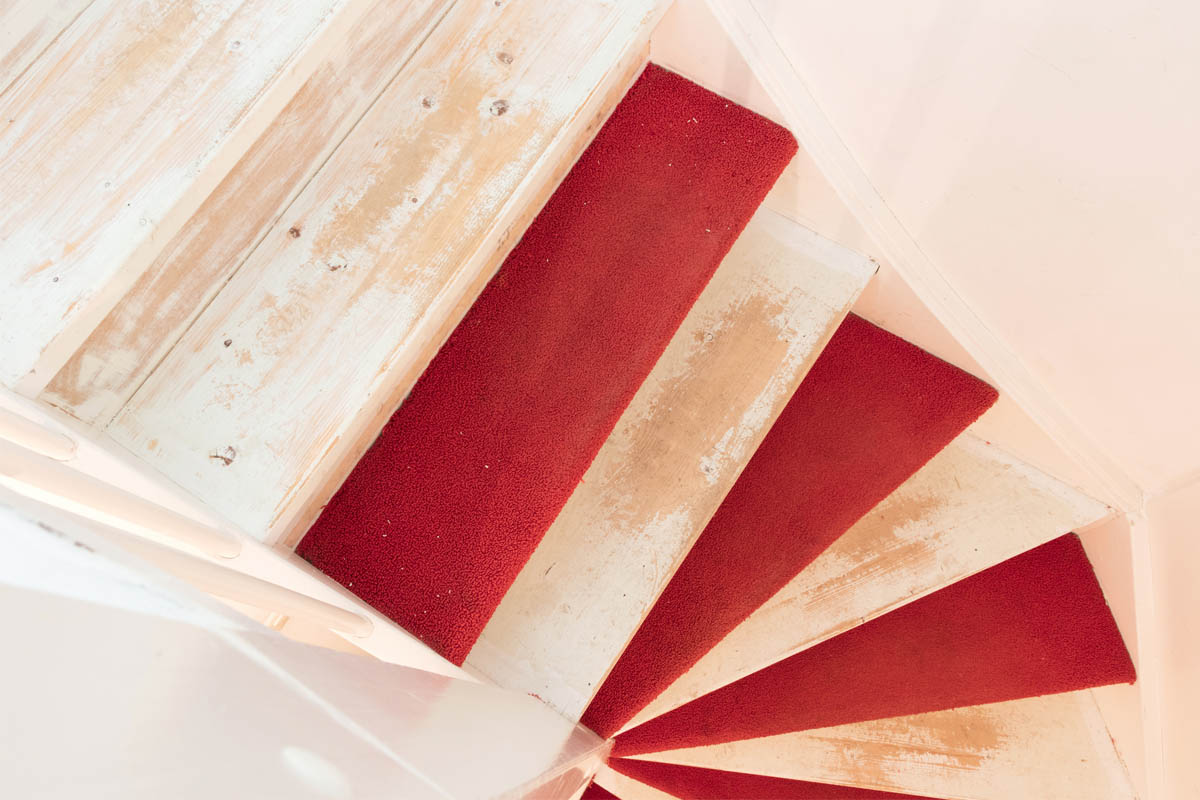
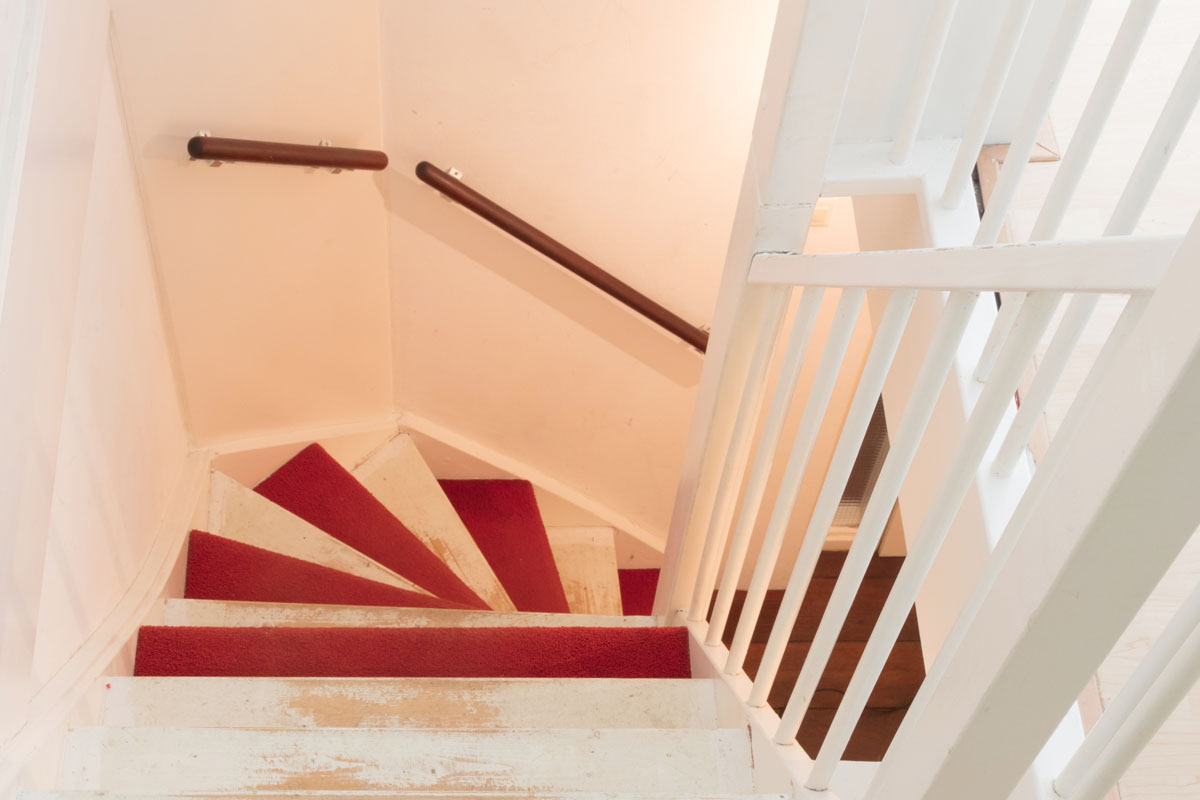
Carpet on stairs sees the worst wear and tear because of its frequent use. Compared to carpeting in other parts of the home, stairs can begin to look threadbare much sooner. If that’s the case with your carpeted stairs, you may be thinking of tearing up the carpet to give it an update or replace it with a new look entirely. Take these five things into consideration before removing carpet from stairs.
1. Find out what is hiding under the carpet.
Resist the urge to jump in and just start ripping. Before removing the carpet, you need to find out what kind of flooring is underneath. This way you’ll be able to formulate a game plan for your renovation. Using a pair of pliers, grip a piece of carpet on the riser, which is the vertical part of a stair—not the part you step on. Pull up a small corner of the carpet to get a look at what is underneath. Some stairs have carpeting that runs up the center with edges that are bare hardwood. If this is the style of your stairs, you still need to check what’s underneath the carpet, as the underlying material could be different from what you can see.
2. Don’t start until you have the proper tools.
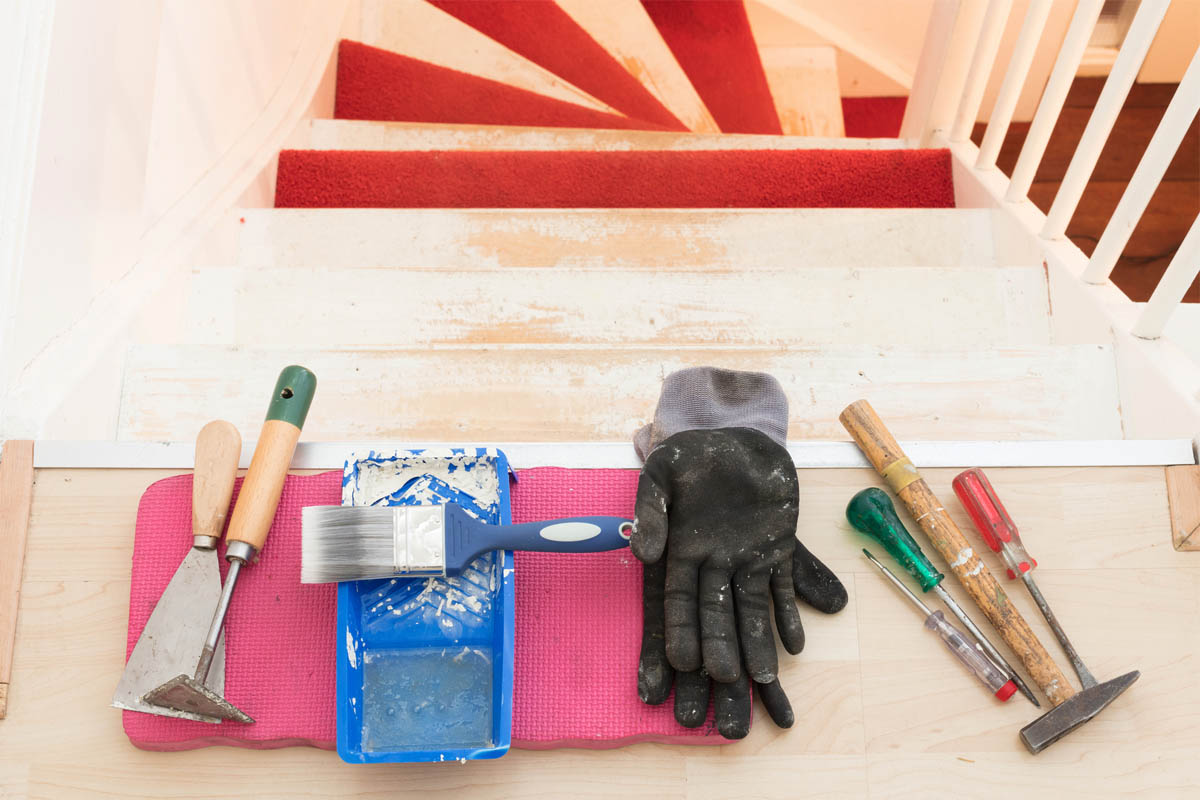
Removing carpet from the stairs requires more tools and safety equipment than you might expect. Safety equipment should include safety goggles/glasses to protect your eyes from flying debris, gloves to keep your hands safe from sharp tacks, and a face mask to protect your lungs from dust and air particles.
These are the tools you’ll need:
- Knee-kick to help remove carpeting from the treads
- Locking pliers to remove carpeting from the risers
- Utility knife to cut carpeting into manageable pieces
- Pry bar and hammer to pry tack strips away from the treads
- 3-inch putty knife to place under the pry bar when removing the tack strip to protect the stair. You can also use a putty knife to remove stuck on glue if the carpet padding was glued to the stair
- Needle-nose pliers to remove any remaining fasteners
- Contractor-grade garbage bags and duct tape for disposing of tack strips, carpeting, fasteners, and carpet pad
3. Removing carpet from stairs isn’t as simple as grabbing a corner and pulling.
Undertaking a project like this requires patience, endurance, and forethought to ensure that you can achieve the results you want, and with the least amount of effort. With this goal in mind, here are some things to consider before ripping up your carpet:
- Carpeting is a thick, heavy material that requires a lot of effort and strength to remove. Give yourself enough time to complete this project comfortably and according to your physical ability and stamina.
- Removing the carpet is just part of the job—once the carpeting is gone, you’ll still need to pry up the carpet padding and tack strips.
- While you can easily pull carpet padding away from tacks, it is an entirely different scope of work if the padding has been glued down. If this is the case, plan for a lot of scraping to get the old glue off and the possibility of damage to the underlying floor.
- After you remove carpeting from your stairs, you may find that the carpet was hiding water damage, mold, cracks, breaks, or even pest damage. Prepare for the possibility that you’ll need to replace parts of the stairs, fix breaks, or treat infestations after removing the carpet.
4. Follow these steps to remove old carpeting from stairs.
As tempting as it may be to just grab a loose corner of carpet and start pulling, preparing ahead of time and following a proper sequence of steps will get you the best results and help you avoid wasted effort. If you’re certain that it’s time for that old stairwell carpet to go, follow these steps to do the job right.
Put on proper safety gear including goggles/glasses, gloves, and a face mask.
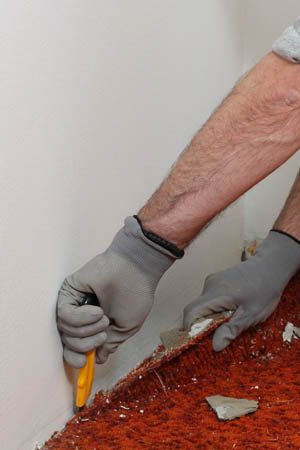
- Using locking pliers, pry a small corner of carpet away from a riser to determine the material underneath and decide on renovation specifics. If you are satisfied with the material underneath the carpet and want to continue, begin at the top of the stairs.
- If there is carpet on the floor above the top stair, cut the carpet under the nose of the top stair using a utility knife . The nose is the lip that extends out over the riser. If there is no carpeting on the floor above, proceed to step 4.
- Using the locking pliers and the utility knife, cut the carpet into manageable sections and pull the carpet free of the riser. Continue across the riser until all of the carpet has been removed.
- You can remove the carpet from the treads using the same method as the risers, or you can use a knee-kick tool to quickly release the tension on the carpet so that you can easily life it from the tack strip instead of prying it away. Either method works, but the knee-kick will make removal much easier.
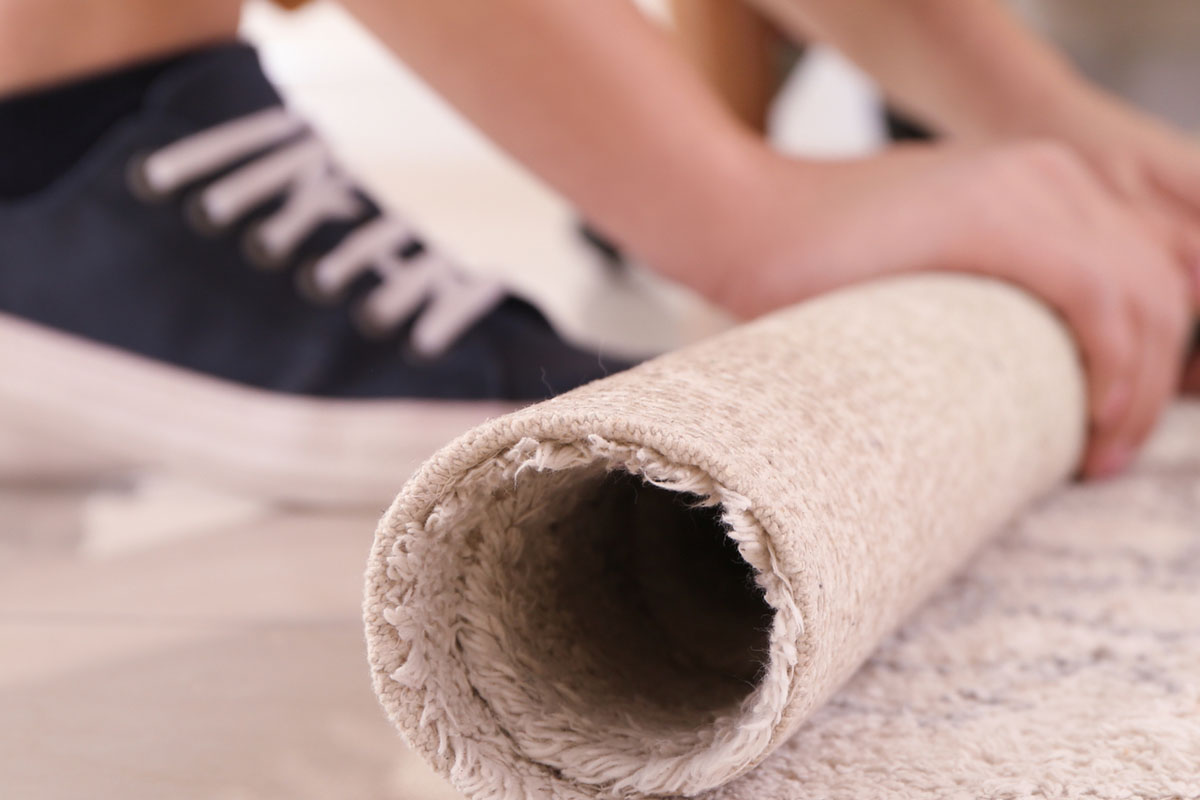
- Roll up the removed carpet, fasten it with a piece of duct tape to keep it from unrolling, and dispose of it in a contractor bag.
- If the carpet padding is tacked on, simply pull it up and dispose of it in a contractor bag. If the carpet padding is glued down, use a putty knife to scrape the glue and carpet padding off the stairs.
- Before you begin removing the tack strip, be sure to put on your safety glasses if you’re not already wearing them. Safety glasses are especially important during this part of the project, when tacks and wood can fly off in all directions.
- Slide a putty knife under the tack strip to help protect the stair, then place the edge of a pry bar on top of the putty knife and under the edge of the tack strip.
- Use a hammer to tap the pry bar under the tack strip, then pry the tack strip away. Proceed along the entire strip until it lifts away from the stair. Carefully place the tack strip and any pieces or tacks into a contractor bag.
- Finish removing any tacks that are still stuck in the stairs using a set of needle-nose pliers.
- If any glue remains, use a putty knife to scrape the glue away.
- Dispose of carpeting, tack strips, carpet padding, and any other debris according to your local waste disposal regulations.
5. Dispose of the old carpet properly.
Proper carpet disposal is an important part of the project. Large rolls of old carpet can be a big hassle to remove from a home and may present a problem for your local garbage collection. To keep things manageable, cut carpet pieces into smaller strips when you remove them. They don’t need to be a certain width, just whatever size is comfortable for you to grip during removal and that will fit into your garbage bags. Once you remove a piece of carpet, roll it up, use a piece of duct tape to hold it in place, and place it into a large contractor garbage bag.
The amount of carpet you remove from your stairs may be small enough to be included with your household waste pickup, but if you are unsure about whether your garbage service will take the carpet, contact your local waste pick-up service and ask. They may require that you dispose of your old carpet at a designated waste drop-off facility or that you schedule a bulk-trash pickup.

Carpet, hardwood, tile, vinyl, and laminate flooring.
Bob Vila has partnered with Empire Today® to help you easily get beautiful new floors at a great price.
Free In-Home Estimates