We may earn revenue from the products available on this page and participate in affiliate programs. Learn More ›
A tile backsplash adds color, personality, and function to a kitchen. Here’s how to install this relatively easy upgrade yourself:
Tools & Materials
Bobvila.com may earn a commission from purchases made through these links.
- Tape measure
- Pencil
- 1×2 ledger board
- Drill with drill and driver bits
- Level
- Notched trowel
- Wide putty knife
- Tile spacers (optional)
- Dry tile cutter
- Tile float
- Sponge
STEP 1
Measure the width and height of the area to be covered with your tiles. Next, determine your tile pattern using graph paper to draw a to-scale outline.
STEP 2
Remove the stove and range hood and shut off the power to any outlets or switches and remove the cover plates. Use a level and pencil to mark the baseline of your backsplash. Align the temporary 1×2 ledger board, which will help hold tiles in place during installation, along the baseline. Use a drill to create starter holes for the screws in the board and drive in three or four screws to attach the board to the wall.
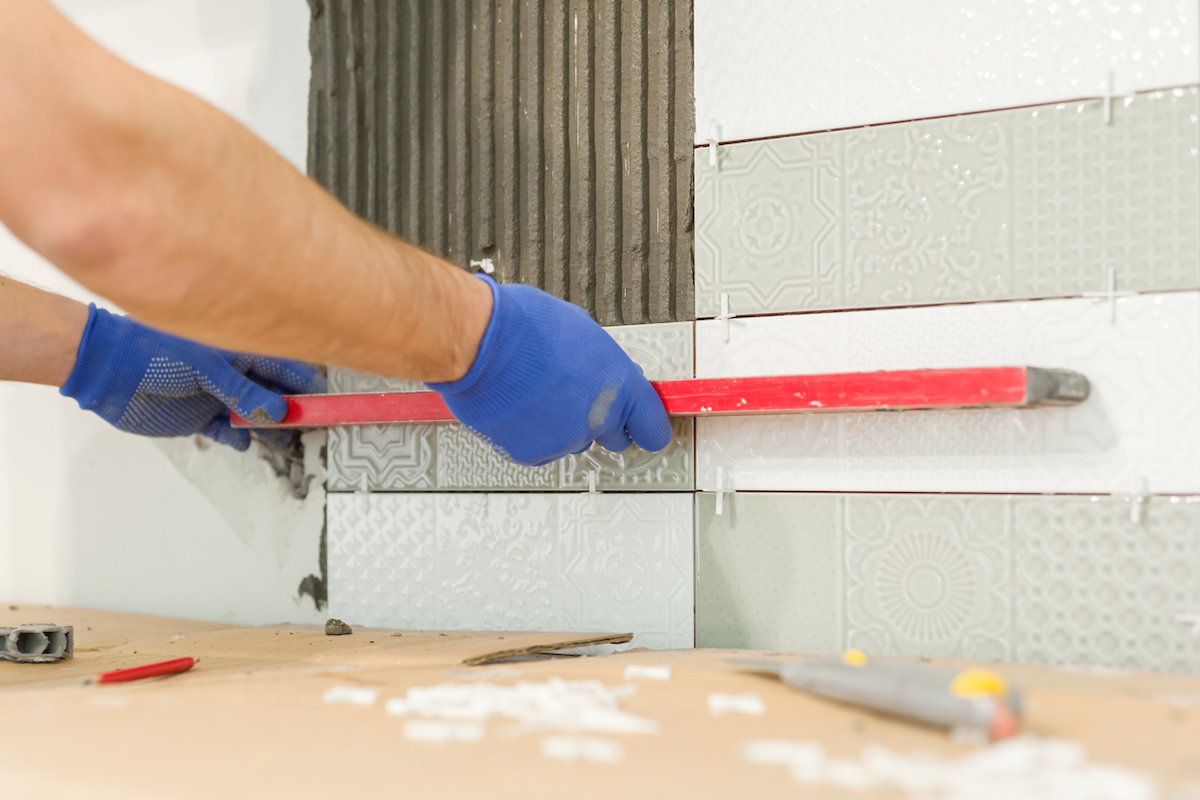
STEP 3
Measure and mark the visual center point of your layout and use a level to draw a plumb starting line for aligning the tiles vertically. Lay out the tiles on the graph paper pattern on a countertop.
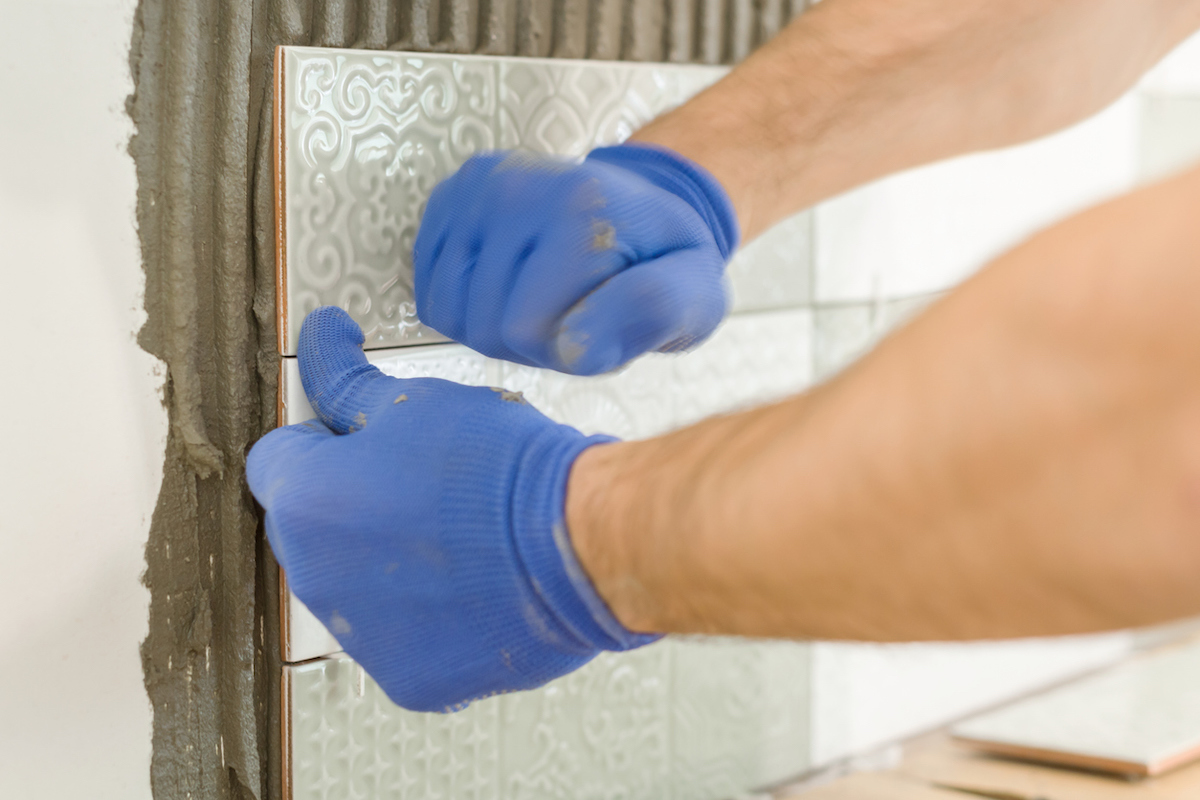
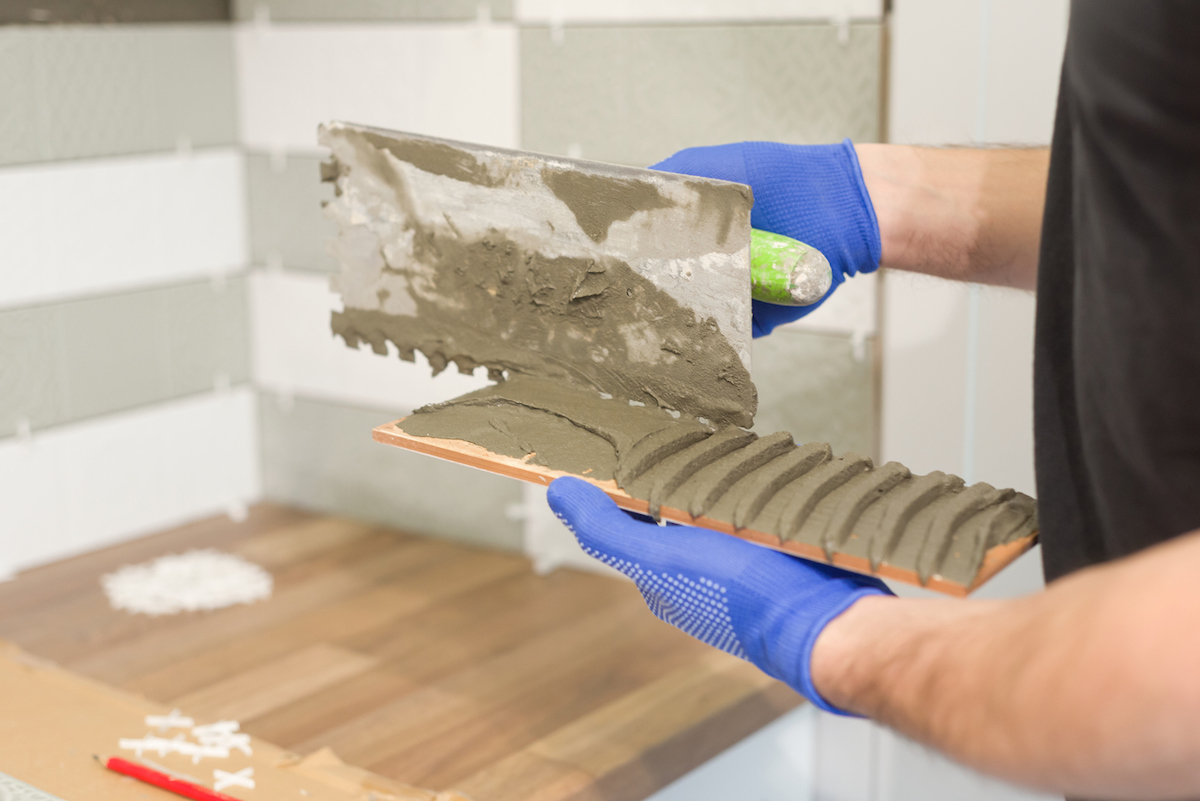
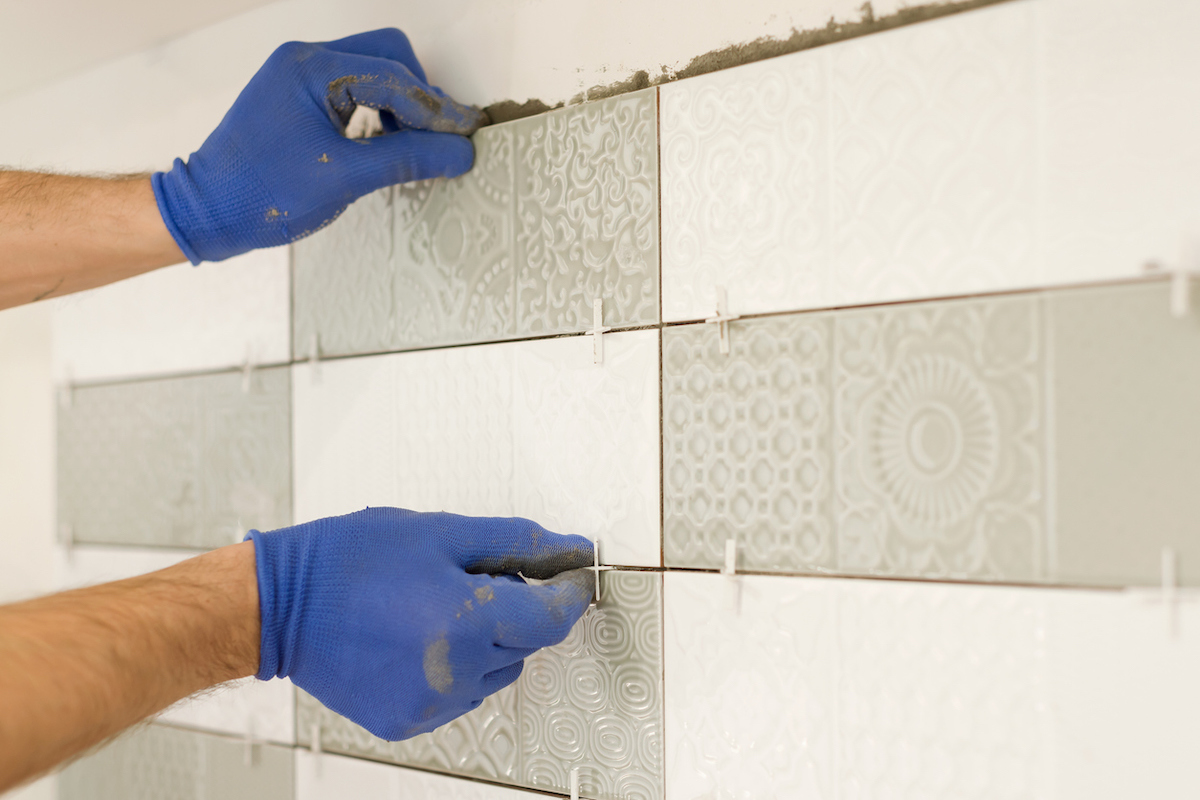
STEP 4
Starting at the center of the wall along the ledger board or counter, begin the bottom row of tile by applying tile mastic to a small section of the wall using a grooved trowel. Center the first tile over the vertical line leaving a gap of about 1/8″ at the bottom for a bead of caulk to be applied at the end of the process. Wiggle and press the first tile into place, inserting a temporary 1/8″ spacer vertically next to the tile on either side. Install the second tile in the same manner. Continue installing tiles working away from the centerline.
STEP 5
When you need to cut or trim a tile at the end of a row or around an electrical outlet, cut the tile as you go along using a scoring cutter. Mark the tile where you want to cut it, then place the tile in the tool and score a mark in the tile surface. Then, sharply move the cutter handle to break the tile along the scored line.
STEP 6
After all the tiles are installed, let the mastic set up overnight. Mix the grout according to manufacturer’s directions. Then apply the grout over the tiles and press into the gaps using a rubber float and holding it at a 45 degree angle. Wipe off the excess with a wet cloth.
STEP 7
Allow the grout to set up for about an hour, then clean off the hazy surface on the tiles with wet sponges, rinsing them regularly as you go. Buff the tiles with a clean dry cloth.
STEP 8
Reattach the cover plates over outlets. Apply a bead of caulk (the same color as the grout) along the bottom seam where the backsplash meets counter adjacent to the ledger board. Replace stove and hood. Remove the ledger board, fill in screw holes with joint compound, sand smooth when dry, and touch up wall with paint.
TIPS
Consider sealing the grout: Grout can stain, particularly in the kitchen, so you might want to consider sealing it. Wait until the grout has totally cured (about a week) and then apply a silicone grout sealer to keep your backsplash looking fresh for years.
Rent rather than buy a tile cutter: You can rent a tile cutter for about $15 or $20 a day or buy one for less than $50.
Want more How To? Browse all projects in 30 Days of Easy Summer DIY