We may earn revenue from the products available on this page and participate in affiliate programs. Learn More ›
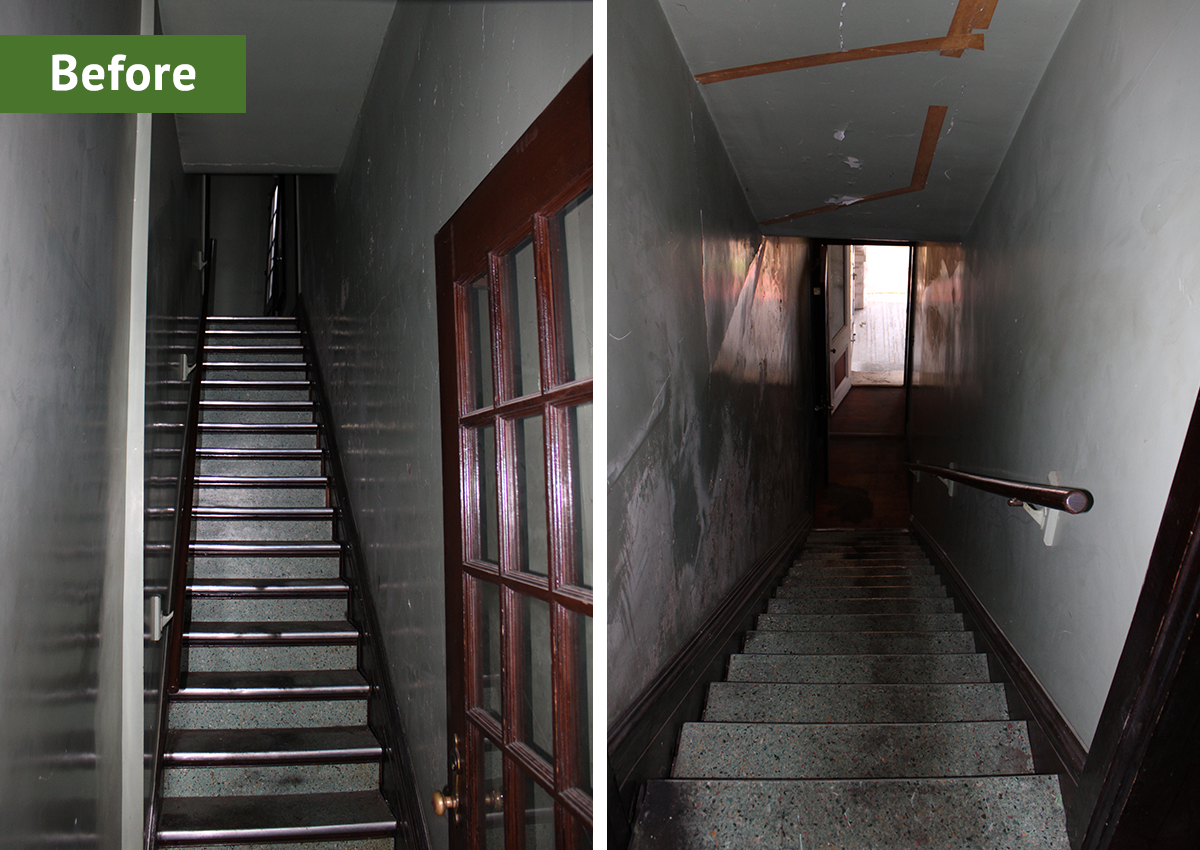
Old houses can be a time warp with rich detail and intricate character, a charming blend of historic and modern, or they can be an eye-roll of remuddling gone wrong. If you’ve found yourself with the latter type of old house, like Madolyn McGregor from Chapline House, you may be wondering if some of the original features like staircase trim are buried beneath plaster or drywall and other finishes.
“From the first time we toured the home, we knew it was a dream of ours to restore it to a single-family floor plan by removing the wall in the middle of the entryway,” says McGregor. “When it’s all complete, we’ll once again be able to see the winding staircase from the third floor all the way down to the first!”
While removing a wall is a succinct way to describe this project, there are some key strategies that make a project like this possible. Watch the video below and keep reading to find out how McGregor made this makeover happen.
Start with a goal.
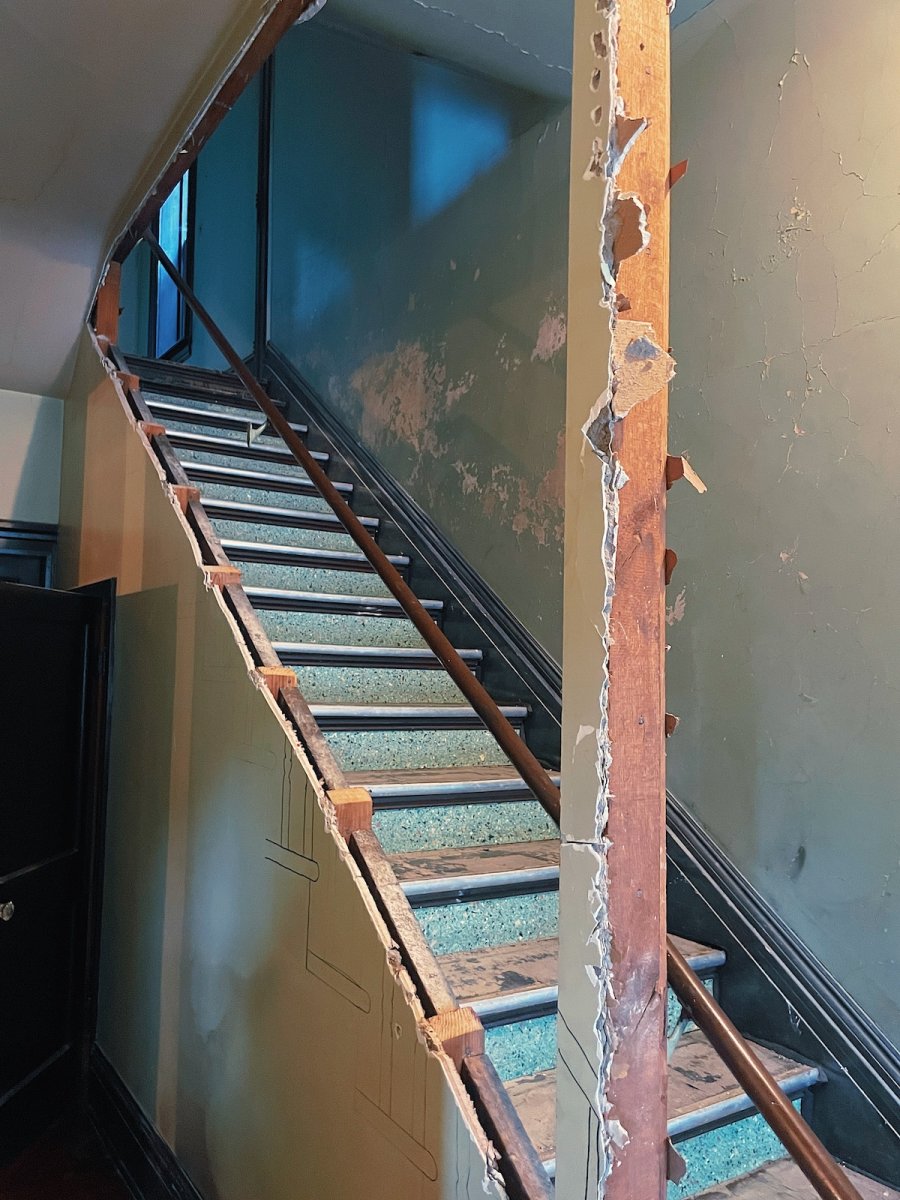
The first step in any project is setting a goal. For this staircase remodel project, the goal was revealing the left side of the staircase to find out what was inside and then restore the banister. “We had hoped to find original woodwork—spindles, a newel post, a banister, etc.—but we were skeptical. The wall seemed too narrow to have accommodated those features within it and, ironically, was too well built to have been constructed around them.”
“We had an architect come look at the home, and he determined that the wall was likely added in the 1940s, as it was constructed with an old button board and plaster,” says McGregor, “so we knew it wasn’t original and knew we’d love a grander entrance to our house.”
Plan for waste removal.
When setting out to demo any part of a home, it’s important to think through waste removal and on-site waste management. The waste needs to be able to fit through an opening in the home in order to get it outside. The opening may be a window—just be careful to look first before you drop trash—or an exterior door. For example, if you are demoing an upstairs bathroom, you might need to break up an old bathtub in place—cover it with a drop cloth first and wear safety goggles and cover skin to protect yourself from shards.
When demoing an entire wall, cut up the material so it fits through the exterior opening and stacks neatly inside a dumpster. Yes, packing a dumpster is a DIY skillset that will pay you back as you can’t stack anything above the dumpster rim and the tighter you pack the refuse, the more you will be able to fit inside the dumpster.
McGregor says they had so much trash from the demo. “I almost wish we weighed the amount of plaster we hauled out of the house because it was tons!”
Make safety a priority.
When working in an old house, it’s essential to be aware of old house contaminants like lead paint and asbestos, and wear the appropriate PPE to protect your health. “A respirator is so important,” says McGregor.
“In old homes like this, many surfaces are coated in lead paint, and demolition creates a significant amount of dust. We make sure to block off furnace registers and doorways to other rooms while working, and we often create a plastic bubble around smaller projects to keep the dust contained. This way, we can simply roll or fold up the plastic afterward, encapsulating the dust for safe disposal.”
Get the right tools for the job.
An old house restoration project takes care and the right tools. Without the right tools, a project like revealing what’s hidden inside a wall could become devastating. While the go-to tool on TV makeover shows is a sledgehammer, it’s not what real licensed contractors use to demo. We take building elements, like a wall, apart in reverse order. Basically, we peel back the trim, then the drywall with a regular hammer. Then, there’s less risk of damaging what’s inside or near the wall.
For this project, McGregor says: “A demo hammer and a Sawzall were essential to get started. Beyond that, we had custom millwork made offsite and used a nail gun to secure everything back into place.”
Break up a big project into smaller stages.
Before getting started, create a general list of tasks that you anticipate. “This project has been like a puzzle,” says McGregor. “At each stage, we had to complete one step before deciding on the next, since we never knew what we might uncover. We first demoed the wall in August 2022, but real work didn’t begin until the end of June 2025 so this portion of the project took about 2½ months.”
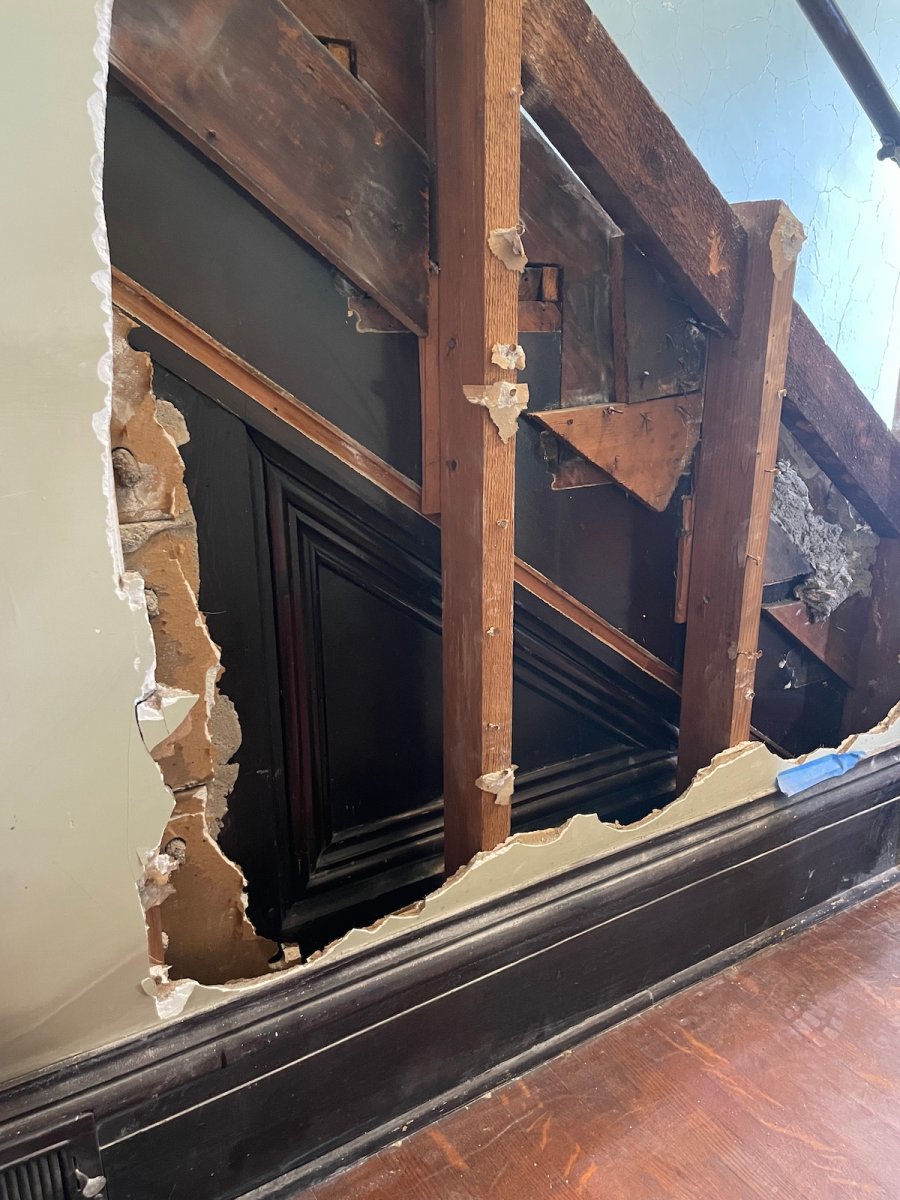
For a project like this, where you aren’t sure what’s lurking behind the wall, it’s trickier. But you can still create a list based on the two extremes of what’s inside the walls: Plan A if there’s a fully detailed banister or Plan B if there’s absolutely nothing inside the wall. The reality is that the actual plan may fall somewhere in the middle, like with this stair project. They didn’t find as much as they wanted, but they did find some detailed trim along the stair stringer and beneath. McGregor says: “When we tore down the top half of the wall, we peered down in and could see the old woodwork. Yes, we found original trim inside the wall!”
Don’t be afraid to ask for help.
Even the most experienced DIYer might not have all of the right tools, time, or know-how to tackle a big project like an historic staircase. It’s essential to know when to ask for help so you can eventually meet your goals.
“We decided early on that we would need some help with this project,” says McGregor. “We had extra hands for demoing the plaster, just to speed things up, but I ended up taking down most of the remaining studs myself with help from my dad and sister.”
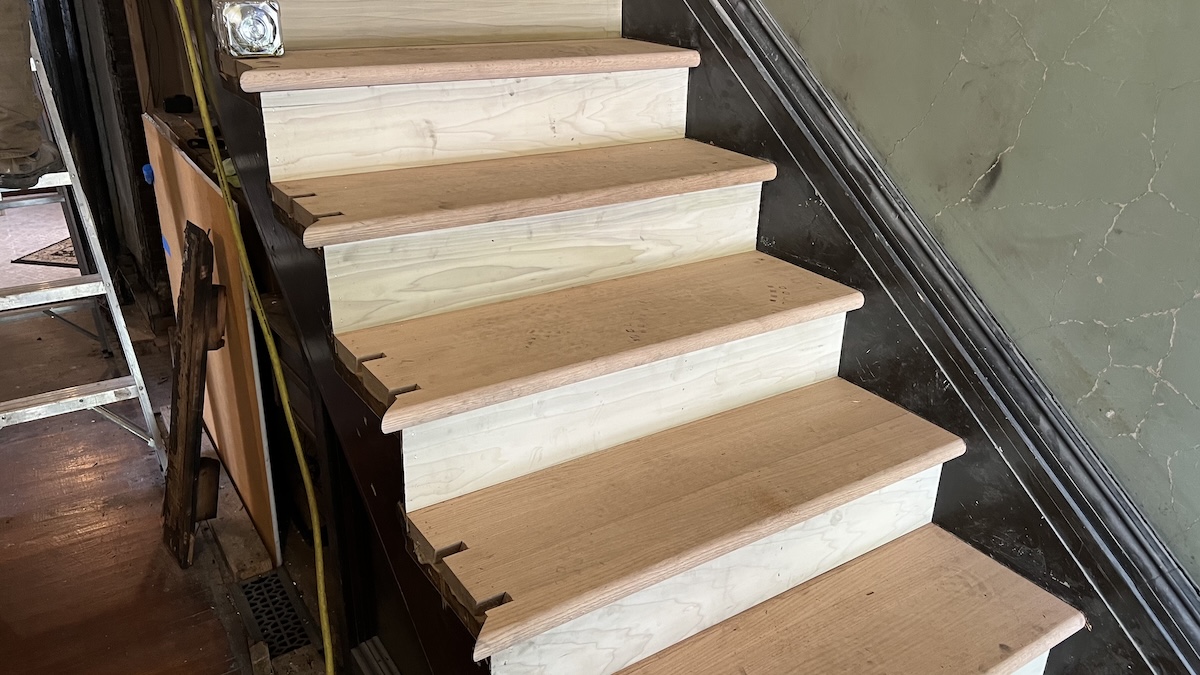
McGregor and her sister removed much of the wall before calling in a local restoration company. “We ultimately chose to work with Smith Family of Workshops, and they’ve partnered with us on the rest of the project,” says McGregor. “Together, we decided the stairs needed all new risers and treads.
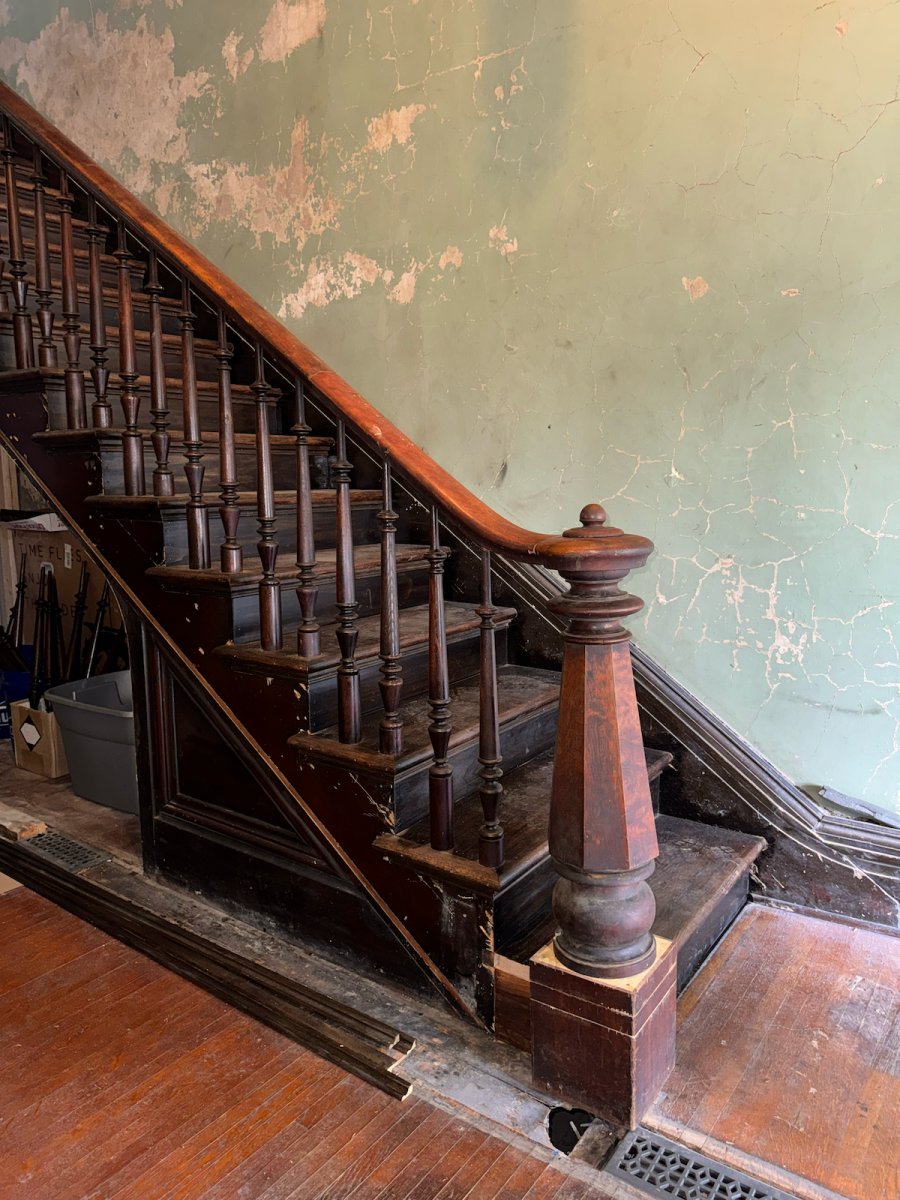
“The originals were in poor condition, and the movement of the wall had left them too short. Since we hadn’t uncovered the original balusters, we searched Facebook Marketplace and local salvage shops until we found the perfect set.” Her helpful parents drove to a small town in Ohio to pick up the salvaged balusters, a handrail, and a newel post that the Smith Family of Workshops used to build new treads that fit the balusters.
Now one of the Smith team members, Kagan, is “working on the second phase: milling a new portion of the banister that will curve around the second-floor landing, where it will climb about three more steps before leveling off and making a 90-degree turn to meet the second-floor staircase. This is arguably the toughest part of the project.”
McGregor says: “I’ve really appreciated that Smith Family of Workshops has taken such care to ensure everything is done correctly and with quality.”
Don’t be afraid to get started.
If you are considering tackling a new home project, but have been putting it off, McGregor has some advice. “Just get started! This project felt so daunting at first. Even though we knew right away it was a dream of ours, we initially thought it would be a “down-the-road” project…something we’d live with until we were fully ready to tackle it.”
Just be sure you have enough budget, time, and access to expertise if you run into any difficulties, because the result could be as amazing as this staircase restoration. As McGregor says: “I’m so glad we chose to remove the wall early and figure it out from there, because this house simply wasn’t the same without a true Victorian staircase.”
