We may earn revenue from the products available on this page and participate in affiliate programs. Learn More ›
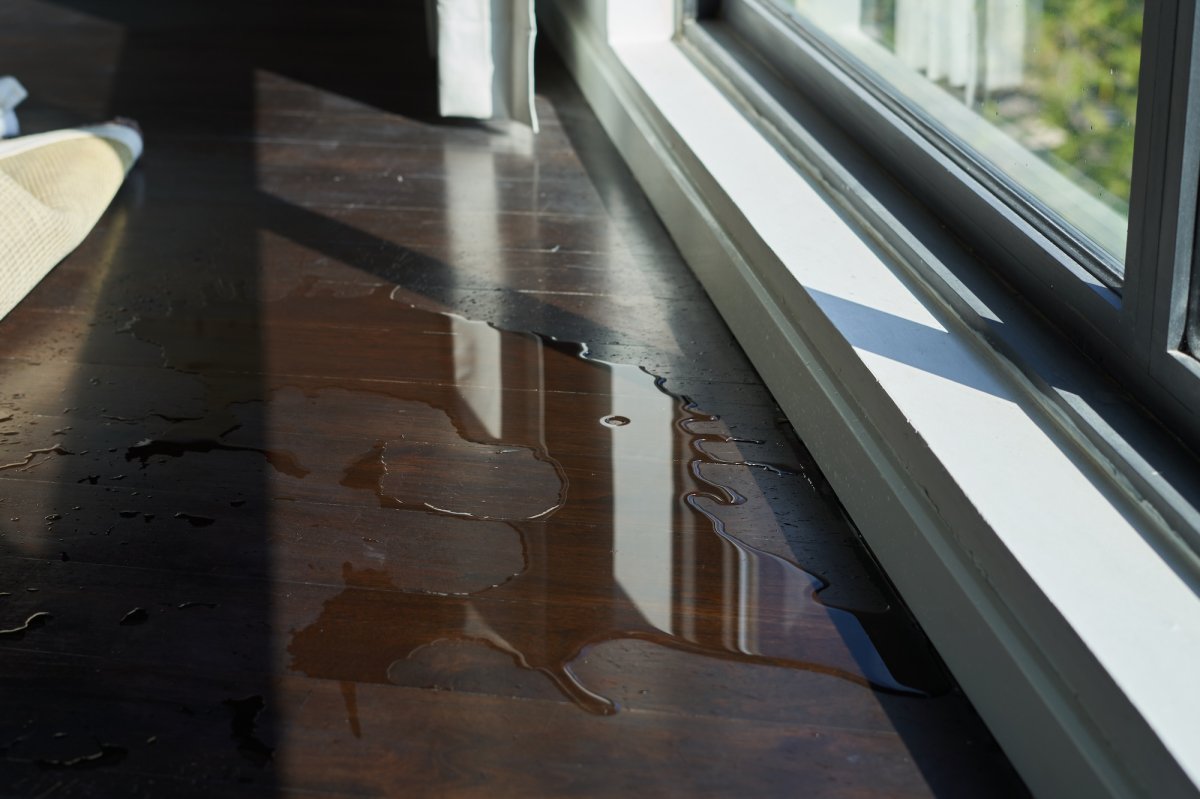
Plumbing lines run throughout the home and the yard, bringing in fresh water for you to bathe, wash, water, and drink. However, when there is an issue with one of these plumbing lines or the attached appliances and fixtures, what seems like a small leak can quickly become a major problem as the growing accumulation of water causes water damage, encourages mold growth, and slowly ruins existing plumbing connections.
According to the EPA, the average household’s leaks can account for more than 9,300 gallons of wasted water per year, while some homes have leaks that waste 50 gallons or more per day. As a plumber and restoration expert, I have seen many issues that were easy enough to fix turn into major restoration projects simply because they were unseen or neglected for so long.
Even a single leak can destroy insulation, ruin drywall, and cause mold to spread behind your walls. Before your plumbing becomes a problem, use this guide to discover five water leak sources you might miss so that they don’t cost you in the long run.
Best Overall Leak Detector
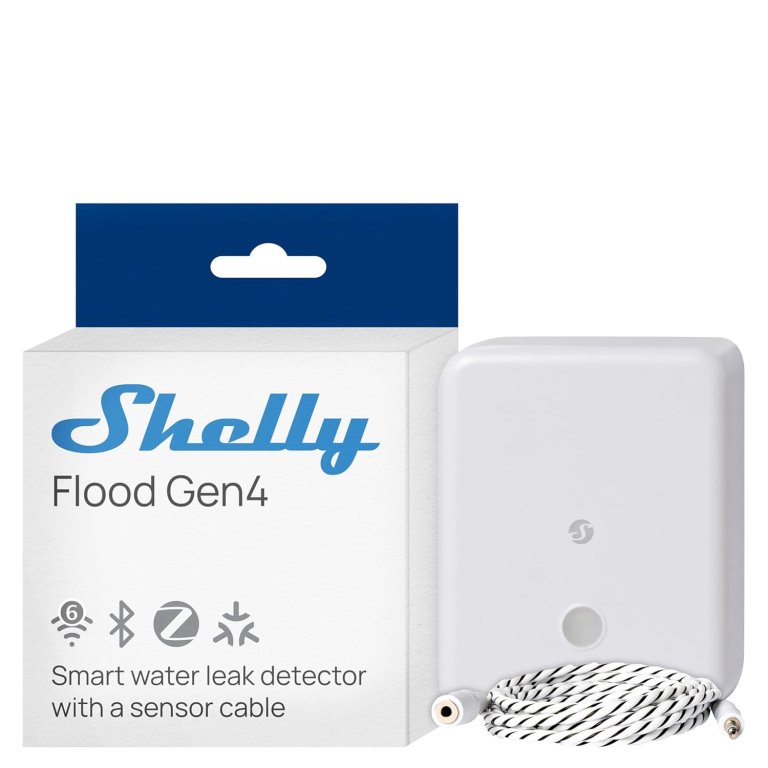
Shelly Flood Gen4 Smart Water Leak Detector
Since this is a battery-powered unit, you don’t have to worry about missing a leak just because the power is out. Learn more in our buyer’s guide.
Buy Now1. Water-Using Appliance Hoses
Water-carrying appliance hoses, like those on refrigerators, dishwashers, and washing machines, are notorious for causing catastrophic, hidden water damage. Since these appliances are often pushed tight against walls or tucked inside cabinetry, a slow leak can be difficult to find as it quietly rots the subfloor for months before a puddle ever creeps out into the open room.
Signs to watch for:
- Blistered or bubbling trim: The wood baseboards, toe-kicks, or cabinet panels directly adjacent to your washing machine, dishwasher, or refrigerator will absorb water and begin to swell, buckle, or peel.
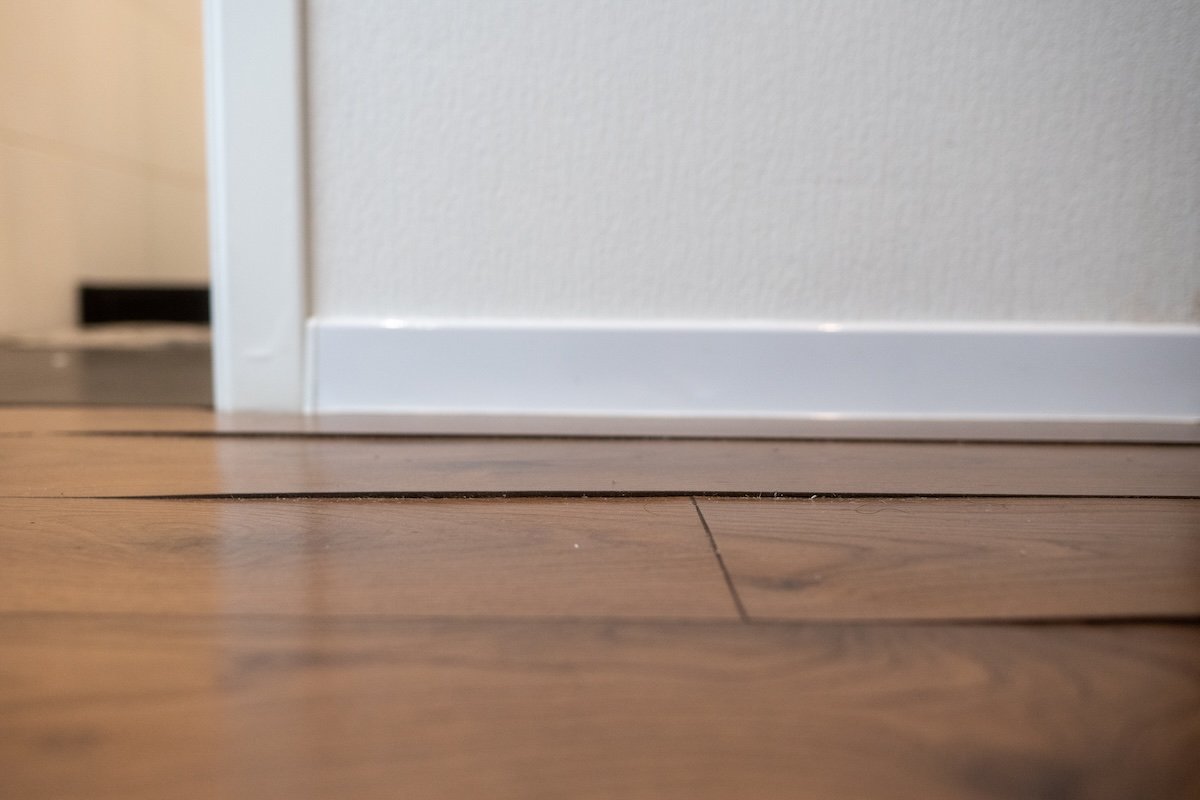
- Warped or spongy flooring: Hardwood or laminate flooring will cup or buckle near the appliance. Vinyl tile or linoleum may bubble up or feel strangely soft and squished when you step on it.
- Persistent musty or moldy smells: If a laundry room or the cabinet area under the sink smells earthy, damp, or stale despite thorough cleaning, water is likely pooling out of sight.
- Washing machine bulges: Visually inspect the black rubber supply hoses. If you see any localized bubbles, blisters, or a powdery white/rust-colored residue around the metal fittings, the hose is structurally failing and could burst at any moment.
- Dishwasher clean cycle odors: If you smell sewer gas or dirty water inside the dishwasher, the corrugated drain hose may have a pinhole leak or be sagging, allowing dirty sink water to back up and slowly seep into the floor space.
- Ice maker sputtering: If your refrigerator ice cubes suddenly become smaller, cloudy, or the door water dispenser splutters and flows slowly, it often means the thin 1/4-inch supply line is pinched, kinked, or cracked behind the unit.
How to Identify the Appliance Hose Leak:
- The dry-paper-towel trace: Pull the appliance away from the wall. Take a dry paper towel and press it firmly against the upper wall connection, wrap it down the length of the hose, and check the connection on the back of the machine. Any immediate dampness points to a supply line or fitting failure.
- The cycle test (for drain lines): If the supply lines are completely dry, the leak is likely on the drain side. Run the appliance through a brief cycle. Watch the flexible corrugated drain hose carefully — specifically when the machine pumps out water. Look for spray from pinholes or water weeping out from around the rubber boot connection or hose clamps.
- The valve inspection: Check the shut-off valve coming out of the wall. Turn the handle slightly. If water leaks directly from the valve stem itself rather than the hose, the valve’s internal packing nut needs to be tightened or replaced.
How to Fix the Appliance Hose Leak:
- Shut off the water and power: Turn the valves completely clockwise to shut off the water, then unplug the appliance.
- Remove the old hoses: Place a bucket beneath the connections. Use channel lock pliers to unscrew the old hoses from the appliance. Expect a small amount of residual water to drain into your bucket.
- Install the new hoses: Ensure the new hoses have the rubber washers properly seated inside the ends. Hand-tighten the hoses, then use your pliers to tighten them an additional 1/4 to 1/2 turn. Do not over-tighten, or you will crush the rubber washer and cause a new leak.
- Test for leaks: Slowly turn the valves back on. Leave the appliance pulled out and watch the connections for 10 minutes. If a drip forms, give the nut a slight tighten with your pliers until it stops.
2. Toilet Seal
The wax ring or plastic flange connecting the toilet base to the waste pipe can degrade over years. Instead of leaking onto the bathroom floor, the water can seep straight down through the subfloor, rotting the ceiling framing of the room directly underneath, which is why you need to be aware of any potential signs of a water leak, especially in the bathroom.
Signs to Watch For:
- Spongy or soft bathroom flooring: If the floor flexes, sinks, or feels strangely soft when you step near the base of the toilet, water has saturated the subfloor.
- Loose or rocking toilet: A toilet should be completely rigid. If it rocks back and forth when you sit down, it has either loosened from the floor flange or the wooden subfloor underneath has rotted away, breaking the wax seal.
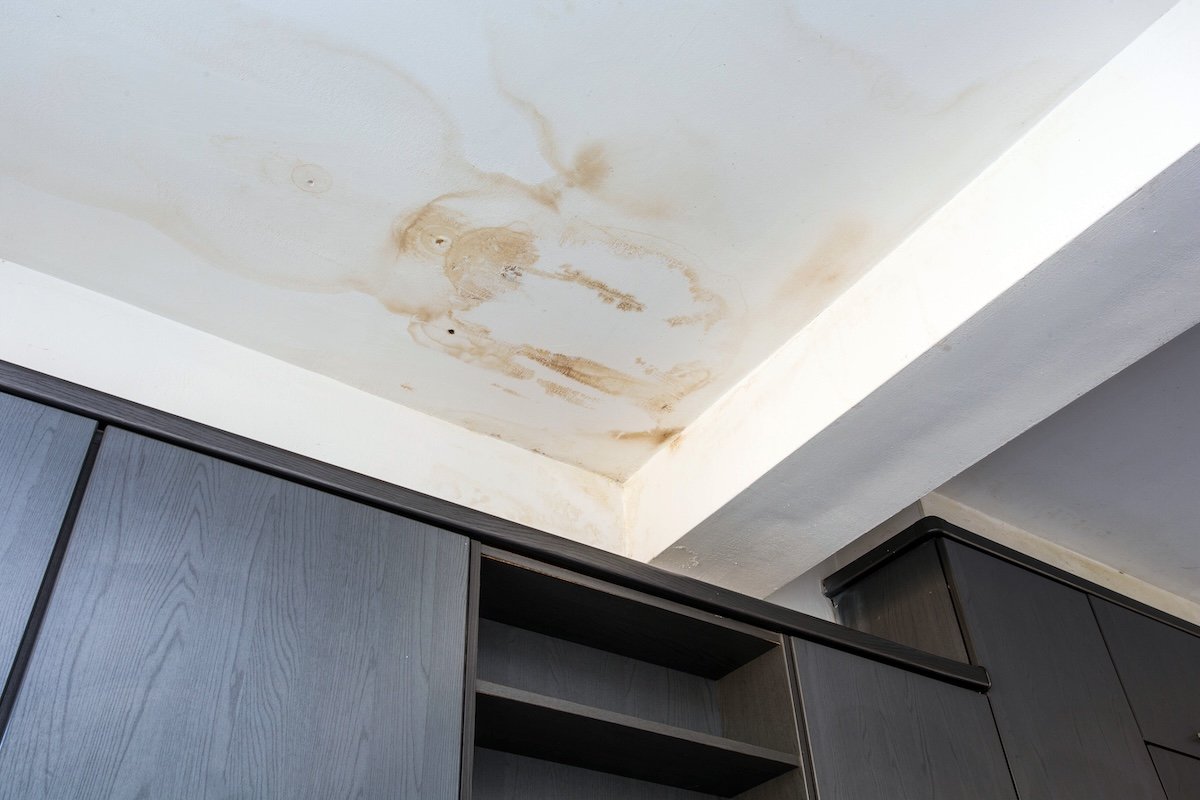
- Ceiling stains in the room below: A brown, yellowish, or ringed water stain on the ceiling or wall directly underneath the bathroom is a classic sign of a failed wax ring.
- Persistent sewer gas smell: The wax ring does not just stop water; it seals out toxic sewer gases. If you smell a constant “rotten egg” or sewage odor in the bathroom despite cleaning, the seal is broken.
- Discolored flooring or peeling caulk: Look for dark lines in the grout of tile floors, lifting linoleum, or caulk around the toilet base that has turned yellow, brown, or black with mold.
How to Identify the Toilet Seal Leak:
- The dry-paper-towel test: Dry the entire toilet exterior with a towel. Place completely dry paper towels on the floor around the very base of the toilet bowl. Flush the toilet 2 or 3 times. If the paper towel absorbs water coming out from underneath the porcelain edge, your wax ring has failed.
- Rule out the tank: Check the water supply line connection and the two tank-to-bowl bolts under the back tank. If those areas are completely dry but water still pools at the floor when you flush, it is a definitive seal leak.
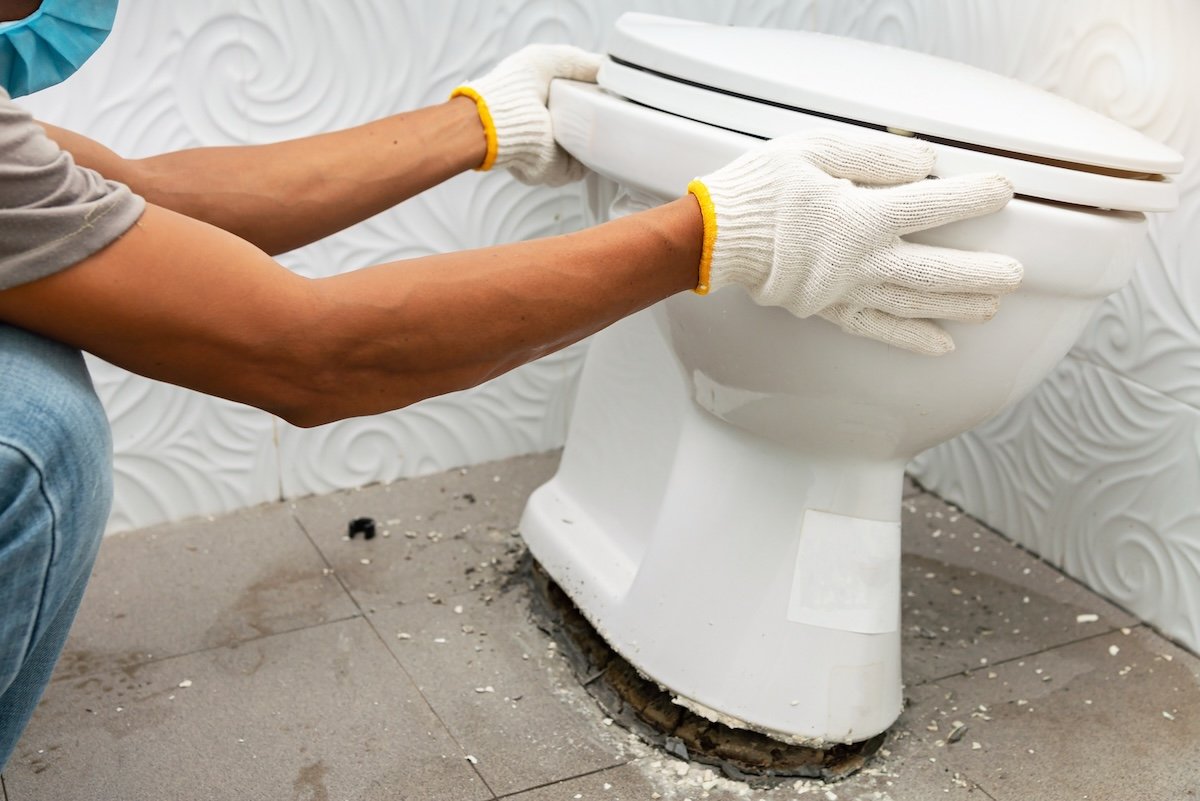
- The rocking test: Gently push the toilet bowl side to side with your hands. If the toilet rocks or moves even slightly, the seal is broken. A toilet must be perfectly anchored; any movement breaks the pliable wax ring underneath.
How to Fix the Toilet Seal Leak:
- Drain and disconnect the toilet: Turn the wall shut-off valve completely clockwise to turn off the water supply. Flush the toilet and hold the handle down to empty the tank completely. Use your sponge to scoop out the remaining water left at the bottom of the toilet bowl and the tank. It must be completely dry so it doesn’t spill when lifted. Use your wrench to unscrew the flexible supply line from the bottom of the toilet tank.
- Remove the toilet: Pry off the plastic bolt caps at the base of the toilet. Use your wrench to remove the brass nuts and washers from the floor bolts. Straddle the toilet bowl, grip it under the rim, and lift it straight up. Place it gently onto an old towel or cardboard nearby to protect your flooring from residual wax.
- Prep the flange: Use a putty knife to scrape all of the old, sticky yellow wax off the black plastic floor flange and off the bottom of the toilet bowl. Wipe it clean with paper towels. Inspect the plastic floor flange. If it is cracked or broken, you will need a split repair ring before proceeding. Slide your two new brass T-bolts into the slots on the floor flange so they point straight up.
- Install the new seal: Take the new wax ring and press it firmly onto the circular discharge opening on the bottom of the inverted toilet bowl, rather than placing it on the floor. This ensures it stays perfectly centered when you lower the toilet. Lift the toilet straight up, align the holes in the porcelain base perfectly over the two upright floor bolts, and lower it down. Do not rock the toilet. Press down firmly with your body weight on the center of the bowl. You will feel the toilet sink down as the wax compresses against the floor.
- Bolt and reconnect: Place the plastic washers, brass washers, and nuts onto the bolts. Hand-tighten both sides, then use your wrench to turn them a quarter-turn at a time, alternating sides to keep pressure even. Connect the water supply line back to the tank, turn the water valve back on, and flush the toilet several times while watching the floor with a flashlight to verify it is perfectly sealed. Snap the plastic bolt caps back on and run a bead of silicone caulk around the front and sides of the base, leaving the very back open so any future leak can escape and show itself.
3. Frozen Pipes Inside Walls or Under Concrete Slabs
Water leaks caused by frozen pipes hidden behind walls or under concrete slabs can go unnoticed for a long time, causing extensive water damage in the walls if you aren’t careful. Water lines running beneath a concrete slab foundation can corrode or shift, causing a slow leak. These are highly hidden and usually only identified by a warm spot on the floor, a spike in the water bill, or eventual foundation cracking.
Signs to Watch For:
- Localized noises: If you hear faint whistling, gurgling, or a constant sound of rushing water behind the drywall when all faucets are closed, a hidden line has ruptured.
- Delayed wall discoloration: Yellow, brown, or ringed water stains appear on the drywall. Because water follows the path of least resistance, the stain may manifest several feet below the actual burst or right along the floor molding.
- Bubbling paint or peeling wallpaper: Moisture trapped behind latex wall paint causes it to bubble or stretch like a balloon. Wallpaper will start to peel away at the seams near exterior-facing walls.
- Persistent low pressure in one fixture: If a single bathroom or kitchen faucet continues to experience weak water flow even after the home has fully warmed up, water is escaping through a cracked wall pipe before it can reach the tap.
- Hot spots underfoot: If a hot water service line freezes and cracks beneath the slab, you may notice distinct, unexpectedly warm zones on your tile, laminate, or linoleum floors.
- Soggy carpets or popped tiles: Unexplained moisture weeping upward through concrete cold joints will saturate carpet padding or dissolve the adhesive holding down floor tiles.
- Structural cracking and sticking doors: A severe slab leak can wash away the underlying supportive soil. The shifting ground can cause the slab to settle unevenly, resulting in sudden exterior wall cracks or doors and windows that suddenly stick and refuse to open smoothly.
How to Identify the Frozen Pipe Leak:
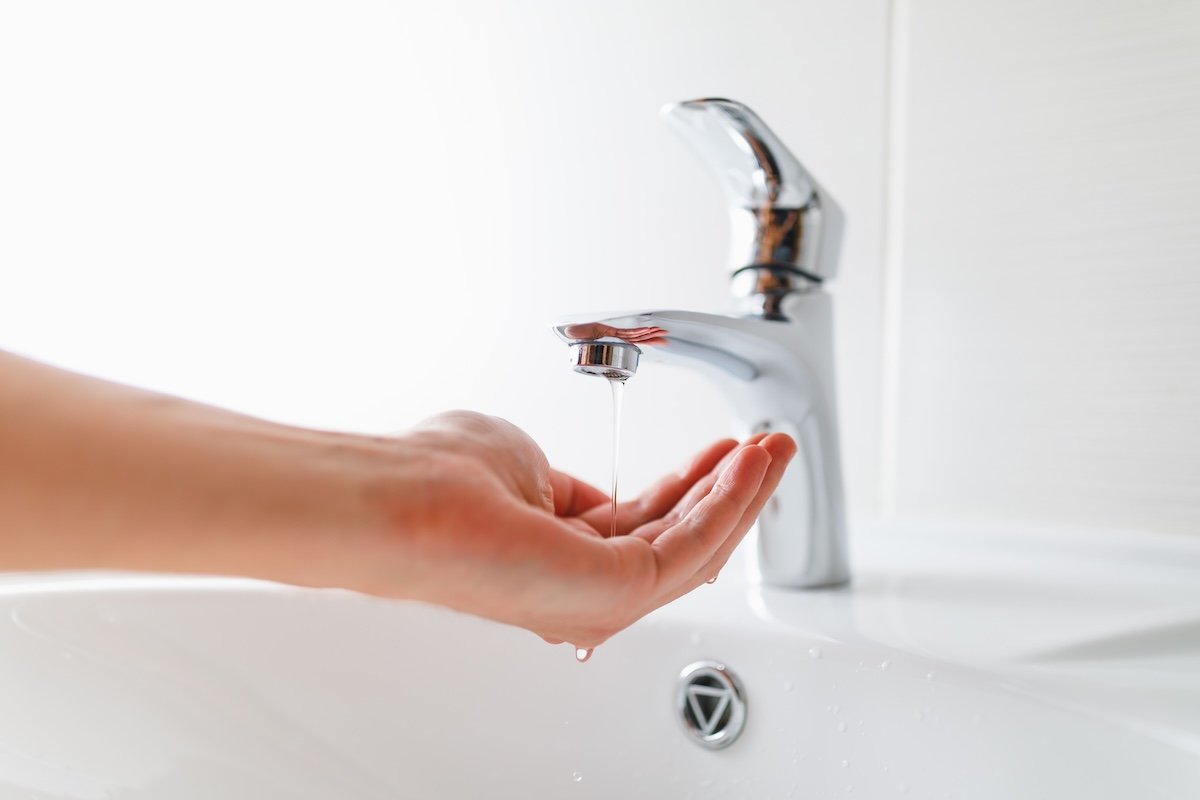
- Track the faucets: Turn on your taps one by one. A faucet that yields zero water or only a slow trickle indicates a frozen line upstream.
- Feel for wall and floor moisture: Walk your home’s perimeter, focusing heavily on exterior walls, unheated crawlspaces, attics, and beneath sinks. Look for sagging drywall, bubbling paint, or new dampness along the baseboards.
- Isolate hot vs. cold lines: If you suspect a leak but can’t find it, go to your water heater and shut off its dedicated input valve. Check your main water meter. If the meter stops spinning, the leak is located on a hot water line; if it continues spinning, the leak is on a cold water line. This instantly cuts your search area in half.
- Look for frost or bulging: On any exposed piping in basements or garages, check for physical coats of frost or sections of the pipe that look swollen or misshapen. A bulge means the pipe is stretched to its absolute limit and is about to rupture.
How to Fix the Frozen Pipe Leak:
- Shut off the main water immediately: Locate your home’s main emergency shut-off valve and close it fully. If the pipe cracks open while you are thawing it, this ensures your home won’t instantly flood.
- Open the faucets: Open the tap connected to the frozen line, as well as nearby faucets. This gives the melting ice and steam an escape route, relieving the dangerous pressure buildup.
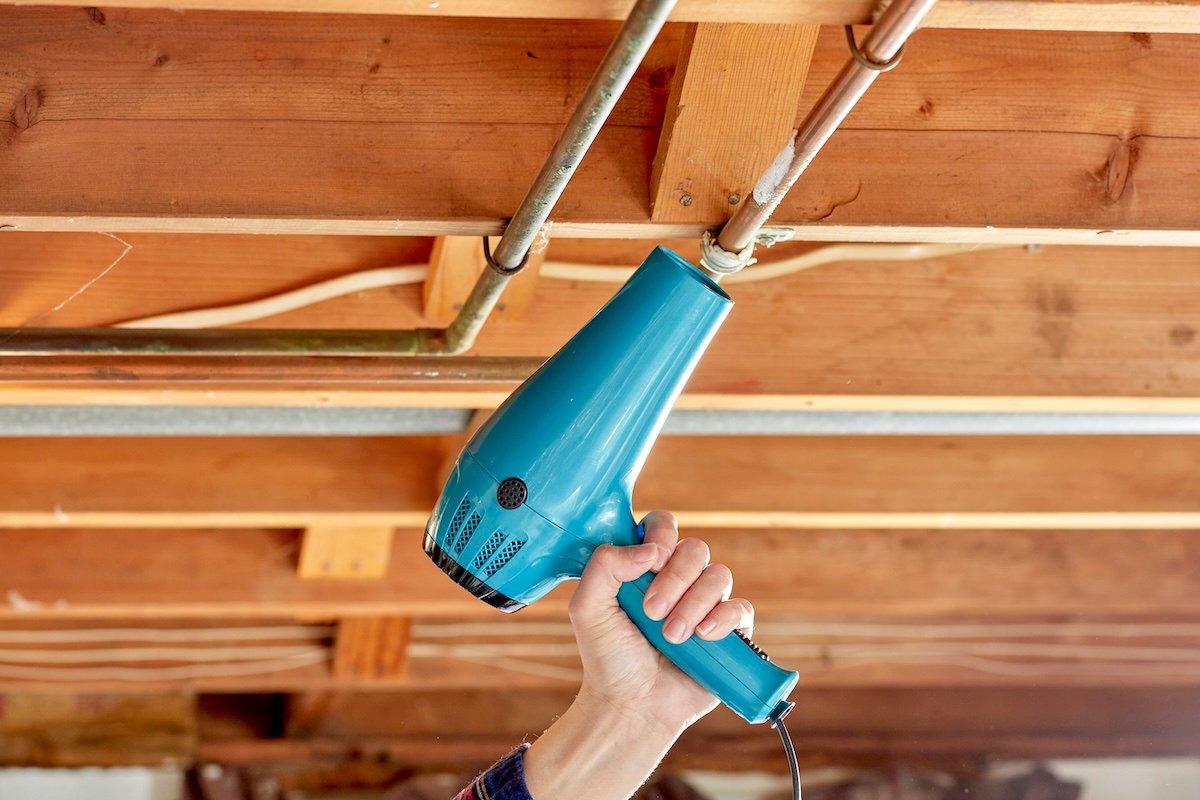
- Apply gentle, gradual heat: You should apply direct heat to the frozen section using a hair dryer on a warm setting, an electric heating pad, or a space heater. Start heating from the faucet side and work your way backward toward the freeze block.
- Cut Away the split section: After melting the frozen line, use a dedicated copper pipe cutter or a PEX cutter to cleanly slice through the pipe on both sides of the split. Make sure to cut far enough back into completely straight, undamaged pipe.
- Clean and deburr: Use a deburring tool or fine sandpaper to thoroughly clean the outside edges of the cut pipe. There must be no sharp copper burrs, rough ridges, or dirt, or the inner rubber O-ring of the new fitting will slice and leak.
- Install a slip coupling: For rigid copper lines that don’t have flex room, use a SharkBite slip coupling. Slide the end completely onto one side of the cut pipe. Align the pipes, then slide the coupling backward over the gap on the opposing pipe.
- Slowly repressurize: Open your main water valve very slowly. Leave the repaired section fully exposed for an hour while watching closely for tiny, weeping micro-drips before closing up any drywall or insulation.
4. Underground Irrigation Lines
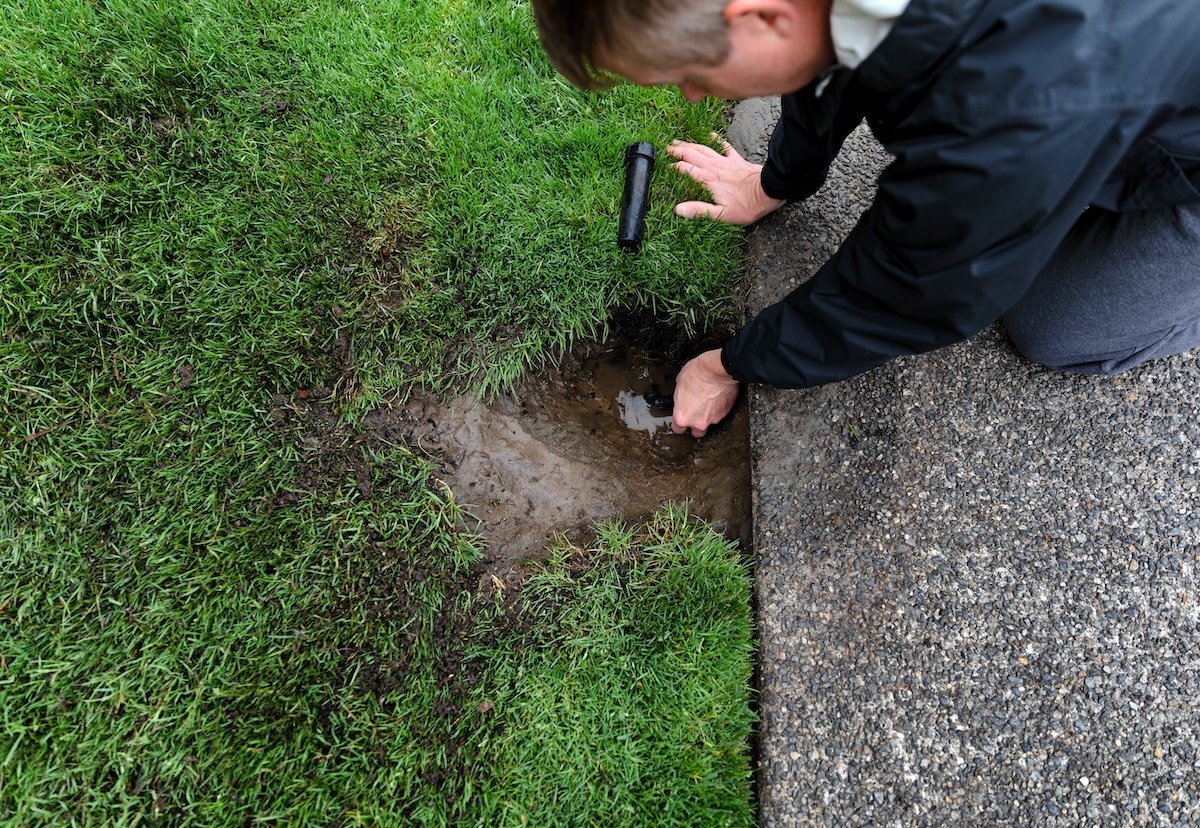
Underground irrigation lines are one of the most common culprits behind massive, hidden water loss. Because irrigation systems are buried across a wide outdoor area, an underground leak can dump thousands of gallons directly into the soil without ever creating a surface puddle.
Signs to Watch For:
- Uneven lawn growth: Look for a localized strip of grass that grows significantly faster or appears noticeably greener than the rest of the yard, even during dry weather.
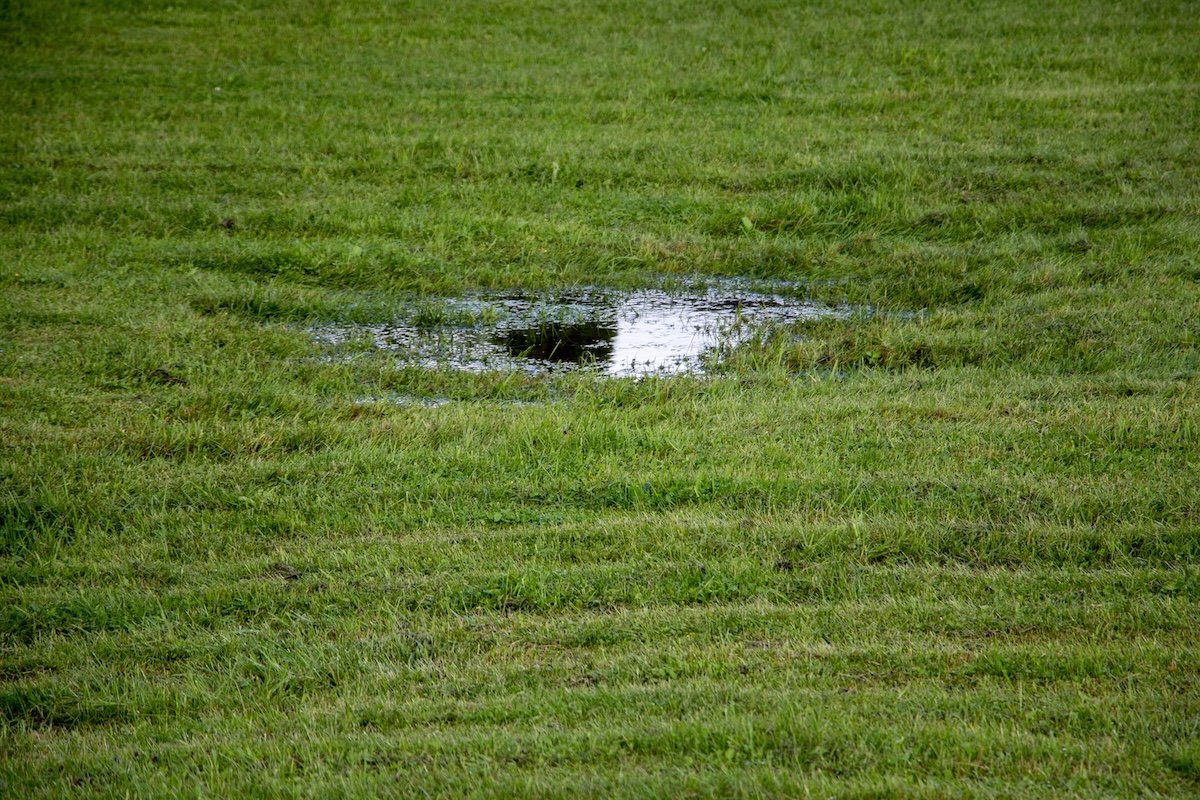
- Spongy earth or sinking soil: Walking over the yard may reveal spots that feel soft, muddy, or springy like a trampoline. Over time, a severe leak can wash away subsurface dirt, causing small sinkholes or causing nearby concrete pavers and driveways to crack and settle.
- Sputtering sprinkler heads: A sudden drop in water pressure within a specific zone, causing heads to sputter, weep, or fail to pop up fully, indicates that water is escaping through a cracked pipe before it can reach the nozzles.
- Water pooling in the valve box: If you open your plastic irrigation valve box and it is filled with standing water, a fitting, manifold, or valve body has failed.
How to Identify the Underground Leak:
- Isolate the main pipe vs. the zones: Look at your water meter’s low-flow leak wheel. Close the irrigation system’s main backflow preventer valve. If the meter stops spinning, the leak is in your irrigation system. If it stops while the backflow is closed, the leak is in the main supply line. If it only spins when a zone is active, the leak is downstream in a specific zone.
- Run a pressure isolation test: Turn on the suspected zone for 15 to 20 minutes. Look for a swampy area, a sinkhole, bubbling water under the turf, or low water pressure at the sprinkler heads. Water travels downhill along buried pipes, so the true pipe break is often located at the highest point of the wet spot, not the lowest.
- Check the lowest head: If water continuously weeps from the lowest sprinkler head even when the system is entirely turned off, an underground zone valve diaphragm has failed or is stuck open with dirt.
How to Fix the Underground Leak:
- Excavate carefully: Dig a wide hole centered over the leak. Dig down about eight to 12 inches until you expose the line. Clear away dirt at least six inches on all sides and underneath the pipe to give yourself room to work without contaminating the repair with mud.
- Cut out the damaged section: Use a pipe cutter or a hacksaw to cut out the cracked or punctured section. Make square, clean cuts past all visible hairline fractures.
- Splice the pipe:
- For rigid PVC pipes: Use two PVC slip couplings, a small section of matching schedule 40 PVC pipe, PVC primer, and PVC cement. Clean the pipe, apply primer, apply cement, and push the fittings together. Let it cure for the package-recommended time (usually one to 24 hours).
- For flexible polyethylene pipes: Slide stainless steel hose clamps over both open ends of the existing pipe. Insert a ribbed poly barb coupling into the pipe ends. Slide the hose clamps over the barbed inserts and tighten them securely with a nut driver or ratchet.
- Flush and test before backfilling: Keep the hole open and turn on the water system slowly. Watch the new joints under full operational pressure for a few minutes to ensure there are no slow drips. Once verified dry, shovel the dirt back into the hole and pack it down firmly.
5. Outdoor Spigots
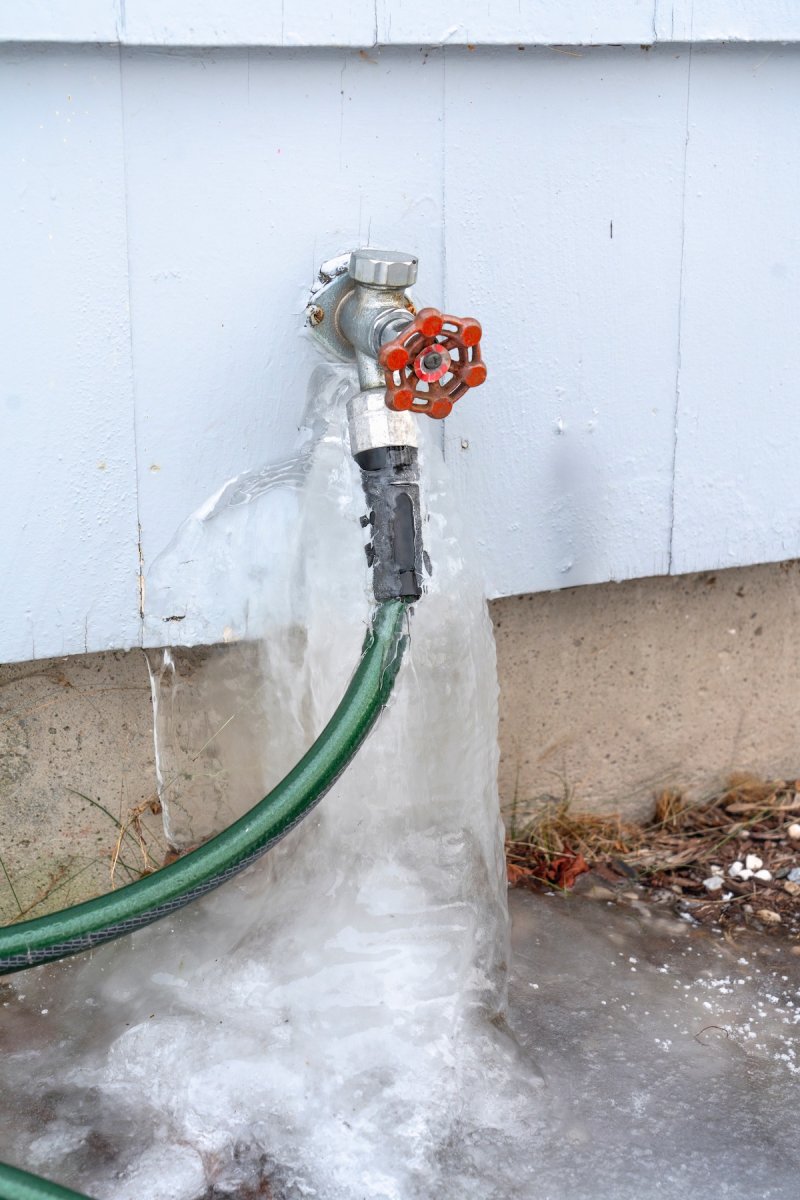
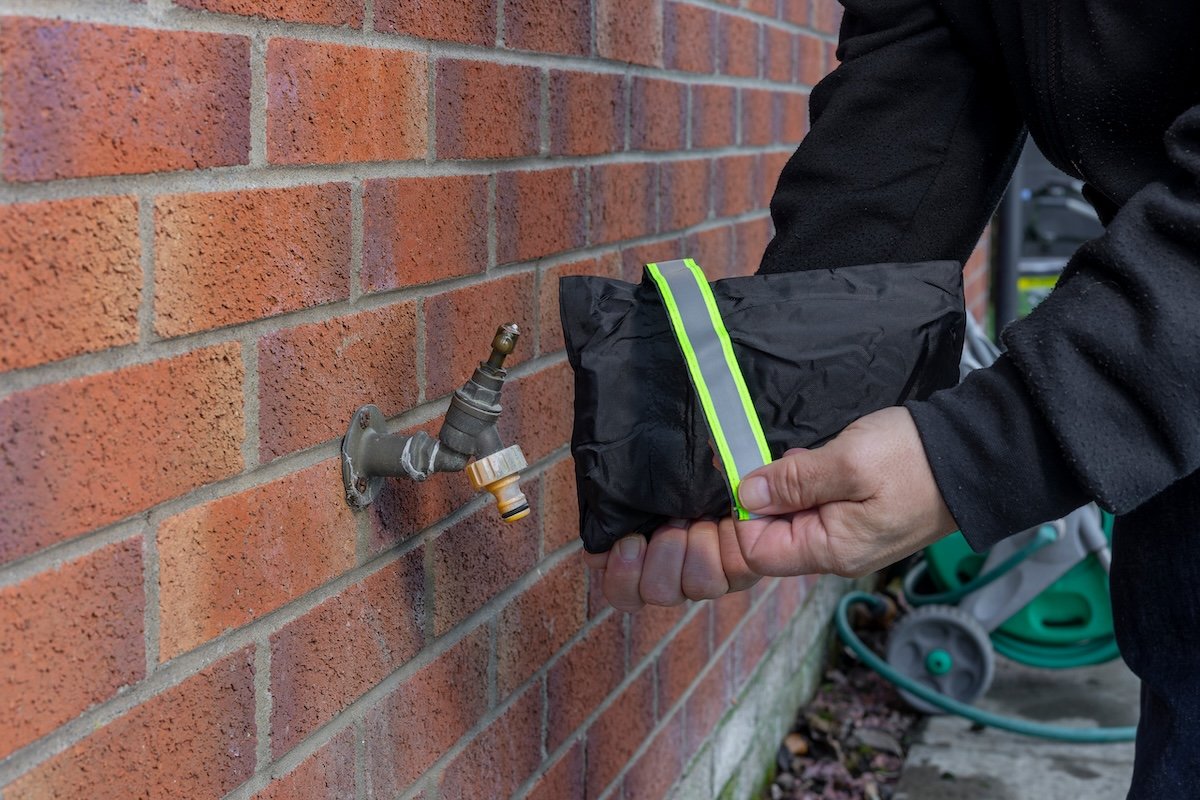
Like roof leaks, outdoor spigots can lead to unexpected damage over a long period of time. These spigots should be turned off during the winter to prevent them from bursting internally during winter freezes. However, they may also develop leaks during the warmer months of the year, and the leak can remain completely hidden inside the wall cavity or crawlspace, only letting water escape whenever the valve is opened.
Signs to Watch For:
- Constant dripping or streaming: Water continues to drip or pour from the spout even when the handle is twisted tightly to the closed position. This typically indicates a worn internal rubber washer or valve seat.
- Leaking from behind the handle: Water actively weeps or sprays from around the handle stem or the packing nut only when the faucet is turned on. This points to a loose packing nut or a degraded internal O-ring.
- Persistent standing puddles: The soil or concrete pad directly beneath the spigot remains perpetually muddy, waterlogged, or slick with green algae growth despite dry weather.
- The “on-only” wall spray: A classic sign of a frost-cracked spigot is that it does not leak when turned off, but the moment you turn the valve handle on, a massive high-pressure leak erupts inside the wall cavity.
- Indoor rushing sound: When you turn on your outdoor spigot, you hear an uncharacteristic sound of spraying, whistling, or running water inside your basement, crawlspace, or adjacent interior room.
How to Identify the Spigot Leak:
- The spout drip (closed): Turn the handle tightly clockwise. If water continuously drips from the mouth of the spout, your internal stem washer is degraded.
- The packing nut seep (open): Turn the spigot fully on. If water weeps or sprays from around the turning handle stem, your packing nut or graphite seal is loose or worn.
- The cap overflow (open): Look at the small plastic or metal cap on top of the spigot body while water runs. If it bubbles or shoots water upward, your vacuum breaker (anti-siphon valve) has failed.
- The hidden wall spray (hose pressure test): Screw a garden hose onto the spigot with a closed spray nozzle on the other end so no water can escape. Turn the spigot handle fully on to pressurize the line. Listen closely to the wall. If you hear a hissing, rushing sound or see water pooling inside your basement, crawlspace, or behind your siding, the internal pipe sleeve has split from a freeze.
How to Fix the Spigot Leak:
- Shut off and cut the line: Shut off the main water line to the house. Go into the basement or crawlspace directly behind the spigot. Use a pipe cutter to cleanly cut the copper or PEX water line leading to the spigot assembly.
- Unscrew from the exterior: Go outside and remove the two mounting screws securing the metal spigot flange flat against your home’s exterior siding.
- Pull the old spigot: Pull the entire metal spigot assembly straight out through the hole in the wall.
- Install the new spigot: Purchase a matching length frost-free spigot. Push the new pipe stem through the exterior hole from the outside. Secure the flange tightly to the siding using outdoor-rated wood screws and a bead of silicone caulk to keep out pests and moisture.
- Connect the plumbing inside: Go back inside the home. Connect the end of the new spigot to your existing water line. The fastest, solder-free way to do this is using a push-to-connect fitting (like a SharkBite female adapter) wrapped with Teflon tape, or by crimping it directly to your existing PEX lines.
- Repressurize: Turn the water back on slowly and inspect the indoor connections under pressure to ensure they are completely dry.