We may earn revenue from the products available on this page and participate in affiliate programs. Learn More ›
Much of the 4 acres that comprise our property in tiny Spicewood, Texas, was untouched by human hands for decades, if not longer, before we bought it 5 years ago. As we work to clean up thousands of limbs, branches, and dead trees, we create piles and piles of detritus. We’ve chipped some of it, but it has been an overwhelming amount of dead material, and it wasn’t pretty.
Dead hedges became our go-to solution. Dead hedges are narrow piles of dead or recently trimmed garden waste that can be used as screens, windbreaks, or, for me, simply art. Importantly, these hedges also provide homes for all sorts of critters, such as mice, insects, amphibians, and birds. In fact, when our son saw the first dead hedge I built, he said it looked like a linear bird’s nest.
1. Line a Trail
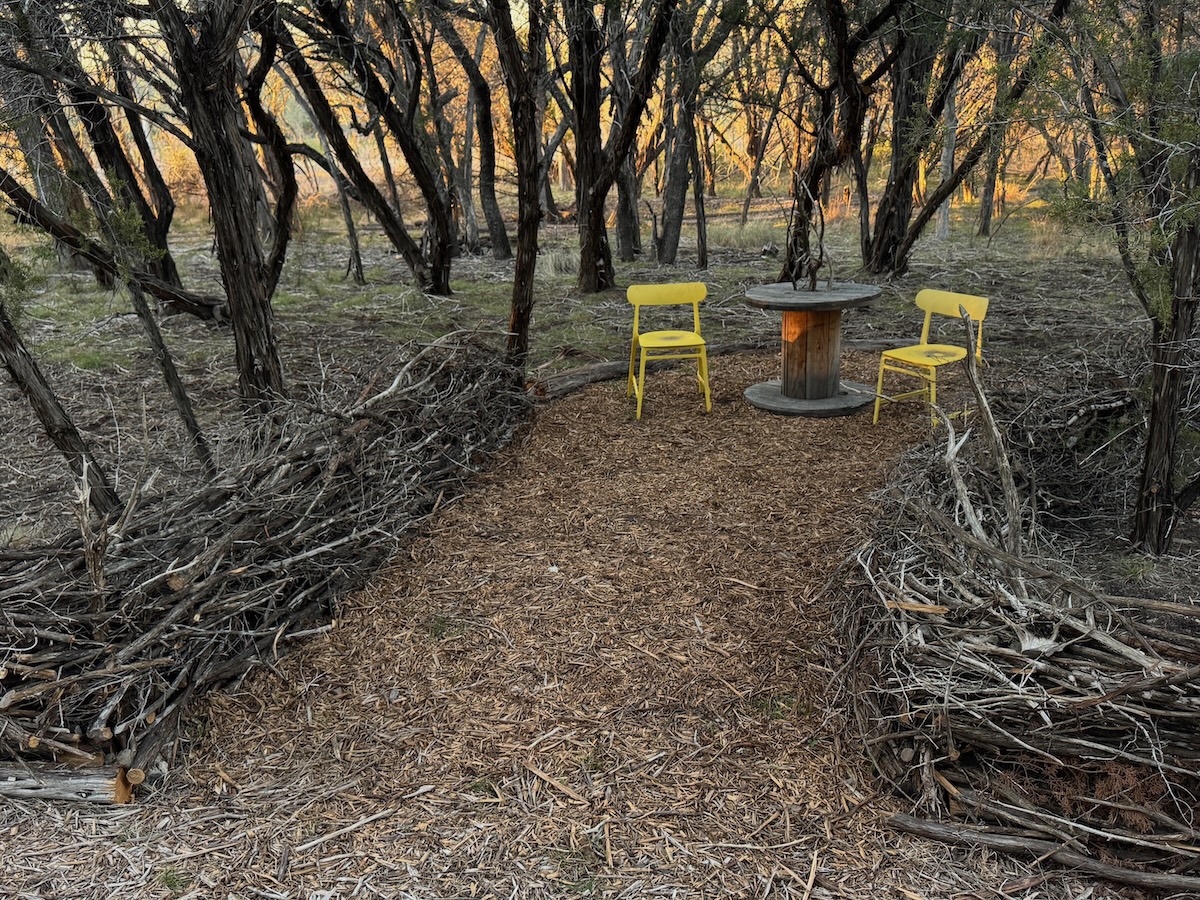
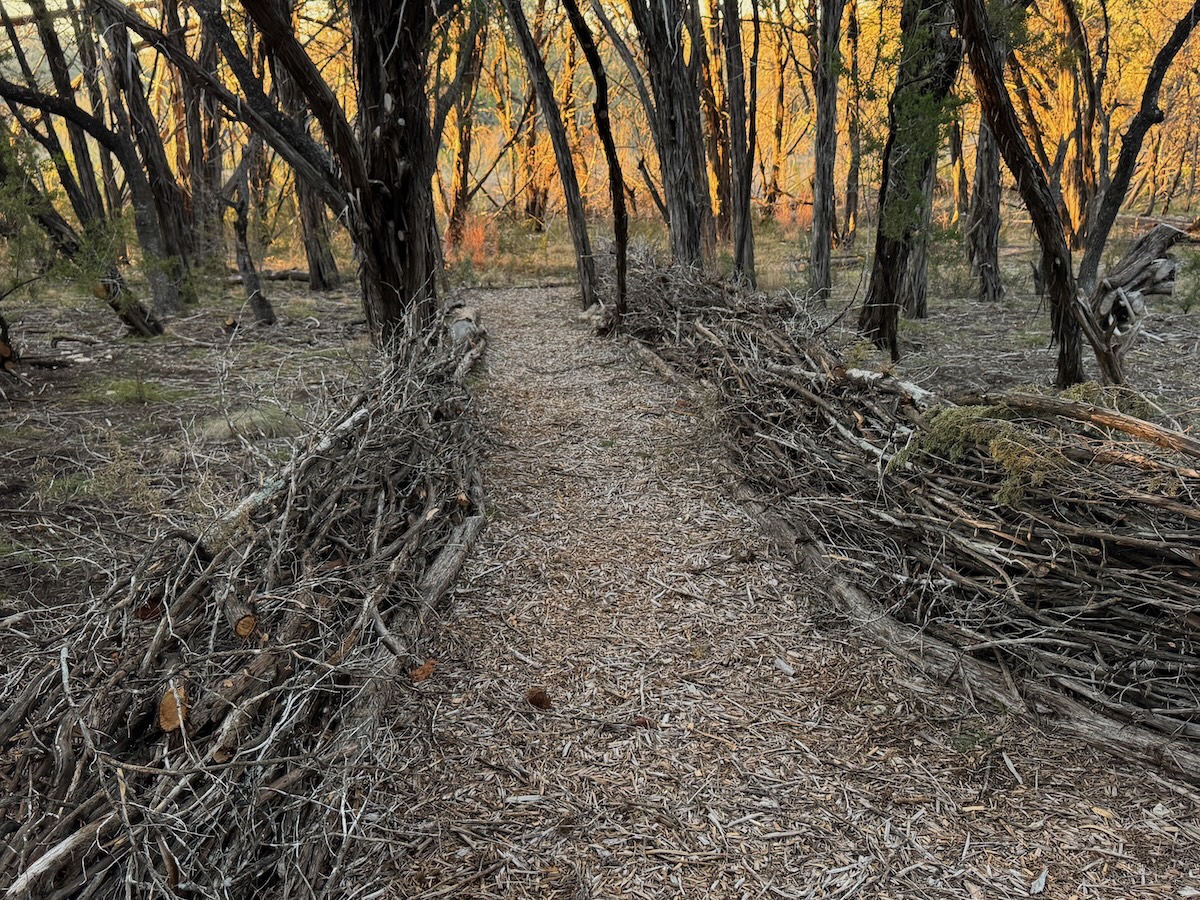
My first dead hedge was made from several huge piles of limbs we had at the chipper-inaccessible back of the property—piles that couldn’t be burned because of fire danger. We’d already built trails, so I just started the hedge along the side of a trail, thinking it would further define the trail and add visual interest. I created an “opening” in the hedge and made a little seating area—with a “table” our electrician son salvaged from a jobsite—so we can sit and listen to the birds.
Some people build dead hedges using vertical poles or stakes as a means of containing the limbs and branches. I didn’t want to spend money on lumber nor did I like the aesthetics of that method, so I found another way to give the hedge some structure. I laid down a strong, wide base of larger logs (4 inches or more in diameter), and then piled on smaller pieces, weaving them in—haphazardly—amongst each other to build structure. Basically, I build the hedges taller and more dense by simply jamming in new pieces so everything becomes interwoven.
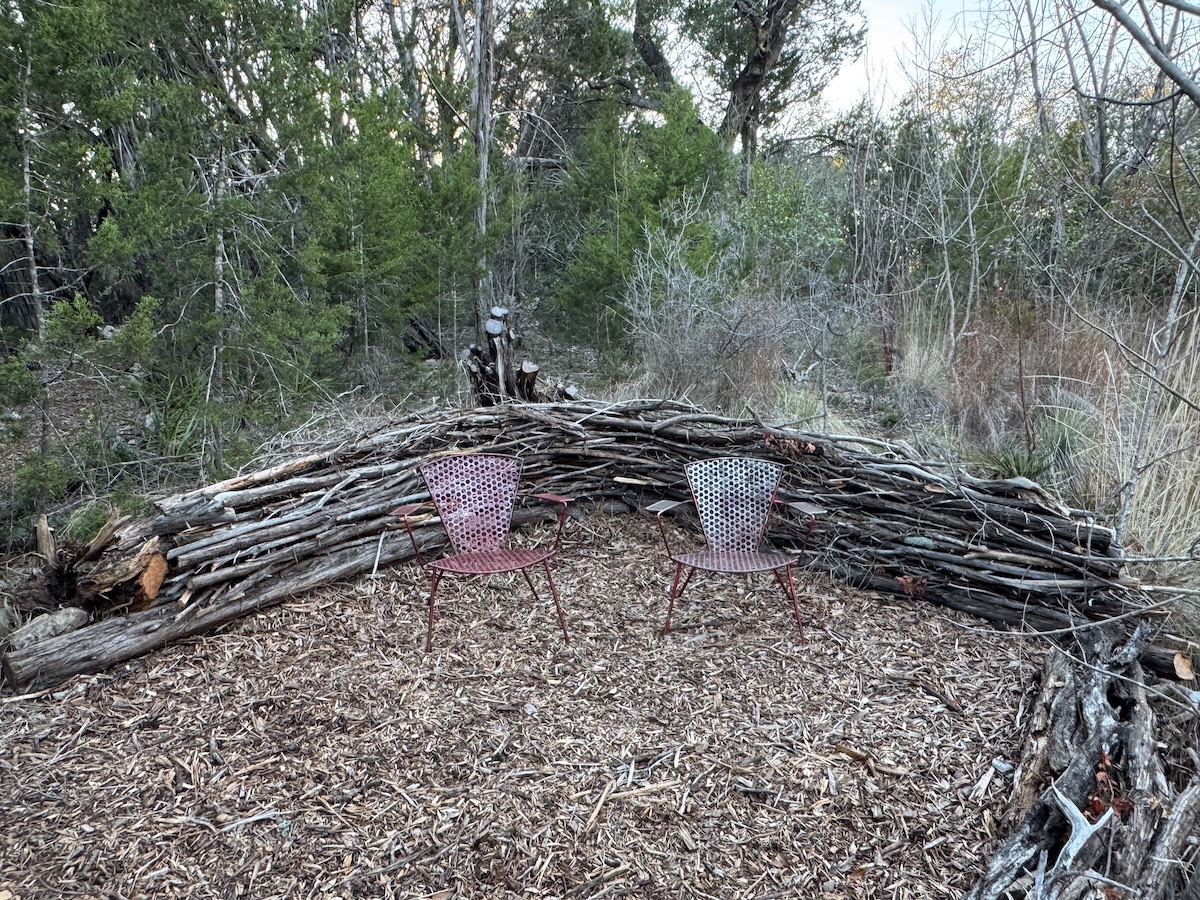
2. Create a Meditation Nook
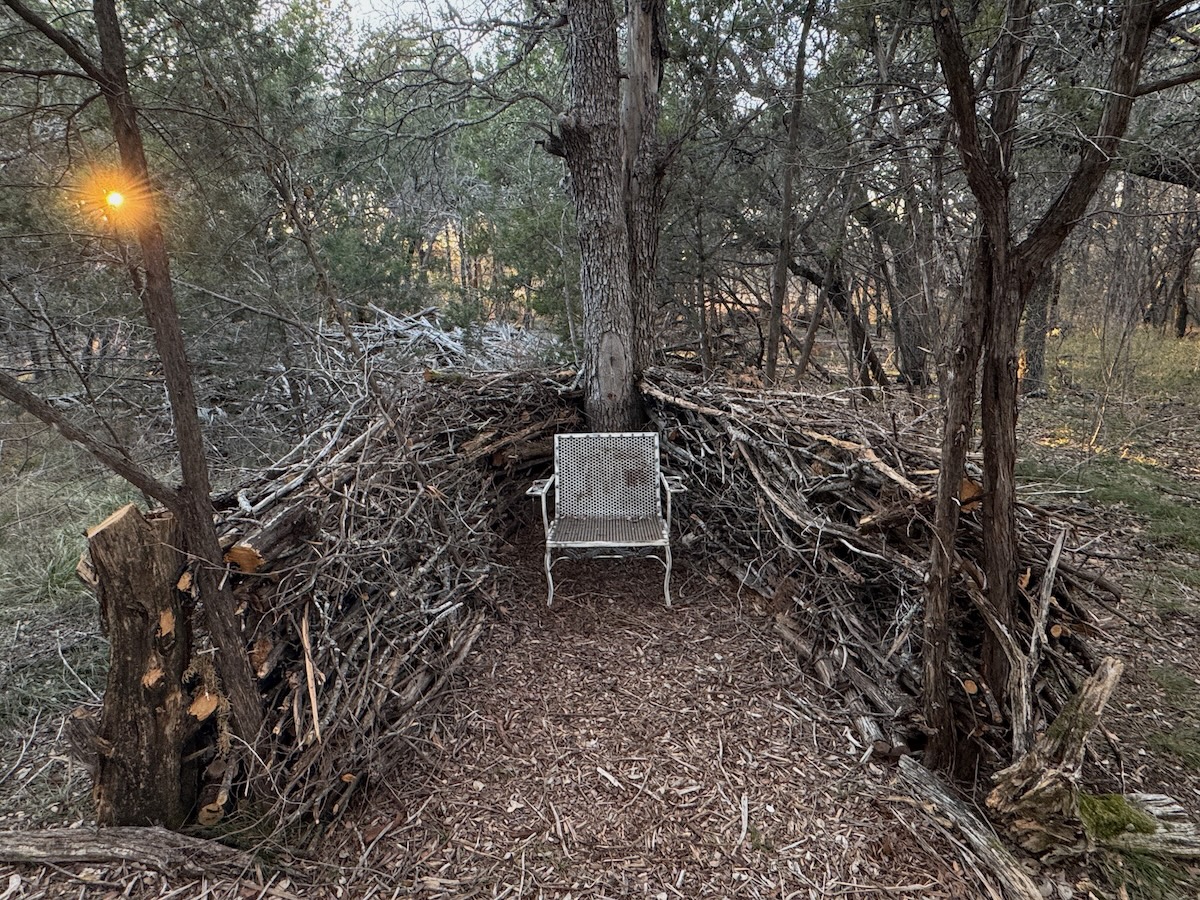
My primary goal is to dismantle the ugly piles of dead tree parts that clutter our land, and I’m not inclined to haul dead limbs across the property to create a hedge in the “perfect” spot. So I usually build a hedge immediately adjacent to wherever there’s a pile. This fun little two-part hedge worked out to be a small V-shape between a lovely cedar elm and one of the walking trails we’d built. We got this amazing handcrafted chair from a friend and with the high walls of the hedge, it all comes together to create a private little spot to sit and contemplate whatever needs contemplating.
It is the tallest of the hedges I’ve built, at about 3.5 feet. Some of our hedges are as short as 2 feet tall, and the others fall in between. The heights, of course, will always be in flux, as the hedges settle and then I build them higher with more deadwood. The tidiness, too, will always be in flux, as they go from tight and tidy to a bit more…freeform.
3. Showcase Mother Nature’s Artistry
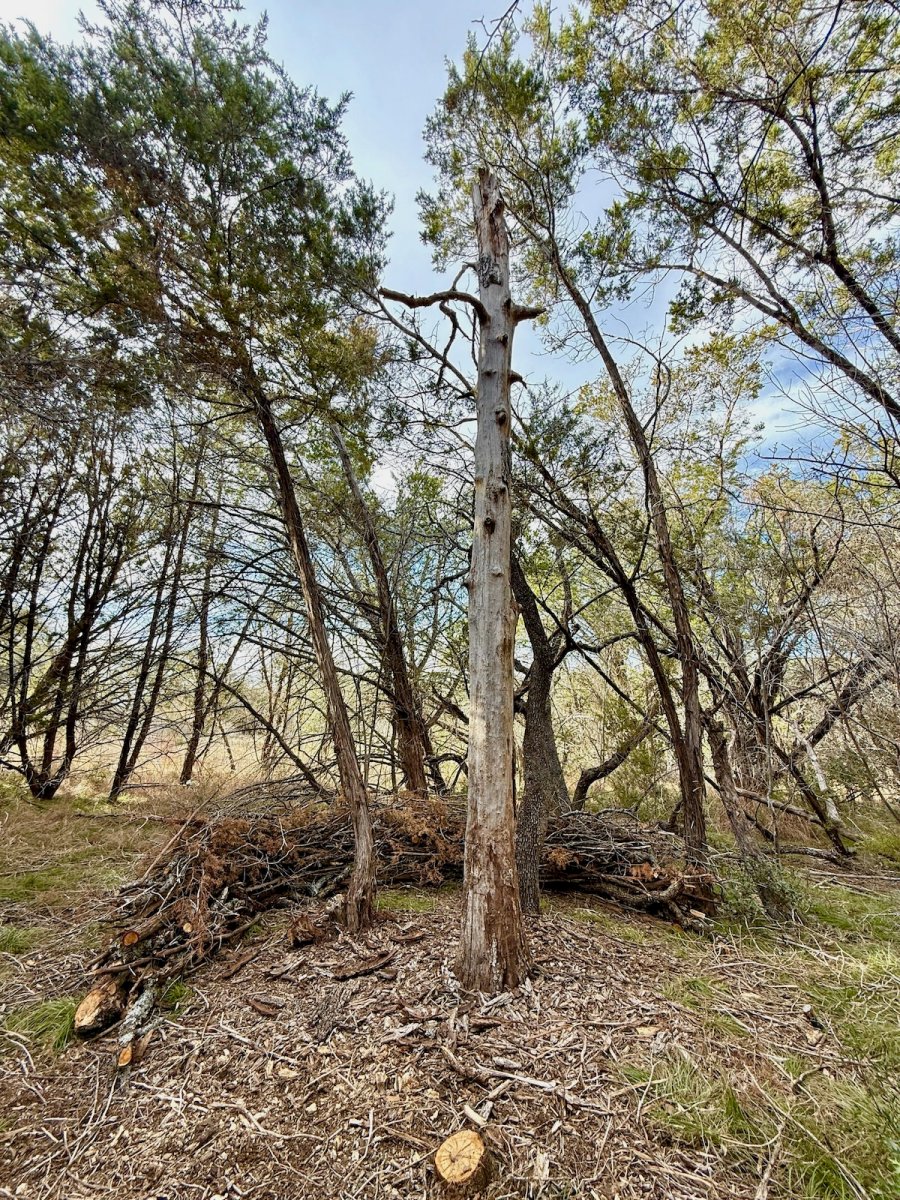
I always look for the beauty in nature, and I loved the “spindle” created by a long-dead, decayed, and untouched cedar elm tree. While some people may have elected to cut it down, I instead used the chainsaw to clear out some of the deadwood around the spire and used those trimmings to create a sort of backdrop—a way to showcase the spindle.
I fully understand and expect that the dead hedges I build will settle, tip over, come undone, or eventually decay. I’m ok with that. It’s part of the process. I also know that there will always be more material on our property that I can use to rebuild or supplement the hedges as they wither.
4. Create a Viewing Area
There are the headwaters of a wet-weather creek on the next-door property that crosses our land. When the water is flowing, it’s a beautiful spot—big boulders, moss, and lovely, lacy maidenhair ferns. As I walk our property, I like to just pause and appreciate this gift from nature. Luckily, on our side of the property line, there was a big pile of limbs nearby from some clearing out we’d done, so I used them to create a viewing area that looks over the headwaters. Unfortunately, we’re in severe drought, so there’s no water at the moment, but I’ll be ready to sit and enjoy the view when the rains return.
5. Make a Grand Entrance
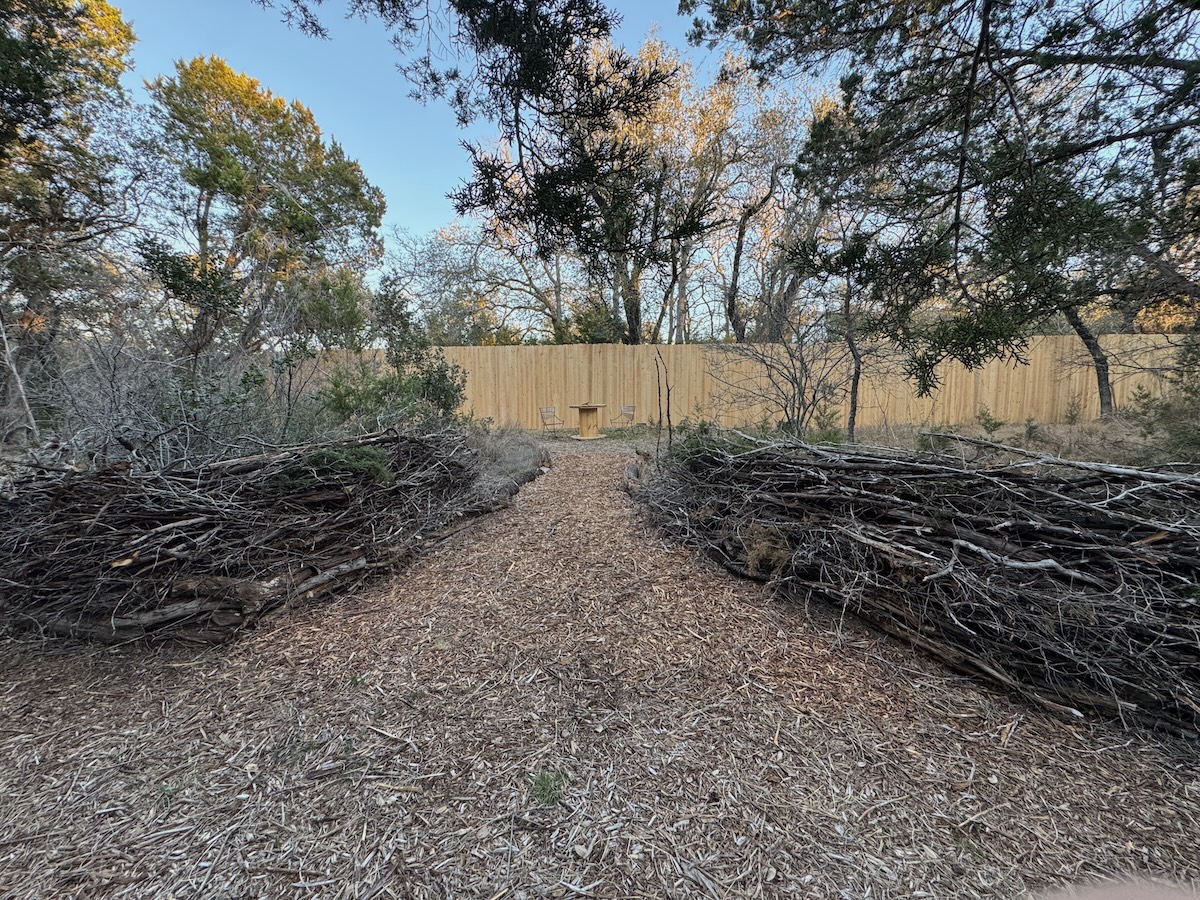
We recently built a fence. In front of the fence we placed—you guessed it—another seating area. We decided this seating area needed a grand entrance, and of course there was a pile or two of recently cut limbs and branches nearby. So now we have a lovely new entrance to our new seating area by the new fence. I’m still working on these hedges, and suspect they will grow longer and taller as I have time to work on them.
