We may earn revenue from the products available on this page and participate in affiliate programs. Learn More ›
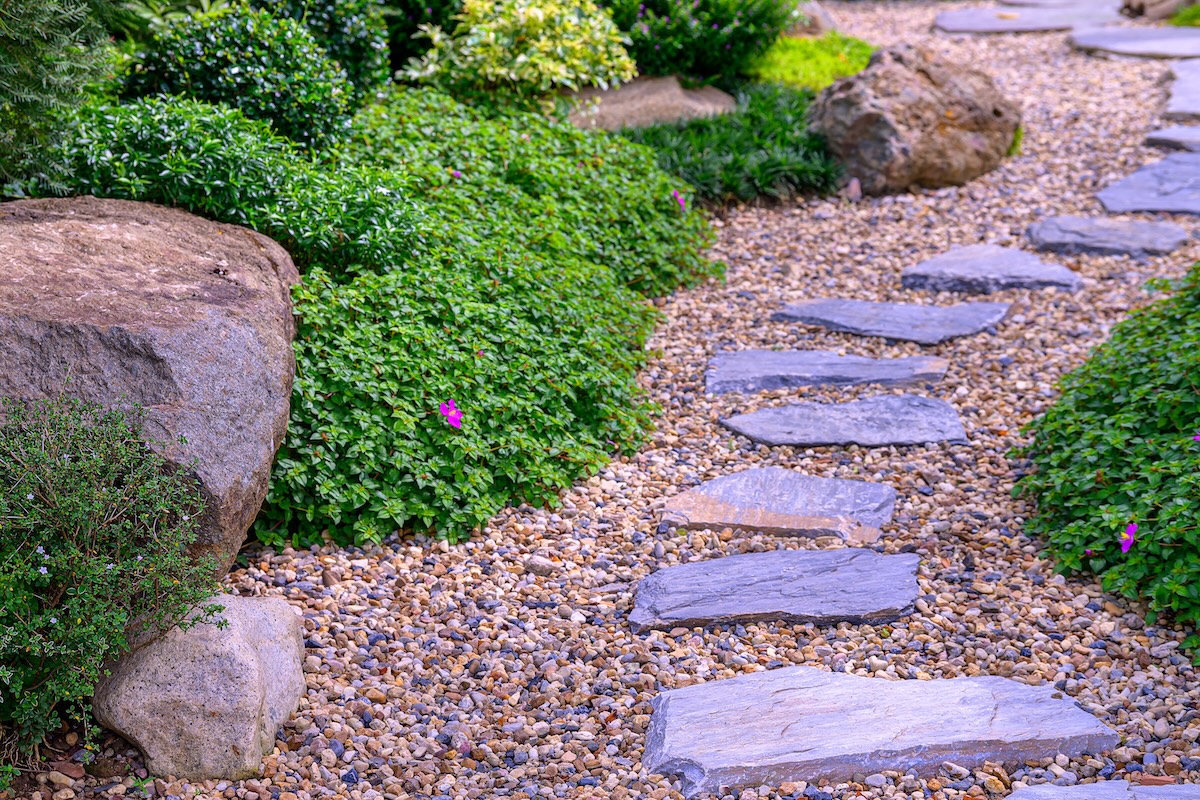
Looking to add character to your property, or easier access to a garden or a sprawling yard? A stepping stone path is easier to lay than you might think, and the project is cheaper and a lot more charming than paving a walkway with cement, or laying a paved brick path. Use this guide and you’ll likely have the job done in a day, depending on how long the path is.
Tools & Materials
Bobvila.com may earn a commission from purchases made through these links.
Step 1: Choose a location.
Examine your lawn and note where the grass has been regularly traversed and has worn down to natural path. This is the ideal place for your stepping stone walkway.
Step 2: Determine the correct placement for each stone to be used in the walkway.
Determine the placement of the stones so they align with an average person’s comfortable walking stride. Walk along the path and place landscaping spikes where the center of your foot lands at each step as you move along the path.
Best Garden Cart

SuperHandy Electric Utility Wagon Pro
The SuperHandy electric wagon, which can hold up to 660 pounds, is super easy to move thanks to its 48-volt lithium-ion battery. Read our full review.
Buy at AmazonStep 3: Excavate the area under each walkway stone you plan to set.
Use a wheelbarrow or garden cart to carry natural flagstones or manmade garden pavers to each stake. Remove the stake and center the stone or paver atop each spot. Using a long utility knife or a garden trowel, carve a line around the perimeter of the stone. Remove the stone and dig out a layer of sod, removing soil so that the hole is about an inch deeper than the depth of the stone. Make the bottom of the hole as flat as possible.
Step 4: Add crushed stone or coarse sand to the excavated areas.
Pour a 1/4- to 1/2-inch layer of crushed limestone or coarse sand on the bottom of the hole, packing it down and making it is as flat and level as possible. Use a level to see that the bottom is flat and level. If you’re using coarse sand, you may moisten it with a fine spray of water to help tamp it down and pack it tightly. This layer will keep the stone from sinking over a period of time.
Best Budget-Priced Level
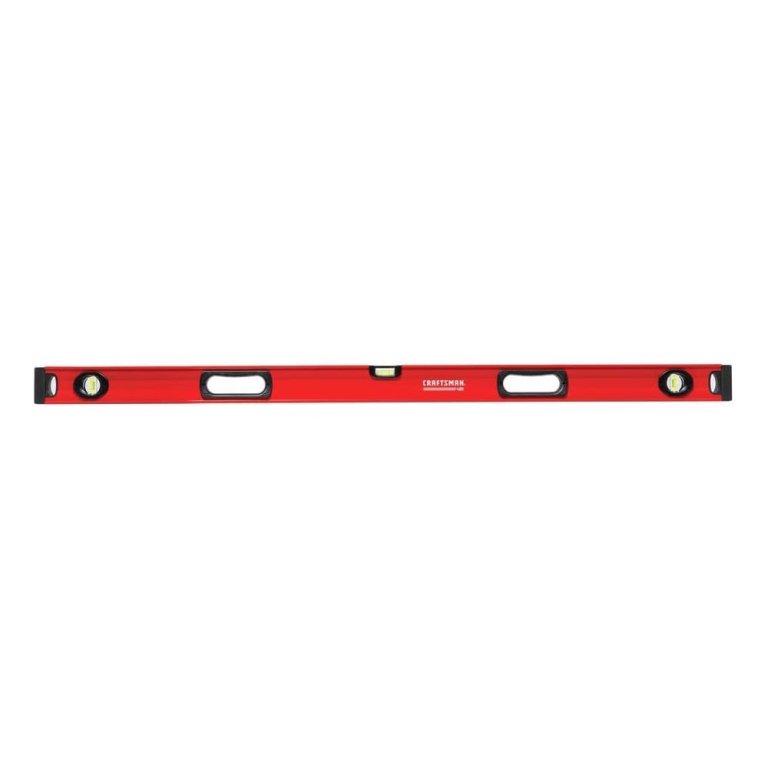
Craftsman CMHT82347 48-Inch Box Beam Level
Craftsman’s 4-foot level is rustproof and easy to read, and suitable for just about any type of project. Read the review.
See ItStep 5: Move your stepping stones into place.
Now place the stepping stone into the hole and press it into the packed material. Then pack a little more of the loose sand or crushed stone around the stepping stone to give it some added support. Tap the stone with a rubber mallet or stand on it to set it in place. Repeat steps 3 through 5 until you’ve completed your path.