We may earn revenue from the products available on this page and participate in affiliate programs. Learn More ›
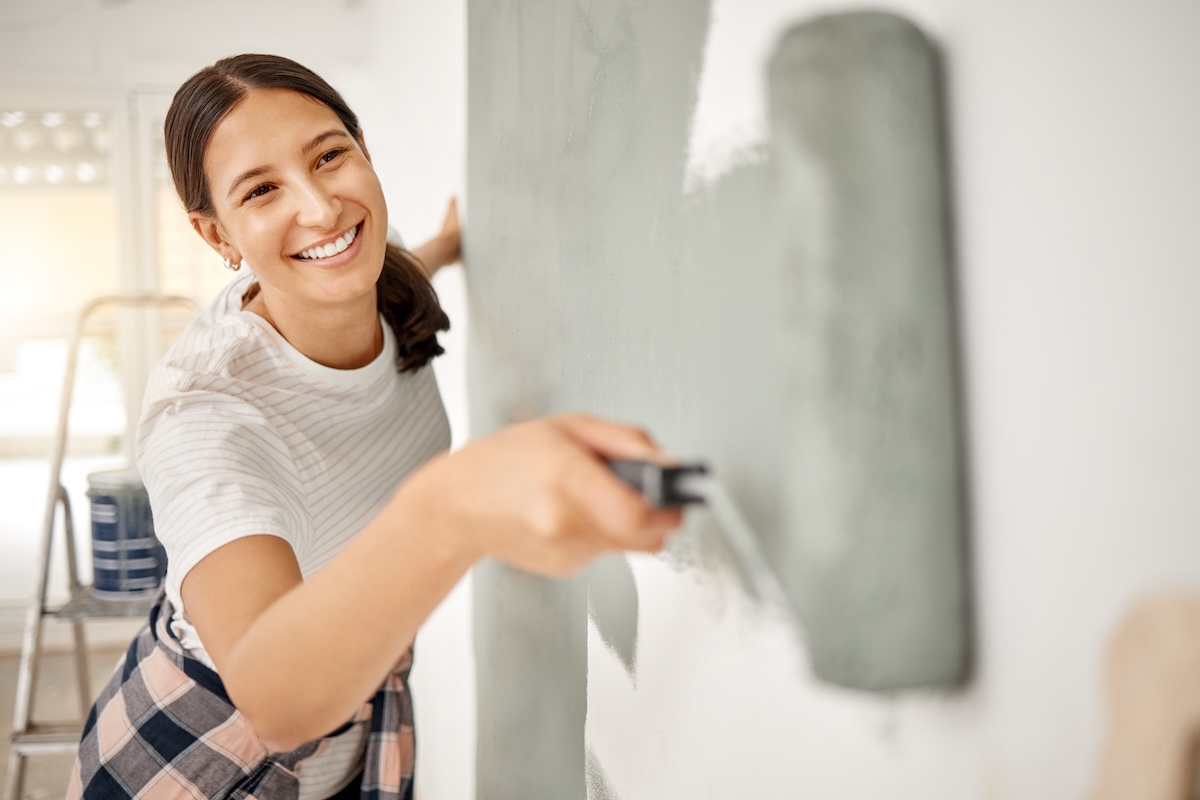
Painting a room (or the furnishings that go in it) is a job most DIYers can tackle by themselves. Getting professional-looking results and avoiding mistakes, however, requires planning and preparation. It’s worth spending a little extra time to find out how to do the job right. When the goal is to get the job done quickly, sometimes you need to go slow in order to go fast.
Employ these pro tips and tricks that will help you work methodically and efficiently, and thus make the painting task go more quickly and smoothly. It sounds counterintuitive, yes, but the smarter you work the more quickly you can get you out of your painting clothes and into a freshly painted room.
1. Plan the work and work the plan.

Before you head out to select your paint colors, make a plan. “It’s a huge benefit to have a plan in place before starting any painting project,” says Peter Buttenwieser, Managing Director, CertaPro Painters of Westchester, NY and Southern CT. He suggests that you answer a few key questions:
- What are the steps I need to complete for this project?
- Do I have all the materials that I will need?
- Have I budgeted enough time to get things done?
For a paint project, there are usually a series of mini projects, like setting up tools and supplies, prepping the walls by filling nail holes and sanding, priming, and painting. Buttenwieser adds: “A full game plan is actually a set of mini game plans. Once you have these plans in place, follow them step by step for the best outcome.”
2. Wear your painter’s tape.

Spending time to prepare the space before you paint a room may seem like a hassle, but it’s worth the effort. As part of the prep work, you may need to use painter’s tape to place plastic or cover areas that won’t be painted, like trimwork. Save time and free up your hands by wearing your painter’s tape. If you need to apply a lot of tape, either hang it around your belt or belt loop with a length of twine or a carabiner, or slip on your tape roll around your wrist like a bracelet. This will save time wasted from having to search for the roll.
Get the 3M Scotch-Blue Multi-Surface Painter’s Tape on Amazon for $9.99
3. Use quick-drying spackle.

Use quick-drying spackle for all the small cracks and nail holes to patch your drywall. Some top-quality spackles, like DAP’s DryDex Dry Time Indicator Spackling, change color as soon as they are dry, so there’s no guesswork about when you can sand and move on to painting. (For bigger holes, use a drywall patch and joint compound.)
Get the DAP DryDex Dry Time Indicator Spackling on Amazon for $9.48
4. Use kraft paper instead of drop cloths.

Drop cloths are notoriously slippery on tile and hardwood floors and can bunch up under ladders, causing trips and paint spills that waste time. Untangling and cleaning up from these tangles can consume time that’s better spent on the paint project. Make protecting your floors easier by purchasing a roll of kraft paper, also called builder’s paper, to cover all the edges of the room and the entire floor if you are painting the ceiling, too. Then, use painter’s tape to tape down the edges so it stays in place. The whole painting job will be safer and faster, and cleanup will be a snap.
Get the Eco Kraft Biodegradable Recycled Wrapping Paper Roll at Amazon for $23.99
5. Get a sticky floor mat.

Dust and dirt can ruin a paint job and can cause you to have to stop and fix mess-ups, so pros make sure they aren’t tracking in anything that can wreck their work. Buttenwieser advises: “Minimize dirt and contamination in your painting work area with a ‘Clean Mat.’ Place this sticky floor mat outside the room where you are working, and have everyone step on it before coming in.”
Get the Calpalmy Clean Mat (150 sheets) at Amazon for $38.99
6. Cover fixtures with foil or plastic wrap.

Take the time to cover what’s in the room, so you don’t have to spend extra time cleaning at the end of the paint project. Plastic wrap makes an excellent self-sticking masking material for awkwardly shaped objects like toilet tanks, vanities, and even light fixtures that are tough to remove during painting. Aluminum foil is similarly handy, and just as easy to remove. Unlike drop cloths, both materials stay put, protecting your fixtures and appliances from paint splatters.
Get Glad Press’n Seal Plastic Wrap on Amazon for $4.49
7. Use a paint pad around the room’s edges and in tight spaces.

If you aren’t adept at cutting in, and rely on painter’s tape to achieve a crisp paint line, there’s a tool that can help: A paint pad edger can make cutting in around windows and molding a quicker, neater job, allowing you to eliminate the painstaking time it takes to tape around the room. You can also remove a paint pad head from its applicator and hot glue it to a paint stick to create a super-flat painting tool that will reach tight spaces, like behind a toilet tank.
Get the Shur-Line Edger Plus on Amazon for $7.49
8. Line your paint trays and paint buckets.

Cleaning paint trays and paint buckets is messy and time-consuming. Consider lining your paint trays with aluminum foil, so cleanup becomes a whole lot easier. While you can lift the foil out while the paint is still wet, it’s less likely to be messy if you have time to let the paint dry before you pull the foil out. If you choose to use a bucket, line it with plastic or a clean garbage bag and tape it around the outside edge of the bucket. Lift and remove it, and the inside is still clean like nothing ever happened.
Get the Reynolds Wrap Heavy Duty Aluminum Foil on Amazon for $13.49
9. Use a bucket with a paint screen for big jobs.

Refilling a paint tray over and over takes time and each pour from a paint is another chance for a mess to happen. So for larger jobs, consider using a 5-gallon bucket with a paint screen instead of a traditional paint tray. This will allow you to load your roller more quickly, and you won’t need to stop and refill a tray while you’re in the middle of painting a wall.
Get the Wooster Brush Acme Deluxe Five Gallon Grid on Amazon for $8.86
10. Use a telescoping extension pole instead of a ladder.

You can avoid a lot of trips up and down a ladder if you add an extension handle to your paint roller. An extension pole that offers custom telescoping lengths like the Bates Extension Pole that extends 3 feet can save even more time and possible strain on your back. Plus, since it’s an extension pole, it contracts to less than 1½ feet long for storage.
Get the 3-foot Bates Extension Pole at Amazon at $8.85
11. Wrap your paint and tools while on a break.

If you need to take a short break to use the bathroom or pick up the kids from the bus stop before a painting project is done, wrap your trays, rollers, and brushes in plastic wrap or plastic bags. They’ll stay wet and be protected from dust and other particles in the air. To be more eco-friendly, look for biodegradable or compostable bags. If you’re going to leave the tools out for more than an hour or so, it’s best to clean them thoroughly.
Get the Reli Biodegradable Bags (125-pack) on Amazon for $18.99
12. Use the right cleanup tools.

It’s worth investing in some tools for cleaning up so when you reach for those paint brushes to start a new project, you aren’t wasting time trekking back to the store to get new paint brushes. A painter’s comb will help you clean your brushes more quickly and completely so that they’ll be ready for your next paint job. A comb that comes with a built-in roller cleaner like the Hyde Tools brush comb will also quickly clean paint rollers so you can use them again.
Get the Hyde Tools Brush Comb on Amazon for $7.25
13. Try a round paint brush for cutting in.

If cutting in trim with an angled brush is a challenge, try using a round-tipped brush for that kind of detailed interior paint work. The round tip can sneak into tight spots and allow a little more control over the width of the paint applied to a surface.
Get the Bates Trim Brush at Amazon for $4.99
14. Smooth out surfaces before painting.

When a surface is showing little imperfections, take the time to smooth it out before painting. While sandpaper can work, using it to achieve a smooth surface is more difficult. Make this job easier with a sanding sponge because its rectangular block shape is easier to hold and keep flat to the wall while sanding. A sanding sponge also fits neatly into right-angled corners; dampen it a bit to reduce dust.
Get the 3M Pro Grade Precision Sanding Sponge (2-Pack) at The Home Depot for $8.98
15. Power up your paint stirring method.

Paint that has been sitting for a day or longer in the can needs to be shaken or stirred well before use. To make the job easier and more effective, there are power paint stirrers that can attach to a drill and mix up the paint in just a few seconds. Just be sure to put the stirrer all the way into the paint before turning on the drill.
Get the Hyde Tools Stir Whip Paint Mixer at Walmart for $19.50
The prices in this article are accurate as of April 21, 2026.