
We may earn revenue from the products available on this page and participate in affiliate programs. Learn More ›
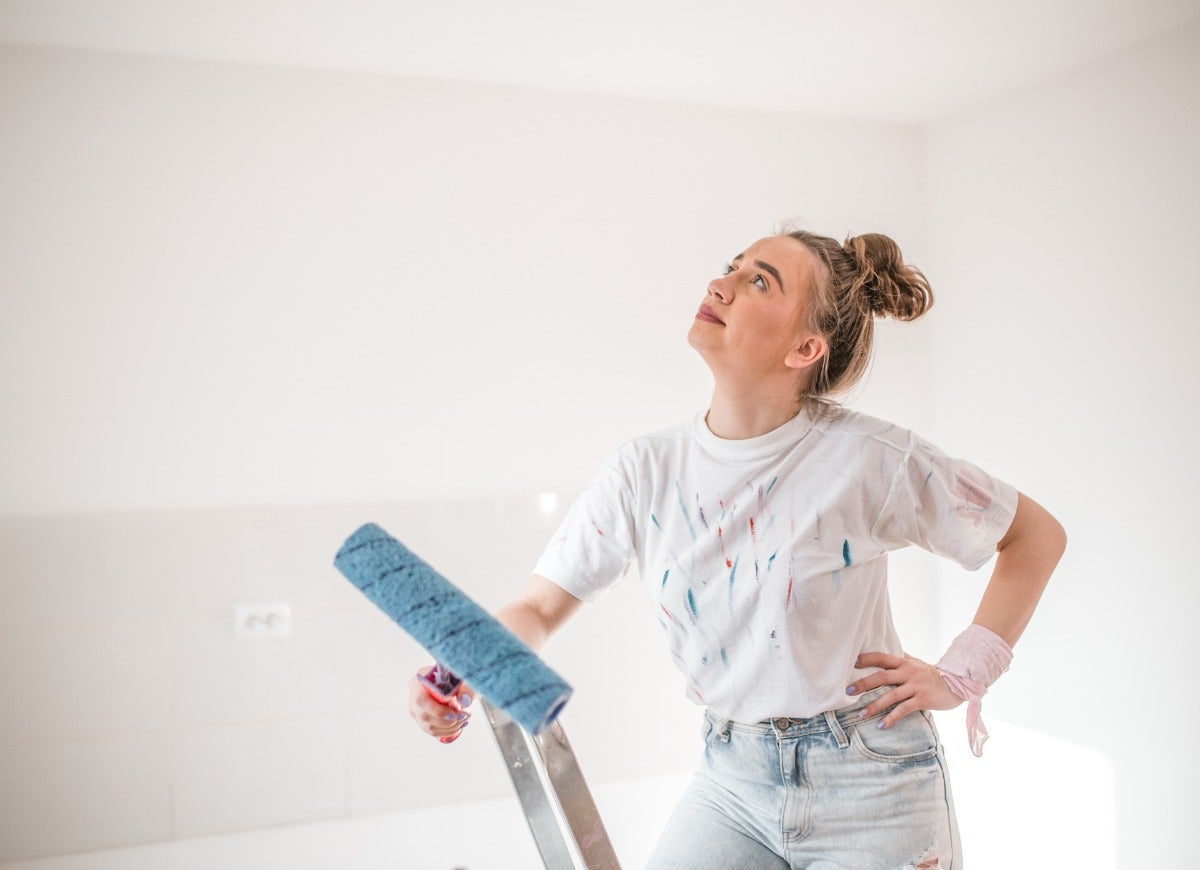
Paint Like a Pro
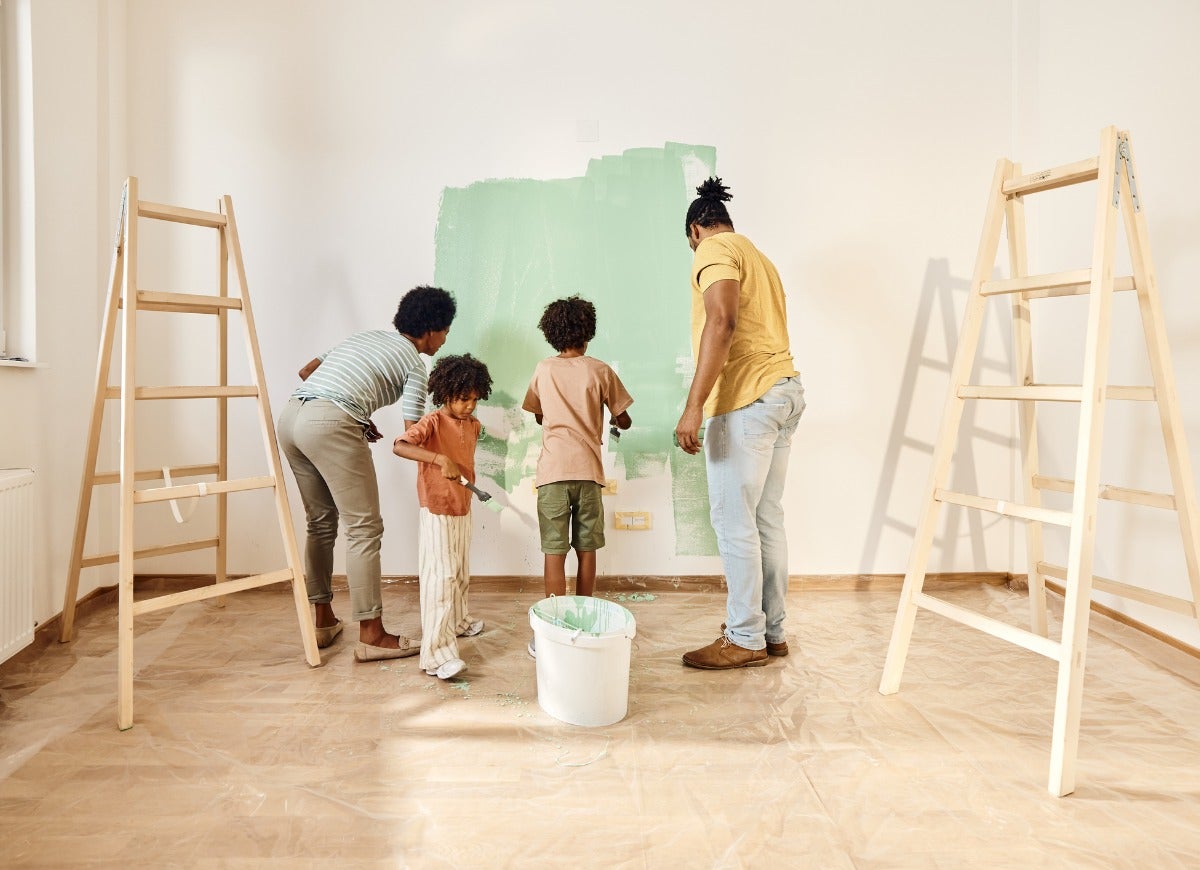
A free afternoon, a can of paint, and a good-quality brush can work wonders around the house. But all of that effort can be wasted if the finished product looks blotchy or sloppy. Before you embark on your next paint job, learn about some common mistakes to avoid if you want a crisp, professional-quality finish.
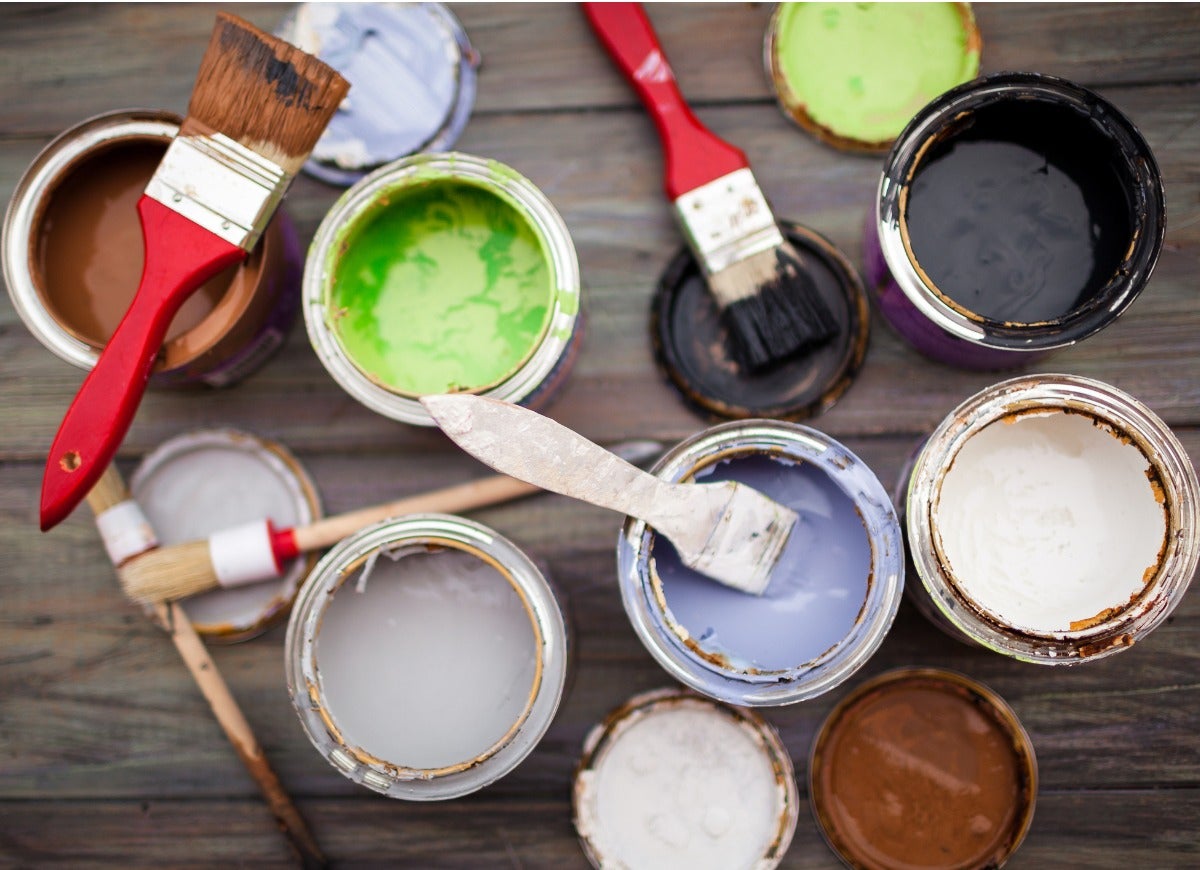
Choosing Inferior Applicators
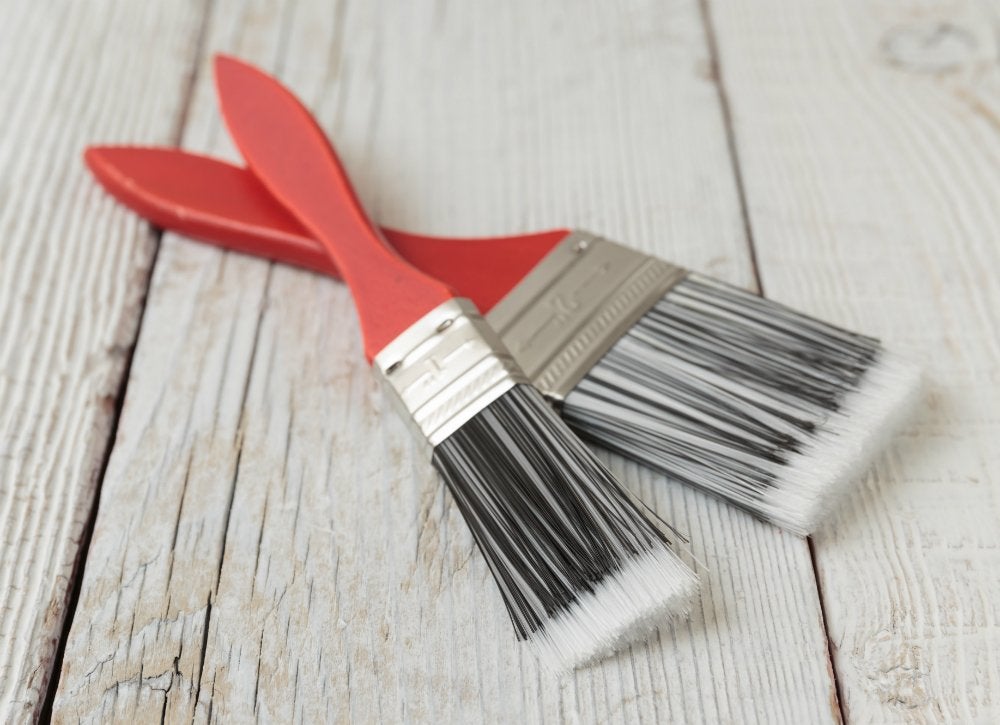
After spending big bucks on paint, you might be inclined to buy cheap brushes and rollers in an effort to cut costs. In order to get professional results, however, you’ll need to start with good-quality tools. Select brushes with densely packed bristles that completely fill the ferrule and spring back when bent. Look for flagged tips (they look like little split ends at the tip of each bristle) and bristles of varying lengths that make the brush taper at the end. Also, opt for nylon or nylon and polyester brushes for latex; save natural-bristle brushes for oil-based paints. Investing in quality applicators is well worth the extra expense.
Improper Preparation
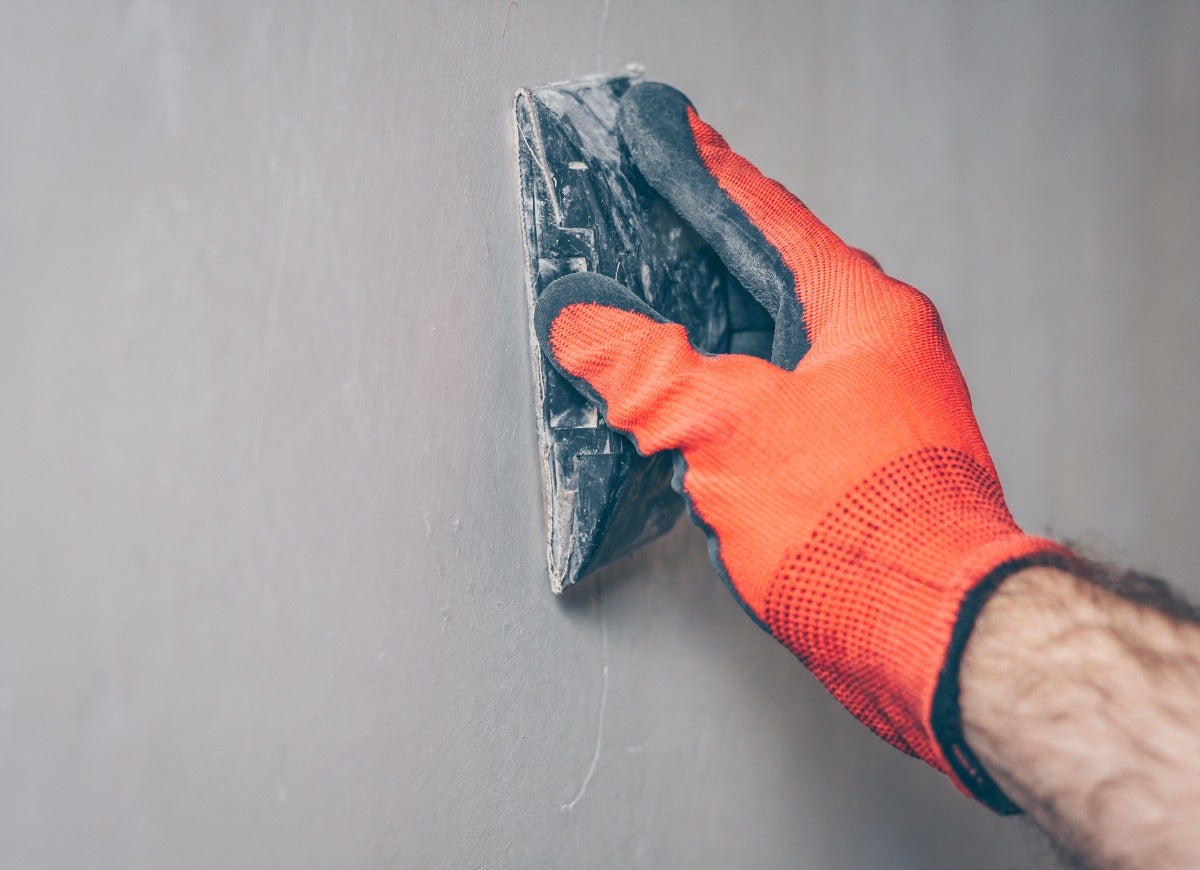
When it comes to painting, you always want to start with a clean slate. Wash your walls and make sure all repair work, including thorough sanding of any patches, is done before applying any paint or primer. For paint to go on smoothly, the walls should be clean, dry, and free of any loose debris.
Skipping the Tape
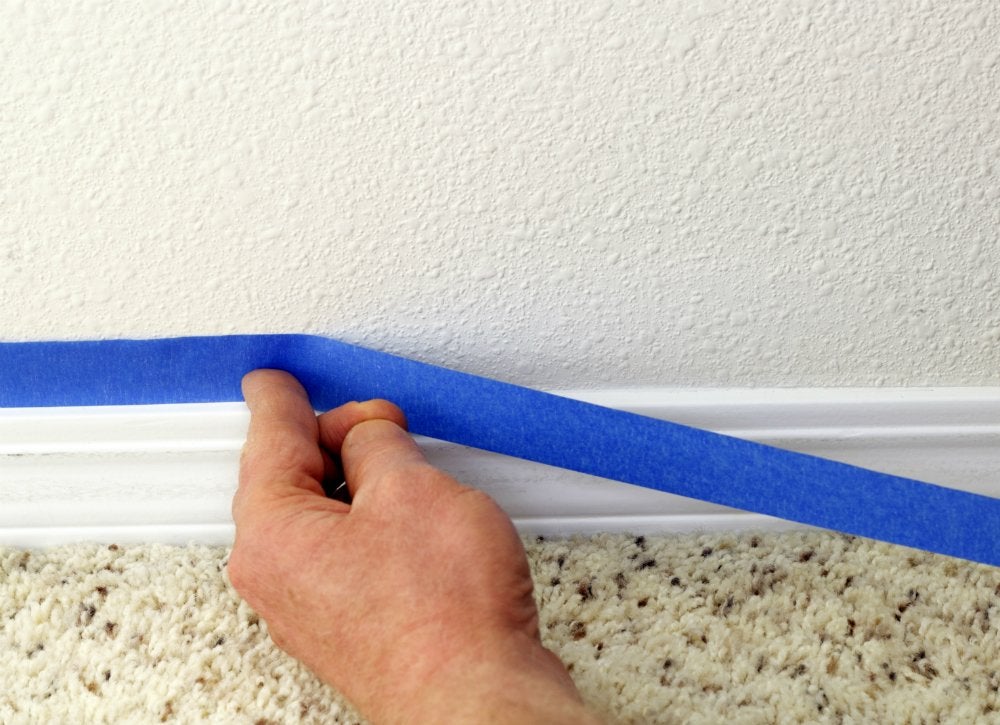
Attention to detail is what separates good work from great work. For clean lines and professional-looking results, don’t skip the painter’s tape. Taping ensures that you’ll have the clean edges you want. To prevent bleeding, make sure the tape is sealed tightly around baseboards, windows, and molding.
Leaving Surroundings Unprotected
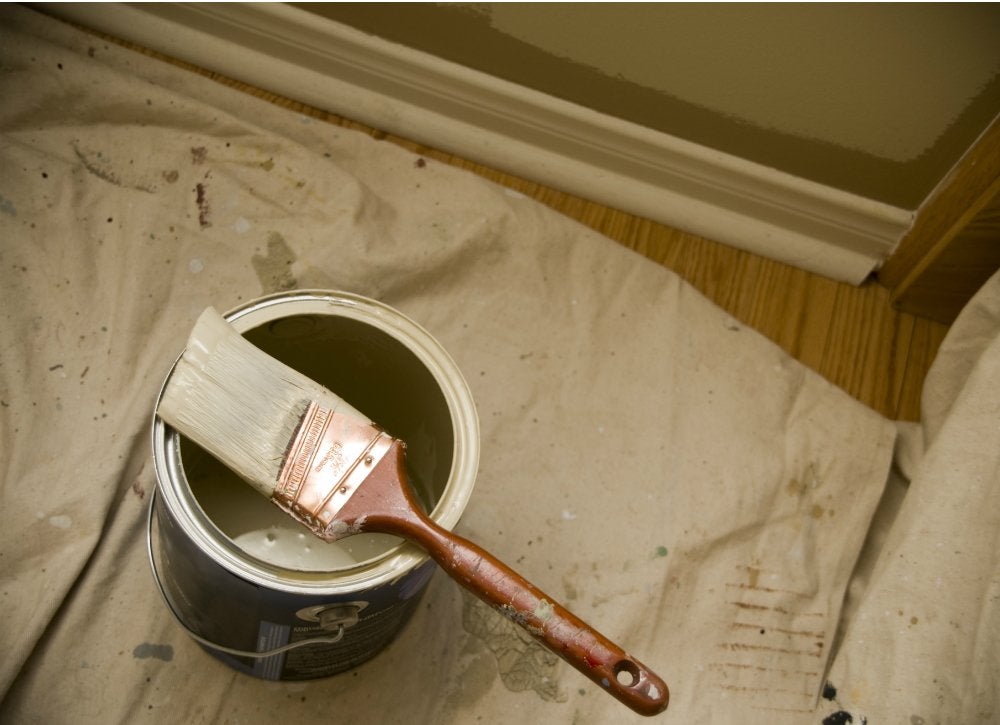
Paint has a way of ending up in places we never intended. Before you even open the can of paint, make sure your work zone is protected. If it’s feasible, move out all the furniture and take the switch plates off your light switches and electrical outlets. Then, cover the entire floor with a drop cloth. You’ll thank yourself for this quick prep later, when you’re not scrubbing paint splatter off your hardwood flooring.
Painting Without Primer
Never ever skip the primer. This step preps the wall surface so paint adheres to it more easily, and it ensures that the true color of the paint will be represented on your walls. These days, you can even buy a 2-in-1 paint and primer—it doesn’t get much easier than that.
Dunking Your Paintbrush
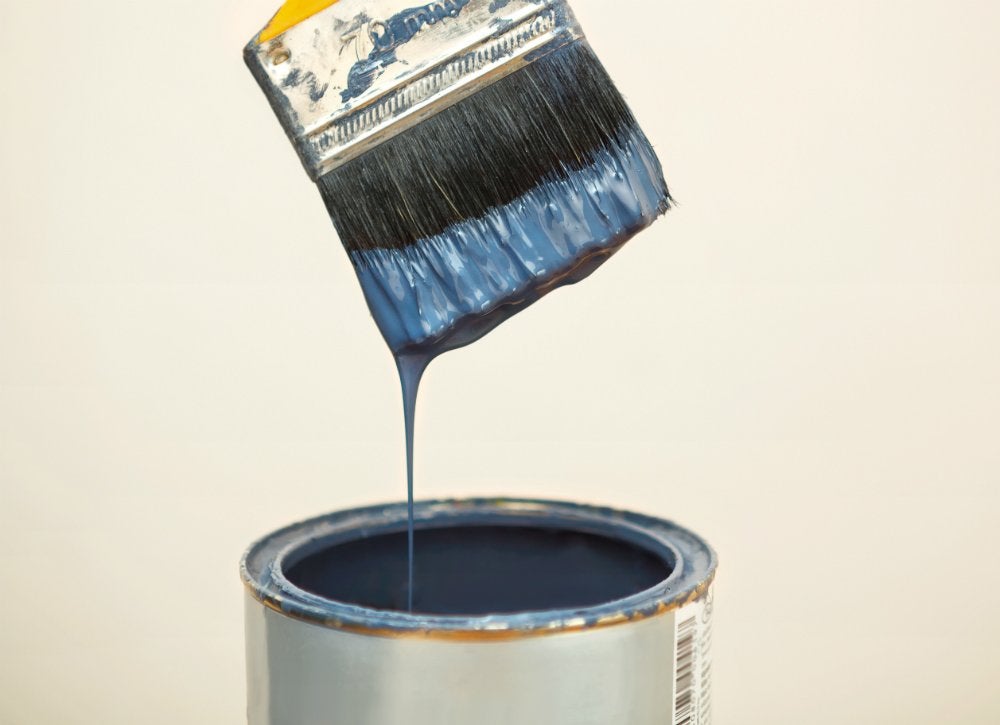
When you submerge a paint brush entirely in paint, the paint can dry in the bristles and be harder to clean later. Similarly, a large dunk for a roller can mat down the roller. Instead, dip your paint brush only about a third of the way into the can. Two bonuses: You’ll be saving paint and avoiding unwanted drips.
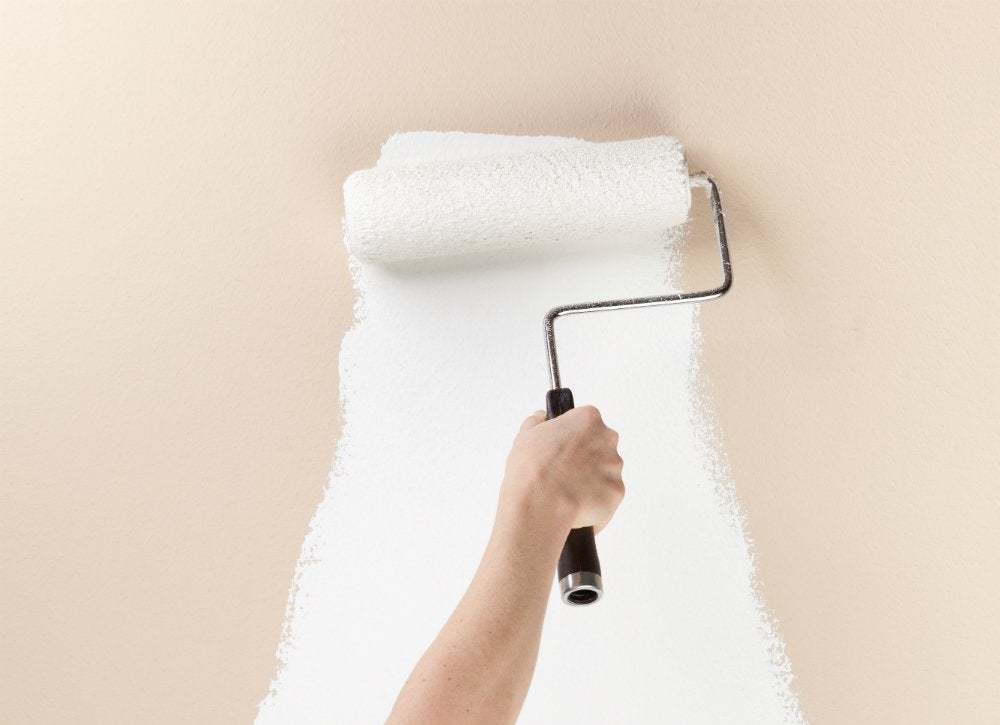
Applying a Second Coat Too Soon
You can ruin your entire paint job by not allowing enough time for the first layer of paint to dry before adding a second coat. Check the instructions on your paint can for a suggested dry time and if you’re still unsure, wait 24 hours.
Letting Extra Paint Dry Up
If you don’t take the proper precautions, an open can of paint can dry out so that it’s virtually unusable by the time you need it for touch ups. For water-based, cover the top of the can with a piece of clear plastic wrap before you seal it up to help extend the life of the leftover paint; for oil-based paints, add a half-inch of water to the surface before closing.
Not Buying Enough Paint

No one wants to run out of paint mid-job, so be sure that you have enough paint on hand before you start. It’s not only a question of convenience: If you need to run to the store to have another gallon mixed up, the new can could have a subtle difference in color that may not be obvious until the paint dries. The job will go more smoothly if you buy all the paint you’ll need up front.
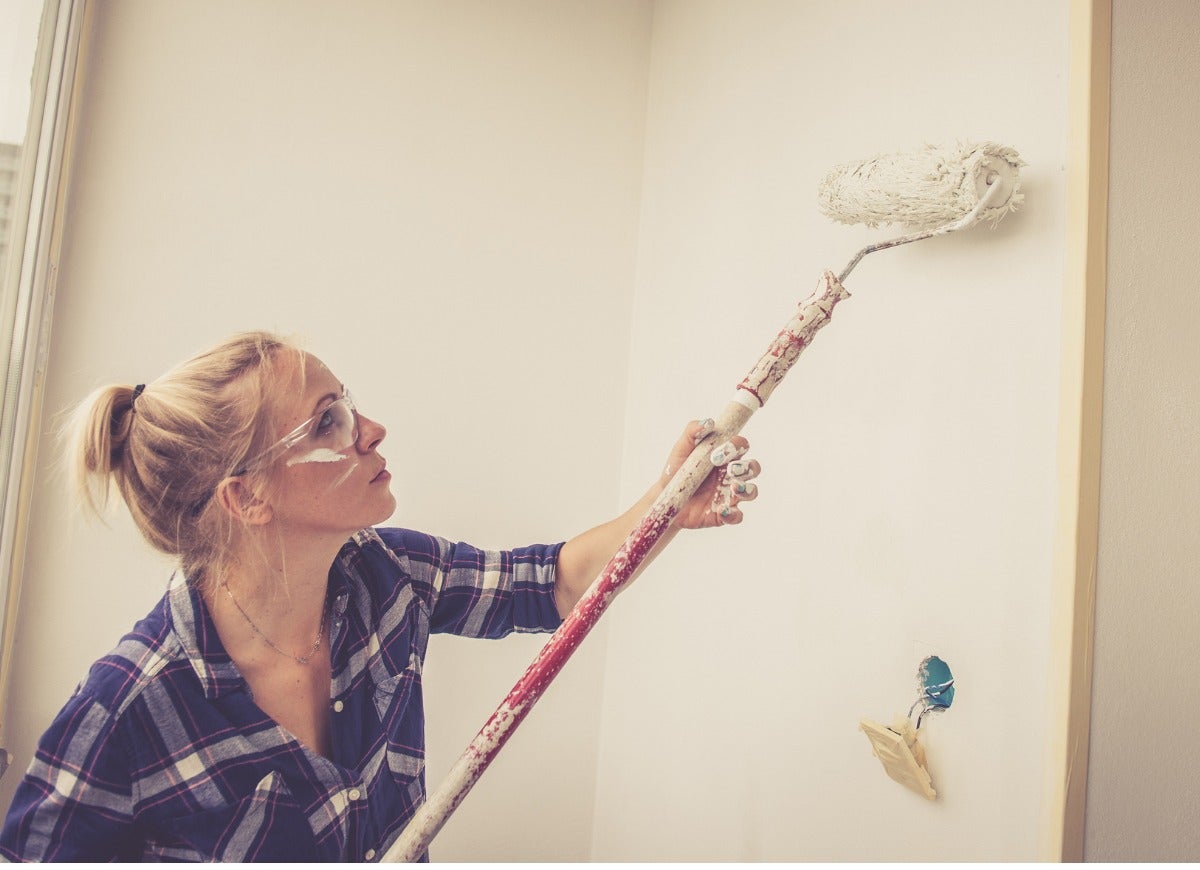
Painting With Insufficient Light

Depending on the time of day, the orientation of the house, and the time of year, the sunlight that reaches the room you’re working in may not be bright enough to let you truly see what you’re doing. To help you catch the bare spots, lap marks, drips, and other imperfections that mar a quality paint job, bring in additional lamps to brighten the work space.
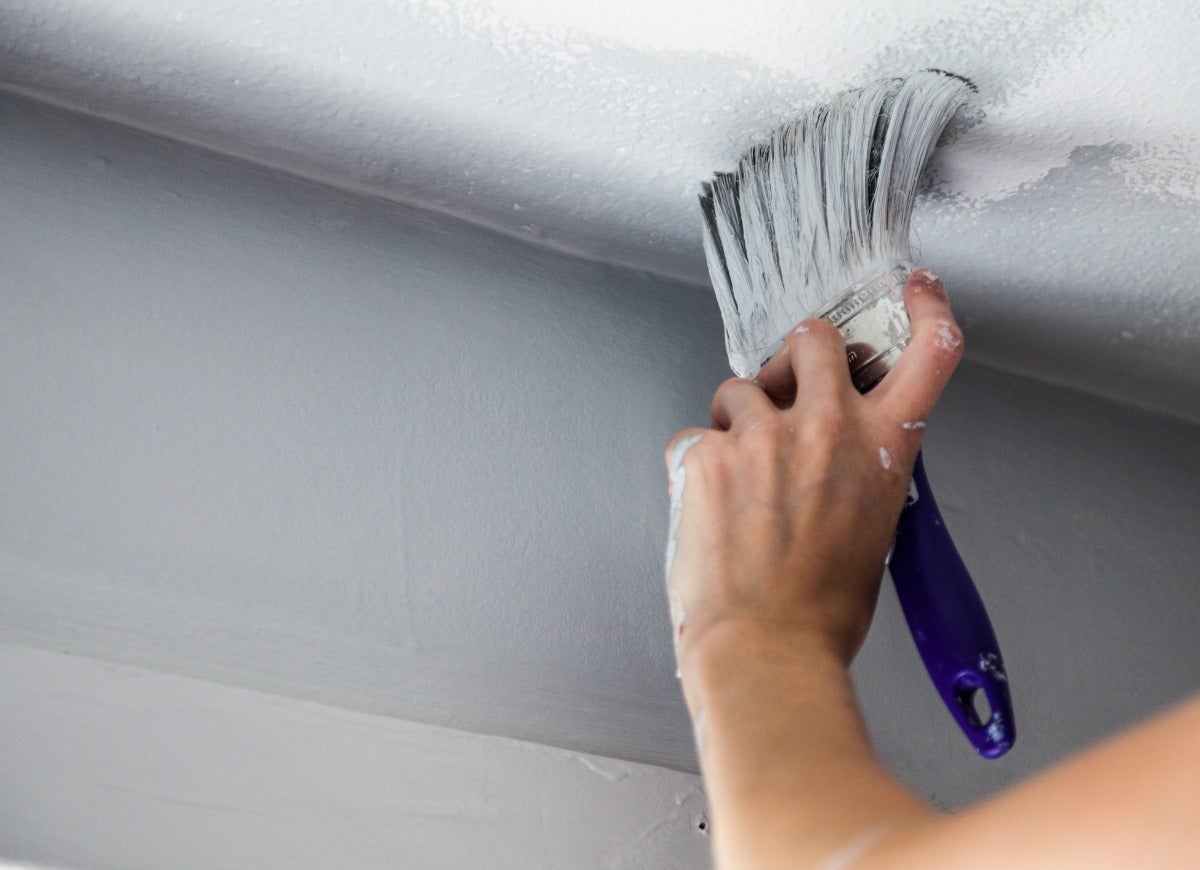
Getting Paint on the Ceiling
As you’re rolling the walls, it’s disturbingly easy to bump the roller into the ceiling, messing up that fresh coat of white paint overhead. To prevent this from happening, always cut in along the ceiling using an angled sash brush, and then roll paint on the wall while the brush strokes are still wet. As you go, keep a wet paper towel or rag handy to wipe off the occasional ceiling smudge.
Not Keeping a Wet Edge
You may be tempted to cut in along the ceiling or trim throughout a room before rolling paint on the walls, but don’t give in! Painting wet paint over dry results in lap marks, which show up as darker or shinier streaks in the finished job. To avoid this, always maintain a wet edge. Continue working in the area where you just applied paint, and work in manageable chunks—for instance, finish painting one wall before moving on to the next.
Not Caring for Brushes and Rollers Properly
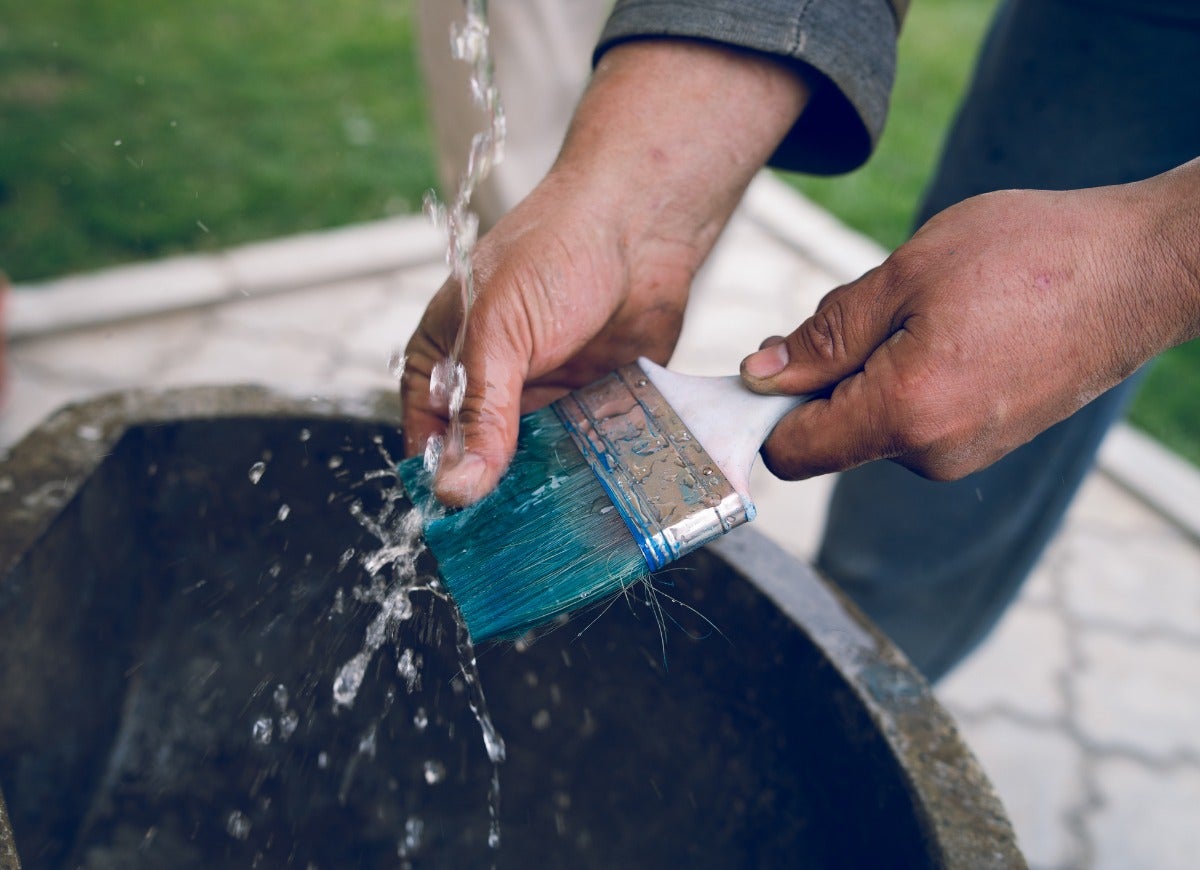
When the job is done, clean paint brushes and roller covers promptly. This will help them last longer and ensure that they’re always ready for the next job.
If you need to take a break from painting but plan on finishing up the next day, there’s no need to clean the brushes. Just cover each brush or roller tightly in plastic wrap, press out the air, and set it aside until you start working again.
