We may earn revenue from the products available on this page and participate in affiliate programs. Learn More ›
Are you looking for an easy way to add years and visual interest to your basic wooden furniture? Grabbing a paintbrush and some paint—but not too much paint—may be just the ticket!
A trendy painting method known as the dry brush technique carries just enough color from the can to the surface in order to create a shabby-chic finish on otherwise drab dressers, tables, and desks. The whimsical texture of uneven streaks is best achieved by using a partially loaded, practically-dry brush on painted or bare wood—a painting faux pas anywhere else.
So, scrap everything you know about applying an even coat, and read on to learn how you can give your furniture a vintage makeover with dry brushing.
Tools & Materials
Bobvila.com may earn a commission from purchases made through these links.
- Painter's tape
- 150-grit sandpaper
- Cleaning cloth
- Latex paint
- Water-based polyurethane sealer
- Stiff-bristle paintbrushes
- Paint strirrers
- Paper plates
- Paper towels
STEP 1
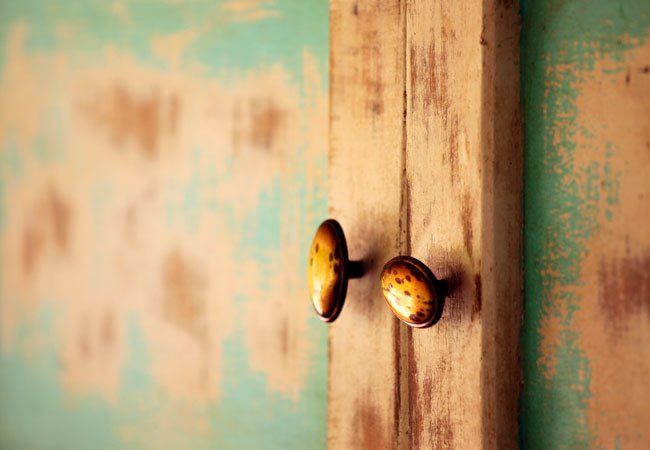
Protect hinges, knobs, and other hardware from paint by detaching them from the furniture. Use painter’s tape to cover any areas of the piece you don’t want to paint.
Step 2
You can apply the dry brush technique to either unvarnished or painted wood furniture. Surface preparation will vary slightly depending on whether the piece has been painted or not.

- If you’re applying the dry brush technique to an unvarnished piece, start by lightly sanding the wood with a 150-grit or finer sandpaper so that the surface is rough enough for the paint to adhere. Then, use a damp cloth to wipe away the sanding dust, along with any dirt and debris.
- If you opt to paint an unvarnished piece before dry brushing, sand it and apply the base coat of paint. You can choose a flat latex paint in any hue for the base coat, but we recommend selecting a darker shade that will contrast with the lighter shade you will use for the dry brush layer. Moving in the direction of the grain, brush paint over the surfaces and joints of the piece, and then allow the base coat to dry overnight.
Step 3
With your surface prepped, you’re ready to paint the dry brush layer. Choose a flat latex paint in a white or light shade that complements the base coat. Then, use either of the following methods to dispense just enough paint for application to help ensure you do not load too much onto your brush at once:
- Pour a small amount of paint onto a paper plate. (Dry brushing should require only a few ounces.)
- Remove the lid of the paint can and lay it flat with the paint side up. Dip a paint stirrer into the open paint can, draw it out, and drizzle the excess paint directly onto the lid.
Then, lightly dip the tip of the brush into the paper plate or paint can lid until you see the color on the brush head. Make sure the bristles still appear separate instead of clumped together. For optimal results, the brush should be as dry as possible. Blot the brush on a cloth or paper towel to remove the excess paint while retaining a hint of color.
Step 4
Place the brush near the top left or right corner of the piece and work your way downward, brushing on a single coat of paint with light pressure and short, fast strokes. You may choose to use multidirectional strokes for a more irregular finish or brush only in the direction of the grain for more uniform streaks.
When the piece is covered, examine it for any paint clumps. (If dried, these will both disrupt your intended design and likely chip!) Remove these with a damp cloth and then reapply paint to the affected area. Let dry overnight.
Step 5
Spray two coats of a clear water-based polyurethane over the piece to preserve the dry brush effect without diminishing its color. Let the polyurethane dry per the manufacturer’s instructions. When you’re in the clear, replace the hardware to put the finishing touch on your flawless dry brushed piece!