
We may earn revenue from the products available on this page and participate in affiliate programs. Learn More ›
Sanding is often the unsung step of any project with wood. It can take a long time, and the results are subtle: Sanding does not transform your workpiece in the way that cutting it to size does, nor does sanding deliver the “wow factor” of a rich stain. However, sanding is a key step when turning raw wood into an investment piece, one that adds value to your home or lifestyle.
Ahead, find out about the tools and materials you’ll need to learn how to sand wood, and the proper techniques that deliver professional-looking results.
What is sanding?
Though sanding makes wood feel smoother, it’s really the process of abrading wood fibers so that they are rendered uniformly rough. We call it “sanding,” and the tools employed are sandpaper and sanders, but no sand whatsoever is involved. Rather, the abrasive surface performs as a cutting tool (not unlike a saw blade) that can be used to cut, shape, and finish raw wood either to completion or to the point where the material readily accepts a finish.
What grit sandpaper do I need for wood?
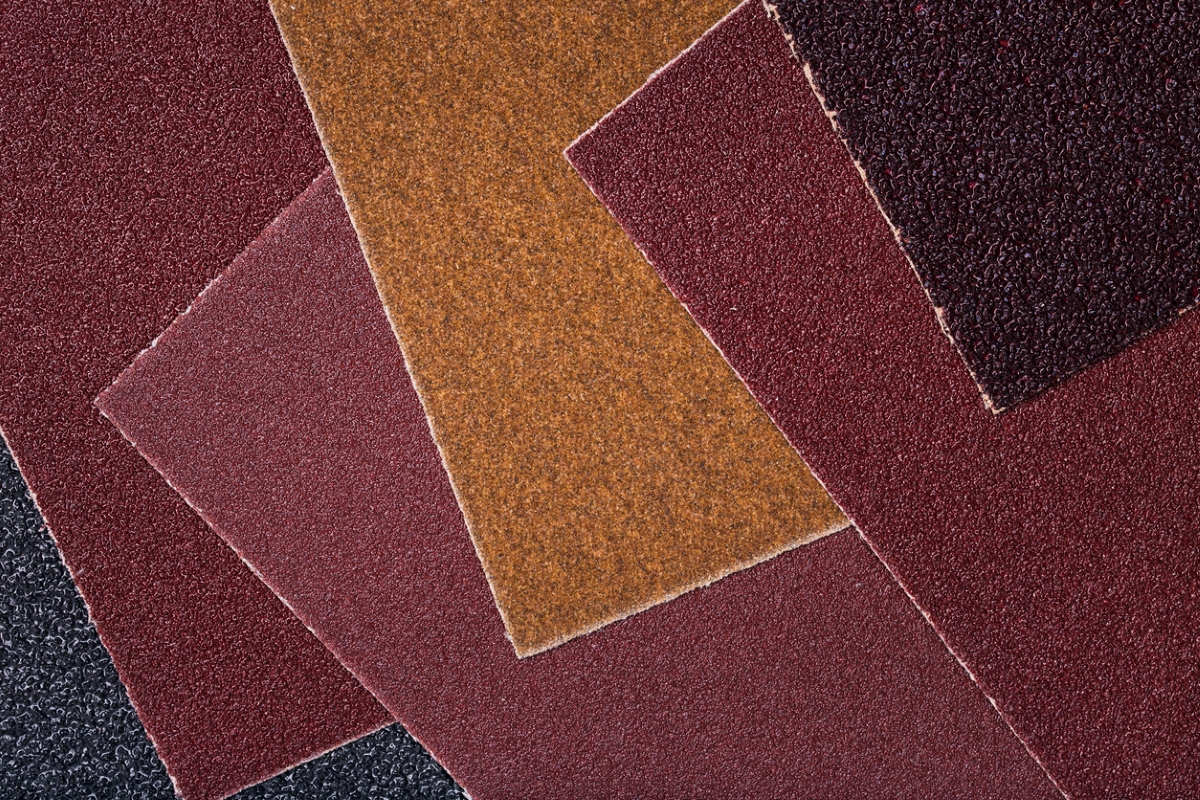
Sandpaper grit refers to the coarseness of the sandpaper and is typically written as a number ranging from P60 to P320. The grit numbers indicate the texture of the sandpaper, with lower numbers used for very coarse sandpaper and higher numbers used for fine-grit products.
- P60 to P80: Extremely coarse grit sandpaper
- P100 to P150: Medium grit sandpaper
- P180 to P220: Fine grit sandpaper
- P320: Ultra-fine grit sandpaper
Understanding what grit sandpaper for wood finishing, paint stripping, and other projects is appropriate can be very important. Typically, extremely coarse grit sandpaper is used for removing large amounts of paint and wood, though it can also be used for quickly rounding corners. Medium grit is more suited to general purpose wood sanding, and smoothing wood surfaces for paint application.
Regardless of whether the piece has been finished before or you are using a power sander over a sanding block, the grit number remains the same. Fine grit sandpaper is great for finishing wood furniture; it can be used after medium grit sandpaper for a smoother finish. Similarly, ultra-fine grit sandpaper is ideal for achieving an almost glass-smooth texture following the use of fine grit sandpaper.
Before You Begin
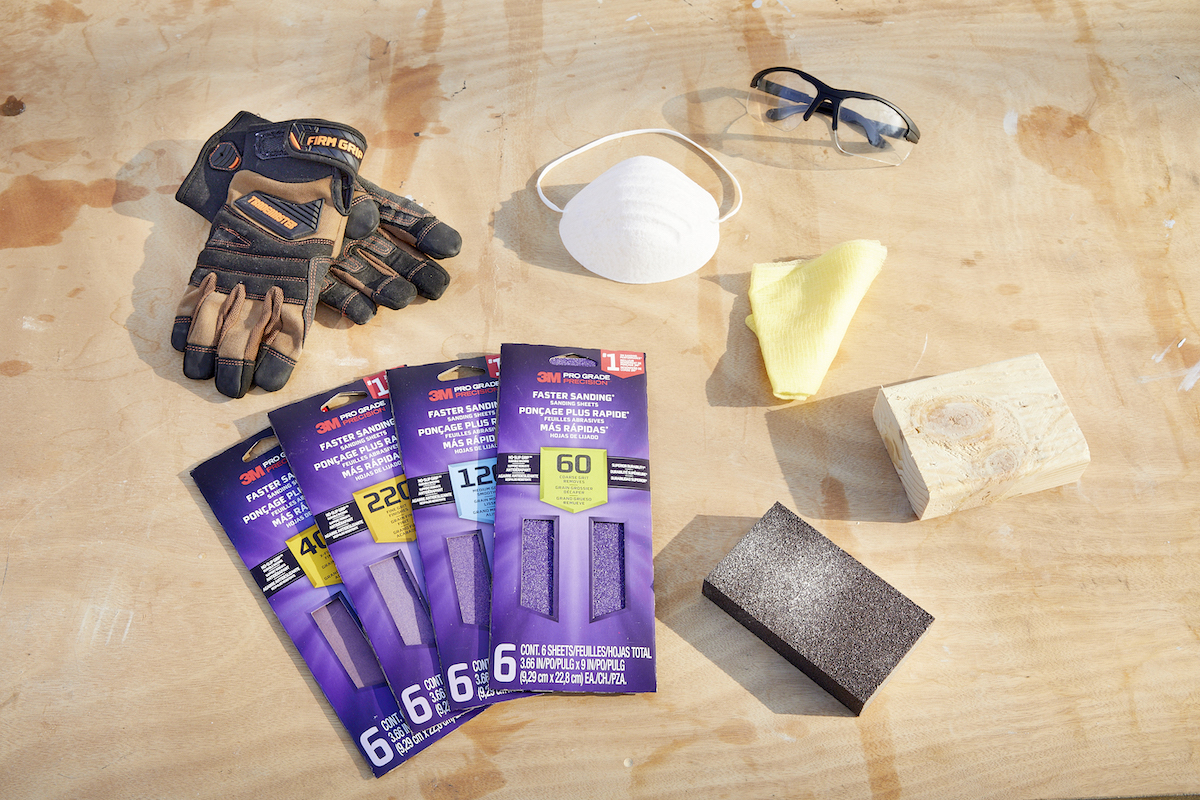
Never start a project without first considering the potential risks, and how to mitigate these problems. When you are sandpapering wood, it’s recommended to wear safety glasses and a dust mask to avoid breathing airborne sawdust.
Set up in a garage, shed, or any other covered location. If you choose to sand outside, just keep in mind that rain can ruin a woodworking project by causing the wood to swell. Additionally, any wind can send sawdust flying across the neighborhood.
Sanding in an open garage or open shed is an excellent way to keep the project safe from rain and wind, while also ensuring the area is well ventilated.
How to Sand Wood by Hand
Using nothing but some sandpaper and your hands for the sanding of wood projects is a good way to tackle the final pass on a larger project, to work in narrow spaces, or to finish small, intricate jobs where power sanders may damage the finished product.
Hand sanding leaves behind fewer scratches than a power tool and it is easier to sand contours and tight corners. If you are working on a small, delicate project or you are just looking for a smooth finish on a woodworking project, hand sanding is a good idea.
SUPPLIES
Sanding block
Sandpaper
Sand molding profile set
Project Overview
Working Time: Varies from 5 minutes for sanding a painted surface before a fresh coat, to 2 hours for detailed finish sanding
Total Time: 20 minutes to 2.5 hours
Skill Level: Beginner
Estimated Cost: $10 to $25
Hand-sanding gives you the most control over shaping the wood surface. You can address corners and recesses that a machine would not be able to reach. Yes, we use powered sanders on nearly every woodworking or finishing project we complete, but we always do some sanding by hand.
Step 1: Select an appropriate sanding block and sandpaper for the job.
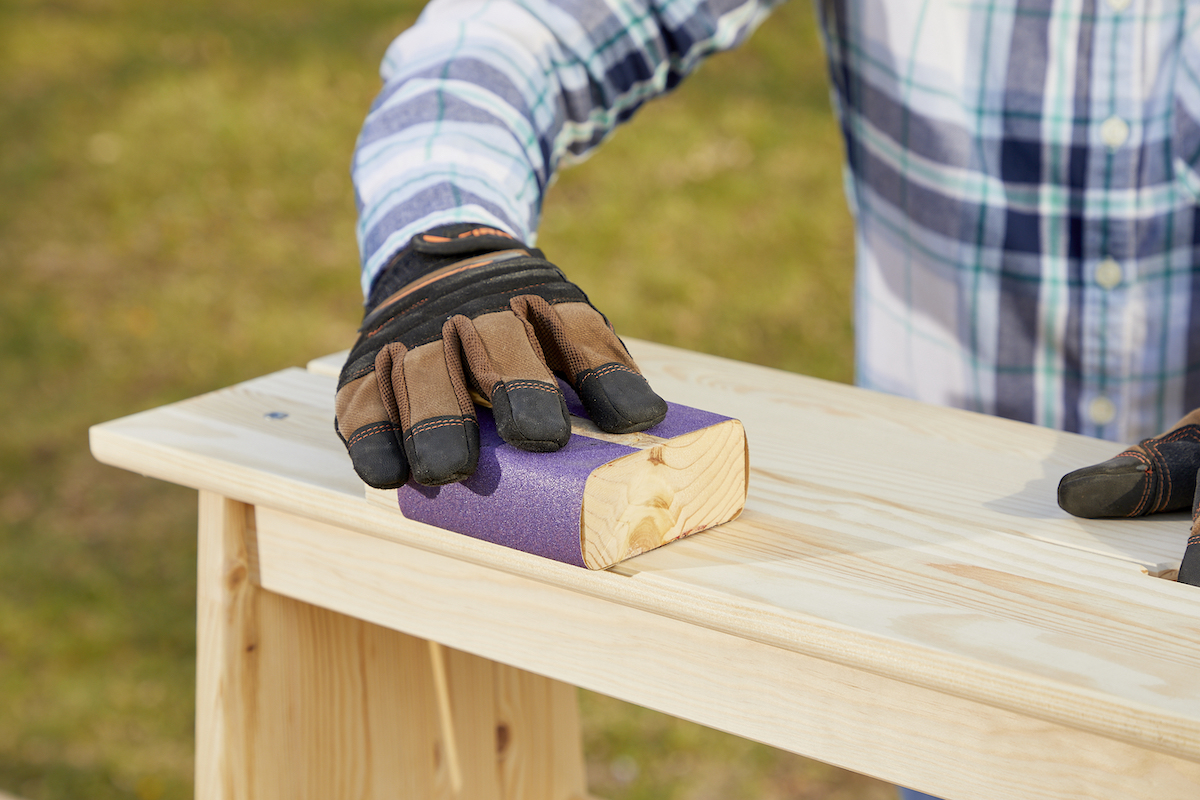
The first step is choosing the right sandpaper and sanding block. Use the appropriate grit sandpaper for the task. If you need to remove a great deal of material, a coarse grit is a good choice. For those who are simply prepping a surface for paint, a medium-grit sandpaper will work. Depending on the project, a variety of grits may be needed. For flat surfaces and sharp edges, use a sanding block with the sandpaper; buy one at the hardware store or cut your own from scrap wood.
The sanding block enables you to apply even pressure, and it prevents your sandpaper from bunching up or slipping. If you’re sanding molding or trim with an intricate silhouette, opt for a specialty rubber or foam profile sander in order to pull off a sharp, professional look.
Step 2: Sand with the grain and put steady pressure on the block.
No matter what type of edge you’re going for, always maintain steady pressure and sand with, not against, the grain. Don’t employ sandpaper to remove things like pencil marks or dried glue, but do use it to smooth joints or filled nail holes.
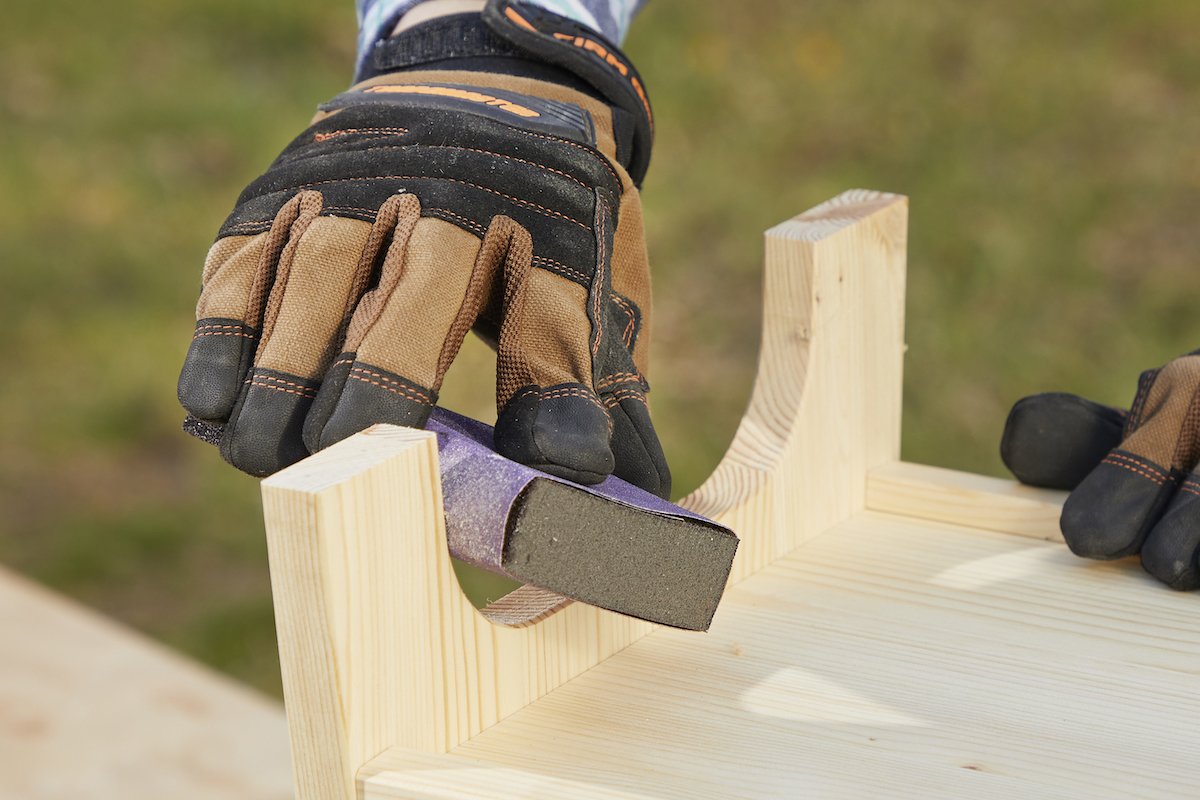
When sanding curves or forming a rounded edge, the sanding block can be a hindrance due to the straight edge and flat faces. Instead, you can grip the sandpaper in your hand, curling your fingers to create the desired arc as you sand. Alternately, you can purchase sand molding profiles that allow you to get a good grip and keep a consistent shape while sanding.
Sanding with a particular grit is complete when the entire surface feels consistent without noticeable variation when touched.
Step 3: Switch to a finer grit sandpaper, then wipe the workpiece.
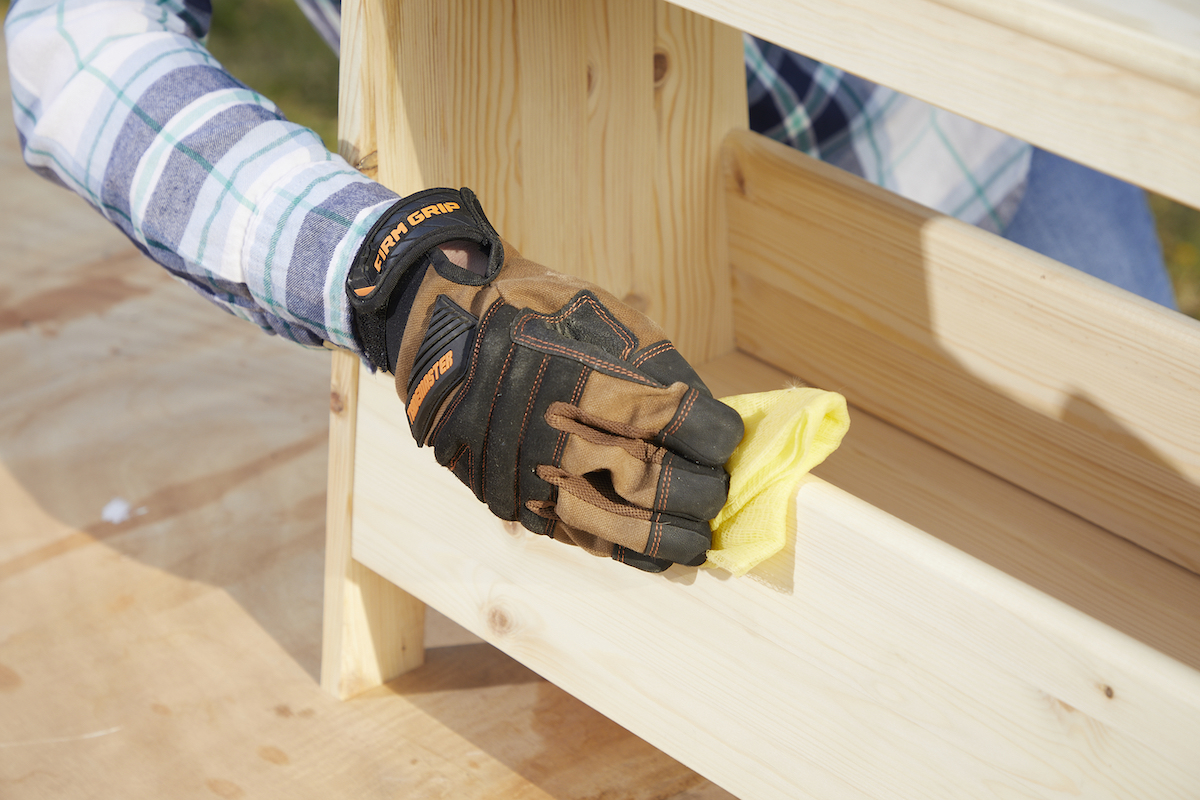
Most sanding projects start with a coarse- to medium-grit sandpaper that can remove the deepest imperfections relatively quickly. After sanding the entire project to remove these dents and dings, you can then switch to a finer grit sandpaper that can smooth out the scratches left by the coarse grit sandpaper.
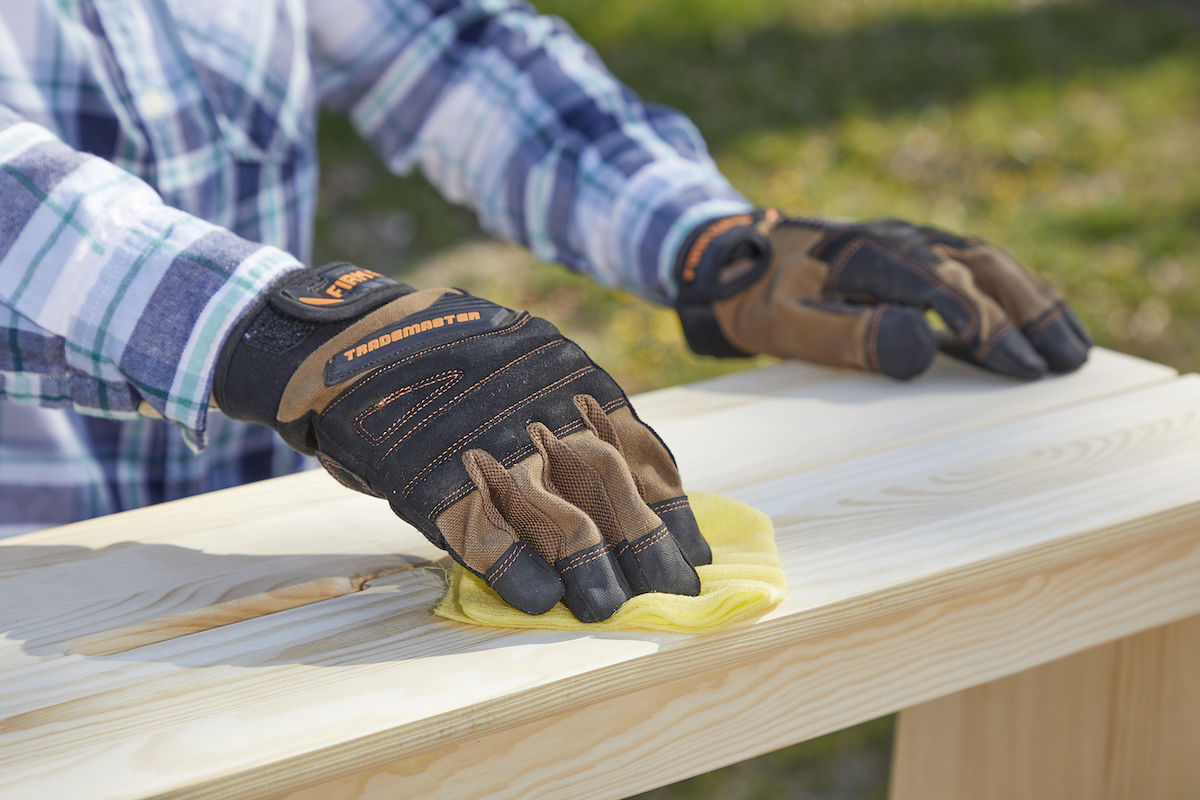
If you want an even smoother, glass-like finish, switch to an ultra-fine grit sandpaper after finishing with the fine grit sandpaper. When you are satisfied with the results, wipe down the workpiece with a dry or slightly damp cloth to remove any lingering dust, and clean up the work area.
Sanding With Power Tools

Hand sanding is typically reserved for finishing smaller projects, sanding narrow corners and crevices, or working on intricate woodworking projects. However, when you need to sand a large piece of furniture, build a staircase, stain the deck, or sand a new floor, a power sander is a quick, efficient way to complete the job.
Best Palm Sander

Makita BO5030K 5-Inch Random Orbit Sander
The Makita sander’s powerful motor and limited vibration make it ideal for sanding wood. See our full review.
See ItSUPPLIES
Project Overview
Working Time: Varies from 20 minutes for sanding a small shelf, to 6 hours or more for sanding a 15×15 deck surface
Total Time: 40 minutes to 6.5 hours
Skill Level: Beginner
Estimated Cost: $20 to $100
It’s not strictly necessary for any job, but a power sander can sure save a lot of time and sweat. A highly recommended power tool for this job is a random-orbit sander. Consider investing in one if you don’t already own a random-orbit sander.
The perfect tool for so many tasks, it smoothes wood quickly and evenly, and it does so without leaving surface marks. Sanding disks of varying grits may be affixed, and especially when the tool is connected to a shop vac, sawdust is not an issue.
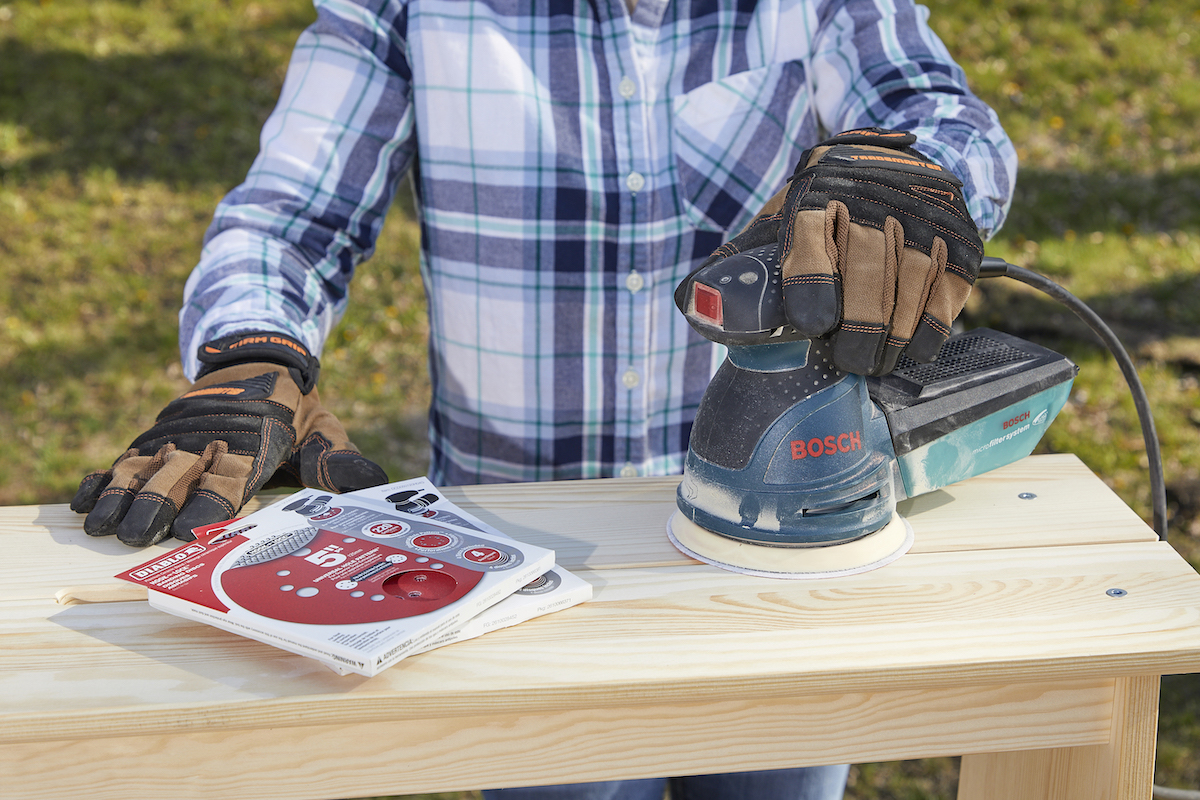
Step 1: Choose the right power sander and sandpaper for the job.
Before sanding anything, decide on the right grit of sandpaper based on how much material needs to be removed. Rough-grit sandpaper is typically used for removing thick layers of material, before switching to medium-grit to smooth the surface of the wood.
Additionally, consider the type of power sander you will be using for the project. Belt sanders are powerful, aggressive tools that remove a lot of material in a short period of time, but they aren’t very well suited to finish sanding. Random orbital sanders are versatile tools that can be used for almost every stage of sanding, except for detailed finish sanding, which is best completed by hand.
Finish sanders are another option to consider. As the name suggests, they are designed for finish sanding after using a random orbit sander or belt sander to remove the top layer of wood. The finish sander can then be equipped with fine or ultra-fine sandpaper to create a smooth finish.
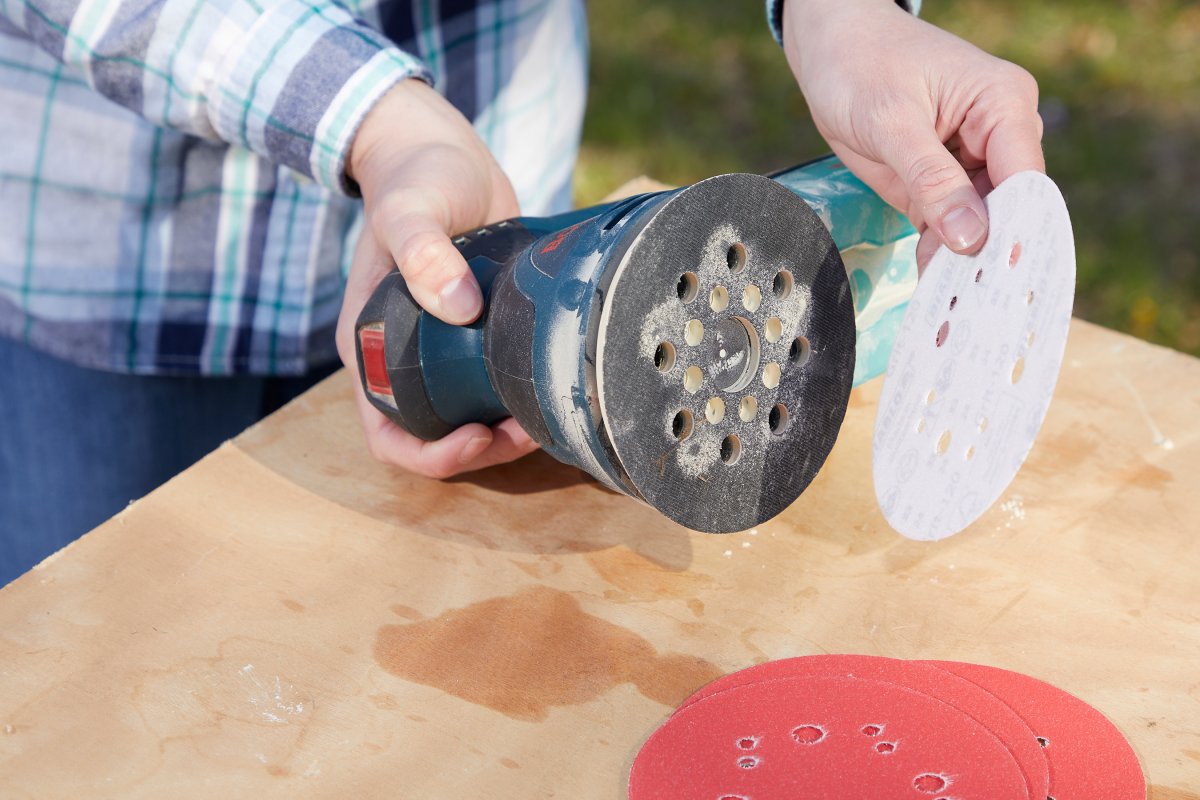
Step 2: Load the sander.
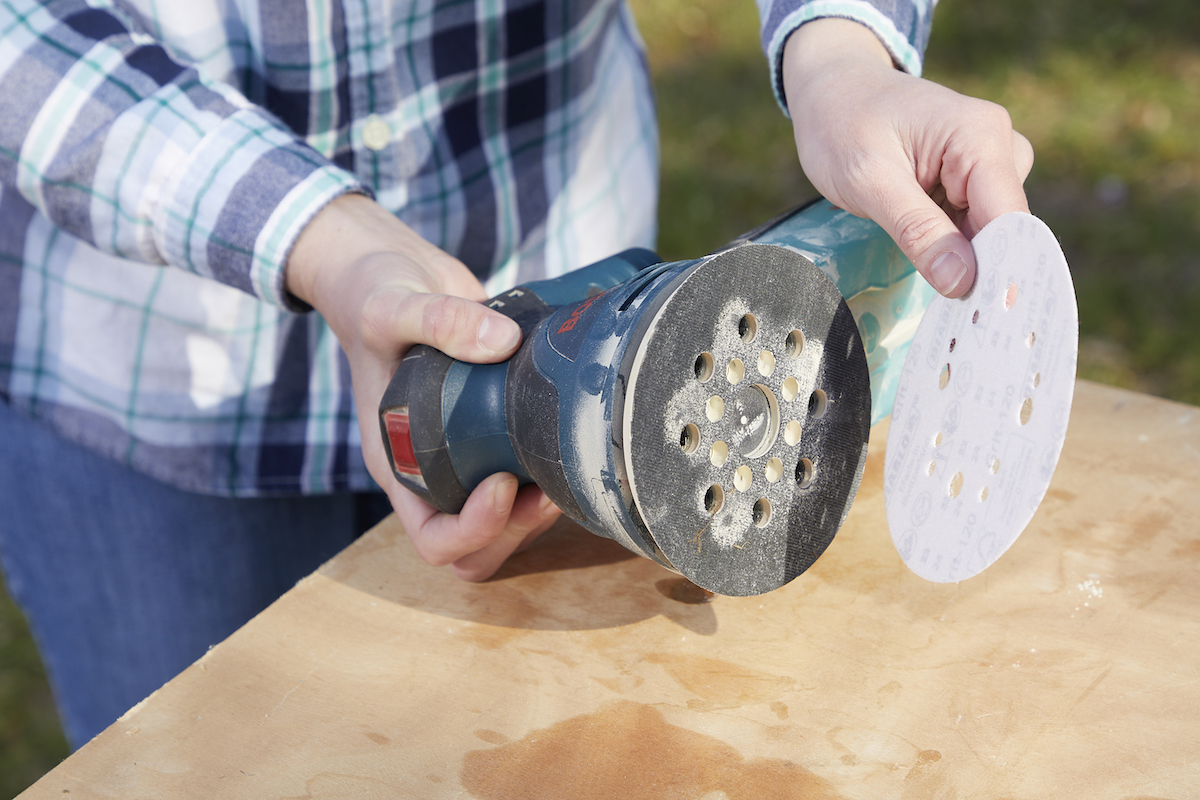
After selecting the right sander and the correct grit sandpaper for the job, load the sandpaper onto the base of the sander. Some power sanders will use a simple hook and loop system, so you can peel off the old sandpaper and load a new piece relatively easily.
Other power sanders may have small clamps at the sides of the sander to hold the sandpaper in place. Inspect your power sander to find out which system the tool uses, then line up and load the sandpaper onto the base of the sander.
Step 3: Sand the surface.
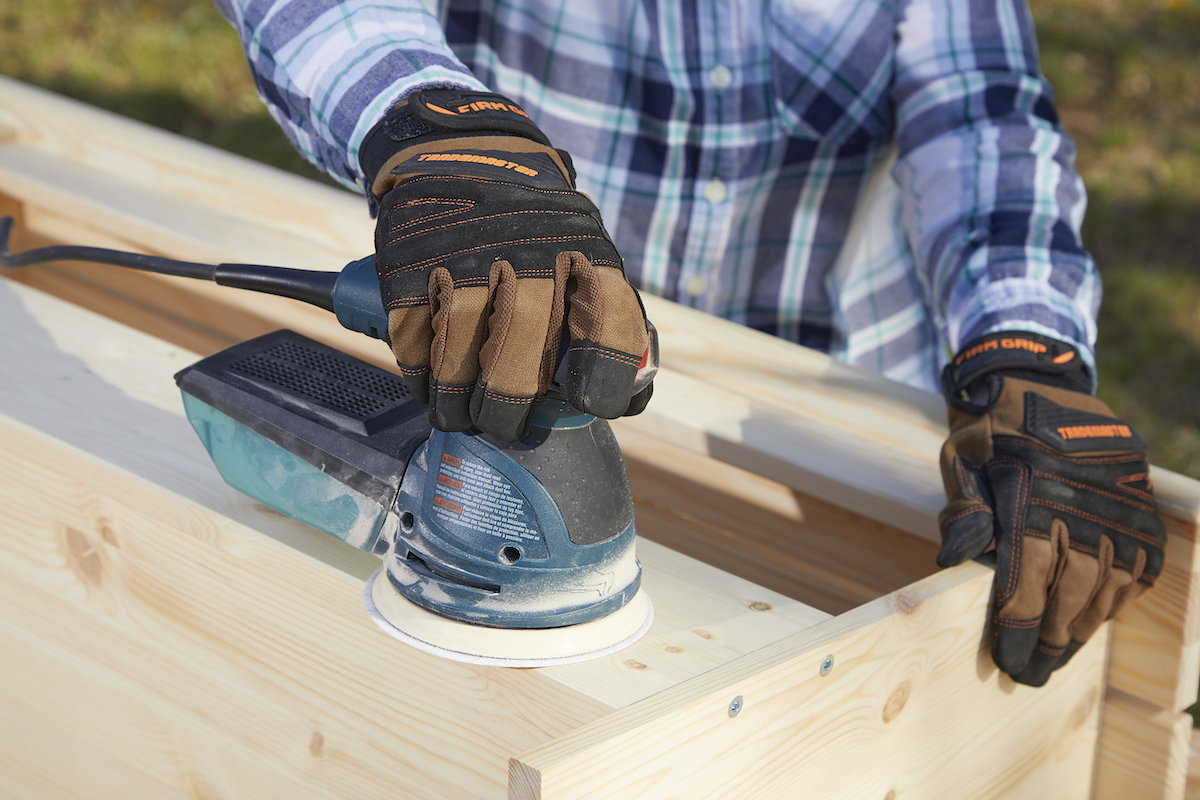
Depending on the type of sander, you may need to have the sanding pad in contact with the wood before starting or you may need to let the sander reach full speed before applying it to the wood. Typically, sheet, detail, and random orbit sanders should be placed on the material so that the entire sanding pad makes contact with the workpiece before turning on the sander. Belt and drum sanders should be at full speed before making contact with the wood.
Move in back-and-forth strokes with the grain if you are using a sheet or detail sander. For random orbit sanders, work in long, smooth strokes with the grain. You can also work with strokes against the grain or you can even sand in small circular motions with a random orbit sander. Belt and drum sanders should also be moved in parallel strokes with the grain to achieve a smooth, consistent finish.
RELATED: The Best Sanders for Furniture
Step 4: Use a finer grit sandpaper for a smoother finish.
In the initial steps of this process, a rough- or medium-grit piece of sandpaper can remove the surface layer of material and begin to smooth the finish of the wood. Medium-grit sandpaper creates a smooth enough grit for paint or stain, but if you aren’t going to be covering the wood, or you are looking for a smoother finish, then it’s suggested to switch to a fine-grit piece of sandpaper.
Use fine-grit sandpaper to remove the top layer of material, including any shallow scratches left behind by the medium-grit sandpaper. Ultra-fine sandpaper can be used after the fine-grit sandpaper to achieve an almost glass-like smoothness. When you are satisfied with the results, wipe down the workpiece with a dry or slightly damp cloth and clean up the work area.
Sanding for Finishing
Sanding helps not only prior to finishing, but also during finishing. If you plan to clear-coat or stain your workpiece with an oil finish, follow these steps.
- Sand with 220-grit paper.
- Wipe down the surface with a wet rag or sponge. This raises the grain, making the wood more receptive to the oil.
- Apply Danish or teak oil (with the grain) using 320-grit paper.
- Continue applying the oil until you get a light “slurry” of sawdust and oil.
If you intend to paint your workpiece, sanding will also be essential to your success. It roughs up the surface, giving the paint something to stick to. Plus, sanding between coats of paint smoothes out any bumps or raised areas that are produced, so you are left with a super smooth, factory-like finish.
Sanding Previously Finished Wood
Sanding a piece of furniture, an old fence, or any other previously finished wood project will be a bit different than sanding a completely unfinished piece of wood. While you can tackle this project with nothing more than a belt sander and rough grit sandpaper, it is typically easier to use a stripping solution to help break down the paint or stain before picking up the sander.
Apply a paint stripper to the project, ensuring that you read and follow the direction for use provided by the manufacturer. After application, let the paint stripper sit for the indicated period of time before wiping it away with a clean rag or cloth.
Wipe down the woodworking project with a damp cloth to remove any remaining stripping solution, then use a power sander to remove the top layer of previously finished wood. You can start at 40-grit sandpaper for this job and work your way to a medium-grit or fine-grit sandpaper, depending on the intended finish. At this point, you can paint, stain, or otherwise seal the wood to finish the project.
- Use a paint stripper to quickly remove paint and stain from previously finished wood.
- Start with rough-grit sandpaper to remove thick layers of previously finished material.
- Switch to medium-grit or fine-grit sandpaper to create a smooth finish.
Final Thoughts
Sanding projects can range from simply scuffing up a painted surface so that a new coat of paint bonds properly to sanding an entire floor or deck to get a smooth finish that you can walk on without fear of cuts, scratches, or splinters. Due to the wide range of projects, the timeline for sanding can also vary significantly, so it’s important to consider the scope of the project to be able to better estimate how long it will take to complete.
Hand sanding tends to be used for light-duty finishing, contour sanding, or working on small, delicate woodworking projects, so it typically takes less time than using a power sander. In most cases, power sanders are used for larger or more involved projects that may require a substantial amount of time to remove thick layers of material. These sanders can also be used for sanding multiple layers of wood with increasing grit levels to create a smooth finish.
Looking to improve your collection of woodworking tools? Check out the best woodworking tools we’ve reviewed this year.
