
We may earn revenue from the products available on this page and participate in affiliate programs. Learn More ›
Whether your goal is to renew a faded plastic deck chair or change the color of a home decor item like a picture frame, flower pot, or holiday ornament, there are two main things to know about painting plastic: It’s possible and it can be easy. Although there are traditional paints formulated for use on plastic, spray paint is the easiest type of paint to use.
“While using spray paint on plastic is always recommended, you could also brush and roll paint onto plastic but you will not get the nice smooth finish you would get when spraying it,” says Ryan Adamski, Sr. Production Manager at CertaPro Painters.
When applied carefully, spray paint can transform a not-so-great looking plastic surface into a fresh, factory-finish look. If you’ve never spray-painted before, it’s best to practice the perfect technique of layering light dusting coats on a disposable scrap like flat cardboard. Learning how to paint plastic isn’t difficult to do; it simply takes some basic skills that are outlined below.
What type of paint should you use for plastic?
It’s important to purchase spray paint that’s designed for use on plastic. “There are paints that are specifically designed to adhere to plastic, like Rust-Oleum spray cans and Krylon Fusion,” says Adamski. In addition, there are plastic-friendly multisurface paints that may also be appropriate for wrought iron, ceramic, metal, glass, and vinyl, so you may find another use for any paint that happens to be left over.
Among the several brands that make spray paint for plastic, I’ve personally had a lot of success using Krylon’s COLORmaxx and Fusion on a variety of plastic surfaces. Beyond their standard colors, the brands offer metallic options for plastic, too. Even though a label might say that the paint needs no primer, I always use a primer for plastic to make sure the finished look is as professional as possible.
Another thing you’ll want to check is whether the paint is designed for interior or exterior applications. Some multipurpose spray paints are designed for both, which further extends the possibilities of use.
Tools & Materials
Bobvila.com may earn a commission from purchases made through these links.
- Painter's tape
- Rubbing alcohol
- Spray paint primer for plastic
- Spray paint for plastic
- Clear acrylic spray sealant
Project Overview
Working Time: 1 hour
Total Time: 3 hours
Skill Level: Beginner
Estimated Cost: $20 to $30
Before You Begin
How to spray-paint plastic starts with choosing a location where the air temperature is between 50 and 90 degrees, which is ideal to help adhesion and prevent bubbling or running while spray-painting. Make sure to set up the project in a well-ventilated that doesn’t have much air movement so dust and debris can’t collect on the surface while the paint is drying. It’s best if there aren’t trees overhead, since debris can drop and wreck a perfect paint finish. Wear a mask and gloves while spray-painting, too.
Another consideration for painting a plastic object is that there is usually a top and bottom, so the object will need to be flipped over to be painted. I usually paint the bottom of an object first, so that the top gets the final coats and I am less likely to mar the finish accidentally when flipping it over.
How to Paint Plastic Surfaces
Painting plastic is similar to painting other types of surfaces. However, there are a few specific details that are unique to plastic painting success. Those details are included in the steps below.
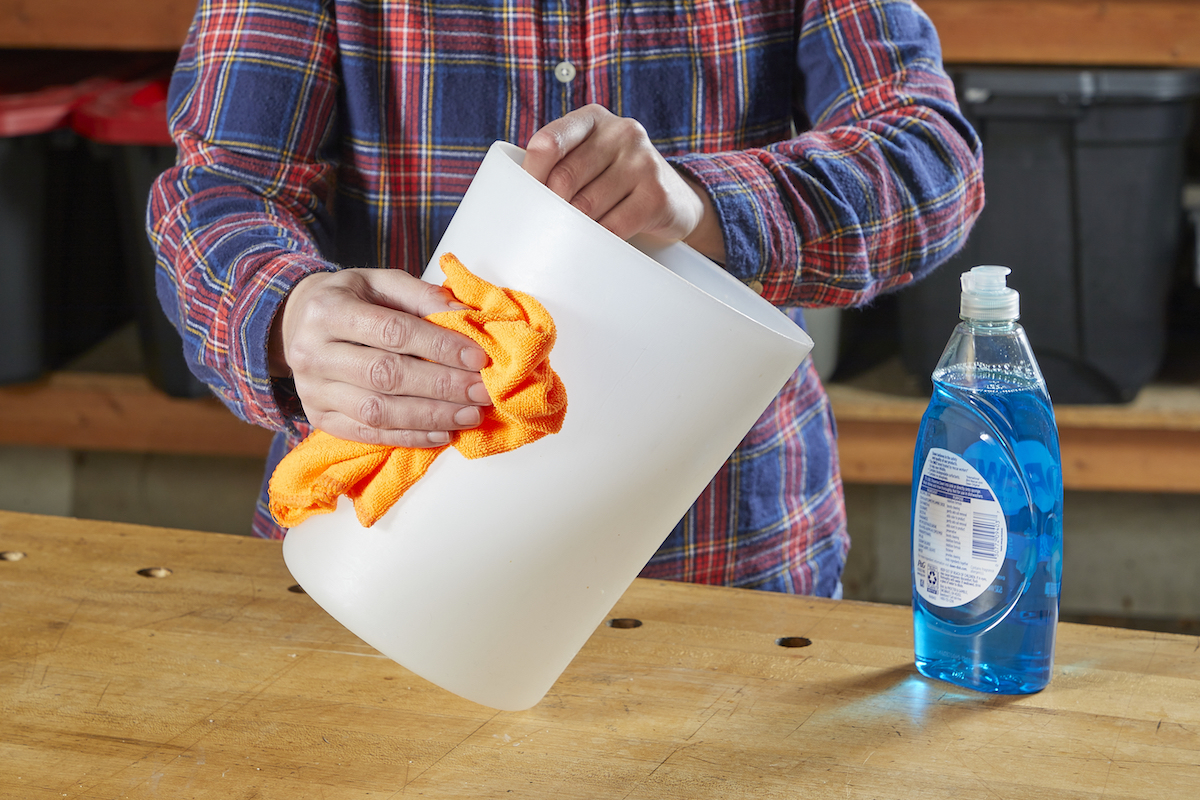
Step 1: Clean the plastic surface.
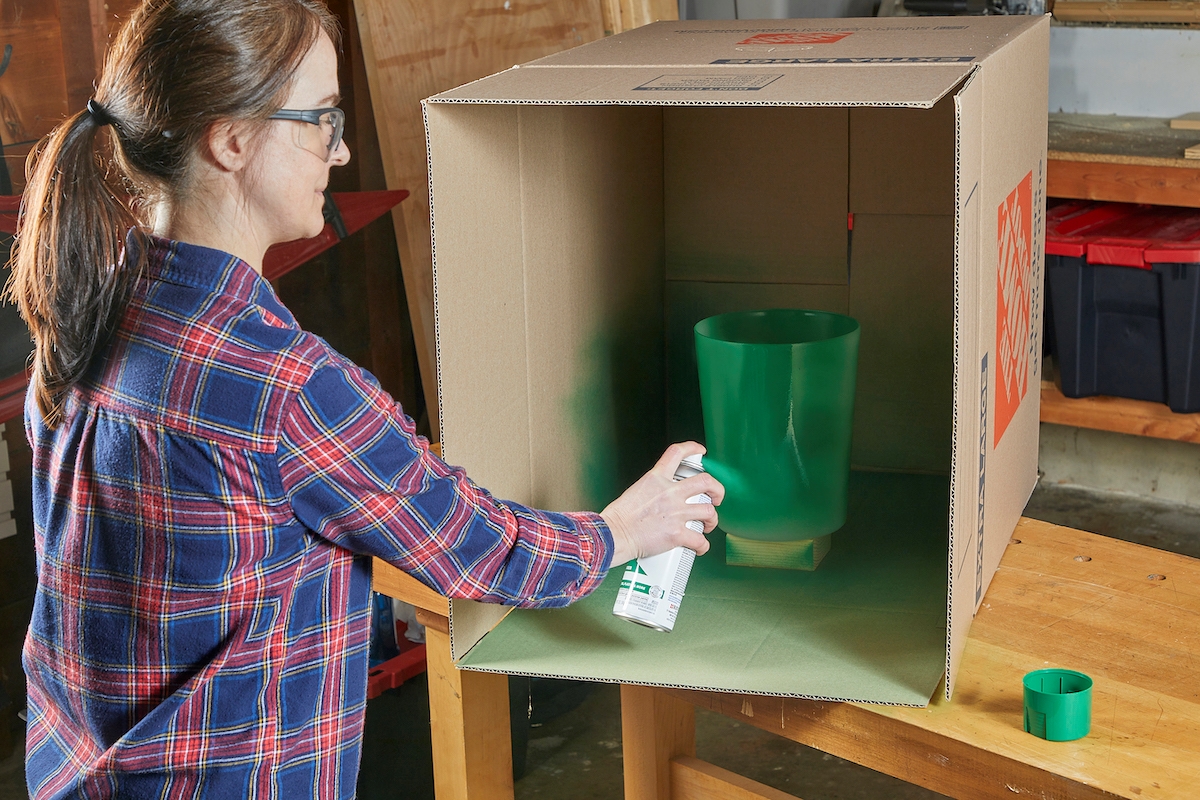
Proper preparation is the key to a smooth and lasting finish. This first step involves setting up the work area and preparing the plastic surface for paint. To help prevent accidents and minimize cleanup, set up a protected work area, lining it with newspapers, sheets of cardboard, or a tarp. The tarped area should be at least 2 or 3 feet wider than the plastic item that will be painted to prevent accidentally spraying other surfaces. After the work area is ready, it’s time to prep the plastic surface.
“Prep is very important when painting plastic. You want to first make sure the surface is completely clean,” says Adamski. There are a few ways to clean the surface. Adamski says that regular cleaning products or a 3:1 ratio of water to bleach work well.
Step 2: Lightly sand the plastic.
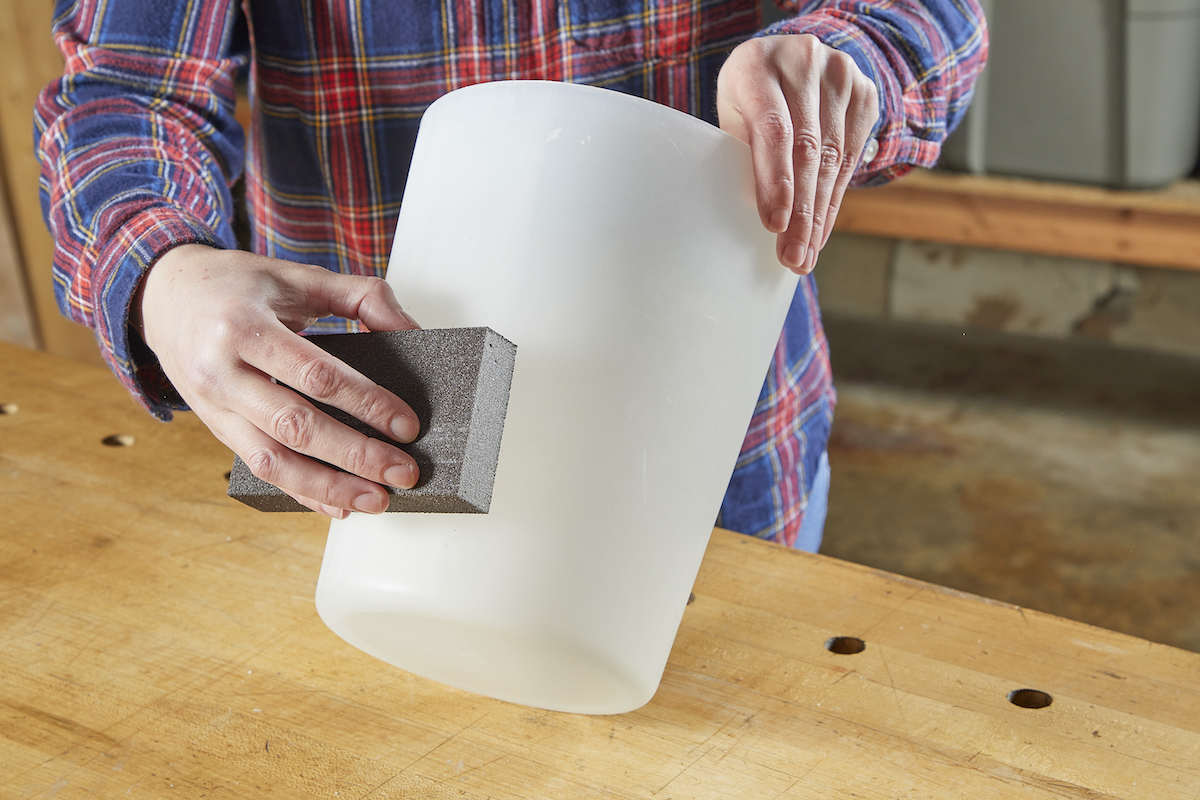
This sanding step isn’t entirely necessary for all plastic surfaces. Some spray paints like Krylon’s Fusion don’t require sanding plastic or priming, but not all paints will adhere to a slick plastic surface. If the surface is slick, it’s a good idea to lightly sand with high-grit sandpaper or a sanding block, like 220 or greater. (When in doubt, always reach for the highest grit.)
RELATED: Buyer’s Guide: The Best Paint for Plastic
Step 3: Remove the sanding dust.
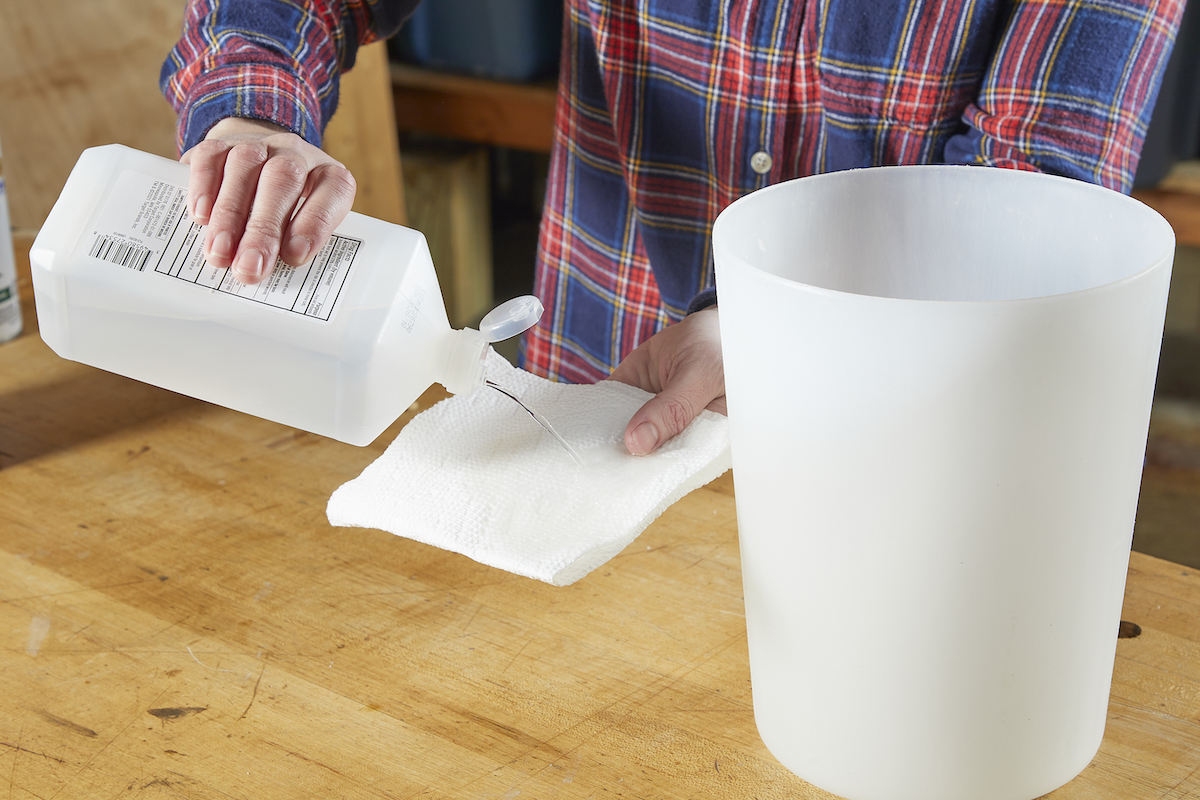
After sanding the surface, thoroughly wipe it down with a cloth to remove any dust. Then, use rubbing alcohol to remove any lingering residue. There’s an important reason why it’s crucial to remove any particles on the surface: Paint will attach to the particles and not the surface underneath, which can wreck a perfect paint finish.
If there are any parts of the object that you don’t want to paint, cover them up with painter’s tape.
Note: While mineral spirits also do the trick to remove residue and prep the surface for paint, there may be local regulations and guidelines for disposing of cloths covered in mineral spirits. It’s usually easier to use rubbing alcohol.
Step 4: Prime the surface.
Now that the surface is ready for paint, it’s time to prime. Choose a primer that is designed for use with plastic. While there are some paint and primer for plastic options on the market, I always use just a regular primer. Shake the can vigorously for about a minute to prepare the paint. Before spraying the object, practice your technique on a scrap of cardboard.
The technique for priming is the same as painting. Keep the can a distance of about 12 inches from the surface, and use long sweeping dusting strokes across the plastic. Don’t stop at the edge, as paint will build up anywhere you pause while spraying. Spray across and past the surface, back and forth. Apply a light coat, then wait for the manufacturer’s recommended time to apply another dusting coat. I usually apply two to three light coats before moving on to the paint color.
Step 5: Apply the first coat of paint.
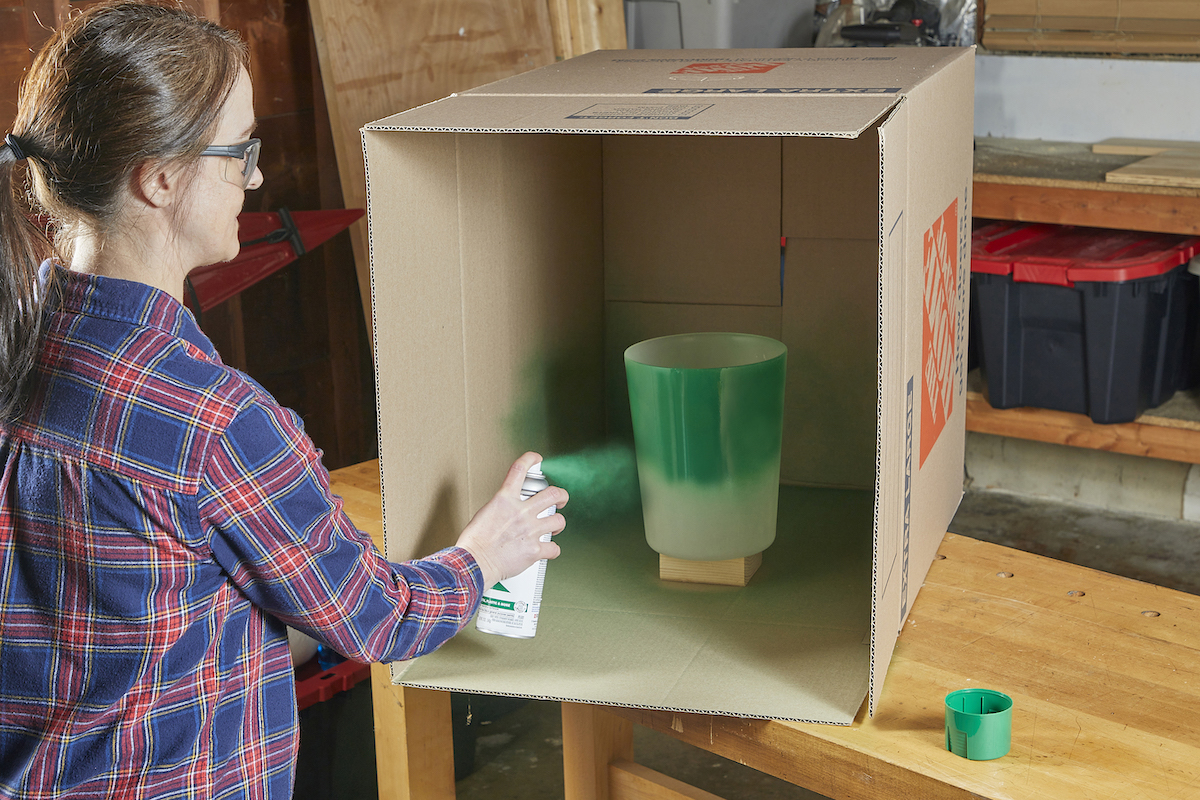
After waiting the recommended amount of time for the primer to dry—usually about 25 minutes—it’s time to apply the chosen paint color. Again, shake the can and then test the paint on a scrap to make sure the spray is uniform and you are comfortable with the technique. Then hold the nozzle of the spray paint can about 12 to 18 inches away from the plastic.
Start spraying with light dusting coats in a spot slightly to the side of the surface, then move the can across in a smooth motion, stopping only once you’ve gone a few inches past the edge. Continue in this way, overlapping your strokes, until you’ve lightly coated the entire area.
Step 6: Apply additional coats as needed.
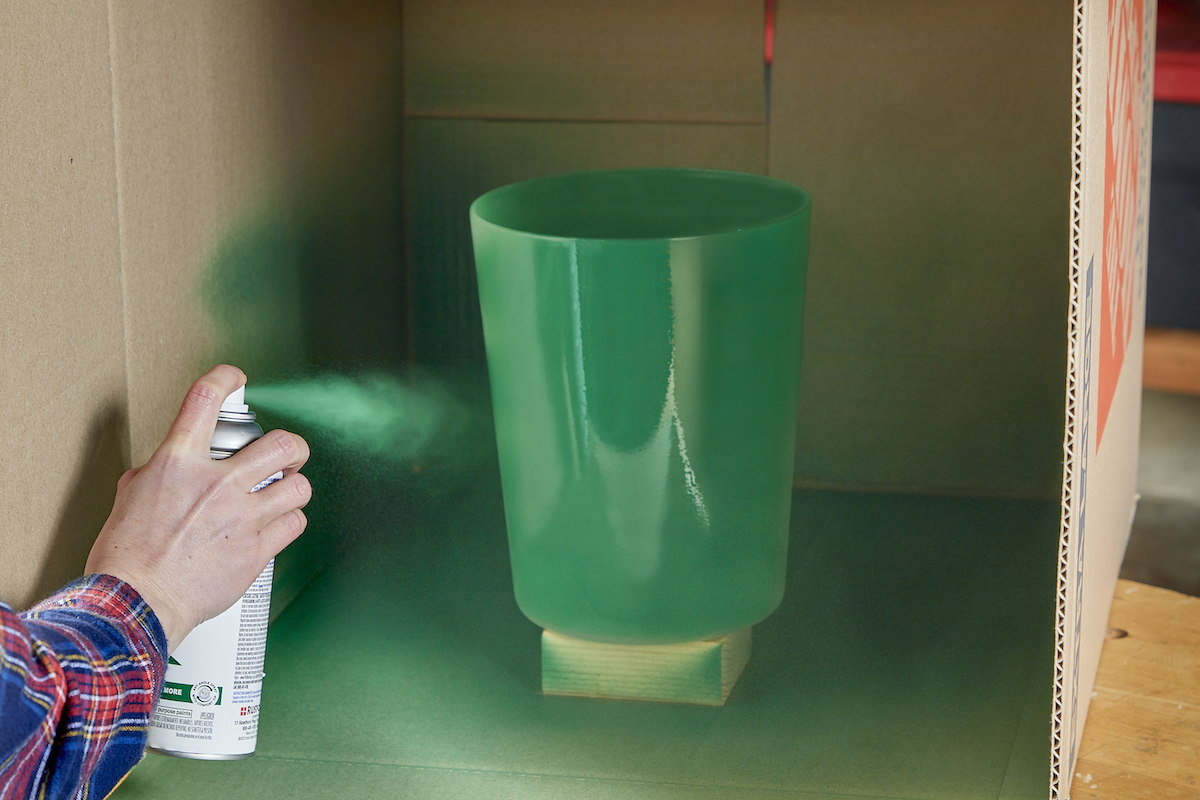
There’s a sweet spot when it comes to timing additional coats. Wait the recommended time—usually about a minute—and then apply another dusting coat. If you wait much longer, most brands will recommend waiting until the paint is fully dry, which can be about 30 minutes. It will take several light coats to build up to the color on the top of the can. Do not rush the process and avoid over-spraying that can lead to frustrating drips or bubbles on the surface. Slow and steady is the key to achieving a professional finish.
Expect the paint to be dry to the touch within about 20 minutes, but wait at least 30 minutes before attempting to touch the surface.
Step 7: Protect the paint with acrylic sealer.
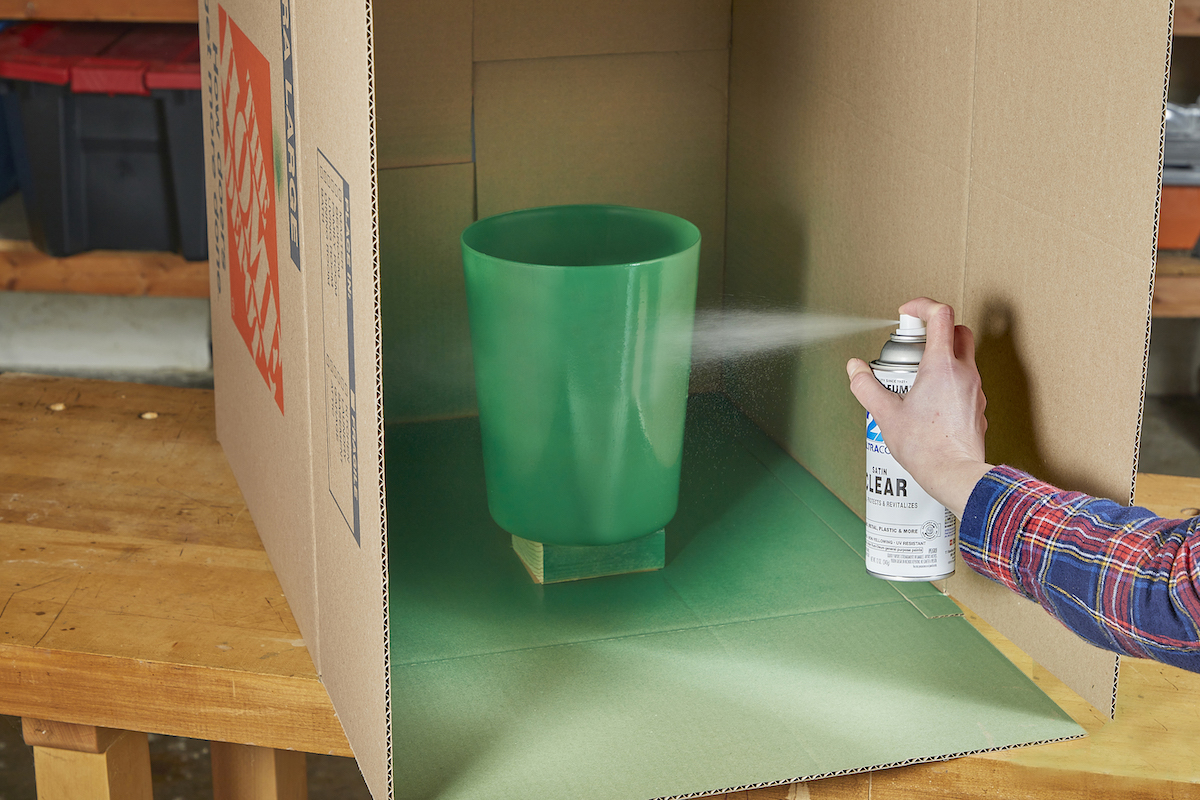
This is optional, but if the plastic you’re painting will spend time outdoors or will experience heavy use, consider protecting the item with a clear acrylic sealer. Sealers are available in glossy or matte, so there’s no worry that you’ll need to have a shiny finish if that’s not the look you desire.
Once you’ve given the final layer of paint plenty of time to cure, spray on the sealer using the same smooth, overlapping strokes with which you applied the actual paint. A single coat of sealer may do the trick, but I usually spray on two or three coats. Between each, allow 30 minutes of drying time. After the final sealer coat, wait 24 hours before handling the object to make sure the surface is fully dry and set.
Tips for Painting Plastic
Those wondering can you spray-paint plastic, the answer is you can. It isn’t tough, and it’s an easy sustainable way to keep using older items like deck chairs that have faded in the summer sun. It’s important to remember these essential tips:
- Choose paint that’s formulated for use on plastic.
- Set up in a well-ventilated area and wear a mask and gloves.
- Lightly sand slick plastic surfaces to make sure the paint adheres.
- Use light dusting coats on the plastic surface.
- Follow the drying time instructions on the paint can for applying multiple coats.
- Allow the paint to dry fully before touching it or attempting to move it.
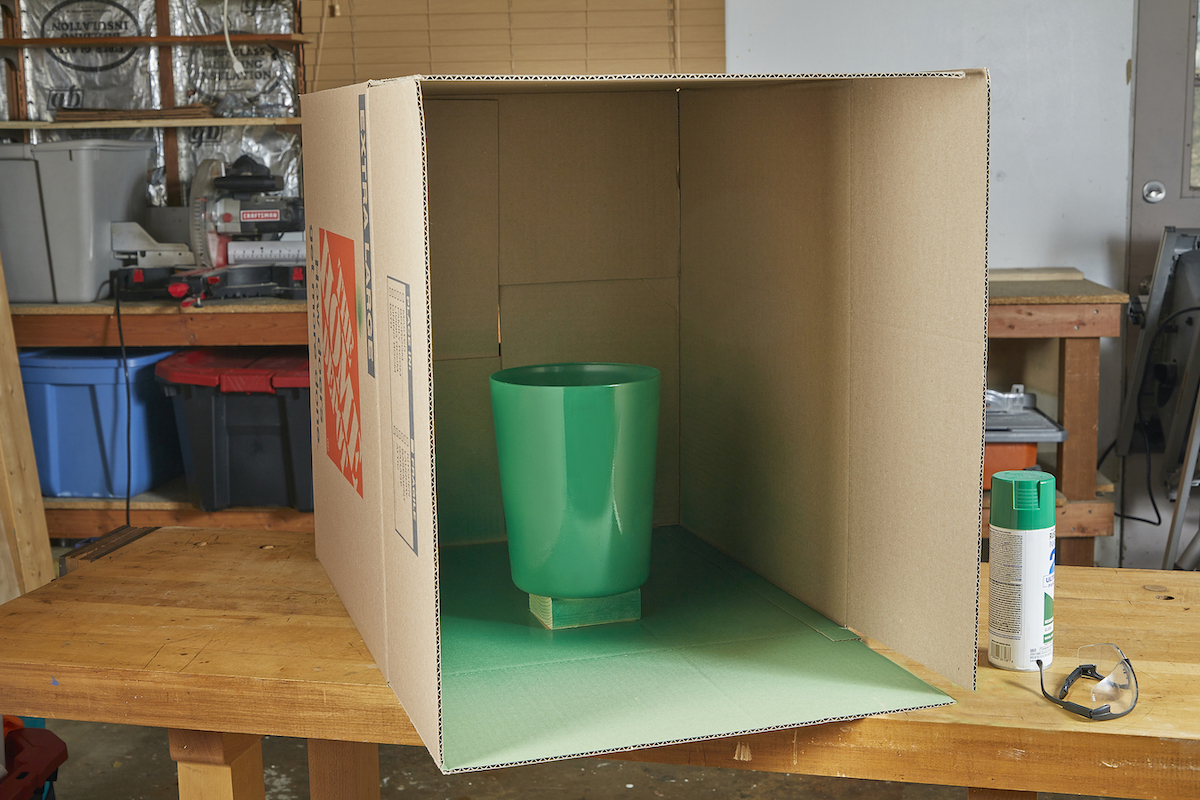
Final Thoughts
Learning how to paint plastic can be fun and satisfying, especially when you can refresh dingy or faded objects to extend their useful life. The most important steps when painting plastic include selecting the right paint and using the right technique. Armed with this knowledge and ability, you’ll be ready to transform plastic decor and furniture into fresh gems around your home.
About the Author
Theresa Clement is a handy designer who has been improving homes for more than 20 years. A certified color expert, she is known for solving design dilemmas with paint, and has spray-painted everything from wood furniture, to plastic hopper balls, to gum balls to complete a look for a client. Starting with her work at architecture firms, she has authored DIY books; writes for Architect magazine, JLC magazine, and Remodeling magazine; and worked as a design producer on makeover shows. She now works with her carpenter husband on private homes and their home improvement brand MyFixitUpLife.