We may earn revenue from the products available on this page and participate in affiliate programs. Learn More ›
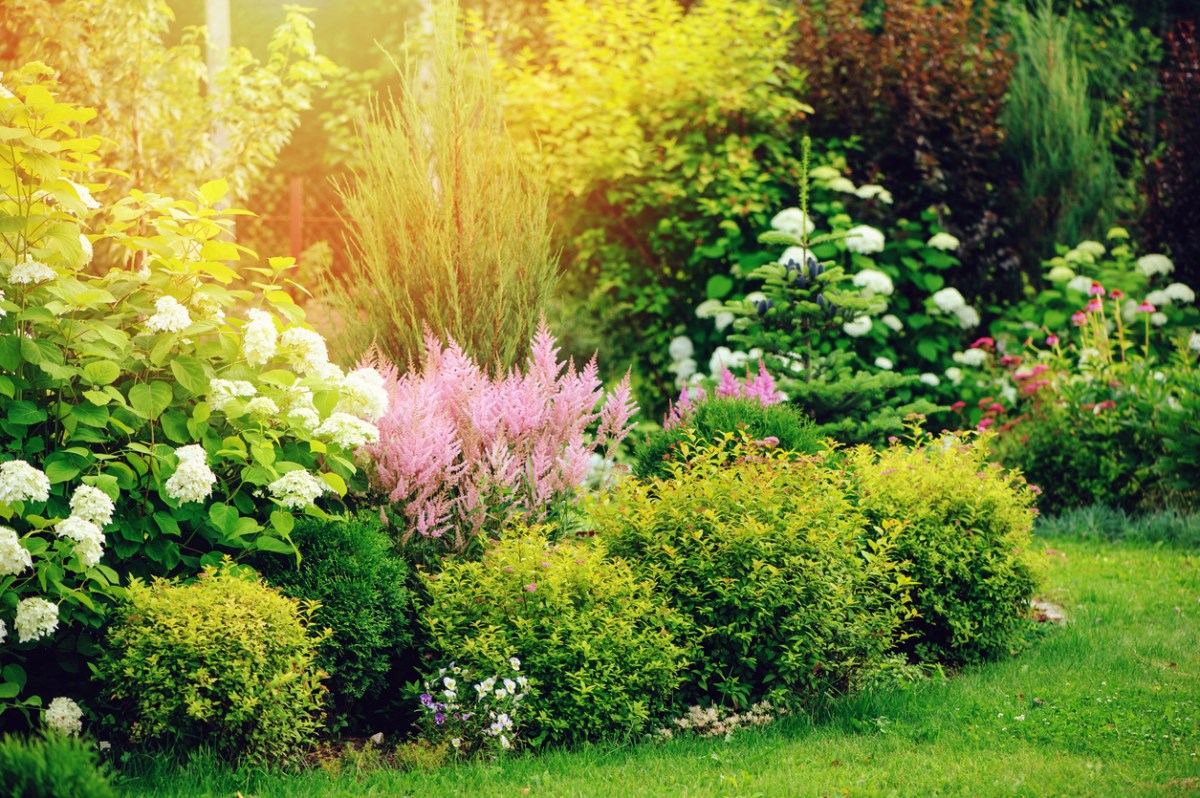
Planting bushes and shrubs can add depth and diversity to your landscape. You can use them to add splashes of color to your backyard or define borders, frames, or fences around your home. Bush planting is also a task that most homeowners can take on themselves in a free afternoon, saving money on hiring a pro. Learn how to plant a bush or shrub properly so you can watch your new landscape thrive.
Tools & Materials
Bobvila.com may earn a commission from purchases made through these links.
Project Overview
Working Time: 2 to 3 hours
Total Time: 2 to 3 hours
Skill Level: Beginner
Estimated Cost: $25 to $75, depending on the shrub or bush
Before You Begin
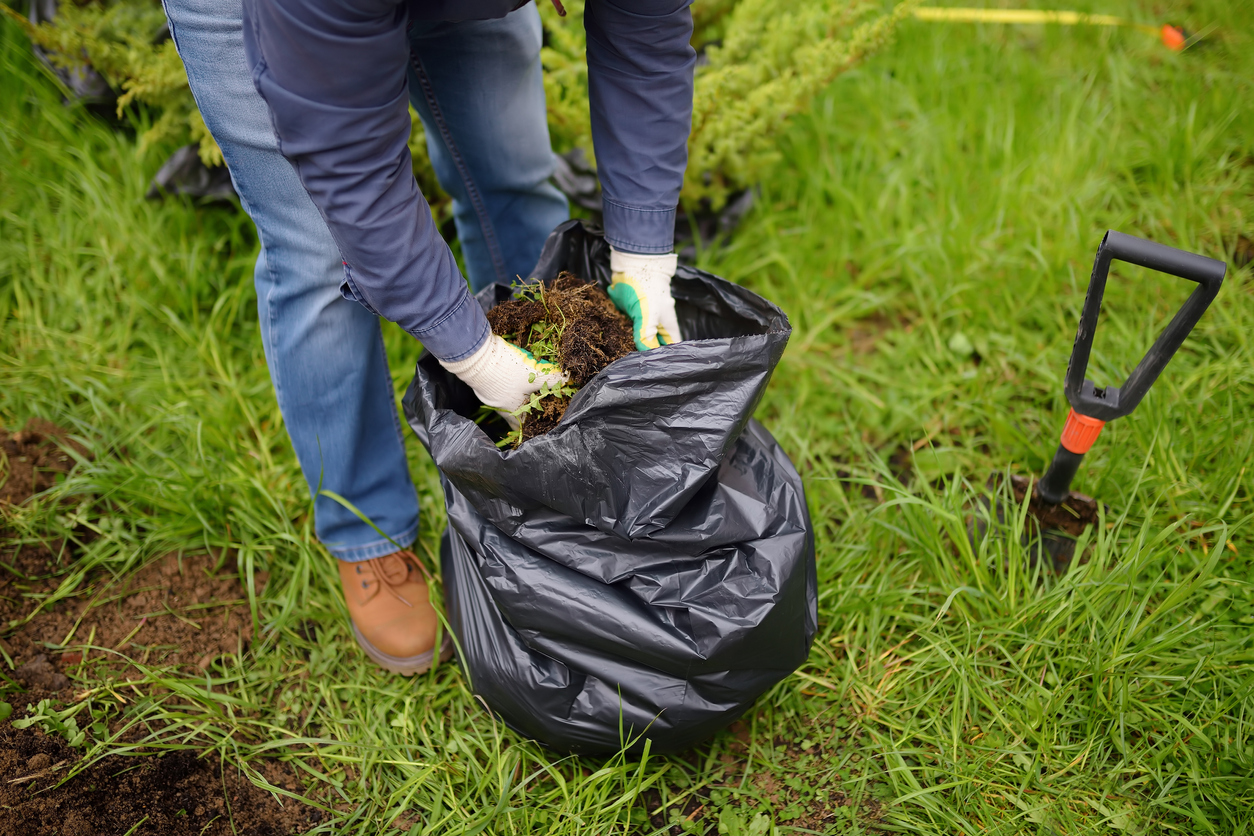
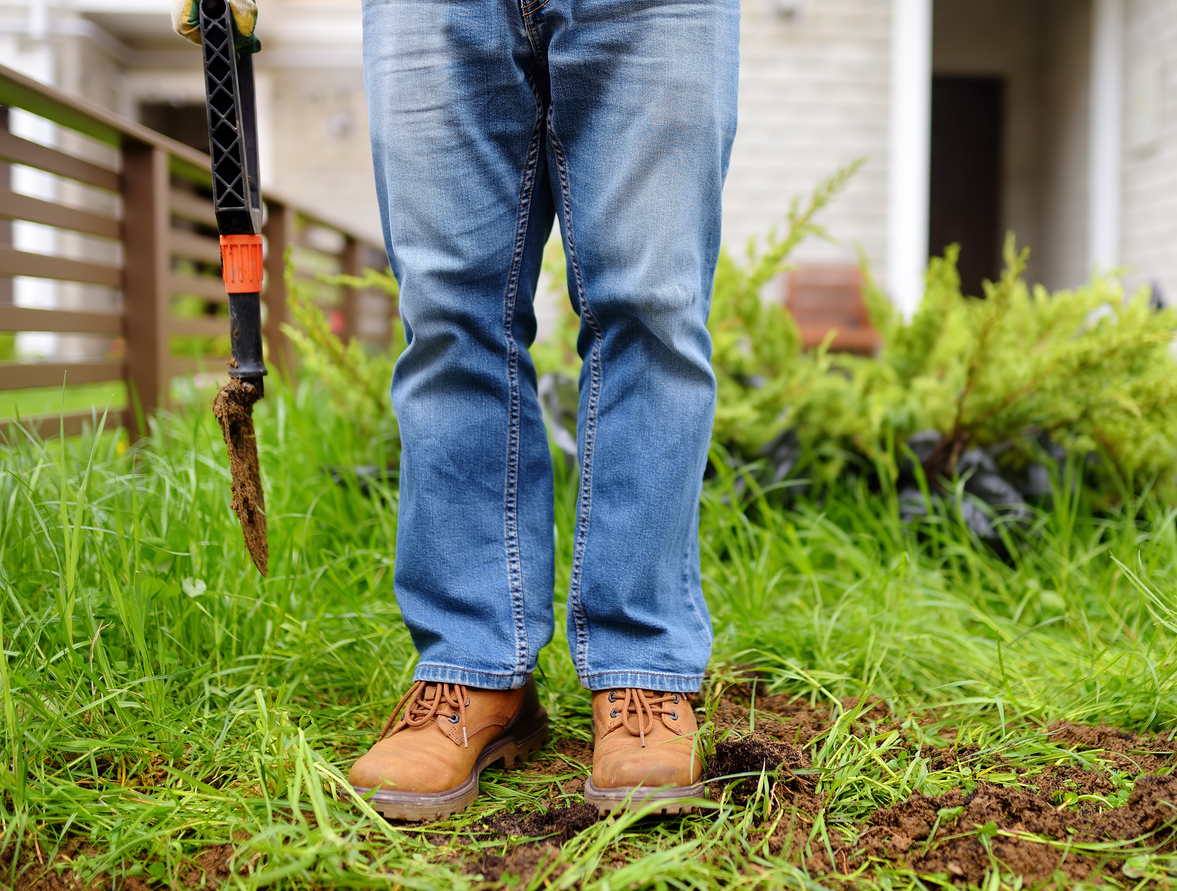
Planting shrubs is easiest when the soil is moist. If you can, consider waiting to plant until after a rain or after the sprinklers go off. Gather your supplies, including the shrubs and a shovel or trowel to help dig and backfill. You might also want to put on gardening gloves to protect your hands from dirt, grime, and any thorns you might encounter when planting.
Step 1: Consider your shrub’s care needs.
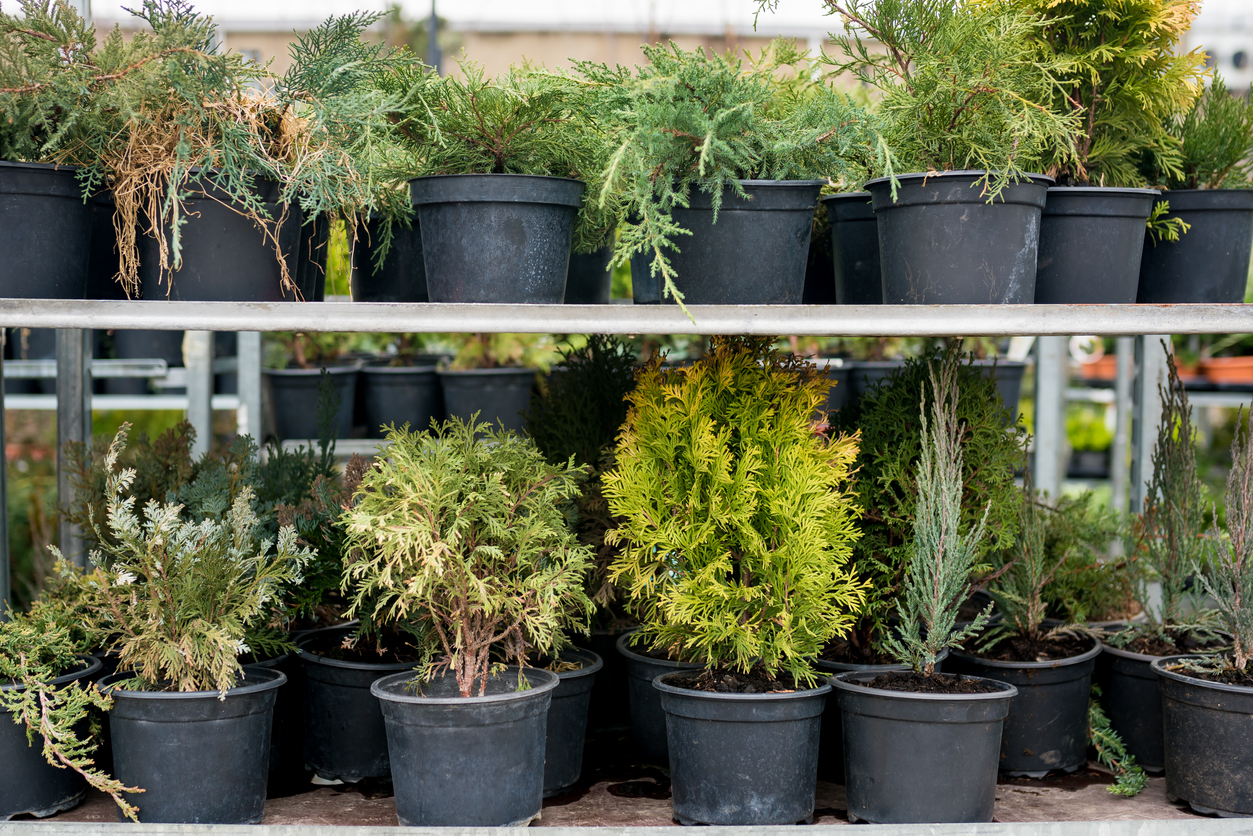
There are nearly endless varieties of shrubs, many of which come with different care needs. For instance, some shrubs require full sun, which means they’ll need at least 6 hours of direct sunlight per day. Partial-sun shrubs require only 3 to 6 hours of sun, while full-shade plants should only get 3 hours max of sun per day. So, make sure the location for sun exposure is right for a particular shrub before planting.
RELATED: The Best Shrubs for the Front of the House
Step 2: Plant during the right season.
Once you figure out the right spots in your yard, consider the planting season. You’ll want to plant bare-root bushes in late fall, once the shrub has gone dormant (around early November), or wait until early spring, before new growth develops.
Technically, container-grown or balled and burlapped shrubs can be planted any time, but they tend to fare better if planted on the same schedule as bare-root selections or per the plant tag’s directions.
If you decide to plant any shrubbery in late spring or summer, success depends on your vigilance in watering the newly planted bush since they can dry out quickly, stressing out the still-developing deep root system.
Step 3: Plant the shrub in the right soil conditions.
Shrubs and bushes typically require well-draining soil. As a rule of thumb, higher-ground areas offer better-draining soil than lower-ground areas, but this isn’t always true. If you’re not sure how well your soil drains, use these steps to figure it out:
- Dig a hole 1 foot wide and 1 foot deep.
- Fill the hole with water and wait for it to drain completely.
- Fill the hole again, then wait half an hour.
- Use a ruler to measure how much water has drained.
Well-draining soil drains 1 to 2 inches per hour. So, if a half-inch to 1 inch of water has drained within 30 minutes, you’ve found a great place to plant most bushes.
If most of your yard has slow-draining soil, you can improve it by tilling a radius of soil as wide as 15 feet around the place where you’d like to plant.
RELATED: Solved! What is a Perc Test?
Step 4: Prepare the planting site.
Once you identify the right planting sites, clear leaves, mulch, and other debris away to prepare for planting. Next, determine how much space your new shrubs will occupy when they’re mature, and space the bushes accordingly. Place markers or dig shallow holes to indicate where each plant will go.
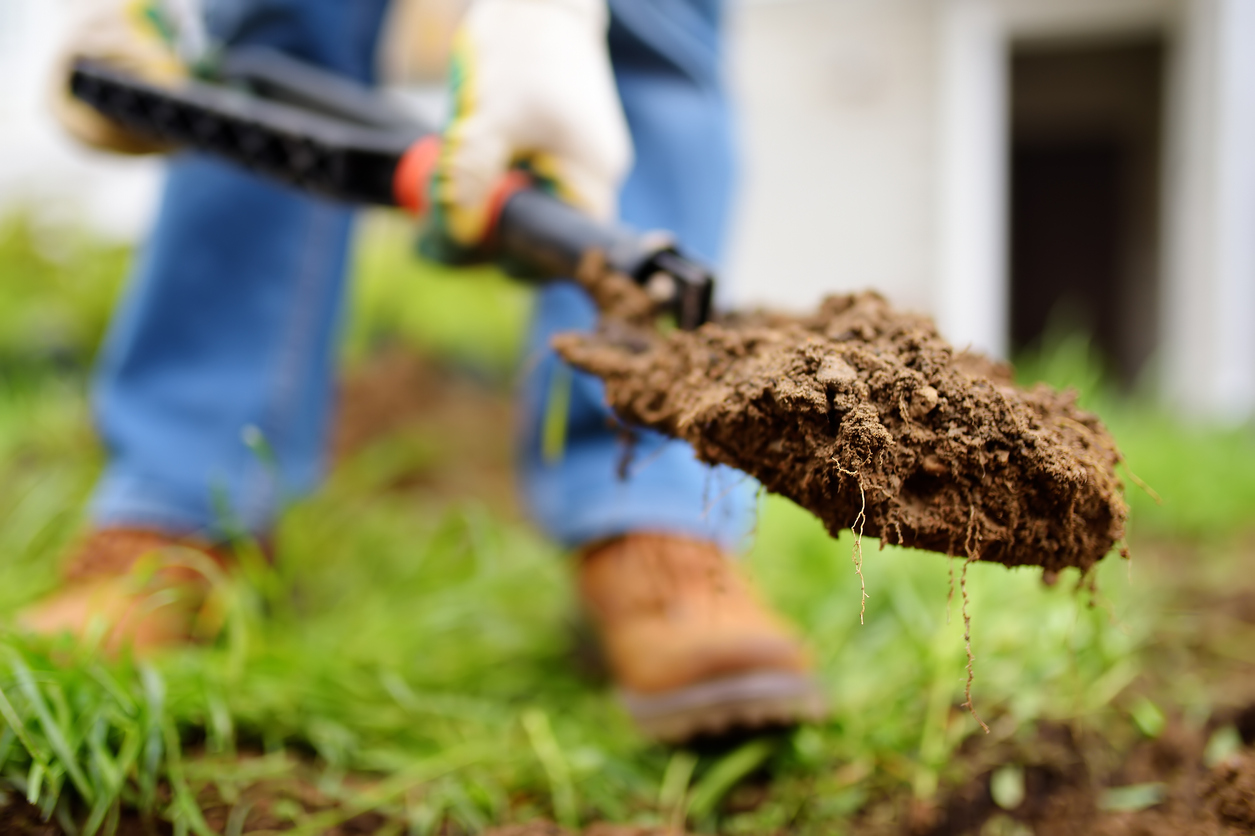
Step 5: Dig a hole for the bush.
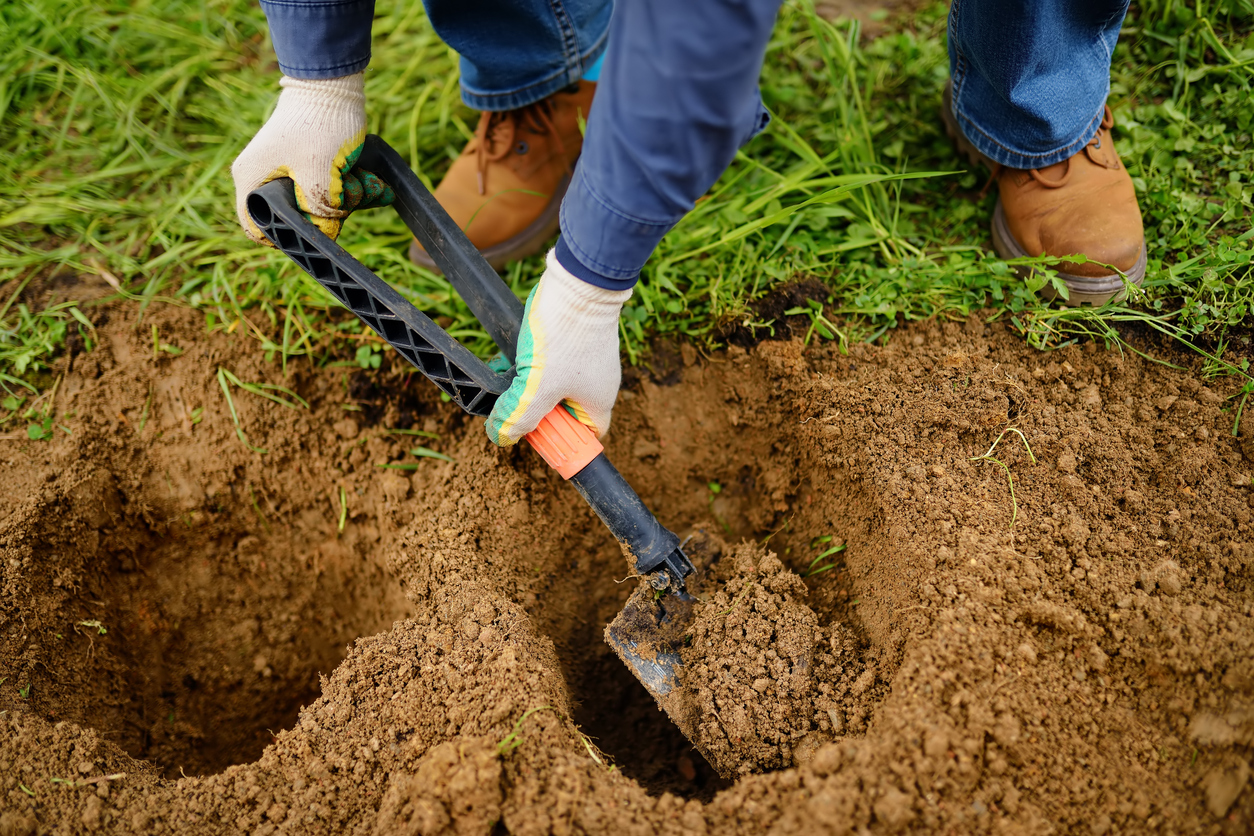
The right way to dig a hole depends on the shrub or bush you’re planting.
Container-grown, or balled and burlapped
Dig a hole two or three times as wide and deep as the root ball. Flatten the soil at the bottom of the hole or raise it slightly in the middle to promote drainage.
Once inserted, the top of the root ball should sit flush with the top of the hole if you flattened the bottom, or it should rise an inch or so above it if you added a mound to promote drainage.
Bare root
A few hours before planting, soak the roots in water. Then dig a hole roughly equivalent to the depth of the soil in which the shrub was originally planted (the plant’s tag may indicate this, or you can estimate from the soil mark on the trunk). Avoid planting too far down since doing so can prevent oxygen from reaching the roots.
Build a slight cone shape at the bottom-center of the hole, but make sure the hole is wide enough to accommodate the shrub’s spreading roots.
RELATED: 15 Types of Boxwood Shrubs Every DIY Landscaper Should Know
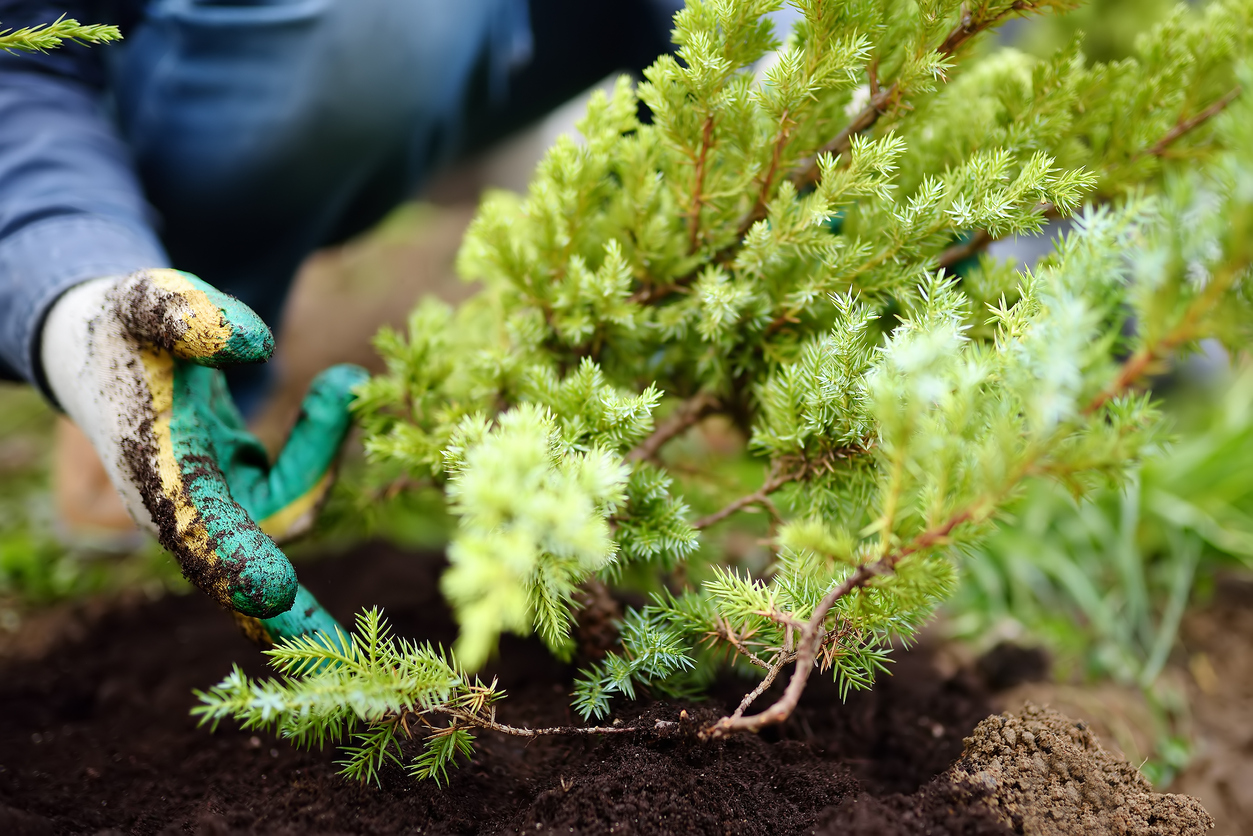
Step 6: Set the bush.
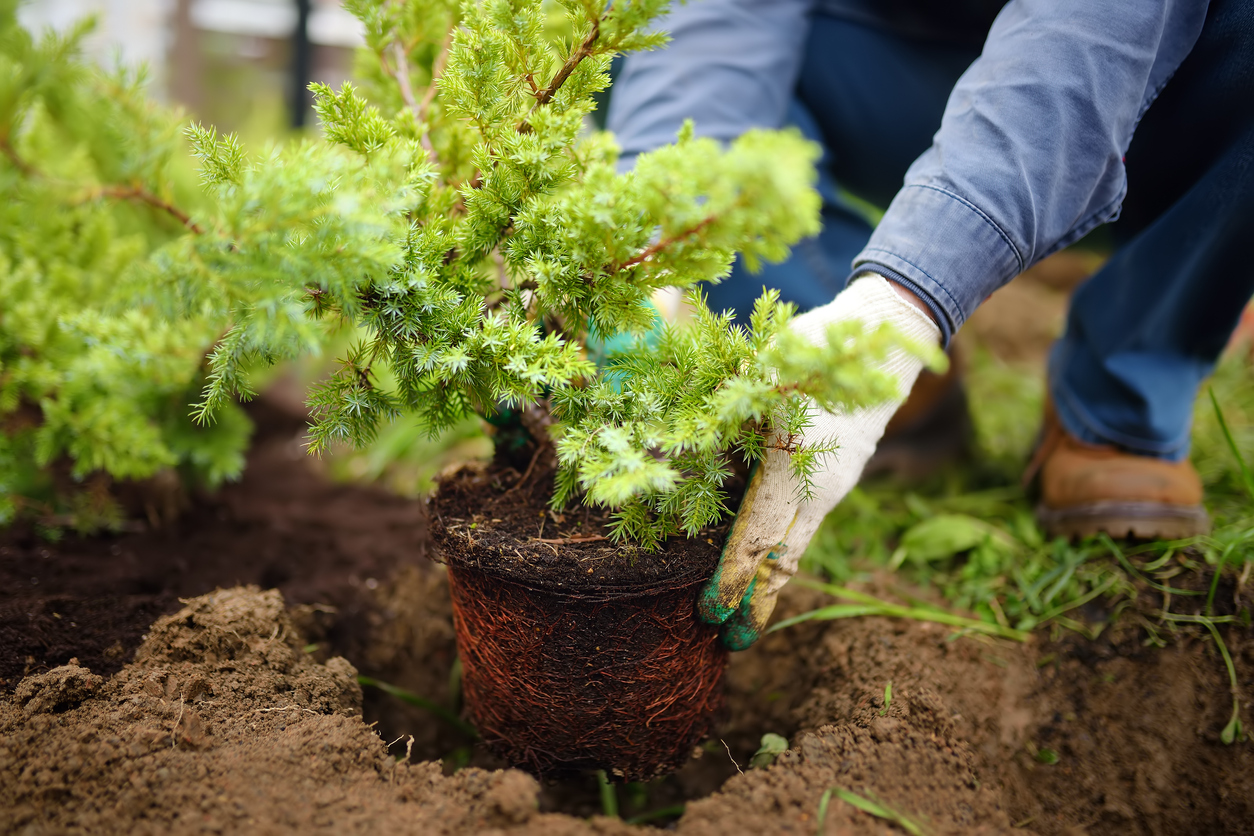
Gently set the plant into the hole to test its depth; make any necessary adjustments at this point. Orient the plant so that its most attractive side faces out.
If you’re planting a burlapped plant, you don’t need to remove the burlap completely unless the material has been treated or contains vinyl. Typical burlap is biodegradable. Instead, peel the burlap back from the trunk to about the top third of the root ball. Take off any plastic, wood, or wire still attached to the shrub.
If your container-grown bush has tightly coiled roots, use your hands or a knife to carefully loosen and separate them. Bare-rooted bushes do best if you spread the roots over the cone shape you created along the bottom of the planting hole.
Step 7: Backfill the hole.
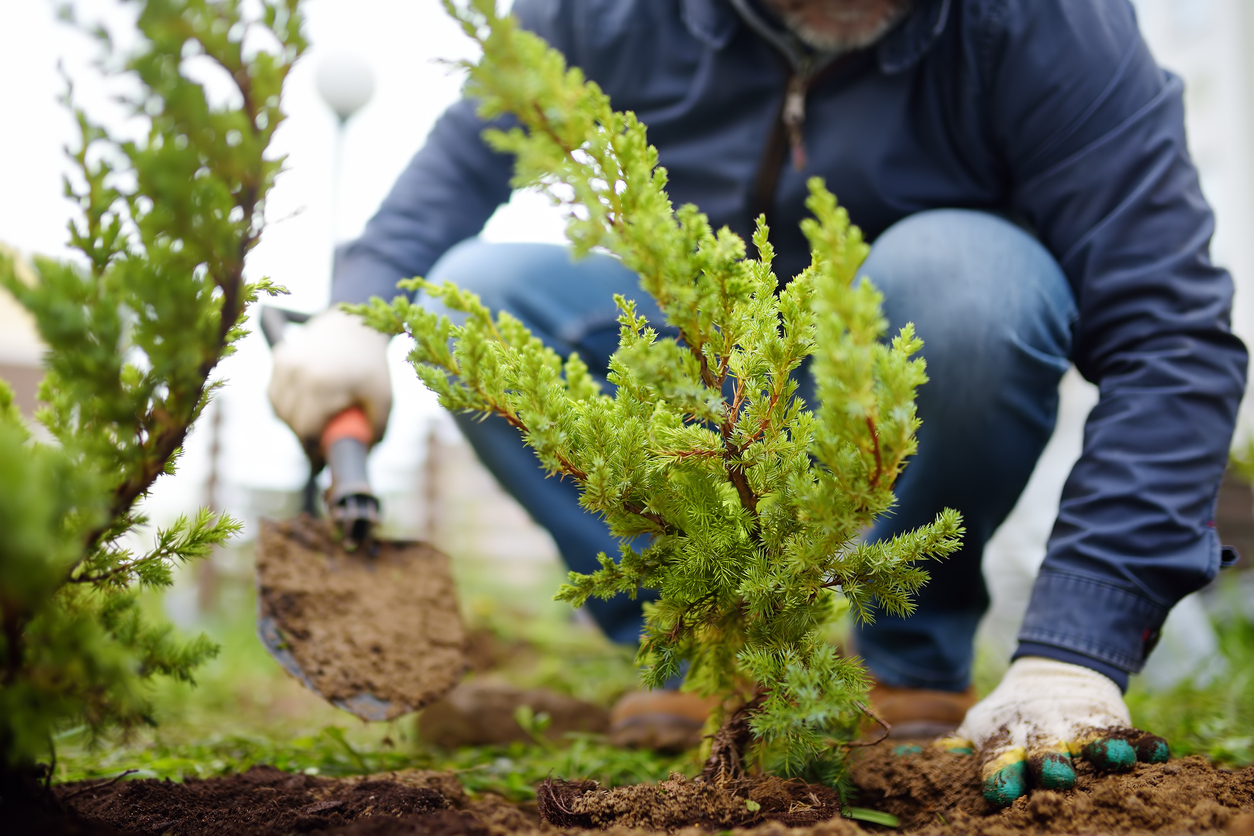
After placing your shrubs in their respective holes, backfill each hole so that it’s flush with the rest of your landscape.
- Fill half the excavated area around the plant with the soil you dug up to create the hole.
- Pour water over the soil to eliminate air pockets and help the roots settle.
- Add the remainder of the soil, tamping it down as you go to keep the plant stable and upright.
- Shovel on a layer of topsoil.
- Water again.
RELATED: 18 Fast-Growing Shrubs to Plant This Fall
Step 8: Don’t add fertilizer.
Fertilizing newly planted bushes is not recommended since the nitrogen in fertilizer can stress and suppress developing root systems. In most cases, you should wait at least a year before applying fertilizer.
As is always the case for gardeners, there are some exceptions to the rule. If you tested your soil and determined that it’s severely nutrient deficient, adding fertilizer might be in order. In this case it’s a good idea to consult an expert on the particular shrub you’re planting, which could be the nursery or grower you bought it from, to see what they recommend.
Step 9: Add mulch.
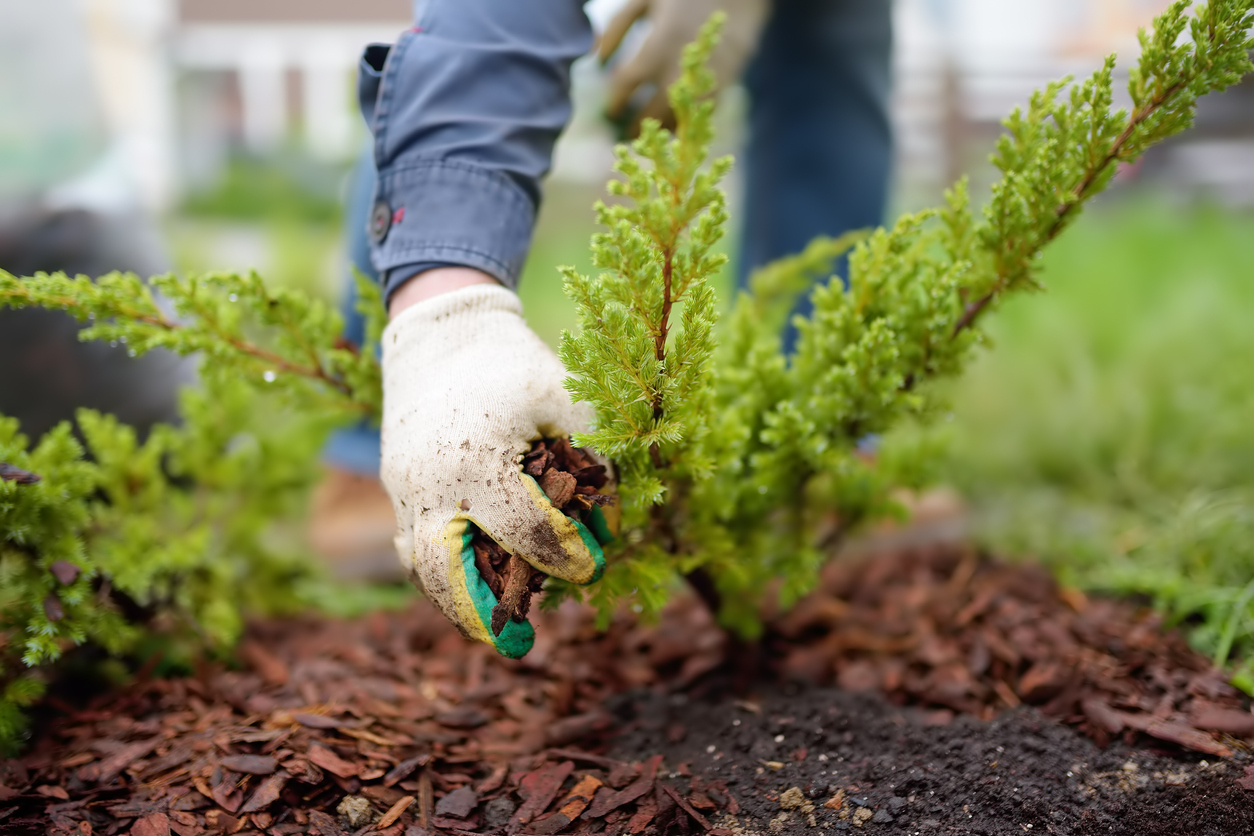
Apply a 1- to 3-inch layer of mulch over the topsoil, taking care to keep the piled mulch 3 to 5 inches away from the shrub’s trunk or main stem. Mulching helps maintain moisture and insulate the roots from temperature fluctuations. Bark mulch and wood chips are both suitable for most shrubs.
You can also apply straw or hay, but they decompose quickly and requires frequent replenishing. It usually doesn’t look as nice as bark mulch or wood chips, either.
Step 10: Water the new plant thoroughly.
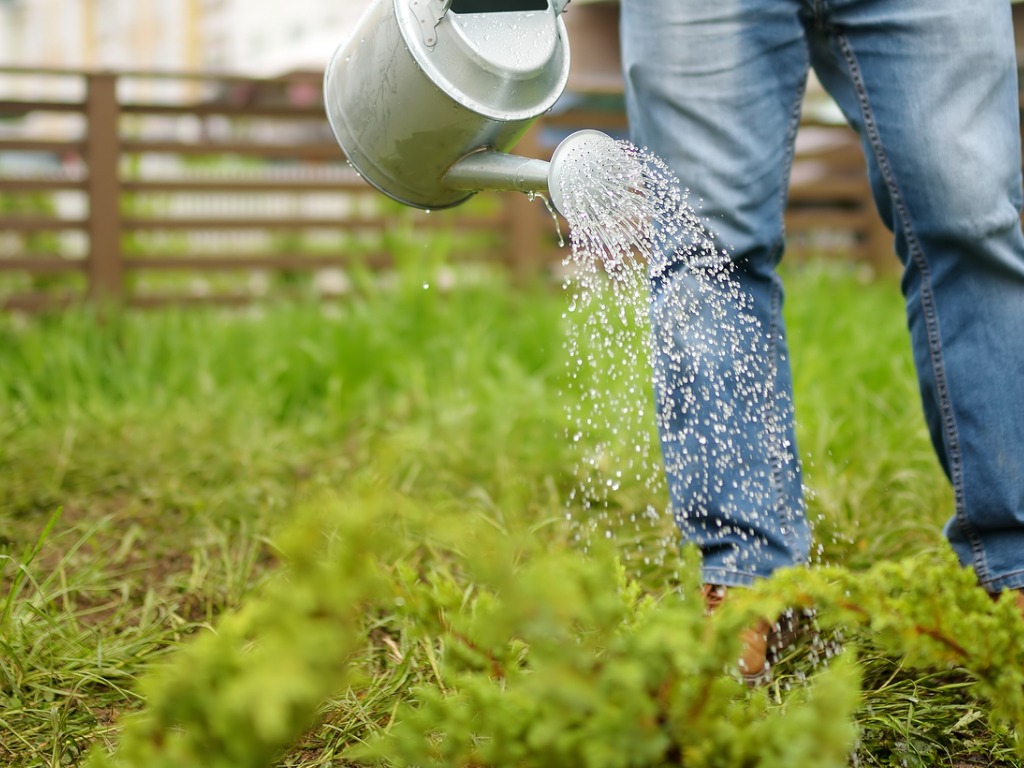
After planting a bush, water it slowly and thoroughly, ensuring the root ball and soil are fully saturated. To establish an ongoing watering schedule, consult the grower’s instructions but keep in mind that newly planted shrubs need more water their first season in the ground than they will the next year. Most new shrubs benefit from daily watering for a week or two, followed by 3 weeks to 3 months of watering every 2 to 3 days. Then water it every week or so, depending on your weather and climate.
RELATED: The Best Trees and Shrubs to Grow for Backyard Privacy
Final Thoughts
Learning how to plant shrubs yourself can save you lots of money on landscaping costs, while enhancing the look of your yard. When you’re done planting, consider learning how to prune shrubs to promote their health and maintain their appearance over time.