We may earn revenue from the products available on this page and participate in affiliate programs. Learn More ›
Known nowadays for their immunity-enhancing properties and high levels of antioxidants, elderberries have long been a tasty ingredient in pies, jellies, and wines. And types with purple or variegated foliage can serve as ornamental bird- and butterfly-attracting shrubs.
Growing elderberry is easy, as is proven by the fact that various species grow wild over most of North America, so almost any zone can be an elderberry growing zone. Keep in mind, however, that most parts of the plant are toxic—except the edible flowers—and even the berries can make you sick if consumed raw.
Growing Elderberry at a Glance
Common Name: Elderberry
Scientific Name: Sambucus spp.
Hardiness Zone: Varies from 4 to 10
Soil: Fertile, pH 5.5 to 6.5
Light: Full sun to part shade
Water: High
Food: Organic berry fertilizer
Propagation: Dormant cuttings
Safety: Plant toxic, raw berries toxic
Elderberry Characteristics
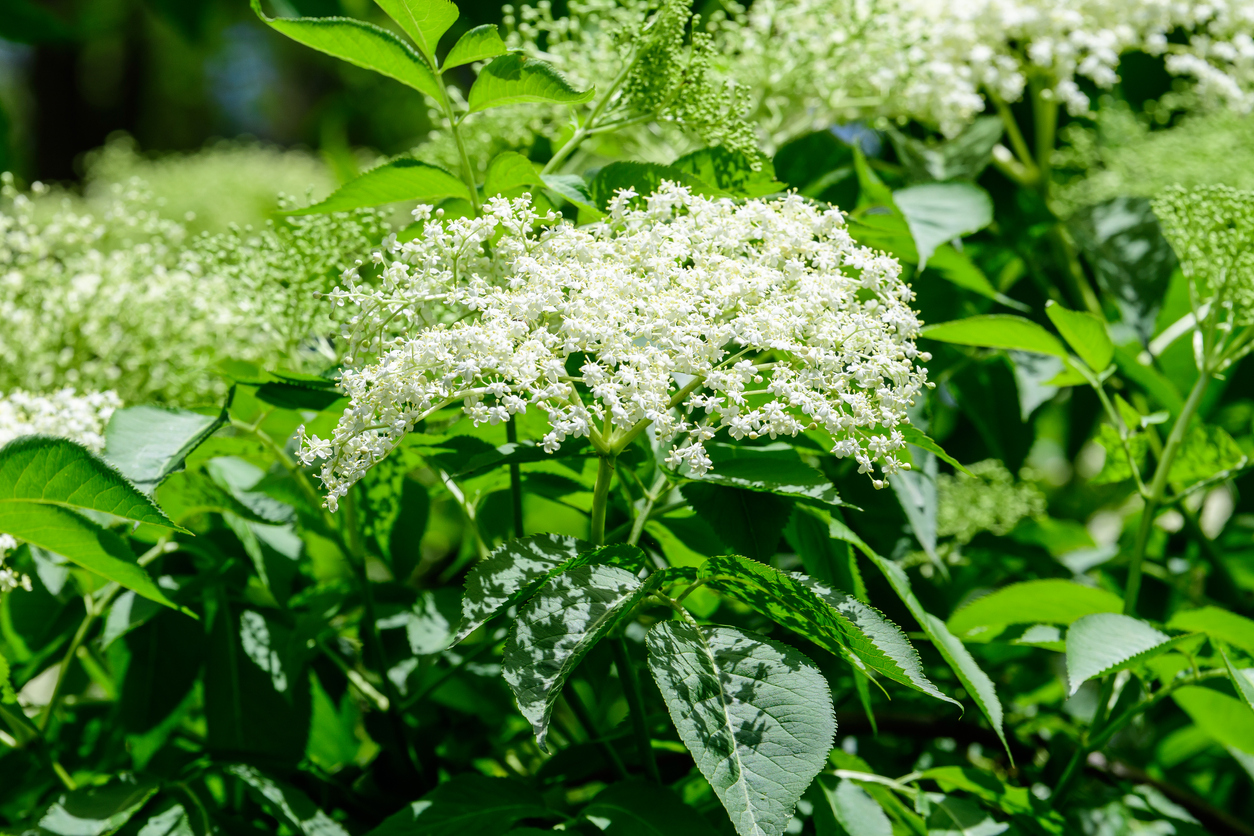
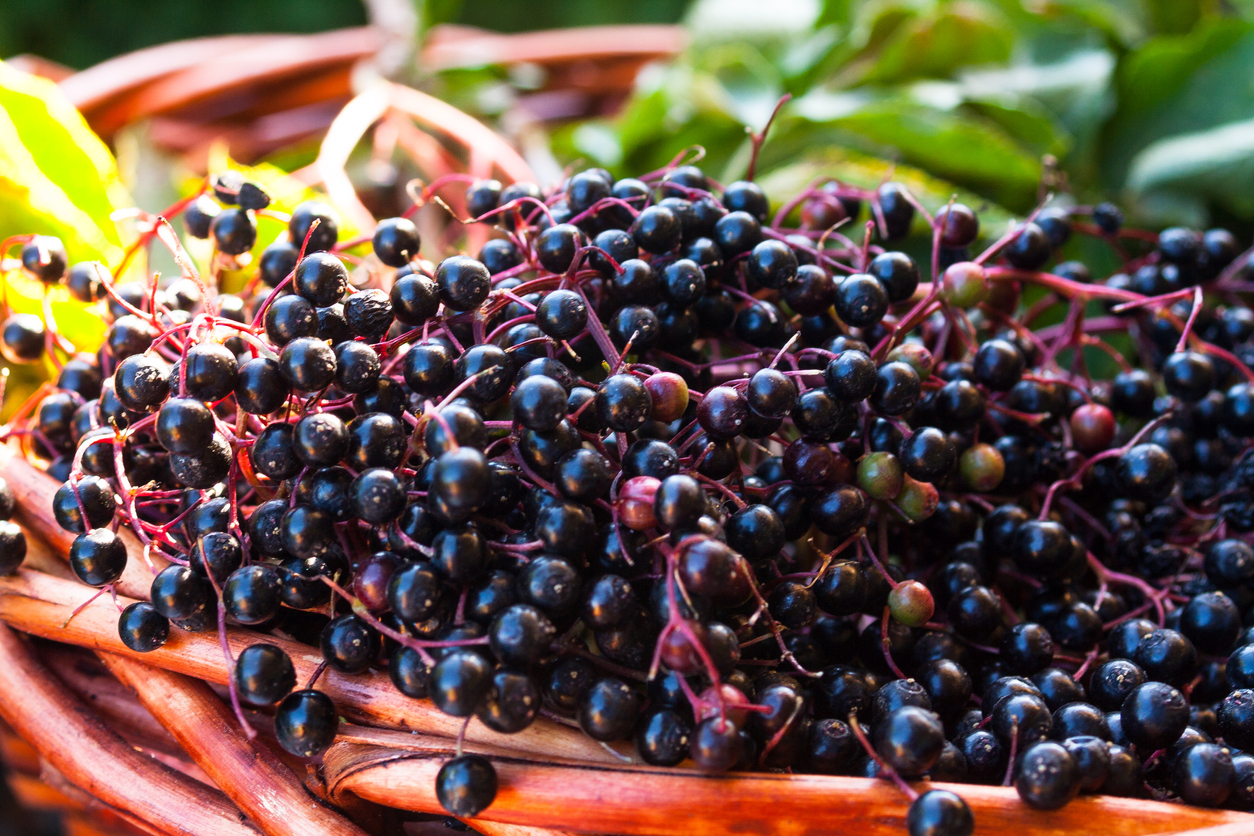
Elderberries vary in ultimate height from 10 to 30 feet, though some decorative types may not top 5 feet. Except for those types that boast purple or variegated foliage, most species have green compound leaves. Their flat clusters of small white blooms appear in early summer, followed by clusters of small and seedy black, blue, or red fruits in late summer.
The foliage of these berry bushes can have an unpleasant odor when crushed, and elderberries are toxic if eaten raw. They aren’t palatable that way, anyway, because their flavor is bitter when compared to fruits such as raspberries. But their taste improves considerably once the berries are cooked and sweetened.
Although some sources claim that red varieties such as Sambucus pubens and S. racemosa are inedible (and toxic raw), they do attract birds, but they probably won’t last long enough for the bushes to be listed among plants that feed backyard birds during fall and winter.
Recommended Elderberry Varieties
- Sambucus nigra caerulea: The blue elderberry, native to the western U.S. and hardy in USDA Zones 4 through 10, grows to 30 feet with yellowish-white flowers in 2- to 8-inch clusters and blue to black berries dusted with a whitish “bloom.”
- Sambucus nigra canadensis: The American elderberry grows wild in central and eastern North America in Zones 4 through 10, possibly reaching 12 feet high and featuring flat white flower clusters up to 10 inches wide and purple-black berries.
- Sambucus nigra subsp. nigra: The more treelike European elderberry, which is native to North Africa and Asia as well, grows to 30 feet tall in Zones 4 or 5 through 9. It has white flower clusters 5 to 8 inches wide and purple-black berries.
Planting Elderberries
When contemplating how to grow elderberry, keep in mind that you will need more than one cultivar for the best pollination.
When is the best time to plant elderberries?
You can plant dormant bare root elderberries in early spring, but you’ll want to wait until after your last frost to set out plants that are already growing in pots. If the latter were greenhouse raised, you’ll want to harden them off before planting to accustom them to outdoor conditions.
Where can elderberry grow?
Where do elderberries grow best? They prefer a position in full sun and fertile, well-drained soil with a pH between 5.5 and 6.5. Although they tolerate partial shade, they won’t produce as large a crop there. Due to their habit of spreading by suckers, you’ll probably want to place them in a rain garden or shrub border rather than in a flower garden.
How do you plant elderberries?
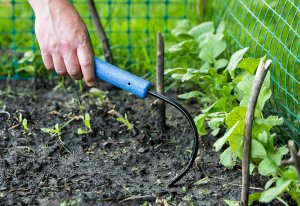
It’s a good idea to work a few inches of compost into the soil before you set out your shrubs.
- When you are planting elderberry, if your bushes are already growing, cut their top growth back to between 8 and 10 inches.
- Dig a hole large enough so that you can set a plant 2 inches deeper than it was growing previously.
- Place the root ball or roots in the hole and backfill the soil around the roots, ensuring that the plant’s lowest cane is just above ground level.
- Space elderberry bushes 4 to 6 feet apart, in rows 10 to 12 feet apart.
Can you grow elderberry in containers?
According to the University of Florida, elderberry bushes—due to their height—don’t make the best berries to grow in containers. However, you may be able to raise a shorter, decorative type that way.
If you intend to leave it outdoors all winter, be sure to choose an elderberry variety hardy at least two zones north of your own. When growing elderberry in pots, choose a large container and keep its soil well watered over the summer months.
RELATED: 15 Superfoods That Are Easy to Grow Yourself
Watering Elderberries
Speaking of well watered, elderberry will require the equivalent of 1 to 2 inches of rainwater per week. Aim to keep its soil constantly moist but not soggy. To help retain that moisture and suppress weeds around its shallow roots, mulch the plant with 2 to 3 inches of compost or wood chips. Although an elderberry bush will tolerate occasional brief flooding, as in a rain garden, constantly soggy ground doesn’t provide adequate elderberry growing conditions.
Fertilizing Elderberries
Don’t feed the bush during its first year. Actually, it can thrive without any fertilizer at all, as has been proved by many a wild elderberry plant flourishing with no help from people. Feeding is not a necessary component of elderberry plant care.
If growth is slow, you may want to apply an organic berry fertilizer such as 4-3-4 a couple times per year, once in early spring and again 2 months later. Espoma recommends that you use “1 cup per foot of branch spread” with your first application late enough in spring to avoid frozen soil.
Pruning Elderberry
Snip off blooms that appear on your plant during its first year to allow it to become well established before it fruits. In late winter or early spring of its second year, remove dead or weak canes and cut the remaining ones back by a third. In year three, remove canes that are 3 years old.
Once your plant has become well established, you can do more drastic pruning by cutting it back to the ground in late winter or early spring, before buds appear. An elderberry lopped in this way will produce fewer but larger berry clusters over a shorter time period than plants pruned moderately.
Propagating Elderberries
An elderberry seedling will not “come true” to its parent. If you want to make more elderberry plants, take cuttings from a dormant bush in midwinter (before February). Each cutting should have two to four leaf nodes.
Dip the base of a cutting in rooting powder or liquid before potting it up in a damp and sterile medium such as seed starting mix. Place the cuttings in a warm and brightly lit location out of direct sun, keeping in mind that dormant cuttings may begin to sprout before actually rooting, but should root within 6 weeks.
Safety Considerations
According to the University of California, “European black elderberry is known to contain a compound, sambunigrin, which…breaks down to hydrogen cyanide after ingestion and can cause gastrointestinal disorders such as nausea, vomiting, weakness, and dizziness when ingested in large quantities.” The highest concentration of the compound is in the plant’s leaves, seeds, bark, and unripe berries; ripe berries have lower concentrations. The heating of the berries during processing generally reduces the amount of sambunigrin to acceptable levels in black or blue elderberries.
Potential Pests and Diseases
Birds want your berries even more than you do and will begin to peck them up while they still are green. Therefore, it is a good idea to cover your elderberry shrubs with small-mesh (80-gram) insect netting as soon as the berries form. This helps exclude another elderberry pest, spotted wing drosophila (a type of fruit fly), as well as the birds. As with most fruit flies, you also can lure drosophilas into vinegar traps such as those described by the University of Minnesota Extension.
Harvesting Elderberries
If you can successfully deter birds and bugs from stealing your elderberries, the shrub will reward you with a bountiful harvest.
When is the best time to harvest elderberries?
The color of your elderberries will begin to darken in late summer, but wait until all the berries in a cluster have ripened to dark purple—for American and European types—or to blue for blue elderberry before cutting that cluster. Once the berries begin maturing, try to pick them at least once per week.
How do you harvest elderberries?
You should be able to harvest some berries in your plant’s second year, though you probably will not have a full crop until its third year.
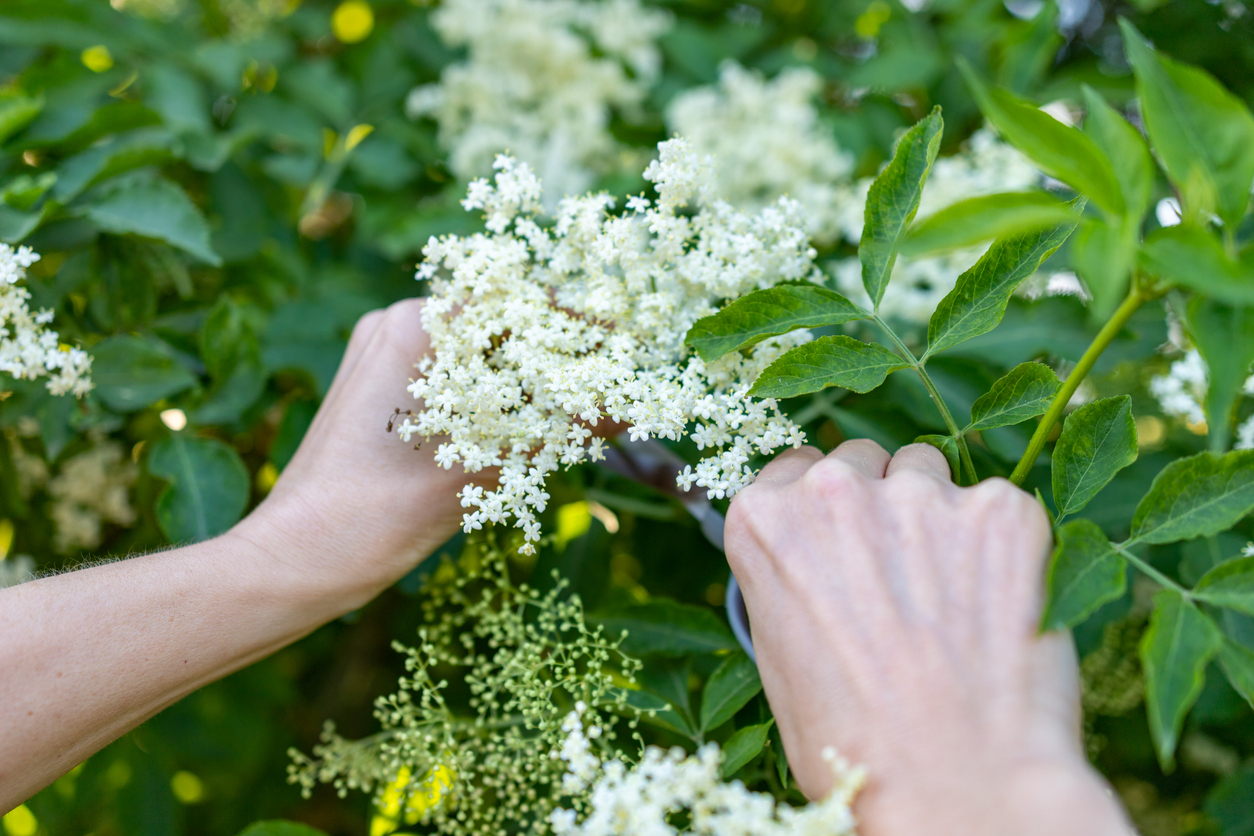
- Harvest elderberries early in the morning, using pruning shears or garden scissors to snip each cluster of ripe berries from the bush.
- Freeze all the clusters you harvest for a brief time to make removing the berries easier.
- Wear plastic gloves to protect your hands from staining as you strip the frozen berries from their clusters.
How do you store elderberries?
If you intend to use the berries right away, you can store them in the refrigerator for a short time. Never let them sit out at room temperature for more than a few hours, as they spoil quickly. Should you not intend to use the berries soon, spread them out on a cookie sheet and freeze them before storing them in freezer bags in your freezer.
Preparing Elderberry Plants for Winter
Being quite hardy plants, elderberries growing in the ground generally don’t require winter protection except, perhaps, the mulch already mentioned. (Some of them are going to be pruned back drastically at the end of that season anyway!)
If you are raising a decorative cultivar in a container instead, move it into a protected area, such as an unheated shed or garage, over winter since potted perennials are more vulnerable to damage from freezing conditions than inground types.
Looking for more berries? Check out our guides on growing raspberries and strawberries.