We may earn revenue from the products available on this page and participate in affiliate programs. Learn More ›
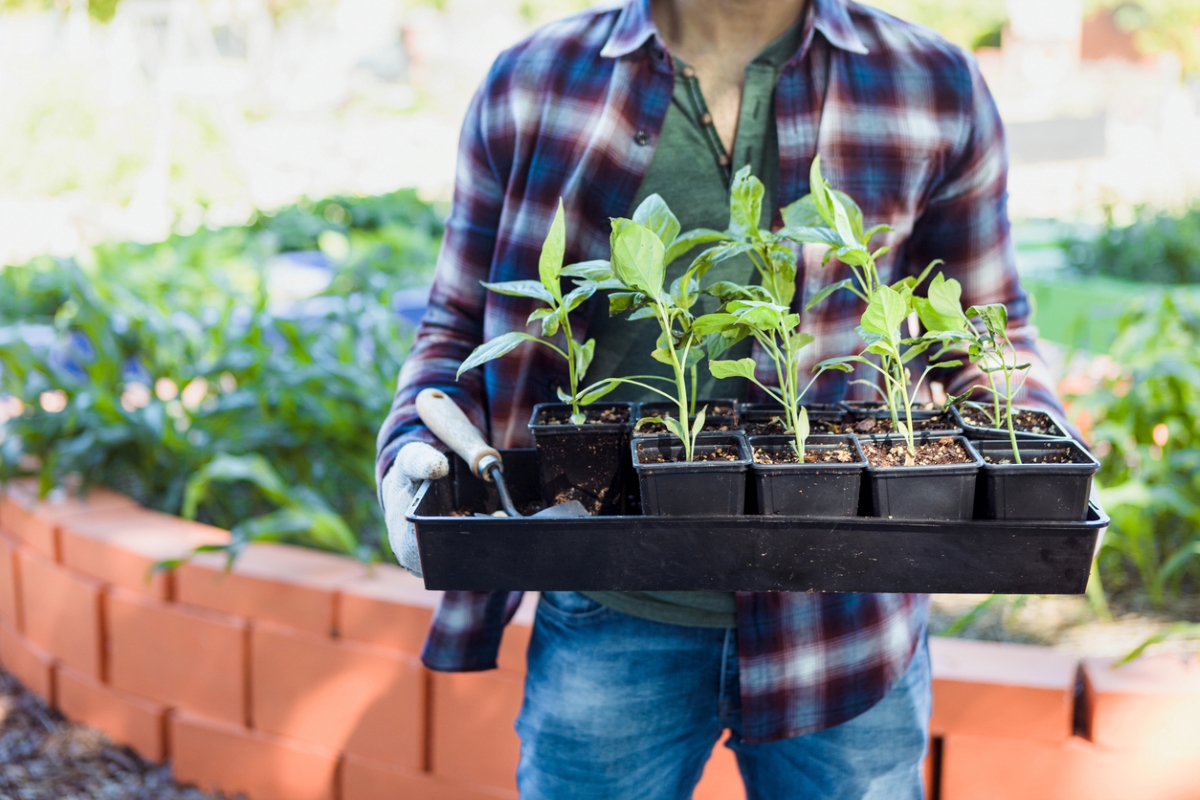
If you started this year’s garden plants from seed indoors under grow lights, you’ll need to give some thought to how to harden off seedlings. That involves exposing them to real sunlight and wind gradually enough to avoid burning or fraying their still-tender foliage.
The hardening off process actually thickens their “skin,” but causes them to grow more slowly for a while. “Hardening off plants is crucial because it helps transition plants grown indoors or in a greenhouse to the harsher conditions outdoors,” explains Tony O’Neill, master gardener and the founder of Simplify Gardening “This process gradually acclimatizes them to direct sunlight, wind, and temperature fluctuations, reducing the shock that can stunt growth or even kill young plants.”
If you intend to get your houseplants out of the house over the summer, you’ll want to expose them to outdoor conditions gradually too. Recommended time periods for hardening vary from 1 to 3 weeks, so 2 weeks should be about right.
“A gentle start is key,” O’Neill says. “Begin with shaded, sheltered outdoor areas for short periods and gradually increase exposure. Happy plants will show normal, healthy growth without wilting or discoloration.”
Tools & Materials
Bobvila.com may earn a commission from purchases made through these links.
How to Harden Off Seedlings and Plants
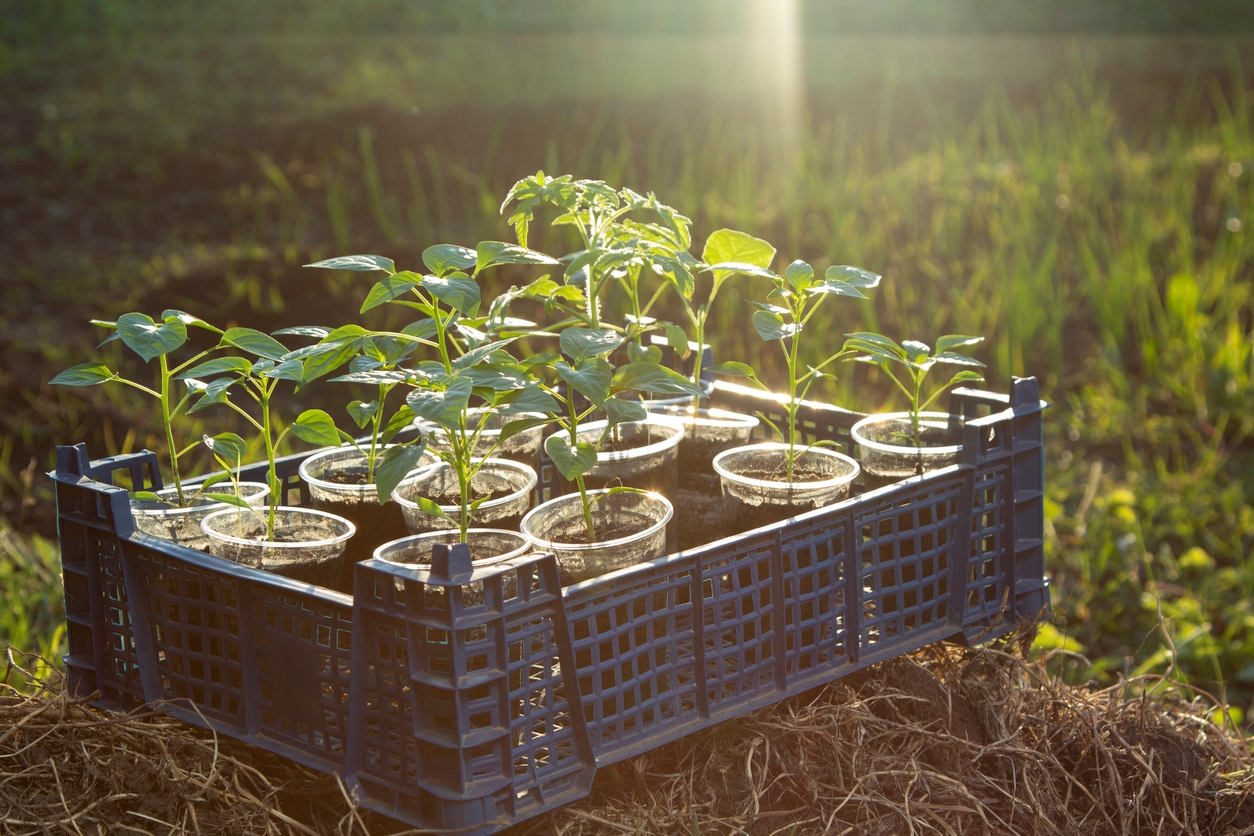
Hardening off tender seedlings keeps them from dying from exposure—that exposure might be too much sunlight and heat, or temperatures that are chillier than they’re used to indoors, under grow lights. You can make the process of moving plants in and out easier by carrying seedlings in daisy trays (flats with drainage holes), and placing houseplants in a garden cart or children’s wagon.
Step 1: Prepare your plants for their first trip outside.
Start the hardening process 2 weeks before the last frost date for your region, and be prepared to protect your plants when necessary. Stop fertilizing houseplants several days before you take them outdoors and refrain from feeding plants during the transition period. However, make sure their soil remains damp enough that they don’t dry out.
Keep in mind that many houseplants prefer bright, indirect light and should thus be positioned under a tree for the summer rather than out in the open where they will get sunburned. They shouldn’t require as much hardening as sun lovers do.
Step 2: Make sure your plants are not exposed to full sun right away.
On their first day outdoors, place the plants for a couple hours during the morning in a location where they will receive no direct sun and where they receive some shielding from wind. You might choose a covered porch open toward the south or a site protected on most sides by shrubs. After 2 hours, carry or cart them back indoors again.
If you have too many plants (or not enough time to move them indoors and out every day), you can instead place your plant starts in a sunny location, but cover them with two shading layers of row cover. Tuck the sides securely beneath the flats so the cover won’t blow off.
Step 3: Increase the plants’ sun exposure by 1 hour daily.
Every day, add another hour to the amount of time your plants spend outdoors. Edge them gradually into a brighter and more exposed location where they receive morning sun, but continue to bring them indoors every night. “Using a cold frame or placing plants under a canopy can help manage their exposure to the elements,” O’Neill says. Once they have adapted to that light, begin exposing them to midday rays as well.
If you are covering the plants instead of moving them, pull off the top layer of their row cover after about 5 days, but leave the other one in place. After another 5 days, you can remove that second layer.
Step 4: Prepare your plants for cool nights gradually.

On days when the weather is excessively windy or daytime temperatures don’t rise above 45 degrees Fahrenheit, keep your plants indoors. Around day 10, after they have been out for 12 hours in full sun, you can let them stay out overnight too, provided there is no frost in the forecast. Continue to leave them out full-time for 4 more days, until all possibility of frost has passed, before you transplant the seedlings into your garden or move your houseplants to their permanent summer location.
Step 5: If the weather turns warmer, be sure to keep the soil moist.
Since the weather likely will be warming toward summer during this transition period and seedlings tend to live in small pots, the plants might begin to dry out more, and more quickly. Breezes can desiccate moisture as well, so you might need to water seedlings more than once per day—and your houseplants more often than you watered them indoors—to ensure that they don’t wilt and wither.
Make sure that all of the pots have drainage holes. Houseplants that did OK indoors without such holes can rot outdoors if their soil becomes too soggy after heavy rains.
Speaking of heavy rains, according to O’Neill, “light rain can be beneficial, mimicking natural conditions and providing a gentle water source. However, if heavy rain or storms are forecasted, it’s best to protect the plants, especially in their early stages of hardening off, to prevent damage.”
Final Thoughts
Despite your best efforts, some of your plants still might suffer from sunburn or windburn, causing scorch marks that can vary in color from brown to tan to white. But, if you have been careful about following the gradual exposure methods detailed here, that burn likely will be a mild rather than a severe one.
“If you notice these, reduce the exposure time and intensity. It might mean the plants were moved too quickly to harsh conditions or spent too long outside initially,” O’Neill explains.
Once the seedlings adjust to the new conditions, they should recover quickly—especially in late spring and early summer when they are raring to grow.
