We may earn revenue from the products available on this page and participate in affiliate programs. Learn More ›
When nighttime temperatures are consistently around 50 degrees Fahrenheit, and soil temperatures are around 55 degrees Fahrenheit, it’s time to plant certain types of bulbs. Bulbs are nature’s perfect packages, having all they need to grow inside their compact, convenient forms.
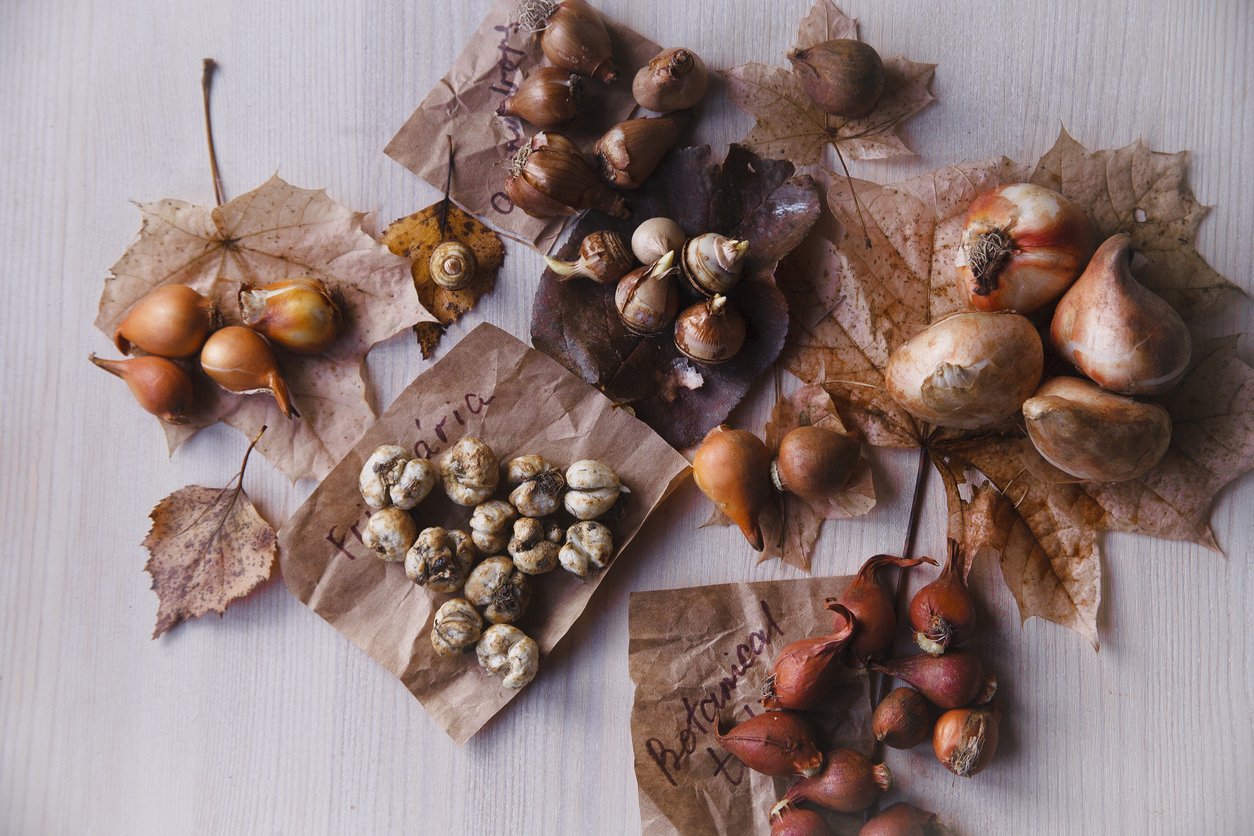
Bulbs to plant in autumn include fritillaria, some lilies, snowdrop, hyacinth, daffodil, crocus, bearded iris, and tulip. These plants bloom in spring. Other plants’ bulbs, such as freesia, canna, begonias, gladiolus, crocosmia, and dahlias, are planted in late winter and early spring for summer bloom.
Bulbs are easy to plant, and because they’re already partially developed plants, they have a head start on maturity over seeds.
Project Overview
Working Time: 2 to 3 hours
Total Time: 2 to 3 hours
Skill Level: Beginner
Estimated Cost: $20 to $100
Before You Begin
If you think you might want to order bulbs online, get those orders placed pronto (Eden Brothers, Fedco, and Home Depot are a few reputable sources to consider). While you are waiting for the bulbs to arrive, assemble all the necessary supplies, and test your soil to make sure you have time to get it whipped into shape before the bulbs need to go in the ground.
How to Plant Fall Bulbs
Planting fall bulbs is easy! Carefully follow the steps below, and you should be rewarded with springtime beauty.
Step 1: Select a planting site.

Where should you plant your bulbs? These plants prefer a sunny location, so keep that in mind as you think about planting sites. Many bulbs are susceptible to animal snacking, so the site selection might include finding a place where you can erect barriers to deer and squirrels. Daffodils, by the way, are among the most deer-resistant bulbs.
Step 2: Test your soil.
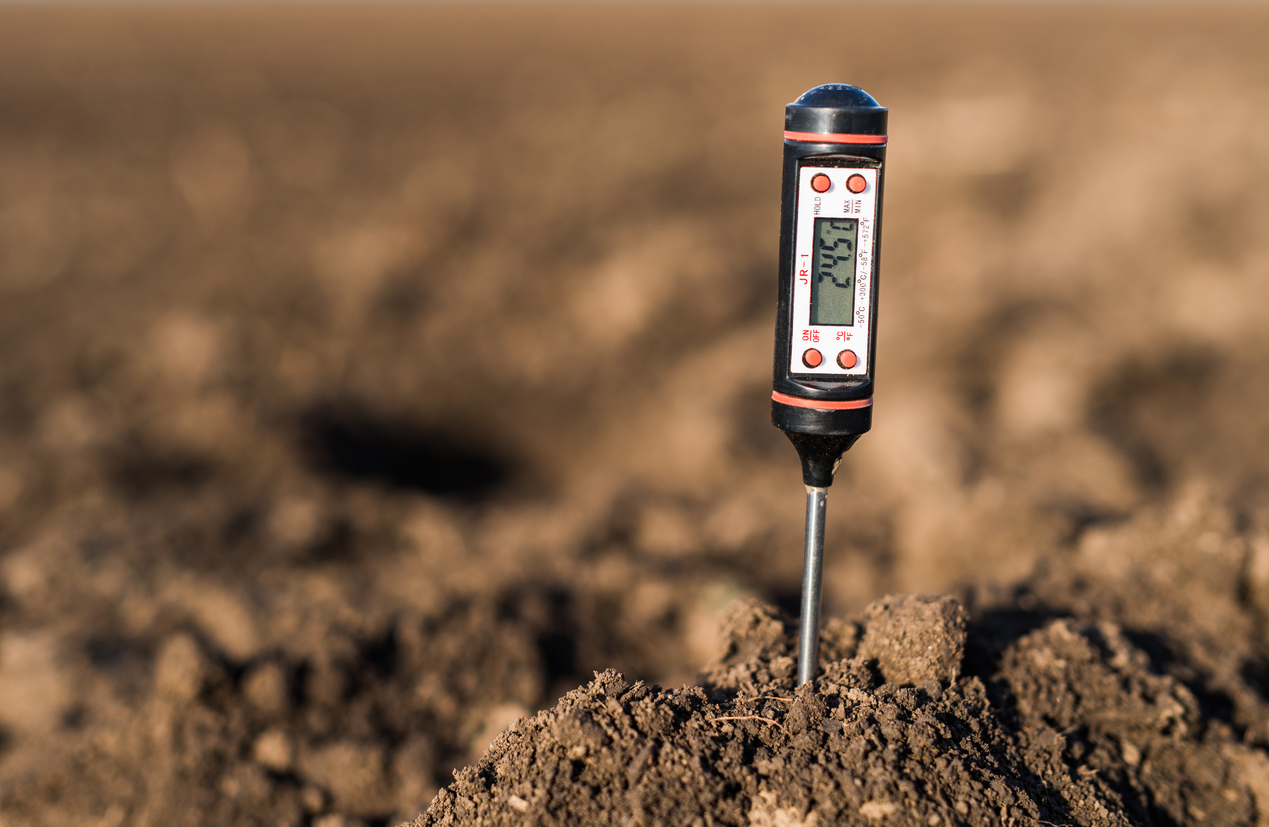
Spring-blooming bulbs tend to do best in neutral to slightly acidic soil, so you might want to conduct a pH test of your soil to make sure it’s amenable to growing these plants. Your local botanical garden extension, nursery or garden center can offer advice for amending the soil if necessary.
RELATED: The Best Soil Test Kits According to Our Tests
Step 3: Loosen the soil and mix in compost.
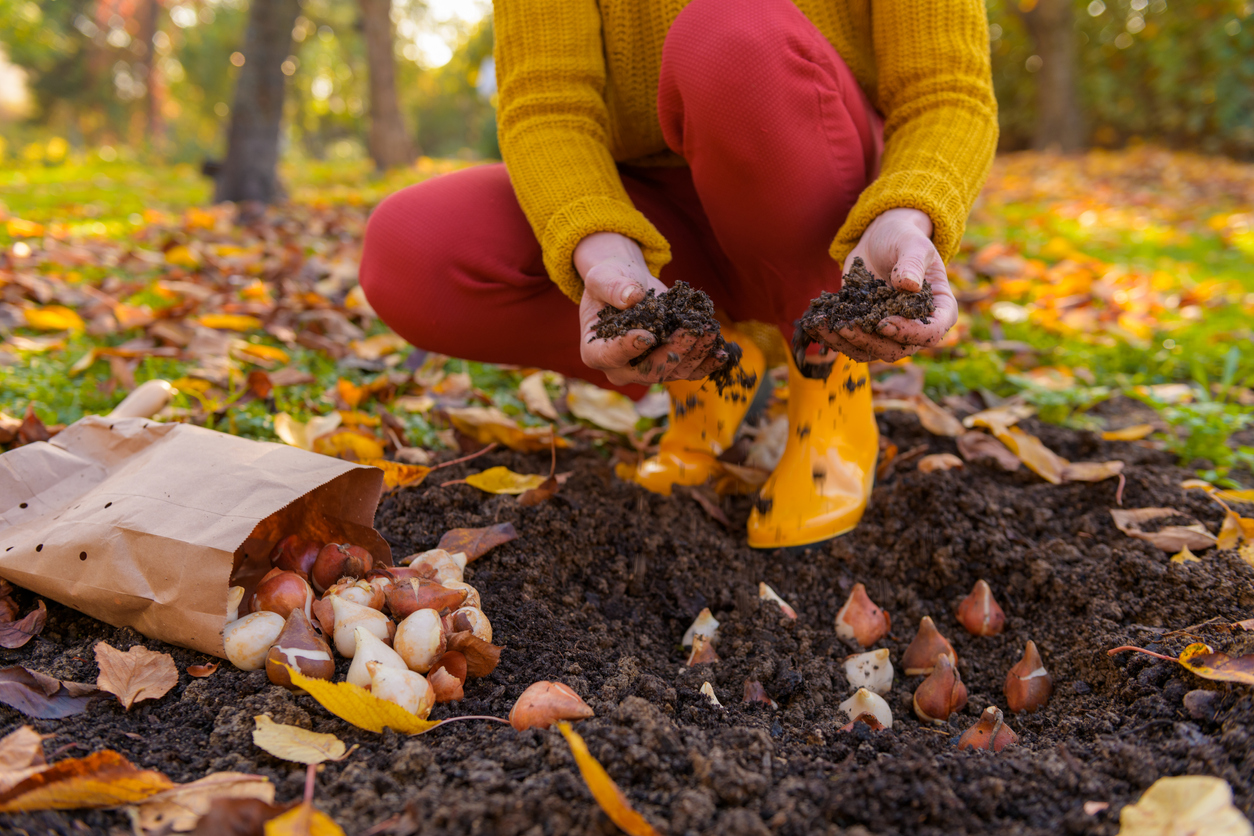
Most bulbs prefer rich soil, so you might have to enrich your soil if it’s been a while since it’s been amended. Break up the soil and mix in a few inches of well-aged compost with a tiller or a garden fork.
RELATED: How Soil Amendments Can Improve Your Garden
Step 4: Lever the soil and place the bulbs.
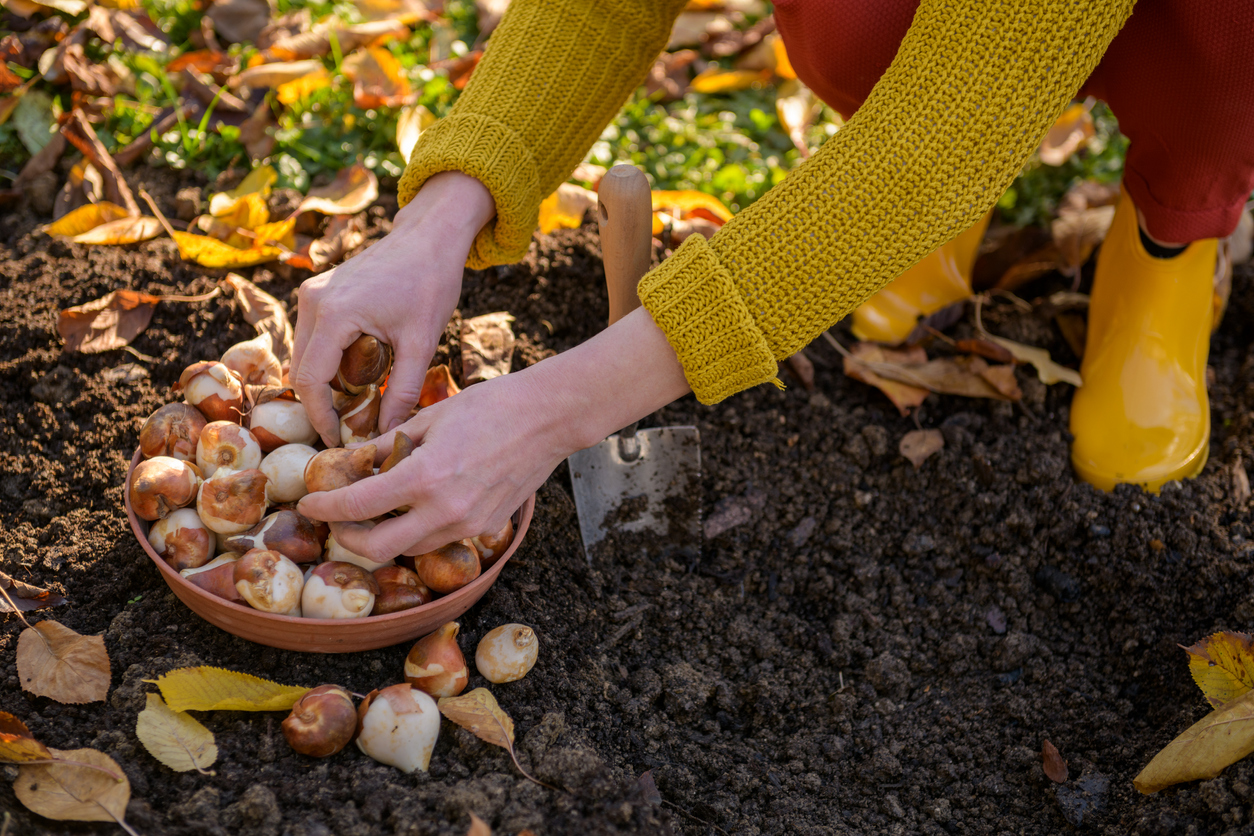
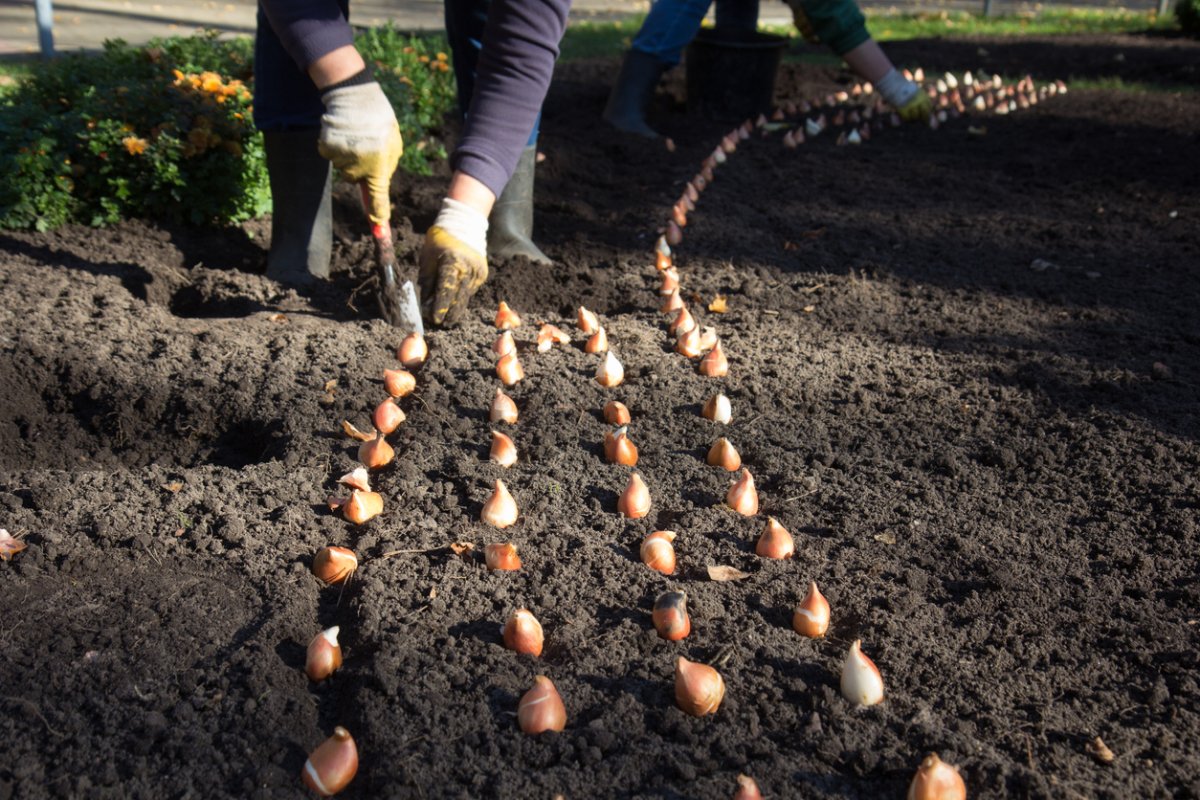
Before you start planting, examine the bulbs carefully—don’t bother using those that are dried out, feel squishy, or have black splotches. Take a garden trowel (try one with the measurements already marked on it) to lever the soil and slide the bulb into the ground, pointed tip up.
Various bulb types have different planting depth requirements, so consult the bulbs’ packaging. Crocus bulbs, for example, are typically planted about 3 inches deep, whereas tulips need to be buried about 6 inches down.
RELATED: How to Grow Saffron—and Save a Bundle Over Buying the Spice
Consider staggering rows of bulbs to give a fuller look to the bed (that means the second row’s bulbs are behind and between those in the first row, but still 6 inches apart). When the bulbs are in the ground, replace the dirt over the top of the bulbs, and water them well.
At this point, if you have concerns about animals snacking on your bulbs, you can lay down a thin gauge of plastic ½-inch square mesh held in with turf staples. Just make sure to remove the mesh once the foliage reaches 2 inches tall in the spring.
Final Thoughts
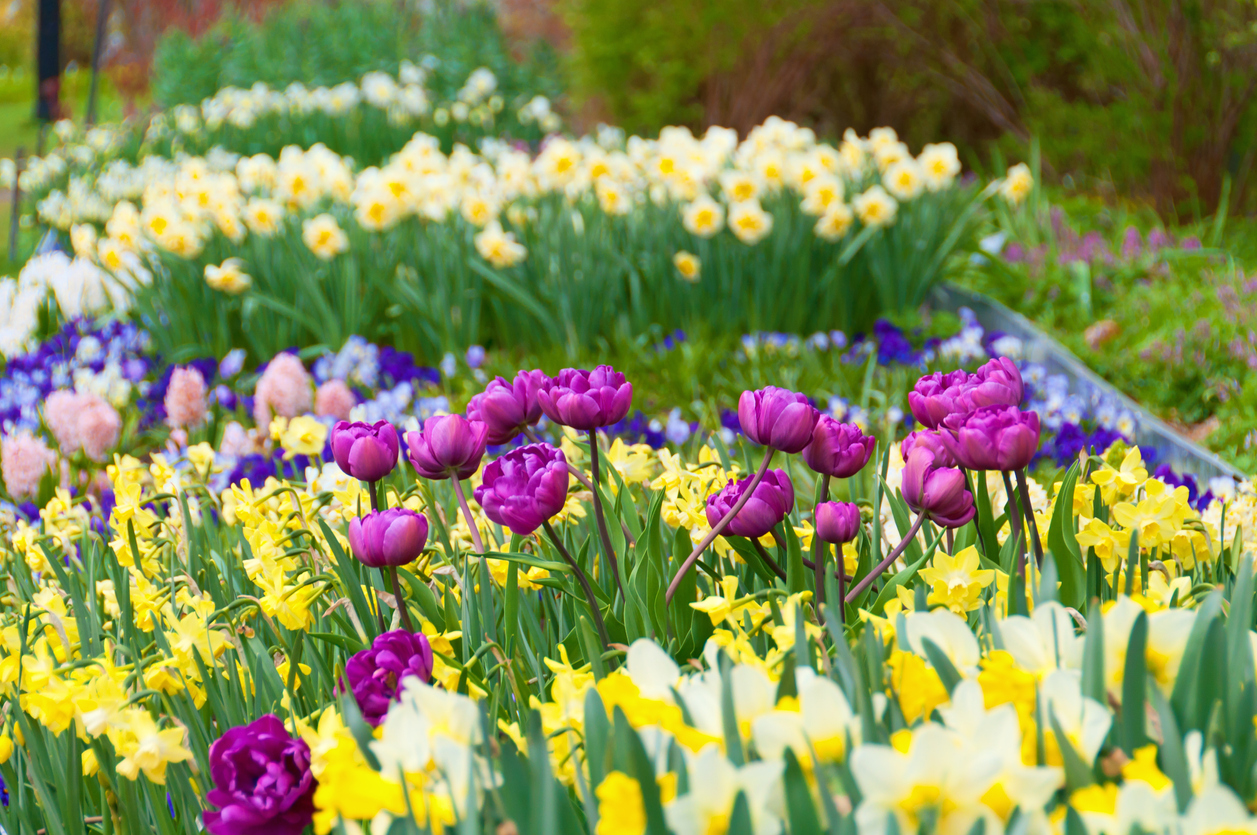
The colorful and uniform picture painted by an expansive swath of daffodil or crocus is among the most breathtaking sights Mother Nature offers. Ensure your soil is well prepared, choose the right bulbs to plant in fall, and find a way to keep hungry critters at bay. Do these things and your fall efforts should be rewarded with a stunning display come springtime.
