We may earn revenue from the products available on this page and participate in affiliate programs. Learn More ›
If you want a vibrant and thriving garden this spring and summer, you can’t wait until the weather warms up to get things started. While the temperatures outside may still be too cold to support plant growth, February and March are prime months for starting seeds indoors so that they’ll be ready to move outside when the weather gets warmer. However, all indoor locations are not created equal, and many gardeners are not sure how to get their plants off to the right start.
We reached out to Carrie Spoonemore, a gardening expert from Park Seed and the co-creator of the From Seed to Spoon app, for some advice. We’ll share some of her recommended locations and other tips to help you set up your plant starts this year. Regardless of where you end up putting your plants, Spoonemore recommends keeping temperatures between 65 and 75 degrees Fahrenheit during the day and ensuring that the soil is “consistently moist, but not waterlogged.”
1. In South-Facing Windowsills
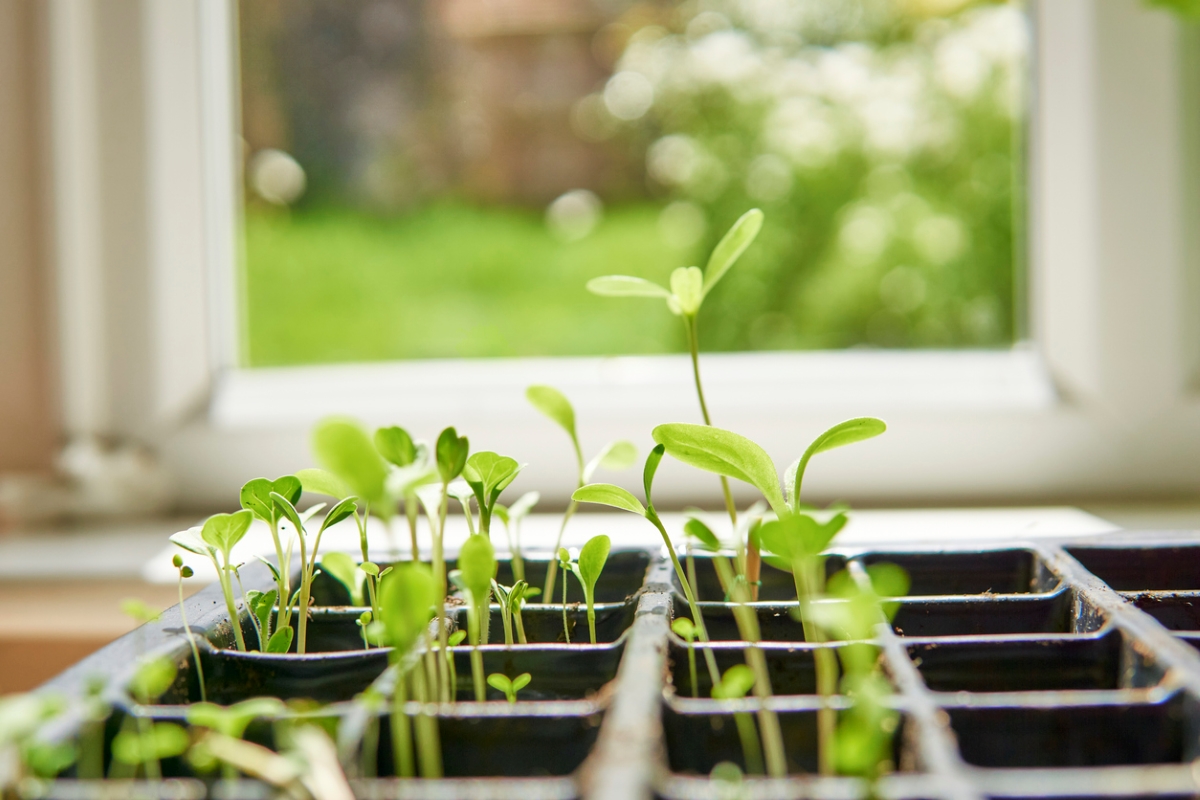
Natural light will support your plant starts and help them to germinate and strengthen. Spoonemore recommends south-facing windowsills because “they provide the most sunlight throughout the day.” While south-facing windows receive plentiful sunlight throughout the day, they don’t receive the direct sunlight that east- and west-facing windowsills do. This direct sunlight could be too strong for the young plants, which is why you want to be cognizant of where you end up placing them.
In addition to being purposeful about which direction the plants are facing, Spoonemore also advises gardeners to “be careful of potential drafts and temperature fluctuations.” If the window is overly drafty, you might want to consider another location. Similarly, moving the plants away from windows at night when the temperatures dip down may also be a good idea.
Best Seed Starting Tray
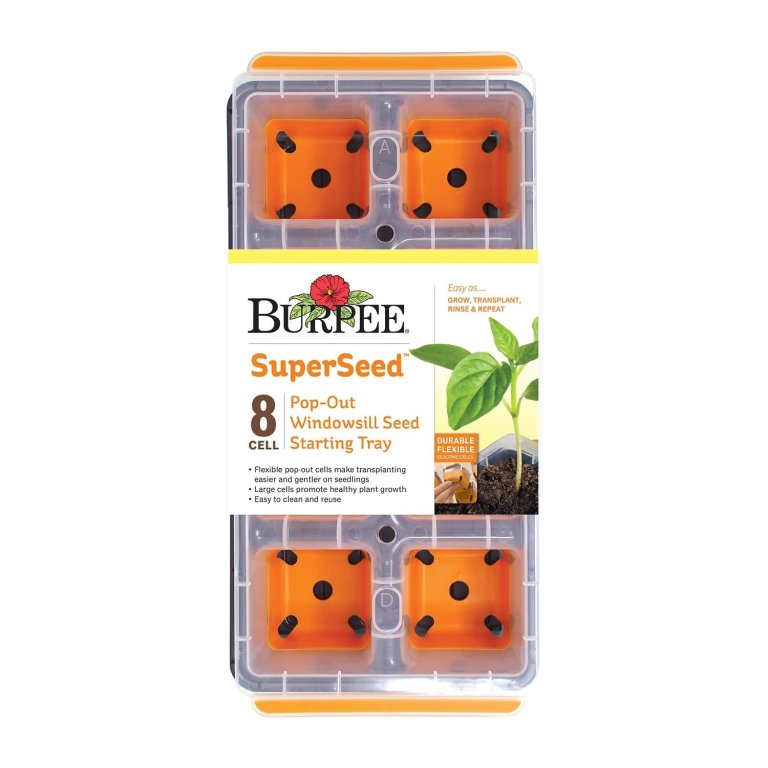
Burpee SuperSeed Windowsill Seed Starting Tray
The Burpee SuperSeed starting tray has extra deep and wide cells, allowing for healthy root development. See our full review.
Buy at Amazon2. On Top of the Refrigerator
A running refrigerator generates heat, making it another possible location to start your seeds indoors and help them succeed. The constant heat from the refrigerator will support their growth. Similarly, you could also consider putting your seed trays on top of a hot water heater, another warm location in the home. Just make sure that you are monitoring the growth of the plants, since they may be out of your direct line of vision. In addition to giving them enough water, Spoonemore suggests checking them regularly for “signs of pests or diseases, such as yellowing leaves, holes, or wilting.”
3. On Seed-Starting Heat Mats

When you’re looking for the right tools to start your seeds indoors, consider using a heat mat to help them grow and remove some of your worries about whether they’ll be successful. Spoonemore explains that these mats “provide gentle bottom heat, which promotes faster and more uniform germination.”
Heat mats can be especially helpful if you’re trying to grow seeds in a colder room, such as a basement, or if you want the seeds to germinate more quickly. According to Spoonemore, they are also “particularly beneficial for starting seeds of warm-season crops that require warmer soil temperatures for germination, such as tomatoes, peppers, and eggplants.”
The heat mat won’t guarantee success. You’ll also need to make sure the plants are getting sufficient light, water, and nutrients. Air circulation is also key. Spoonemore recommends using “a small fan on low speed to gently circulate air around your seedlings.” She cautions gardeners to avoid creating “too strong of a breeze, which can stress delicate seedlings.”
4. Under Grow Lights
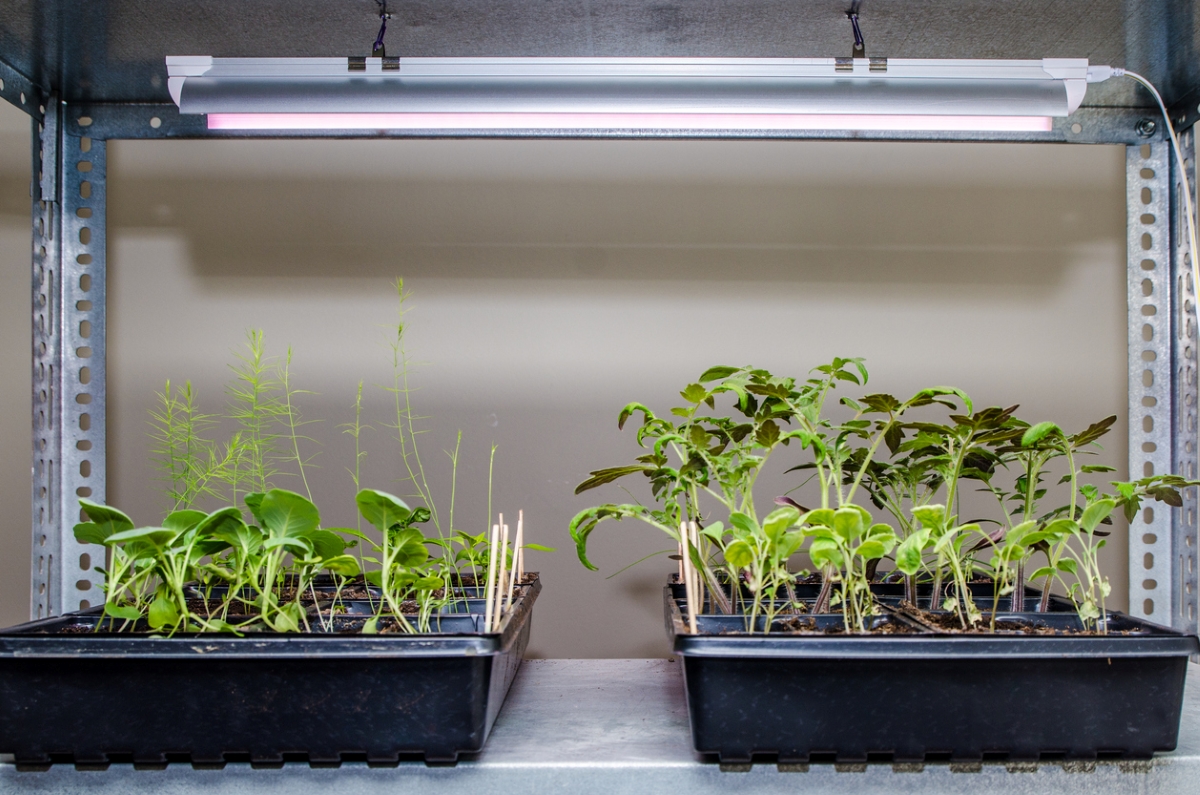
If you’re struggling to find a good spot in your home for your plant starts, consider investing in some grow lights. This way, you can ensure they will have sufficient light, even if there is not much natural light in the room where you want to put them. “Position the lights a few inches above the seedlings and adjust the height as the plants grow to prevent legginess,” Spoonmore says.
Remember, your goal is to eventually transition your seedlings outside, so you don’t want them to only be exposed to the unrealistic conditions that grow lights create. This is why it is so important to harden off the seedlings to ensure success. The week before you plan to move them outside, Spoonemore recommends a gradual hardening-off process. “Take the seedlings outdoors for a couple hours each day and gradually increase the time spent outdoors until they are adjusted and ready to be transplanted,” she says.
5. On Seed-Starting Shelves
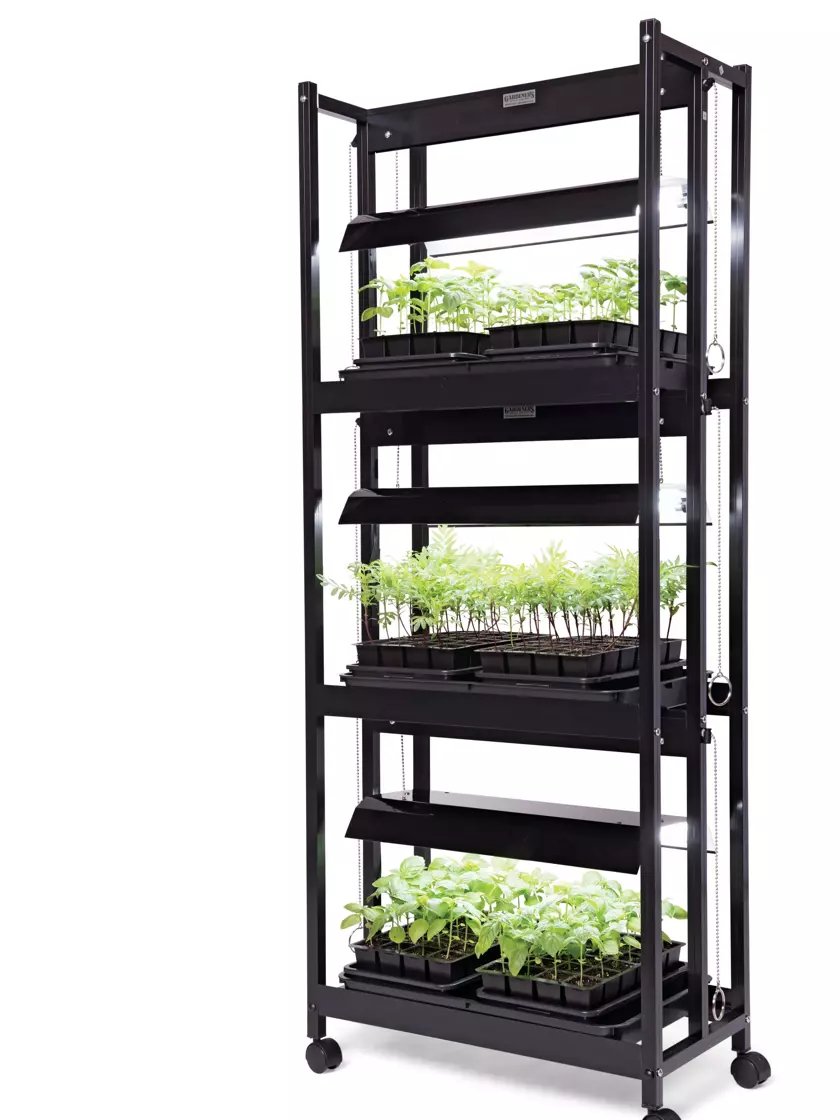
“Installing seed starting shelves or racks indoors allows for efficient use of vertical space while providing adequate light exposure for seedlings,” Spoonemore says. You can DIY your own seed starting shelves to create a custom fit for the space you have available.
Spoonemore explains one benefit of this type of setup. “Seed starting shelves can be outfitted with adjustable grow lights, trays, and other accessories to accommodate different plant varieties and growth stages,” she says. Instead of DIYing your own seed starting shelves, you can also buy this Compact 3-Tier LED Grow Light for Seed Starting at Gardener’s Supply that comes with castors for easily moving the shelves around the house. Many shelves come already equipped with grow lights and other features to help get your seeds ready.