We may earn revenue from the products available on this page and participate in affiliate programs. Learn More ›
If you’re itching to get your garden going, there’s no need to wait until the weather outside is agreeable (and really, your garden will thank you for your impatience). By growing plants from seeds that you start indoors, you’ll save money and have access to a wider variety of vegetables, fruits, and flowers than you can buy at garden centers as seedlings.
Starting seeds indoors also helps extend the growing season for vegetables like peppers and tomatoes, since hardened-off seedlings will be weeks ahead of seeds sown directly in the ground. Although some plants, like carrots and beets, fare best when sowed directly in the ground, many others transplant well. What are you waiting for? Learn more about starting seeds indoors and avoiding potential missteps in the process.

Tools & Materials
Bobvila.com may earn a commission from purchases made through these links.
- Ziploc bags
- Paper towels
- Sterile seed-starting mix
- Seeds
- Plastic wrap or tray cover
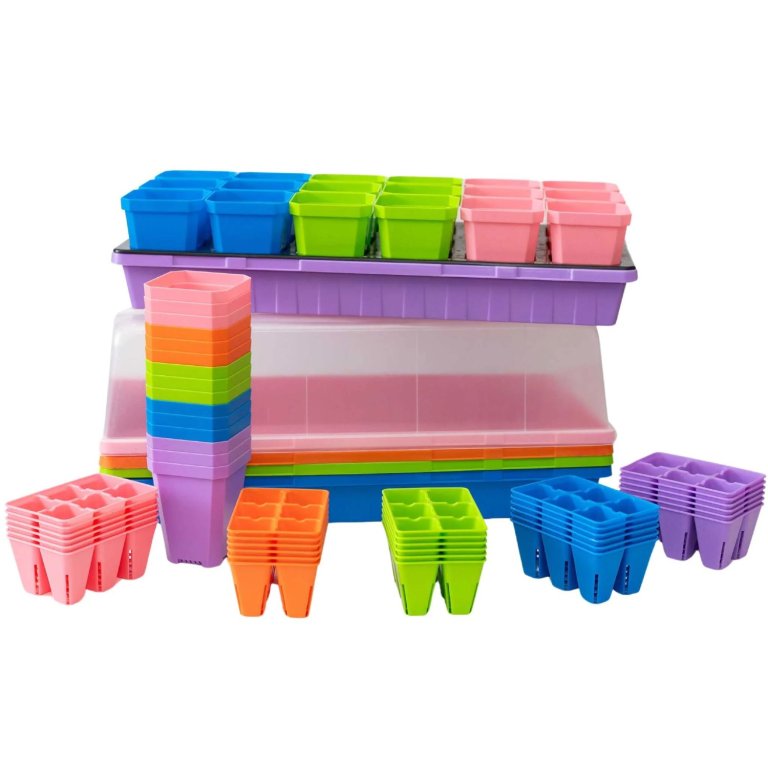
- Peat pots
- Potting soil
What to Know Before You Sow
Some seeds require stratification.
Many seeds can be sown as is, but some have additional requirements. If you’re sowing only vegetable seeds and annual flowers, you can likely skip this step. Some plants, however, require stratifying, or chilling, to mimic the overwintering cycle a fallen seed would undergo in nature. Among those that need stratification are black-eyed Susan and some types of milkweed.
If your seed packet calls for stratifying, place the seeds on a dampened paper towel and fold the paper gently before slipping it into a zip-top plastic bag and placing it in your fridge. Depending on the seeds, they may need to remain in the fridge for 1 to 3 months; the suggested chilling time should appear on the seed packet.
Scarify your seeds, if called for on the packet.
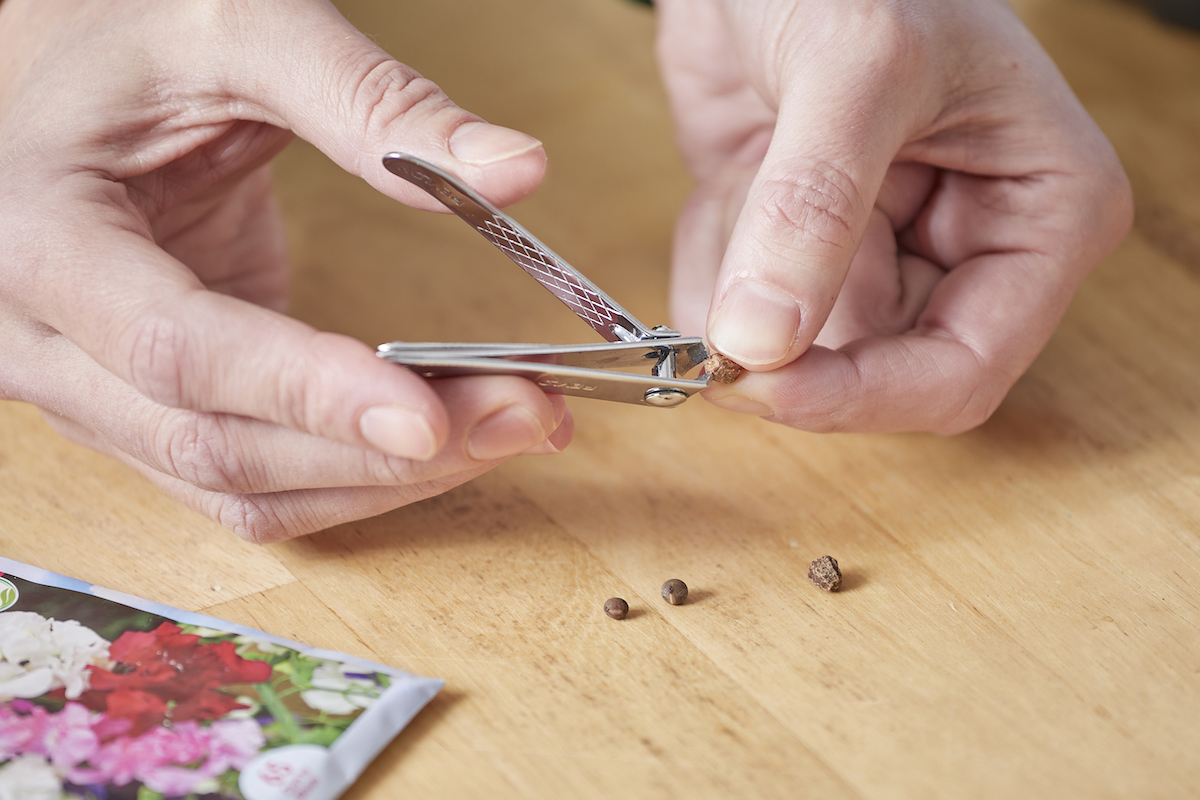
Scarifying is the process of nicking the outer shell of a seed to encourage it to germinate. Some seed shells (like those for nasturtiums and sweet peas) are so hard that the rate of germination is low unless they get a little help breaking out of their shells. A simple way to do this at home is to chip the edge of the seed with sharp fingernail clippers—only enough to perforate the hard shell casing and no more.
Start seeds at the right time.
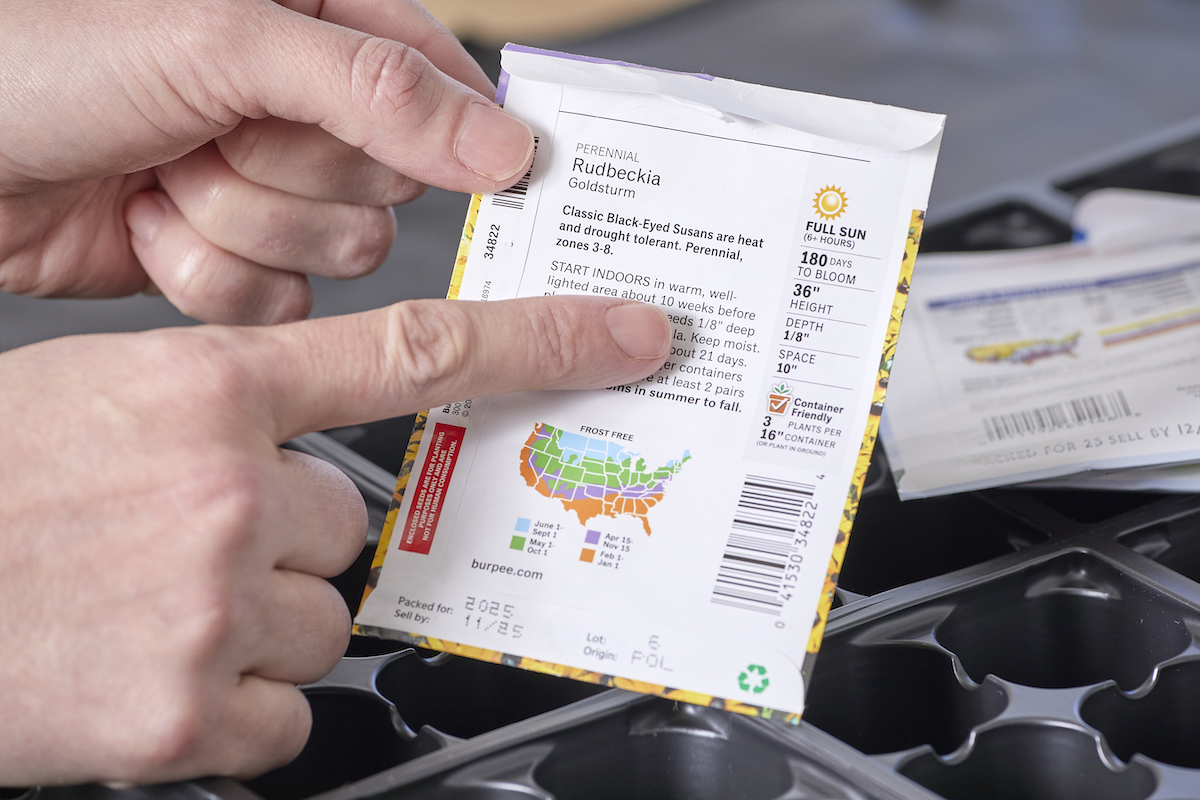
A plant’s seed packet lists the best time to start the seeds. Many vegetable seeds should be started 4 to 6 weeks before the last expected frost date in your area. Other seeds, including many perennial flowers, should start earlier, as much as 8 to 10 weeks or 10 to 12 weeks before the last frost date. If you’re starting perennials, make sure the mature plants will survive in your growing zone through winter.
Sow and Grow
Prep your mix for planting.
Pour sterile seed-starting medium in a clean bowl and add just enough warm water to dampen it. Use of a sterile mix, not garden soil, is important to avoid spreading diseases to the young seedlings. Seed-starting mix is designed to be lighter and airer so that seeds and young roots can break through the soil.
Fill up your tray.
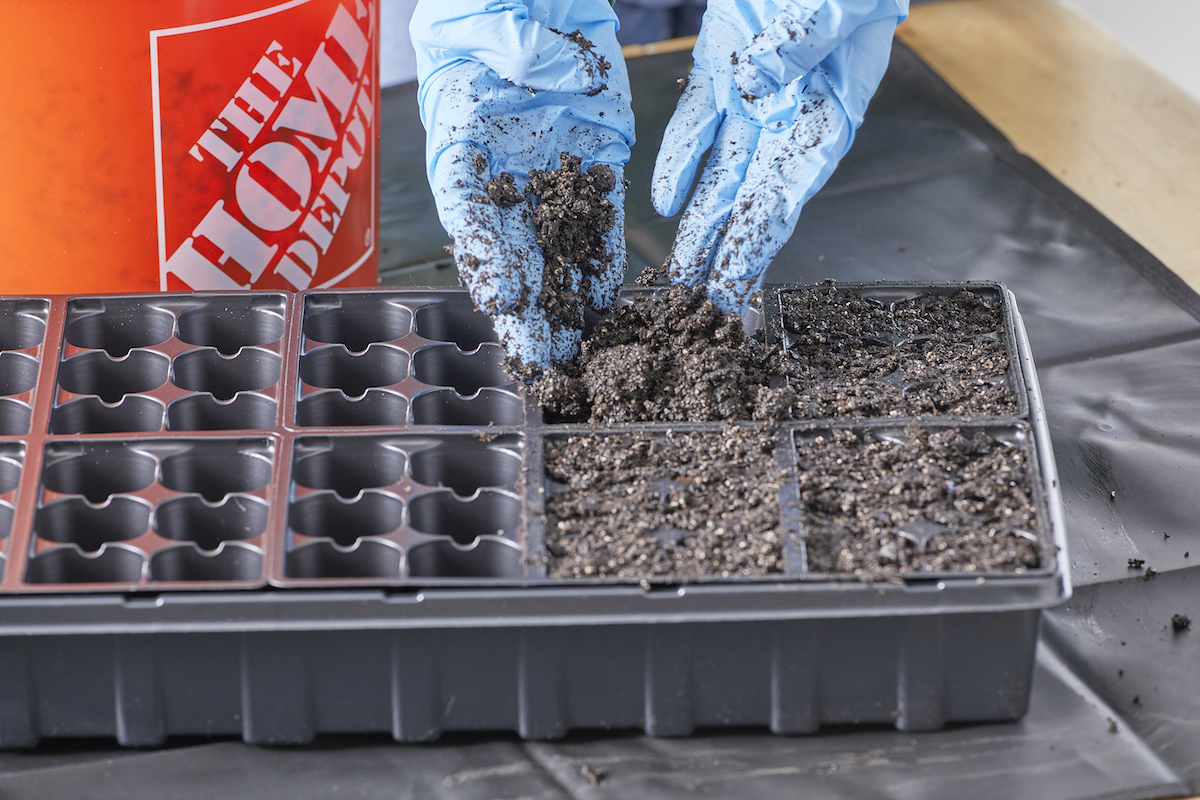
Purchase a plastic grow flat or tray designed for seed starting. A long, shallow container is designed specifically to accommodate a growing plant and its roots. Seed-starting kits might come with an insertable tray consisting of multiple cells with drainage holes and a bottom tray to catch and hold water. Having a tray with individual sections makes it easier to keep the roots of the seedlings separate after they start to grow, and the cells are tiny enough to hold one seedling each.
Moisten the seed mix well, so that it feels like a wrung-out sponge. Distribute the moistened mix between the individual cells in the tray and fill each one almost to the top. Another option is to set tiny peat pots in a large bottom tray or use peat starter pods.
Best Large Bundle Seed Starting Kit
Bootstrap Farmer Ultimate Backyard Bundle Kit
This kit is made of heavy-duty, BPA-free plastic and ideal for hobbyists who want to start a lot of seeds at once. Read our full review.
Buy at Bootstrap FarmerPlot out the plants.
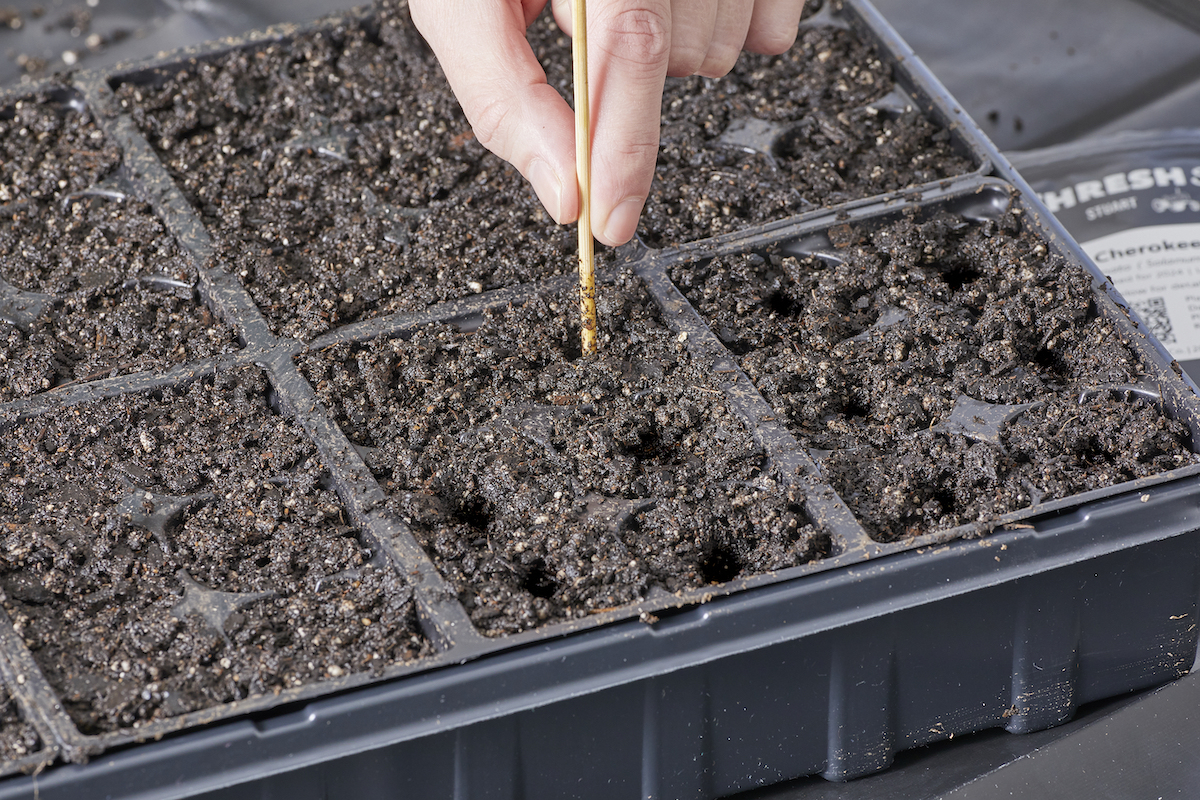
Make an indentation in the top of the planting mix in each cell, or make shallow rows if you’re using a flat without individual cells. The packet will tell you how deeply the seeds should be planted, but the general rule is to plant a seed four times as deep as its width. Large seeds, like cantaloupe and sunflower, need to be planted deeper than small, fine seeds.
Drop in seeds.
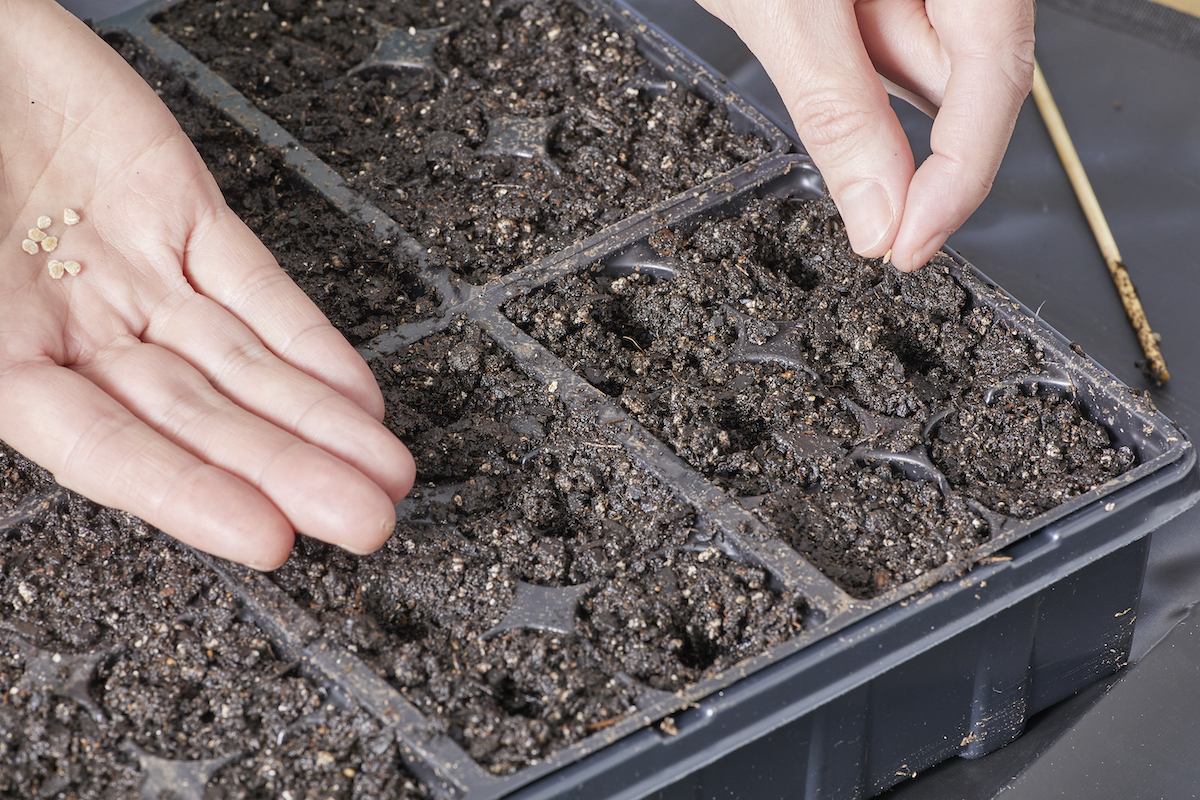
Allot one seed per cell or distribute them evenly in the shallow rows. Plant each at the depth listed on the seed packet. If the packet says they require light to germinate, then don’t cover them; these seeds may be sprinkled on top of the seed-starting mix. If there aren’t instructions regarding light for the seeds, cover them with the moistened medium to match the recommended depth, patting the soil very lightly on top. Then, cover the seed tray with a fitted plastic top or with plastic wrap to keep the medium from drying out.
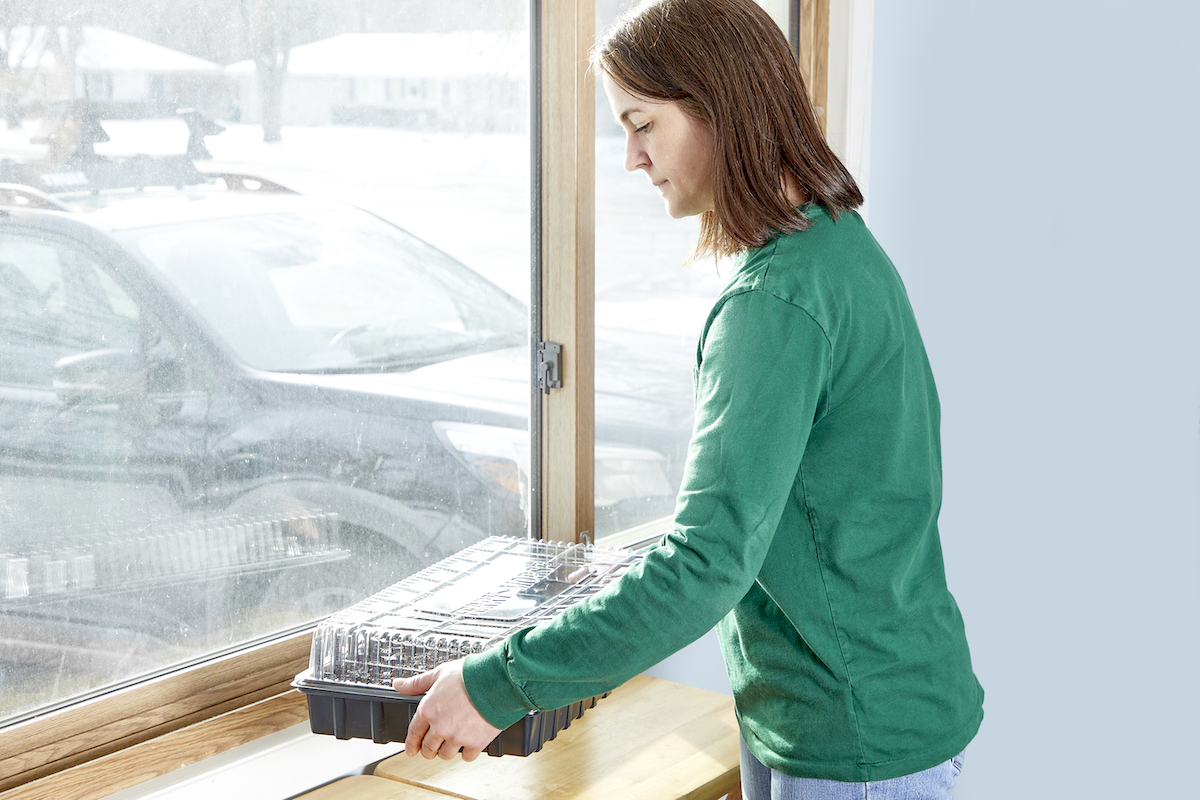
Find an indoor spot with the right temperature.
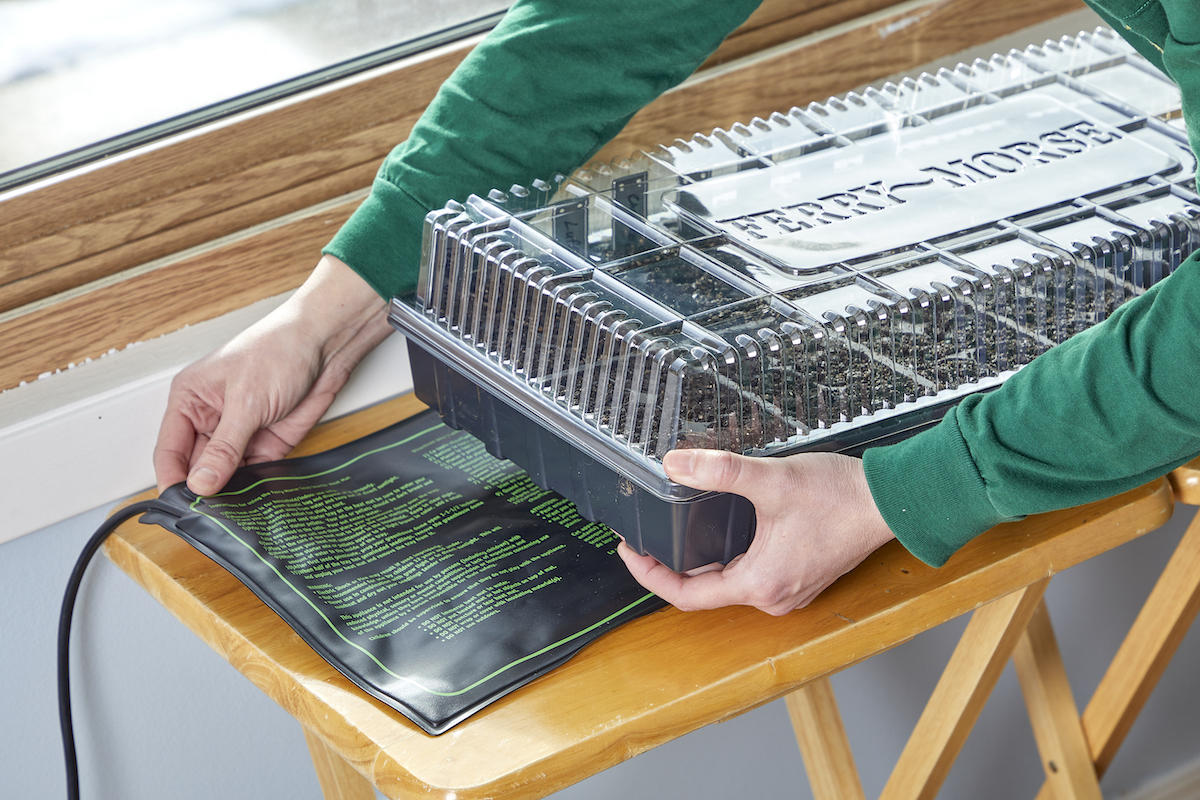
Find a room-temperature or warmer spot for the seed tray, based on recommended temperature per the seed label. Both the ambient air temperature and soil temperature can affect seed germination. Adding gentle bottom heat for the soil often raises the temperature 10 to 20 degrees. Use a heated growing pad or place the tray on top of a refrigerator where it’s slightly warm.
For seeds that require cooler temperatures to germinate (like carrots, cabbage, or Swiss chard), find a cool part of the house away from heat sources until they sprout (or start the seeds outdoors in spring as directed by the seed label).
Wait Until Sprouts Start
Check seeds daily.
Germination times vary by seed type, so check seeds daily for moisture and for the chance to see a new sprout. Some seeds (such as lettuce and kale) can germinate within a couple of days, while others (including perennial flowers) can take two or more weeks.
Give sprouts the light they need.
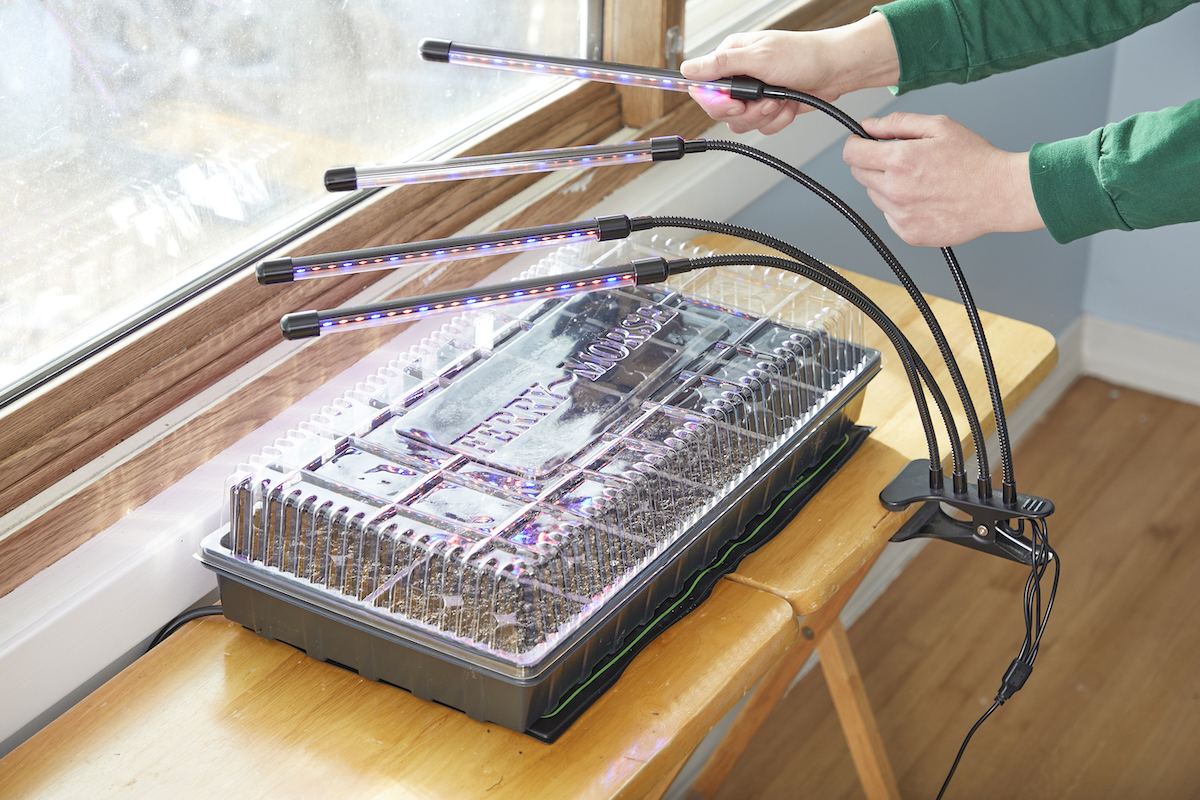
Once the seeds sprout, remove the plastic cover and move the seedlings near a sunny window or place them under grow lights to encourage healthy growth. Don’t place them in direct sunlight, where they can become too warm—a table near a sunny window is sufficient. When using a grow light, place it directly overhead if possible and keep the bulbs about 2 to 6 inches above the surface of the sprouts’ leaves.
Water carefully and consistently.

Water plants as needed to keep the starting mix damp, but not soggy. If the seed-starting mix is moist and the tray is covered, you might not have to add any more water to get the seeds to sprout; if you do, a gentle mist is the best option. Once seedlings emerge, a few clues can help you know when to water: The tray feels lighter than normal, or the soil changes color or pulls away from the side of the tray.
Water sprouts carefully, either from above with a gentle mist or flow, or by pouring water into the tray beneath the pots so they can wick moisture up. Just be sure not to leave standing water in the tray for long; drain excess water after the soil feels damp.
Provide air circulation.
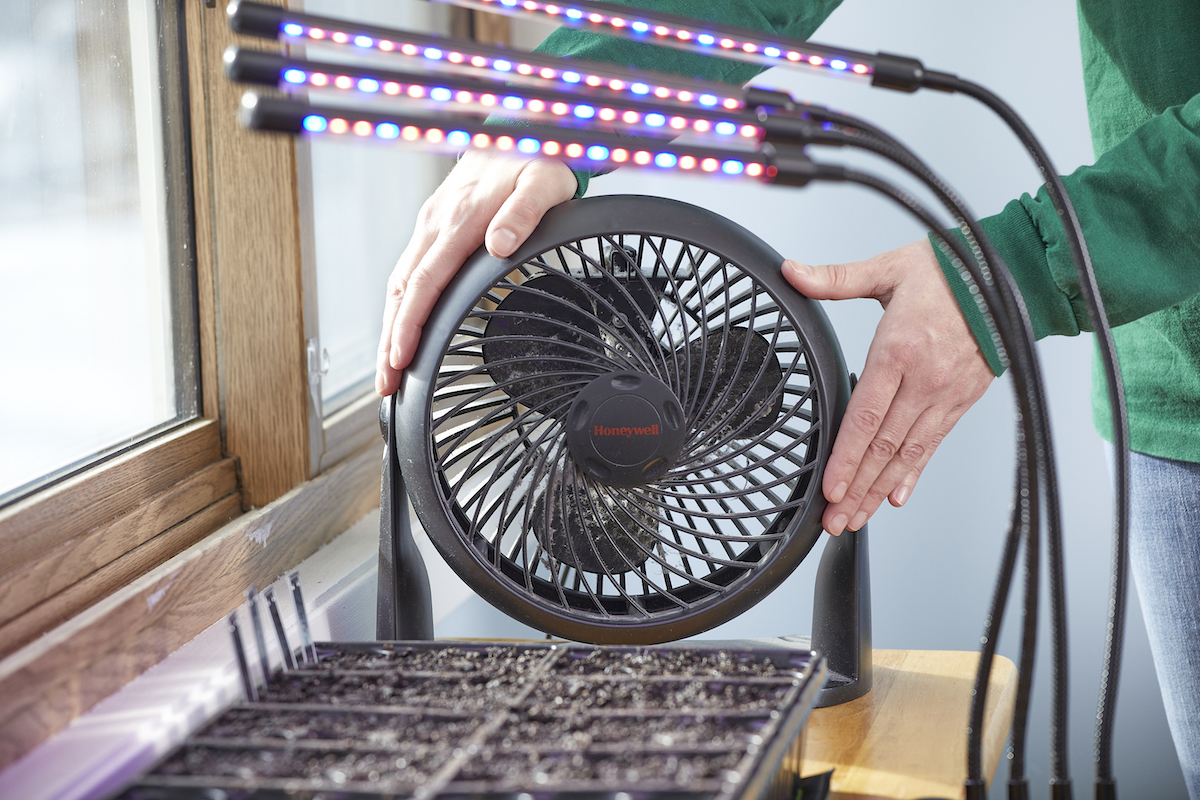
When setting a seed tray on top of the fridge or in a closet out of the way, recognize that the soil might not get enough air circulation. Lack of moving air combined with wet soil causes fungi to thrive. Damping off is a soil-borne fungal disease that often affects new seedlings, and can lead to demise of the plants. One way to provide airflow is to place a small fan near the seed-growing area; don’t point the fan directly at tender seedlings.
Thin out seedlings.
If you’ve hedged your bets at seed-sowing time by placing two or more seeds in some or all cells, you will have to sacrifice a few starts. The small cells in most seed-starting trays are designed to hold a single plant. Even if you sow in rows (indoors or out), thinning starts keeps the young plants from competing for resources and root space. As tough as it is to dispose of a successful sprout, it will pay off. Instead of pulling out the weaker of the starts, use a tiny pair of manicure scissors to snip it off at soil level; this avoids disturbing the other start.
Know when to pot up seed starts.
When the seedlings develop their first true leaves, transplant them into individual peat pots. This ensures they have room to grow as they prepare for transplanting outdoors. The first leaves that emerge are called cotyledons, or “seed leaves”—the plant’s true leaves will develop next. As one or more sets of true leaves develop (typically about 4 to 5 weeks after sowing), the seedling likely is strong enough to be transplanted into a peat pot where it can remain until it’s time to plant it in the garden. Any good potting soil will do for filling the peat pots.
Get Ready to Garden
Prepare the garden for transplants.
Till and prepare your garden soil in preparation for the new plants. Break up large clods and remove twigs and rocks. Most vegetables thrive in well-draining soil and full sunlight, but other plants have different light requirements, so choose a spot that’s suitable for your specific plants.
Harden off plants to make the switch to outdoors.
After sprouts have recovered from being potted up, and hopefully a week or so before time to plant outdoors, place young potted-up plants outdoors in a protected area. This means out of the direct sun and wind at first. Gradually introduce them to outdoor conditions by starting with only an hour or two of exposure the first trip outdoors and more time and sunlight each subsequent day as they gain strength.
Called “hardening,” this gives the tender plants a chance to adapt to the outdoor environment before you move them to their final growing spot. After hardening, transplant the young plants into the garden, leaving the peat pots in place if you like—they should biodegrade in the soil (or remove and compost them). Just be sure to tear off the top half-inch of each pot so it won’t wick moisture from the transplant, and the bottom of the pot to ensure delicate roots can go through. After planting, water the new transplants well to give them a good start in the garden.
Final Thoughts
The advice above can help new gardeners’ chances of success by ensuring seeds and young seedlings get the right water, light, soil, airflow, and space to grow. All you have to do is combine these tips with the wealth of information on each plant’s seed packet, so be sure to read those labels.
The other insurance for success is experience, even a failure or two. Make notes on what does and doesn’t so you can adjust for the next round of indoor seed starting.
