We may earn revenue from the products available on this page and participate in affiliate programs. Learn More ›
Soil blocking is a gardening technique that uses cubes of potting mix to start plants at home. Many people use small pots or jars for seed germination, but a container isn’t necessary with soil blocking. Instead, the blocks of potting mix serve as a container and growing medium for the seedlings.
Developed by the Dutch nearly a century ago, and in Central America well before that, soil blocking has emerged as a popular technique for raising plants from seed. Gardening expert Jessie Keith from Black Gold and a member of the National Garden Bureau says, “Seedling blocks are money-saving and use less waste.” She adds that the soil blockers purchased to form the cubes will “pay for themselves quickly if you grow your plants from seed yearly.”
What Is Soil Blocking?
Soil blocking refers to the process of starting seeds in blocks of potting mix rather than propagating plants in containers such as jars or small pots. This approach is quite beneficial, helping to create strong and resilient plants, even in the winter season.
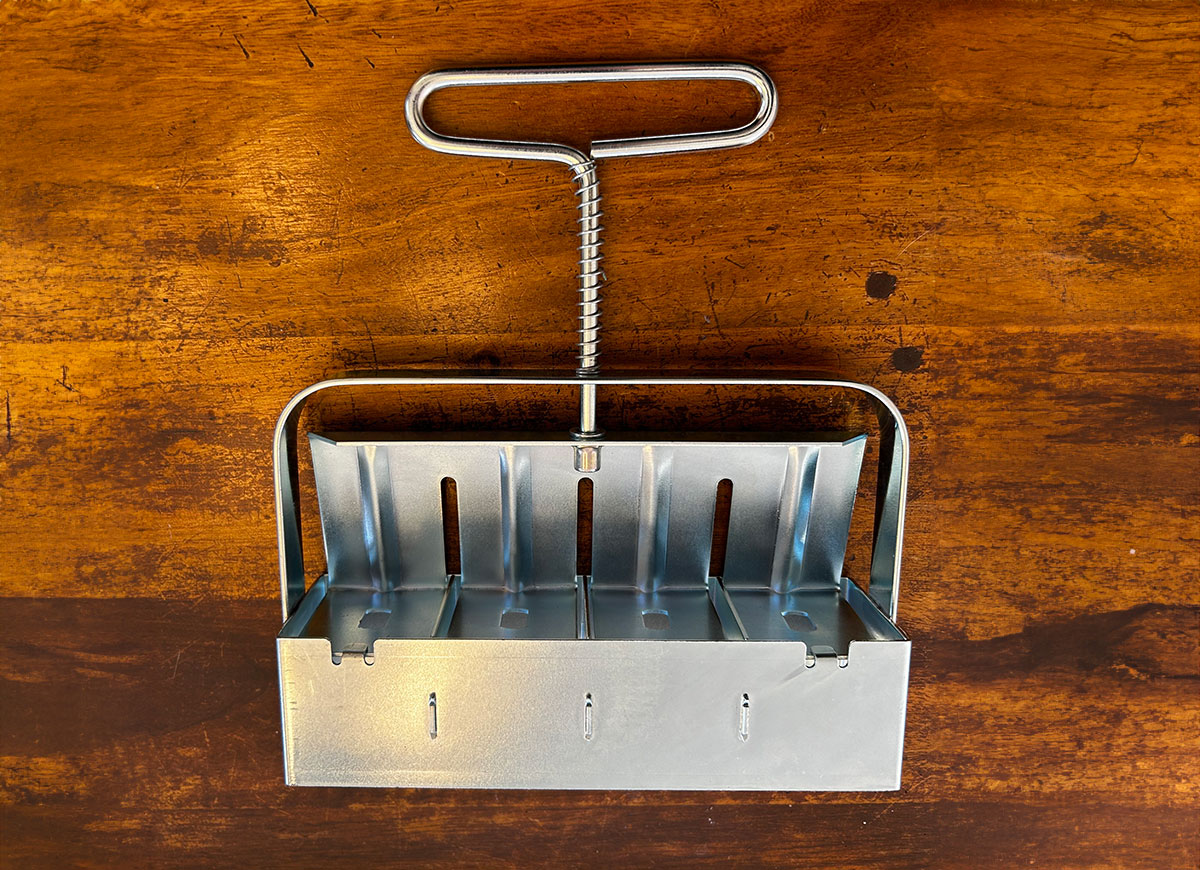
To create soil blocks in various sizes, you can buy a small and simple soil block maker, a tool that creates soil cubes. The molded cubes of soil are lightly compacted but moist. Each seed block is designed to nurture a single seed that will turn into a seedling that will eventually be ready to transplant.
One benefit of soil blocking is that plant roots are exposed to more air than when placed in a container, providing them with plenty of oxygen. The oxygen enables the growth of a stronger root system, which helps protect the plant during the transplanting process.
The Best Soil Blockers for Home Gardeners
The best soil blockers for home gardeners come fitted with a press handle and seed pins (dibbles) to create indentations in the center of each block for seeds. These products can simplify the process of starting seeds and create a great foundation for healthy plants. The list below includes common sizes, although larger block-making plates and other tools may be available from specialty suppliers like Johnny’s Seeds.
¾-inch Mini Soil Blocker
A mini soil blocking tool is ideal for starting tiny seeds; it produces soil cubes that are only ¾ of an inch on all sides. Compared to larger 1½- and 2-inch soil blockers, these require a very fine soil-blocking mix. DIY soil blocking using this tool is slightly more challenging than with larger blocks because the cubes are so small. These blocks take up little space and can be handy for starting large numbers of seeds, but many plants will require “potting on” to larger blocks as they grow.
Our Recommendation: Ladbrooke Micro 20 at Amazon for $36.95
The Micro 20 is a capable soil cuber for your smallest seeds, and it’s backed by strong ratings and reviews.
1½-inch Medium Soil Blocker
Producing soil blocks that are 1½ inches on all sides, a medium soil-blocking tool can be a handy size. This type is meant for some fast-growing seedlings that you will transplant directly into the ground. The 1½-inch size has greater moisture retention than the ¾-inch blocks, and it doesn’t require much potting mix.
Our Recommendation: Mini 5 Soil Blocker at West Coast Seeds for $69.99
This soil blocker is handmade in the United Kingdom, includes removable seed pins, and is well suited for planting small seedlings that grow quickly.
2-inch Large Soil Blocker
A 2-inch soil blocker creates extremely versatile soil blocks, enabling you to start a wide variety of plants. At the hobby or home garden level, a 2-inch soil blocking tool works well for most types of seeds. This size is considered a standard for soil blocks. If you’re only going to buy one soil blocker, get this one, as it’s the most flexible for virtually all of your starter crops.
Our Recommendation: FanFX 8 Soil Blocker at Amazon For $33.99
This soil blocker produces 2-inch soil cubes eight blocks at a time, making seedling propagation even more efficient.
Soil Blocker Mix
You can buy commercial soil blocker mix, but it’s just as easy to make it yourself. Eliot Coleman shares a great soil blocker recipe in his book, The New Organic Grower, which is known as a standard in the gardening industry. We’ll echo his seed starting mix here.
Grab standard kitchen measuring cups and a 10-quart bucket for mixing the following ingredients:
- 3 buckets of finely milled peat
- ½ cup lime (agricultural lime is recommended if available)
Once the above ingredients are well integrated:
- Add 2 buckets of coarse sand or perlite and 3 cups of organic fertilizer.
Mix again, then add:
- 1 bucket of premium garden soil or topsoil
- 2 buckets of well-screened compost
Combine all ingredients thoroughly. This recipe produces approximately 2 bushels of soil block mix. If you would like other soil options, Penn State provides an excellent DIY soil block recipe, or you can also check out our article on the best seed starting mix you can buy.
How to Start Seeds With Soil Blocking
Soil blocking is a tried-and-true way to start seeds indoors for many different plant types. Here is a simple five-step process to start your seeds at home in soil blocks.
1. Prepare materials.
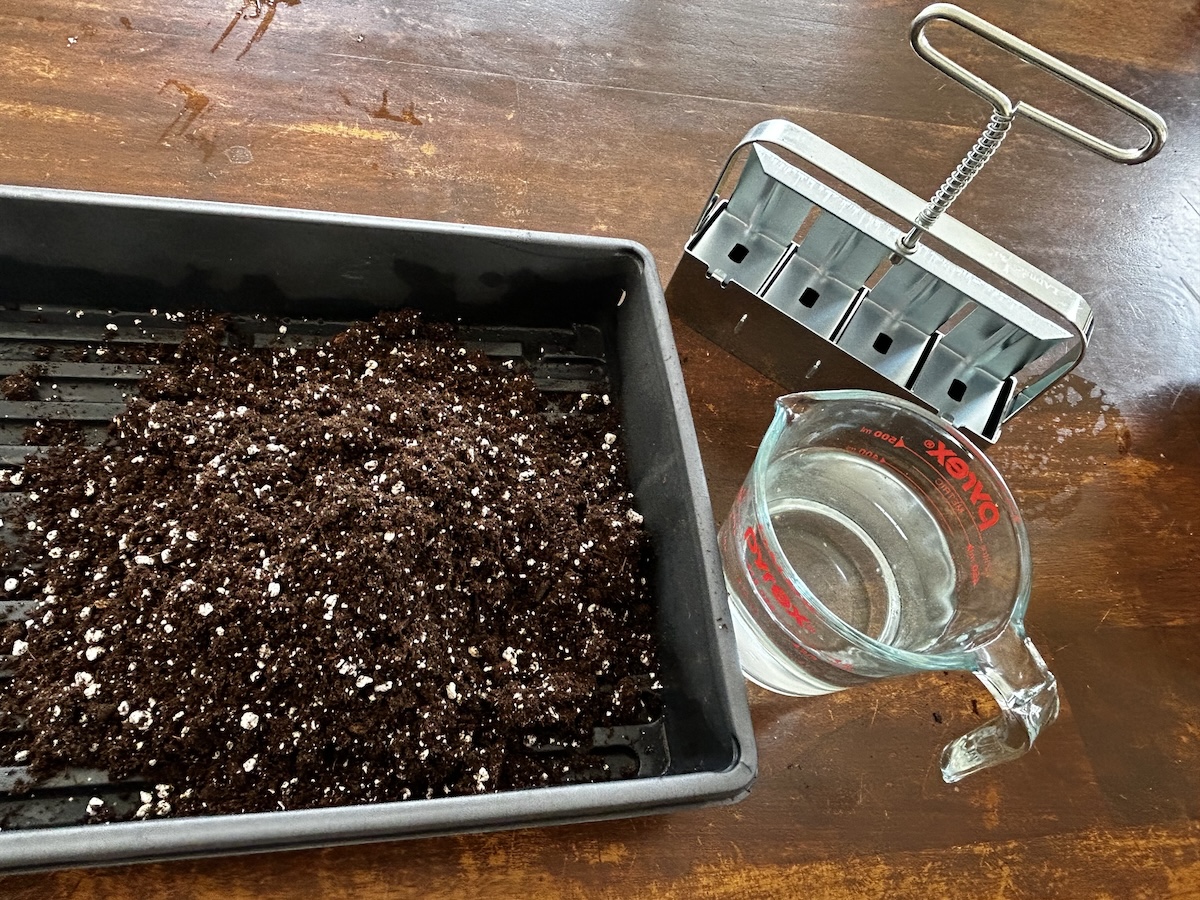
Start with a flat-bottom container such as a tub or tote. Estimate the amount of seed starting mix you’ll need based on volume and place the dirt in the tub. Moisten the soil with enough warm water to turn it into wet mud or soft putty consistency. Aim for the mix to be moist and pliable but not soupy.
PRO TIP
“It may take a few tries to get the soil to the right consistency: Moist enough to bind together, but not so moist that the blocks crumble. After filling the soil blocker with soil, try lightly depressing the handle once or twice to squeeze out any excess water. Then depress the handle completely to release the blocks from the tool.”
—Daryna Tobey, Deputy Editor of Service & News
2. Make soil blocks.
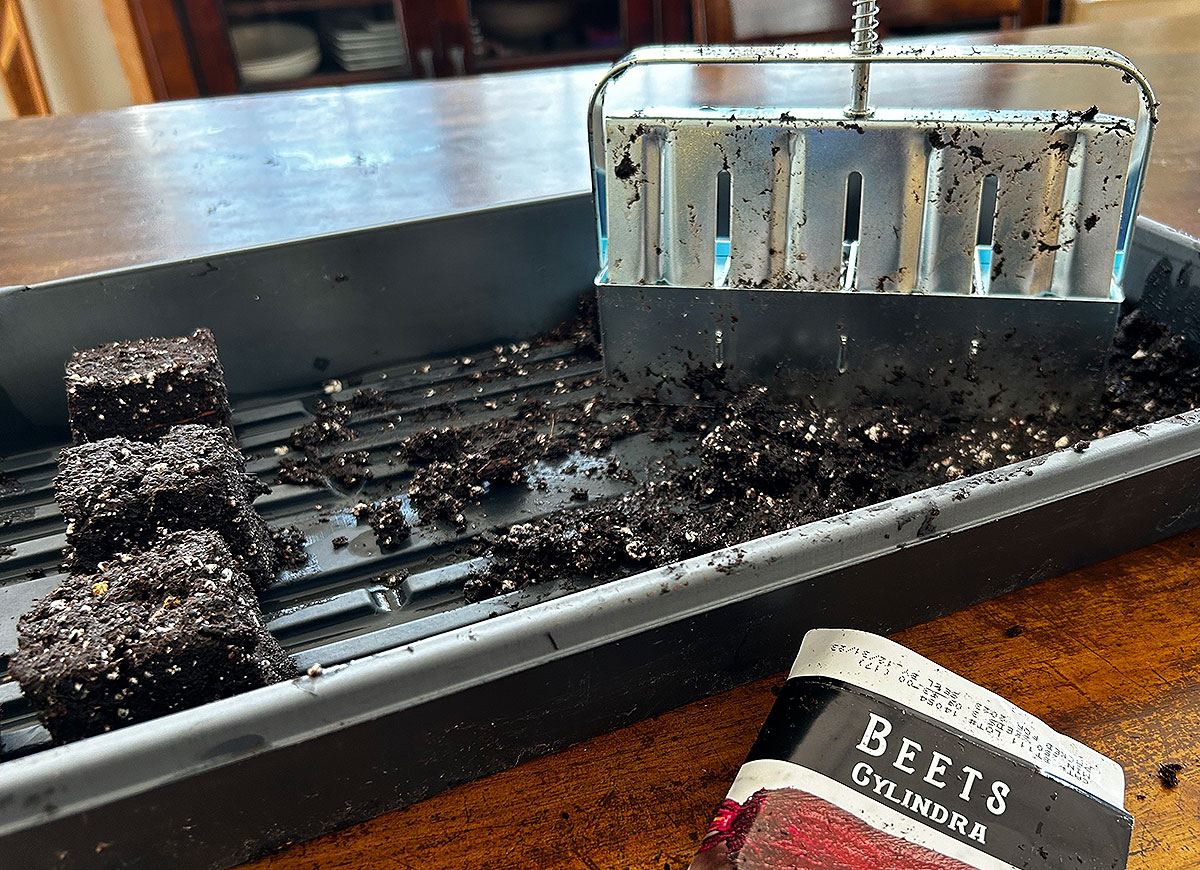
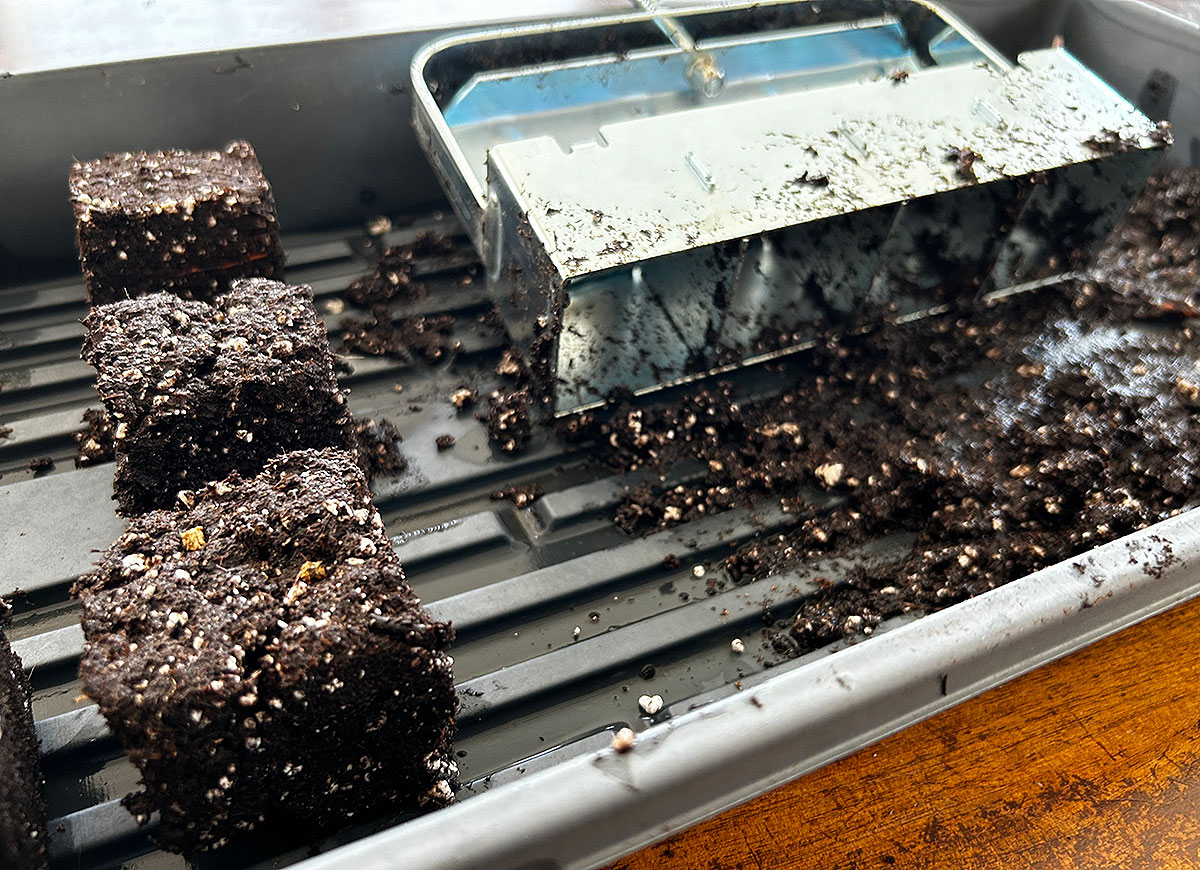
Fill your soil block maker with the block potting mix. Tamp it down several times, slightly twisting as you press down to squeeze out any air pockets and make sturdy soil cubes. Once you pack the soil tight, scrape off excess before gently pushing down on the handle and raising the blocker to eject the blocks. If your blocks crumble, start over. Rinse your soil blocker before loading it again.
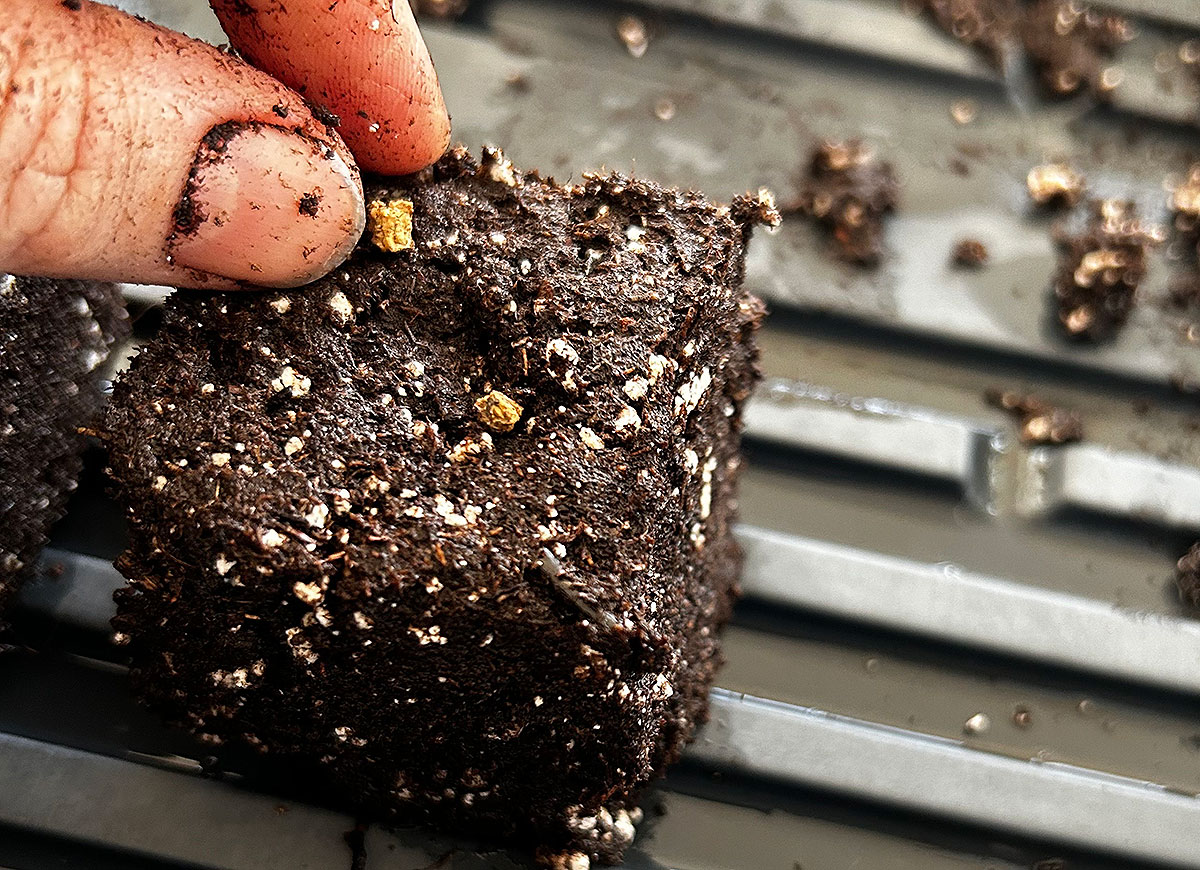
3. Sow the seeds.
Place your cubes on a soil-blocking tray (a baking tray works great in a pinch). Place one to two seeds inside each small soil block. The planting depth should be no more than twice as deep as the seed is wide. It’s better to opt toward too shallow rather than too deep. Start your seeds indoors at the correct time of the year and under recommended light and temperature conditions.
4. Water the soil blocks.
After planting your seeds in moist soil blocks, you may not need to water for 2 or 3 days. Water the soil blocks from the bottom up using a fine mist from a misting bottle. Avoid using a hose or dunking your tray of soil cubes underwater, as it can cause the soil blocks to erode. According to Keith, “Once the seedlings have rooted, the [soil] blocks stay together nicely.”
5. Increase soil block sizes after germination.
A small soil blocker makes ¾-inch soil blocks. After the seeds germinate, each soil cube can be planted inside a larger soil block (called potting on) to continue growth before transplanting, placed into a plant pot or other container, or planted directly into your garden. If several seeds germinate in one block, select the most viable before potting on and cut the others just above the soil (do not pull them out to avoid disturbing the roots of the remaining seedling).
