We may earn revenue from the products available on this page and participate in affiliate programs. Learn More ›
Modern winter sowing, which uses repurposed milk jugs and other plastic containers, was popularized by Trudi Davidoff, who didn’t have the space for starting seedlings indoors during winter and early spring. To create space, she learned how to sow seeds in homemade “mini greenhouses” outdoors, where they germinated nearly as naturally as they would in the wild.
However, chilly outdoor seed starting is nothing new. Since some plants require low or oscillating temperatures to sprout, gardeners used to winter sow them in the ground or in pots placed inside cold frames or unheated greenhouses. Nowadays, they’ve just dispensed with the glass ceilings!
What is Winter Sowing?
Winter planting generally involves the sowing of seeds inside plastic milk or juice jugs, ice cream tubs, clamshell produce boxes, and similar containers. Those containers then go outdoors, where the seeds experience the same weather conditions they would in the wild, while being protected from heavy rains, strong winds, rodents, and birds. The seeds will begin to sprout when the weather warms in spring, producing seedlings that are stockier and require less hardening than those started indoors.
Keep in mind that winter sowing containers should be transparent to allow sunlight to reach the seedlings. Those “mini greenhouses” also should have drainage holes in their bases and ventilation holes on their upper surfaces. Such top and bottom openings already are present on some clamshell produce boxes, and it is easy to provide ventilation for jugs by discarding the lids. But don’t forget to have or make drainage holes as well, or your seeds may rot.
RELATED: 19 “Zero Dollar” Garden Hacks
The Best Plants for Winter Sowing
By now, it should be apparent that winter sowing doesn’t mean planting a winter garden, but rather sowing seeds in winter so that they will germinate in spring. However, when choosing winter sowing seeds, it’s still a good idea to opt for perennials and hardy annuals. Although seeds started outdoors usually will wait until the weather warms to sprout, they can be fooled by winter thaws and germinate too early. In that case, you want seedlings that have some hope of surviving under freezing conditions.
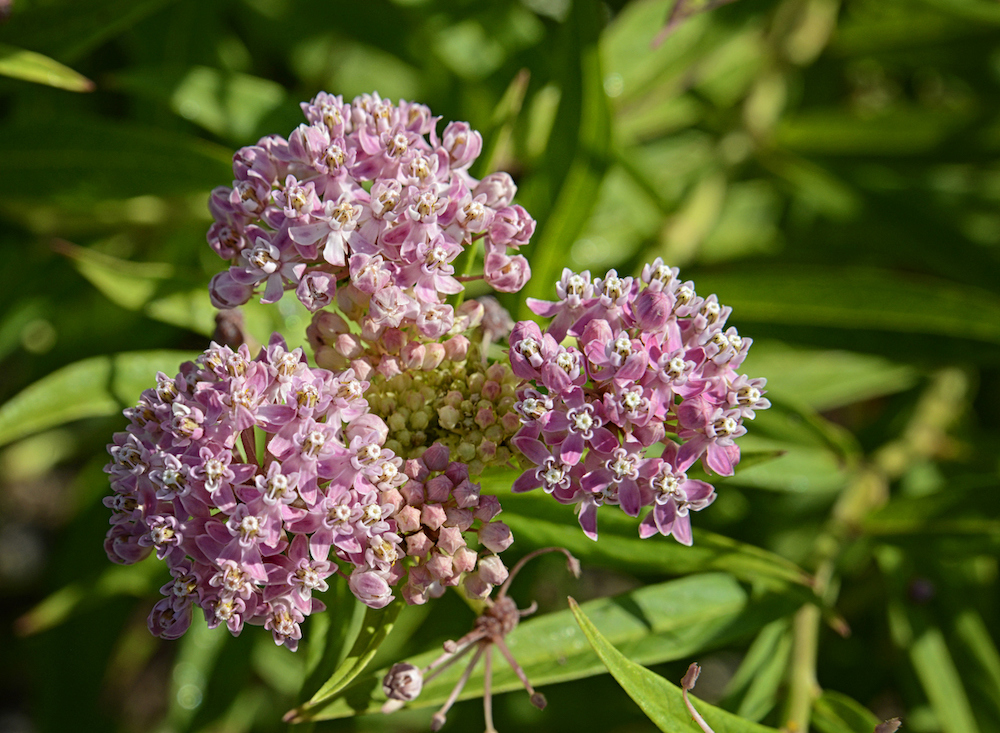
Those include perennial flowers and wildflowers such as bleeding heart and milkweed and hardy annual flowers, herbs, or vegetables such as pansy, oregano, and cabbage. Because peas don’t like having their roots disturbed and can be sowed in late winter in some climates anyhow, it’s usually best to place the seeds directly in the ground. Although you can winter sow other types of seeds in or atop the ground as well, unprotected ones are more likely than contained ones to disappear before spring due to birds, runoff, or rodents.
If you wait until mid-spring to try jug sowing, you should be able to sow tender annuals, such as zinnia, basil, and tomato in your jugs, since the containers will provide a few degrees of protection to help the seedlings survive light frosts. Just remember to cover those containers with a heavy blanket on nights when harder freezes are predicted.
Should you want to start trees by winter sowing, it would be a good idea to opt for deeper containers than partially filled jugs, such as coffee cans with holes punched in their bases and lids, since trees need plenty of “legroom.” Keep in mind that some tree seeds, such as redbud, require scarification (nicking or scratching of seeds) as well as stratification (cold treatment).
When to Sow Seeds Outdoors
Although the idea of gardening in winter might strike you as strange, Trudi Davidoff has said you can start winter sowing at any time after the winter solstice, December 21. Planting your seeds earlier, in late autumn when temperatures are warmer, could cause them to begin sprouting at once rather than waiting for spring.
Keep in mind that freezing doesn’t hurt most seeds. In fact, that is how seed banks store them to maintain their viability. Those that require a long (3 months or more) stratification period to sprout probably should be started in December, but you can put off sowing others until January or February if you like.
RELATED: First and Last Frost Dates: What All Home Gardeners Should Know
How to Winter Sow in Milk Jugs
If you prefer to do your winter sowing in milk jugs, consult the following steps for tips on this method of plant propagation, keeping in mind that you may have to adjust the instructions to the size of your jug.
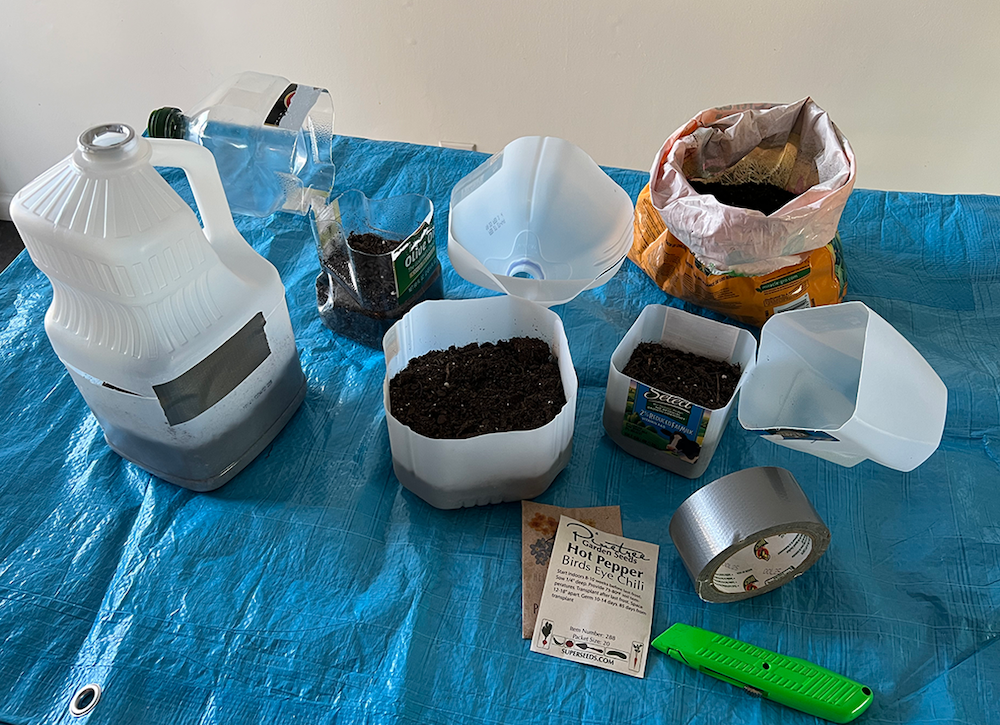
STEP 1: Wash your jug, cut it open, and make drainage holes.
After washing your jug with soapy water, rinse it and allow it to dry (and you can discard the lid.) Then use a paint marker to draw a line around the jug, about 4 or 5 inches up from its base and slightly below its handle. With a serrated knife or a box cutter, cut the plastic most of the way around the line, leaving a 1½-wide piece below the handle to serve as a hinge. Afterward, punch four to six drainage holes in the base of the jug with a drill, hot glue gun, soldering iron, or similar tool.
STEP 2: Fill the jug’s base with soil mix and sow your seeds.
After bending back the top of the jug on its hinge, fill the bottom part with 3 to 4 inches of damp seed-starting or potting mix and wet it lightly. Sow the seeds from one of your packets by placing them in the mix at the depth specified in the instructions on the packet. If they are very fine seeds or a type that requires light for germination, scatter them over the surface and press them in rather than covering the seeds with a layer of soil.
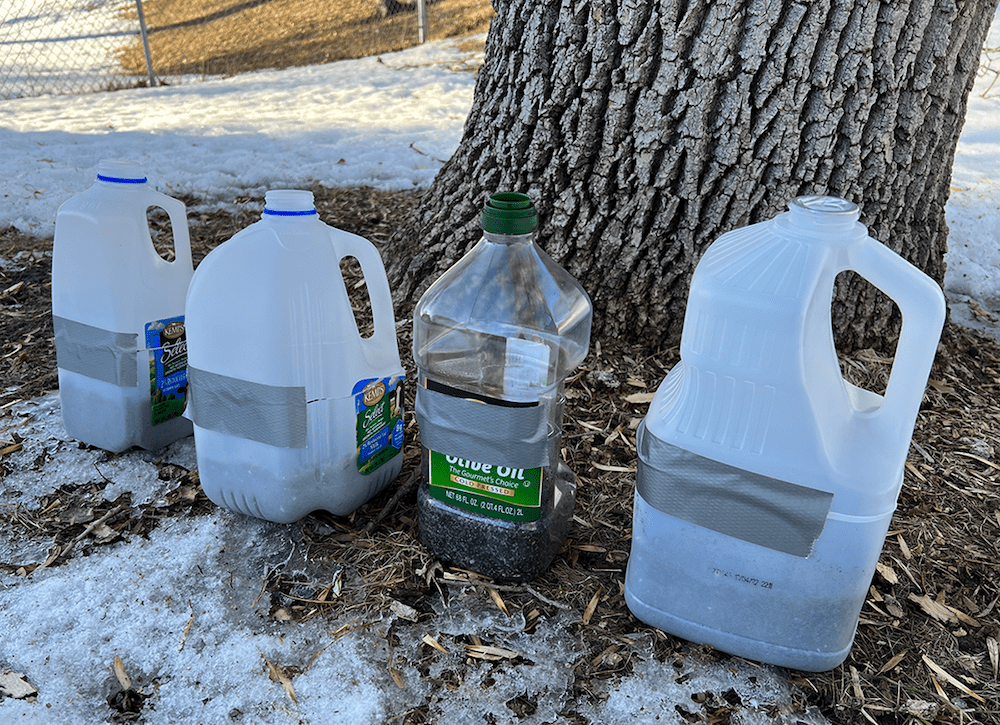
STEP 3: Label the jug and tape or tie it securely shut.
Place a label specifying the sowing date and the name of the plant inside the jug before closing it. Then seal the container shut with light-colored duct tape or punch holes near the cut edges on the top and bottom so that you can join those two sections together with twist ties instead. You may also want to write the date and name of the plant on the outside of the jug with a laundry marker in case the inner label gets misplaced.
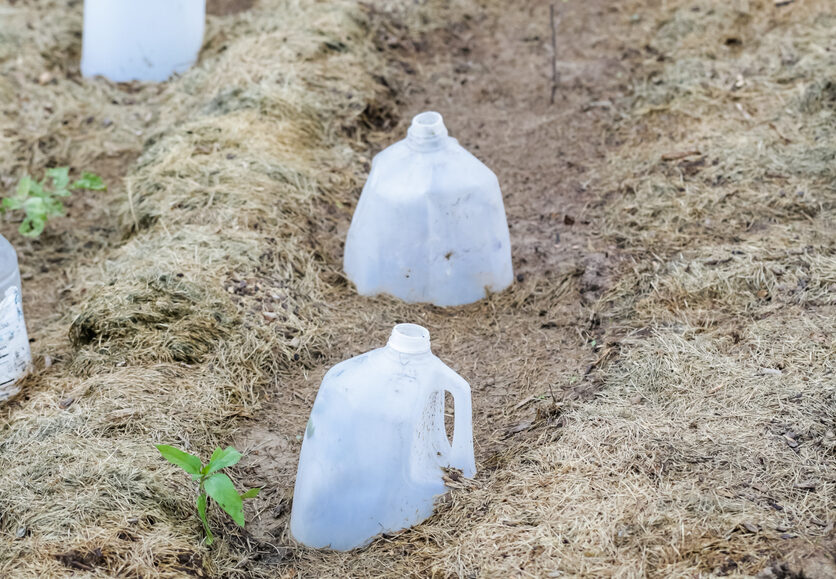
STEP 4: Choose a partially sunny but protected site for the jugs.
To prevent your jugs from being knocked over or tripped over, place them in a milk crate or other large container in a protected place. A location atop a picnic table or just underneath the edge of a deck may work, but make sure that the jugs receive at least partial sun and some precipitation in that location.
STEP 5: Check the jugs occasionally until the seeds sprout in spring.
You then can mostly ignore the jugs until milder weather arrives, though you might want to check them once a week or so to make sure their soil stays damp but not soggy. When your winter seeds begin to sprout in spring, open the jugs during sunny days to prevent them from overheating and close them again at night. Transplant the seedlings into your garden when they are 2 to 3 inches tall.