We may earn revenue from the products available on this page and participate in affiliate programs. Learn More ›
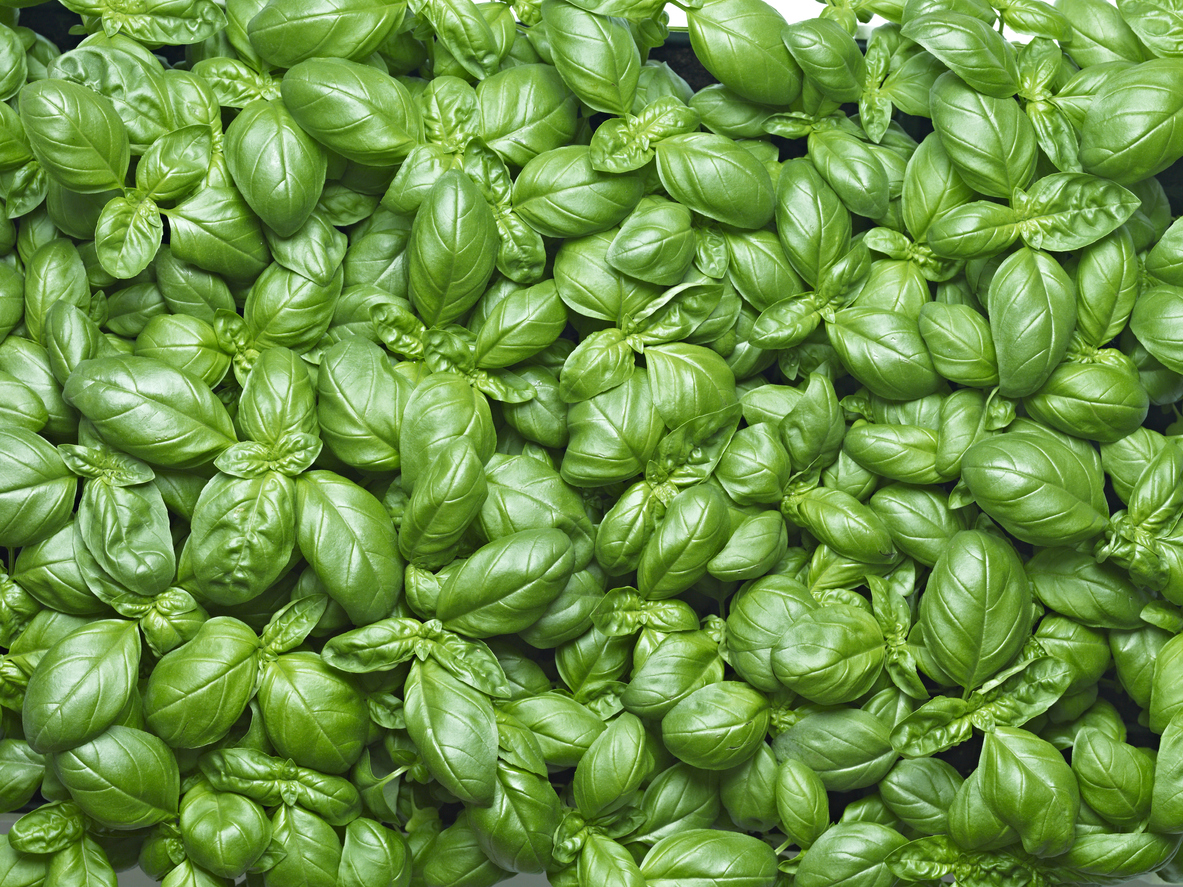
Basil is a culinary herb that flavors various cuisines around the world. Though its native environment is tropical, gardeners worldwide now grow basil. In most climates, basil is an annual plant, though some varieties can act as perennials, depending on the agricultural zone.
Use your home-grown basil for making pesto or Caprese salad and for topping salads, pizza, and pasta dishes. This helpful guide will provide instructions on how to grow basil both indoors and outdoors regardless of the size of your home or garden.
Tools & Materials
Bobvila.com may earn a commission from purchases made through these links.
BEFORE YOU BEGIN
There are many basil varieties, and growing instructions vary. This guide will cover how to produce the most common basil variety, which is known as either sweet basil or Genovese basil. These instructions are for growing basil in containers, both indoors and outdoors, rather than directly in garden beds.
STEP 1: Start seeds.
Basil is native to tropical regions in Africa and Asia, so it thrives in warm temperatures. Plant the seeds indoors in peat pots, starting 6 weeks before the last frost is forecast in your area. Plant four seeds in each pot because basil seeds have a relatively low germination rate of just 60 percent. Expect seeds to germinate in 1 to 2 weeks.

RELATED: So, You Want to… Plant an Herb Spiral Garden
Basil cannot handle cold temperatures, so before bringing the seedlings outdoors, ensure nighttime temperatures are above 50 degrees. If there’s any chance of frost, bring the basil back indoors until frost chance passes.
STEP 2: Transplant the seedlings into larger pots.
Once seedlings reach 6 inches high, they’re ready for transplanting to larger pots or raised garden beds. Plant seedlings 1 foot apart for regular basil varieties and 1.5 feet apart for large-leaf varieties. Basil thrives with plenty of sunlight and should be placed in an area that gets 6 to 8 hours of sun each day.
Consider planting basil alongside your tomato plants in an outdoor raised bed because it acts as a natural insect repellent. If growing basil indoors, place the pot on a sunny windowsill, so it has access to plenty of natural light. Avoid placing it in drafty areas or near air-conditioning units.
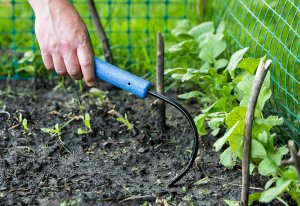
STEP 3: Prune the seedlings.
One thing that sets basil apart is that it requires frequent pruning to grow to an ideal size and shape. Once a seedling has produced six or more leaves, prune the top layer of leaves to encourage growth of new branches. Rather than simply pulling off leaves, be sure to trim the stems themselves with a set of sharp gardening scissors.
When the plant reaches 6 inches high, remove the set of leaves at the center. This will cause the branches to continue to grow outward. Use the leaves you’ve trimmed to add zest to a salad or plate of pasta.
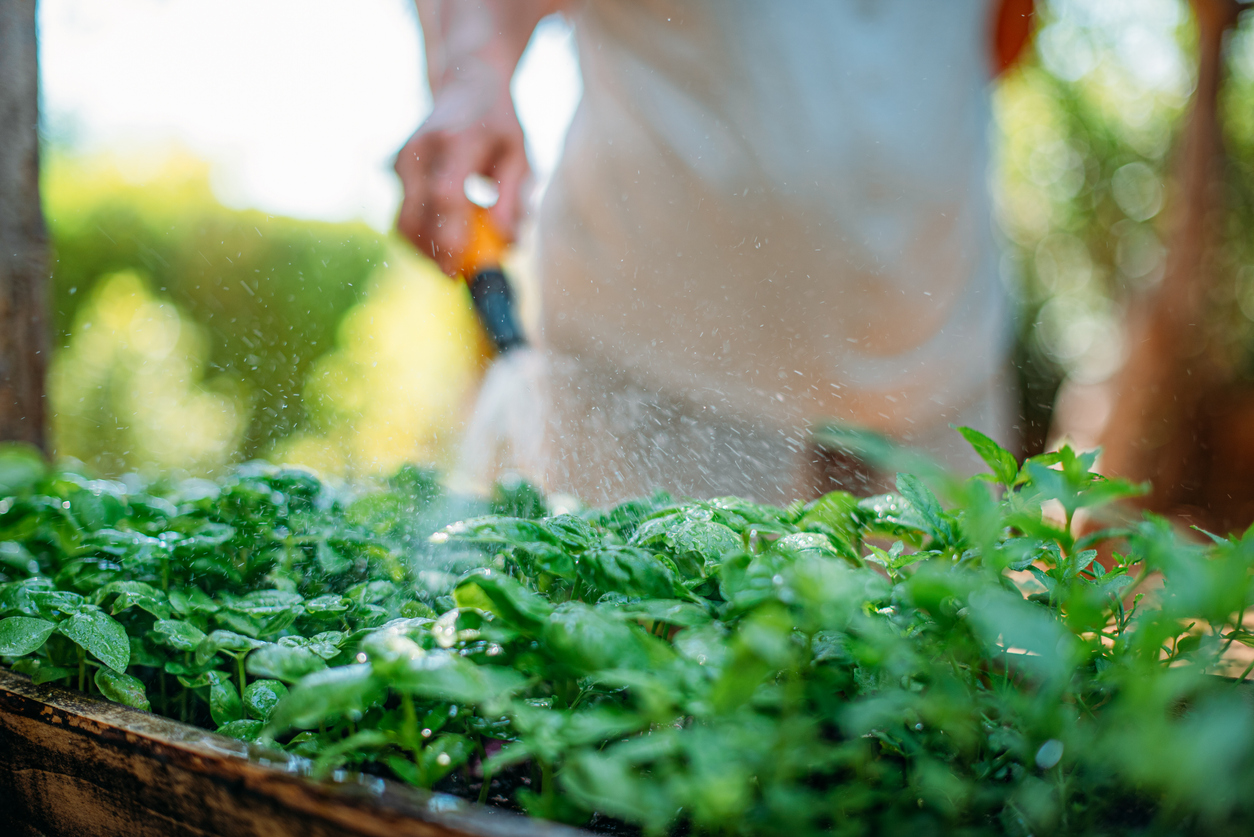
STEP 4: Water basil regularly.
Basil likes to stay well hydrated, so it’s essential to water it as soon as the soil starts to look dry. For the best results, water the soil directly and avoid wetting the leaves. Be sure to use well-draining soil to prevent root rot. Choose pots with plenty of drainage holes to prevent water from stagnating in the soil. Consider adding a layer of mulch on top of the soil to help it retain moisture.
STEP 5: Avoid over fertilizing.
Unlike many other plants, basil does not require much fertilization. In fact, over fertilizing can negatively affect the herb’s flavor. When growing basil in a container, add a diluted liquid fertilizer every 3 to 4 weeks for the best results. When choosing a fertilizer, consider the fact that basil enjoys nitrogen, making blood meal a great option.

STEP 6: Prevent pests.
Whether you’re growing basil indoors or outdoors, one of the biggest obstacles you might encounter is pests. Though basil actually repels some pests—like mosquitos—it attracts others. Some of the biggest culprits are aphids, Japanese beetles, whiteflies, and spider mites.
Although you can use commercial insecticides when you notice an infestation, there are also natural methods for getting rid of pests. Mix a teaspoon of liquid soap into a gallon of cool tap water and spray the plant’s leaves with this solution as needed. Also, consider sprinkling diatomaceous earth over the mulch to deter slugs and snails.
RELATED: Homemade Insecticidal Soap Recipe: Kill Garden Bugs Naturally
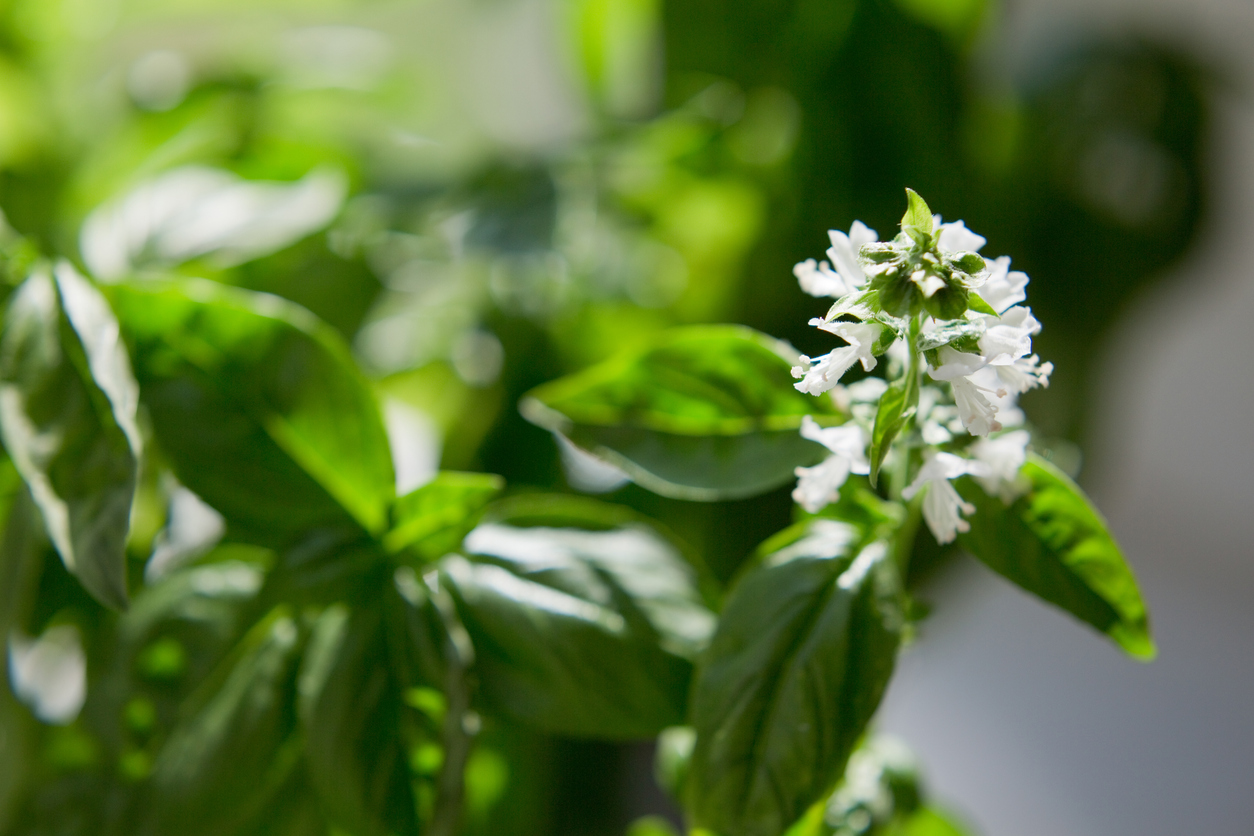
STEP 7: Harvest basil leaves frequently.
Make sure to harvest your basil leaves frequently to encourage new leaves to grow. Along with leaves, basil plants can produce small, white flowers. Unfortunately, however, as soon as a stem begins to flower, it stops producing new leaves.
When the basil starts to flower, it’s important to pinch off any flower heads as soon as you notice them so that the plant’s energy focuses back on producing tasty leaves instead. Also, consider propagating your basil. Place cuttings in a glass of water for approximately 2 weeks until roots develop. Then, plant it in well-draining soil.
STEP 8: Freeze or dry excess basil leaves for later use.
Once your basil plants are thriving, you might find that your biggest problem is figuring out how to use all the leaves. Keep basil leaves fresh by washing and drying them, wrapping them in a paper towel, and placing the paper towel in a plastic bag. Once they’re harvested, basil leaves should be used within 2 weeks before being dried or frozen.
To freeze, first blanch the basil before blending it with olive oil to create a paste. Then pour the mixture into ice cube trays to freeze. To dry your basil leaves, bake them at your oven’s lowest temperature until the leaves become crumbly, which should take between 2 and 4 hours. Once they have cooled, crumble the leaves and store them in an airtight container.