
We may earn revenue from the products available on this page and participate in affiliate programs. Learn More ›
A yard with lumps and bumps is not only unattractive but also a potential safety hazard with ample opportunity to cause trips, falls, and sprained ankles. Many events can cause an uneven yard—including drainage issues, leaks in pipes lying beneath the surface, and lawn pests like grubs or moles disturbing the root structure of the turf—but none need to derail your landscaping efforts altogether.
Improper grading also can lead to problems with a home’s foundation or basement. Before you start working to level your lawn’s surface, troubleshoot the underlying problem so it doesn’t reoccur in the future. Then tackle these steps for how to level a yard to turn your lawn into the smooth, lush, green landscape you’ve always wanted.
The Benefits of Ground Leveling
It is hard to enjoy a yard that’s full of lumps and bumps, and a safety issue can arise for active kids who might trip on clumps of grass or turn their ankles in soil depressions. Sometimes a landscape becomes uneven as a result of plantings and projects like pool installations or adding a walkway. Leveling these areas will help the right amount of water reach all turf and plants and avoid muddy spots or water waste.
Leveling the ground leads to easier routine lawn maintenance. The mower doesn’t get stuck on lumps, and you can more easily rake leaves. Of course, an even, lush lawn looks pretty and is easy to maintain, and leveling your grass will greatly improve curb appeal for potential buyers.

Tried-and-True Advice
“Make sure your lawn is graded away from the house. It’s easy to make the mistake of thinking that a flat lawn is the goal, but it really isn’t. Water should always run away from the foundation of your house, so if you need to go beyond a patch job or two you’ll need to think of the bigger picture when trying to level a lawn.”
—Amber Guetebier, Contributing Writer
If water runs from the yard toward the home, you can prevent damage to the foundation by grading the yard. Typically, a contractor will grade a yard when prepping the property for a new home to make sure that it slopes away from the structure. Often, you can spot and correct low spots near the foundation, but sometimes, grading the yard involves help from a professional.
Many of the issues that cause an uneven yard occur in turf, however, and are easy to fix yourself with our tips to bring back the benefits of a level landscape. These benefits include:
- Safer and more enjoyable for family play
- Easier maintenance
- Improved curb appeal
- Efficient use of water
When to Grade a Yard
Consider leveling a backyard or front yard when water runs into the street or puddles, when it looks unsightly, or when you have trouble stepping or moving over lumps and dips. Knowing when to level a yard depends partly on the underlying cause of the lumps and low spots. If, for example, the lawn has compacted in areas because of foot traffic such as from daily trips to the treehouse, consider leveling and even creating a hardscape path before peak “club season” for the kids.
In most cases, however, the steps outlined below work best if you complete them in spring. This is when warm-season grass is just coming out of dormancy. If, however, the soil is still soggy from snow melt or spring rains, wait until it dries out before taking the steps outlined below. Likewise, correct problems with the yard grade during dry weather, and then check your work during the next rain.
Tools & Materials
Bobvila.com may earn a commission from purchases made through these links.
7 Steps to Leveling a Yard
Step 1: Mow the lawn.

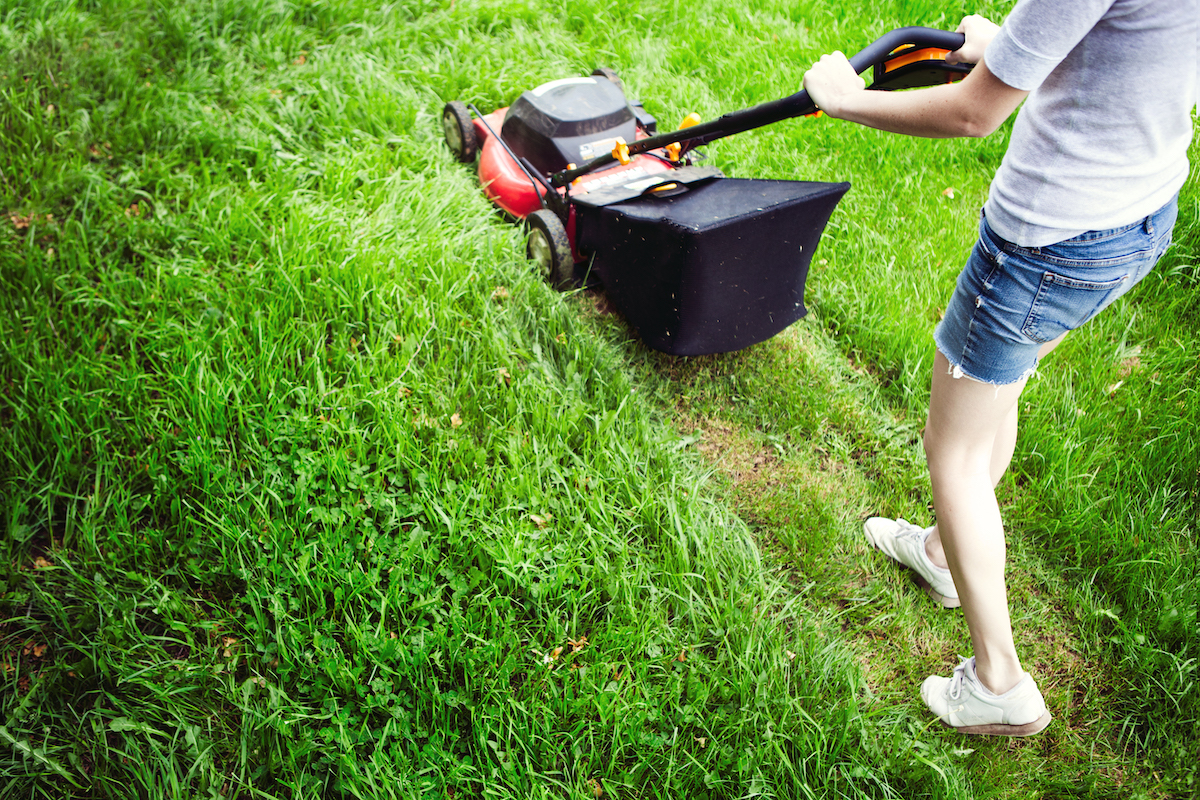
Start by mowing your lawn. Cut it short, but not so short that you scalp it. If you cut it so that grass blade stems become visible, the grass is vulnerable to drying out.
Step 2: Examine the amount of thatch at the lawn’s roots, then dethatch as needed.
Take a closer look at your grass roots, and determine the amount of thatch on your lawn. Thatch is the layer of decayed grass and other organic material at the base of the turf. About ¼ to ½ inch of thatch is acceptable, but any more than that will prevent the grass from getting adequate air and water.
If you have more than ½ inch of thatch, remove (or at least significantly loosen) it by systematically running a thatch rake over the surface to pull it up. Or, if your lawn is larger, run a dethatching machine over it. You can rent a dethatching machine from a home improvement store, and it will make the process much quicker.
Step 3: Mix sand, topsoil, and compost.
Make a top-dressing mix to fill in the area beneath the grass in sunken areas of your lawn from two parts sand, two parts topsoil, and one part compost. The sand helps maintain a level yard because it doesn’t compact easily, while the soil and compost contain nutrients that your grass needs to thrive.

Step 4: Dig up the grass in sunken parts of the lawn and fill with the soil mixture.

If you have any low spots or divots deeper than 2 or 3 inches, you should remove the grass on top of them before filling the holes. Dig up the sod by putting the blade of a shovel into it at the outside of a low spot and sliding it down and under about 2 or 3 inches to get under the grass roots. Then pry the grass up with the shovel to expose the dirt beneath. Fill the hole with the top-dressing mix, and put the grass back into place on top of it.
If some low spots occur near your home, follow a similar process to gently slope the soil away from the foundation. Dig up and rearrange the soil so that it is higher close to the home, but not so high it covers the entire foundation. Then slope it down about 1 inch for every foot away from the house. If the entire yard’s grade slopes toward the house, you might need help properly grading.
Step 5: Spread the rest of the soil mixture in a thin layer to even out the entire lawn.
Once the lowest patches are filled, use a shovel to disperse the top-dressing mix across your entire lawn to a depth of about ¼ to ½ inch. Even if you think your grass needs more than that depth to even out, err on the side of caution and keep to a thin layer—a heavier layer could choke your grass. If necessary, you can repeat this process (see Step 7) to add a second layer.
Then, spread the top-dressing mix evenly across the grass by pulling and pushing it around with the back of a bow rake. Work the mix into the gradual low spots and pockets when lawn leveling. If the grass blades are completely covered by the mix, the grass will suffocate from light deprivation, so follow up with a push broom to further work the mix into the soil at the base of the turf grass and reveal the blades.
Step 6: Run the lawn sprinklers.
Water your lawn to help the top-dressing mix settle into the grass and fill any air pockets. Running your lawn sprinklers will also revitalize your lawn because it will jump-start the infusion of nutrients from the compost in the mix.

Step 7: Reapply the soil mixture as needed.
After a few waterings, look for water runoff or standing water in puddles. You may need more than one application of top-dressing to completely smooth out your lawn. Apply the second layer following Steps 5 and 6 once you see the grass start to actively grow, or when you can no longer see the first top-dressing application you put down.
Final Thoughts
Once you know how to level a yard, it is a worthwhile and relatively simple project to tackle in spring. Ground leveling can bring fun and curb appeal back to your lawn and prevent water waste and water damage to the home.
First determine the cause, and then tackle lawn lumps and low spots with the steps outlined above. If you observe water running toward your home’s foundation, fix the slope. Once you level your yard, ongoing maintenance should be easier.
FAQs
Once you know how to level ground, it is a fairly straightforward process. First, mow the lawn and then identify dips. Fill them with a mix of compost, sand, and topsoil. Dig sod up in high spots and remove some of the soil before adding a thin layer of the same mix and replacing the sod. Top-dress the entire lawn with a ¼- to ½-inch layer of topsoil, and then water. You might have to top-dress again after the soil settles.
Fixing lumps and bumps caused by foot traffic, digging, plantings, or thatchy grass should cost no more than a few tools and materials. Most tools, such as a shovel and bow rake, probably reside in your shed already. If you don’t have a dethatcher, renting one can run up to $80 a day. Purchasing a manual thatch rake typically runs $40 to $50.
When leveling a yard, sometimes you can move soil from high spots to low areas, but in other circumstances you might need to purchase topsoil and sand to complete the project. A 40-pound bag of topsoil is usually less than $10.
In most cases, spring is the best time to level your lawn. Warm-season grass is coming out of dormancy, and any plugs of sod you dig up and replant after leveling stand a better chance of surviving in spring temps before the heat of summer. If snow melt or spring rains have been heavy, put off leveling until the ground dries out, or you can do more damage in muck and mud.
With lawns, mow the grass and fill in low spots while digging out lumps or high spots. Put the grass back in place once level, then top-dress the lawn with a ½-inch layer of compost and level the lawn with the back of a bow rake. Use leveling sand to fix uneven pavers or flagstone paths. If your entire yard has a grade problem, you might need to bring in a yard-leveling professional to slope the property correctly.
In general, removing or tilling the top few 6 to 8 inches of soil can loosen it. Then, mix some new topsoil in with the existing soil. Add enough to form a slope away from the house; generally about 2 percent grade will work. Allow the soil to settle a few days and then check the grade again. Before digging, check for utilities, and if your basement has flooded or the job is complex, consider hiring a professional to grade the yard.
Dirt can be near the foundation, as long as it is not too high. Be sure that at least 4 inches of the foundation shows above the layer of dirt. Most important, continue to slope the dirt away from the house, lowering it about 1 inch for every foot of space away from the foundation. If the dirt close to the house is too high, remove enough to expose the foundation so it can dry out, but do not leave a low spot around the home. Instead, continue to remove or rake dirt away from the foundation to create about a 2 percent slope toward the yard. If the dirt level near the foundation is satisfactory, add topsoil near the foundation and gently rake it downward to create the slope.

