We may earn revenue from the products available on this page and participate in affiliate programs. Learn More ›
What You Need to Know
- It can take anywhere from a few hours to several weeks to level the ground for a pool installation.
- In addition to the actual leveling, the process involves removing debris, tamping the ground, adding sand, and removing weeds prior to installing the pool.
- Although a doable DIY project, leveling the ground for an above-ground pool can be labor-intensive, so many homeowners choose to hire a pro.
Want to build a pool?
You may need to reslope your lawn, and a pro can help. Get free, no-commitment estimates from experts near you.
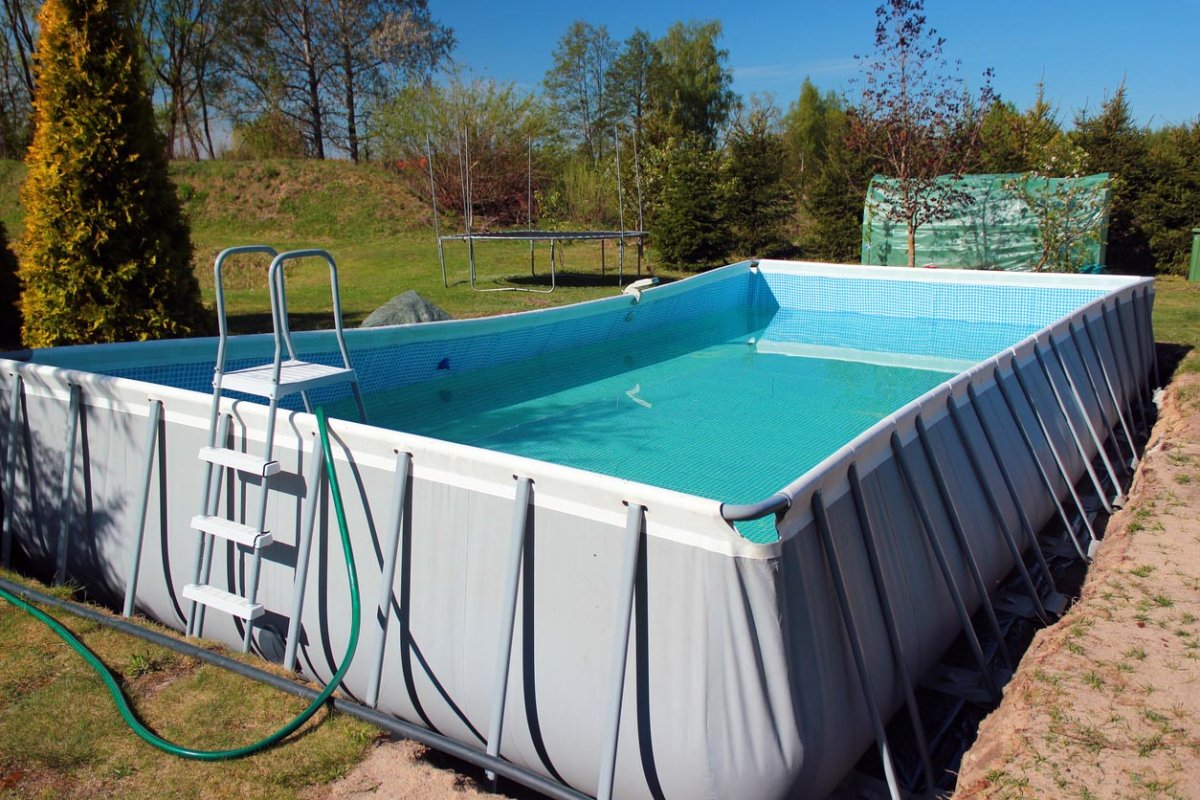
One of the most refreshing warm-weather activities is going for a swim in a pool. Above-ground pools are a great alternative to the significant cost of an inground pool, and leveling the ground for an above-ground pool is a simple DIY project when compared with learning how to build a pool from scratch—even a small above-ground pool. However, before learning how to install an above-ground pool, there are a few things for homeowners to consider. This guide on how to level ground for a pool will help homeowners understand the extent of the project to ensure a safe and reliable swimming experience.
Time required: A few hours to weeks, depending on the area and methods
Difficulty: Intermediate
Estimated cost: $100 to $500
Tools & Materials
Bobvila.com may earn a commission from purchases made through these links.
Before You Begin…
First, homeowners will want to read the instructions from the pool manufacturer and follow the recommendations to learn the best method for above-ground pool installation. It’s important to be aware that there will be damage to the grass underneath the above-ground pool and in surrounding areas due to possible spillage of chlorinated water. It may seem more straightforward to place an above-ground pool on a balcony or deck; however, this is dangerous as the surface could collapse under the weight of the water. While skilled homeowners can learn how to level for an above-ground pool, if there is a lot of ground to be displaced or the homeowner doesn’t have the necessary equipment, they’ll want to consider hiring a pool builder or one of the best pool installation companies to take on this physically taxing job.
Tips for Leveling Ground for a Pool
- Level the ground on a firm area in the yard that doesn’t contain mud, sand, or loose soil.
- Choose the flattest area in the yard for an easier time leveling the ground.
- Avoid places in the yard with large trees, as the leaves could clog up the pool.
Safety Considerations
- Ensure the area is at least 6 feet away from any large obstacles.
- Avoid leveling the ground for a pool near any septic lines, power lines, or cables.
- Ensure the area is 10 feet or more away from the home.
Want to build a pool?
You may need to reslope your lawn, and a pro can help. Get free, no-commitment estimates from experts near you.
STEP 1: Determine the pool’s location and remove any large rocks or debris.
The first step in leveling for above-ground pools is for the homeowner to choose the flattest area in the yard that’s away from large trees, power lines, sewage lines, or cables. They’ll want to ensure that the ground is firmly packed with soil sturdy enough for the above-ground pool. Next, they’ll use a rake to remove any large debris or rocks from the area that could damage the pool. Then, they’ll use a shovel, tarp, or sod cutter to remove grasses and other vegetation in the area. Using a wheelbarrow, they will remove debris from the worksite. If there is a significant or unmanageable amount of debris, hiring a professional for clearing land costs about $3,374—a cost that may be well worth it if the homeowner doesn’t have the time or skills to tackle this project themselves.
STEP 2: Identify high points using 2x4s with a level on top.
Homeowners will want to place 2×4 planks from the center of the pool site to the outer edge, using as many planks as needed to reach the border. They will then place a level on top of each 2×4 and use the levels as guides of where each part of the site is not level. Finally, they will use stakes to mark these spots before starting to dig.
Homeowners will not want to attempt to eyeball the level of the ground. Being off even by 1 to 2 inches could have severe consequences for the above-ground pool. There’s also the option of using stakes and twine, placing the level on top of the string to ensure the ground is level. Homeowners will place one stake at the center of the site and one at the outer edge, then tie twine between the stakes.
STEP 3: Add or take away soil until the ground is level.
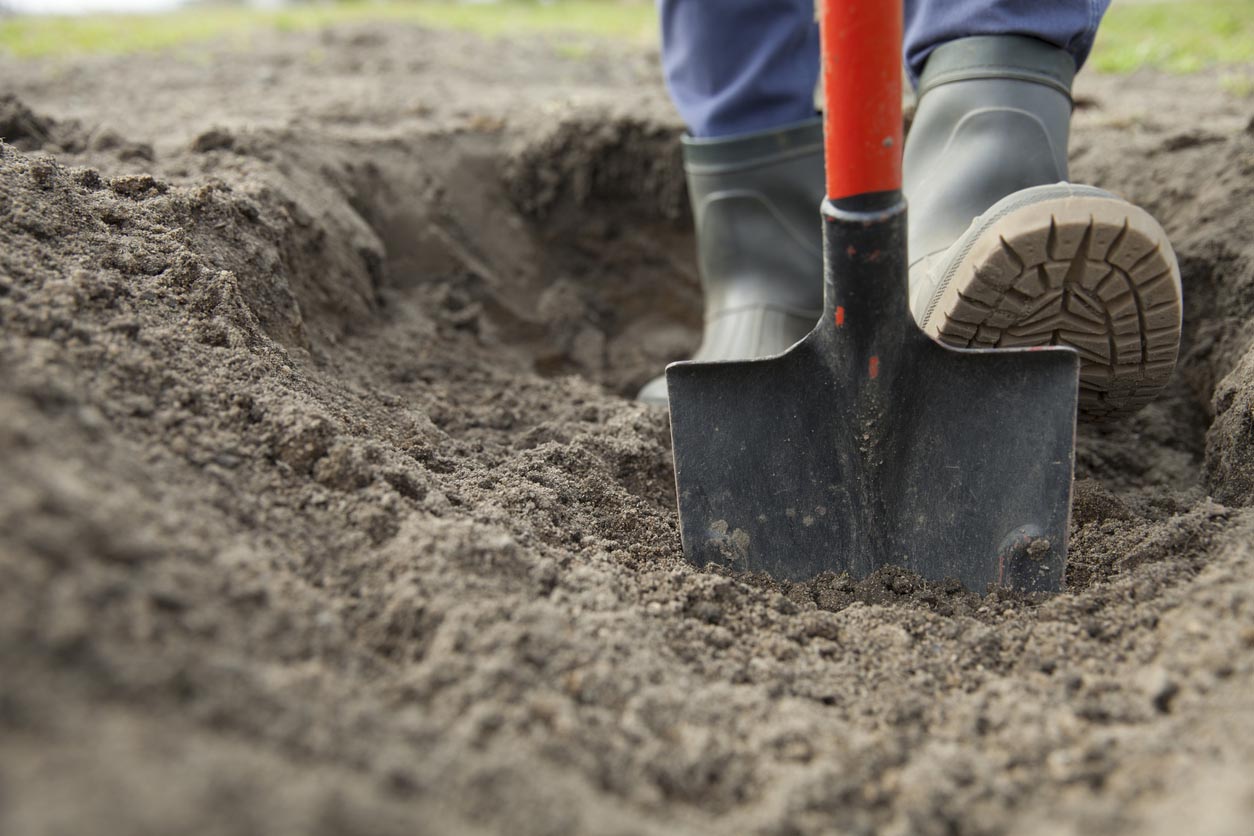
After it’s clear where the ground is unlevel, it’s time for the homeowner to use a shovel to level ground for pool installation. This part is tedious as the soil needs to be taken out or added one scoop at a time. First, the homeowner will find the deepest spot of the site. This depth is where the rest of the ground will need to be leveled out to meet.
It’s not advised for homeowners to add a large amount of soil to lowered areas because the above-ground pool will flatten the earth, possibly creating an uneven surface. If the site is being topped off with sand, a good rule of thumb is to dig the pool area at least 2 inches into the ground.
STEP 4: Repeat the process until the entire area is flat.
Homeowners will want to continue taking away soil until the entire area is flat. It’s more effective to remove dirt from the raised areas rather than add new dirt to the lower level areas. They’ll then continue moving the 2x4s to ensure all areas of the pool site are level. If the area is in the shape of the circle, they’ll want to use a 2×4 to rotate it 360 degrees from the center to the outer edge. The ground is considered even once the level stays consistent throughout the rotation.
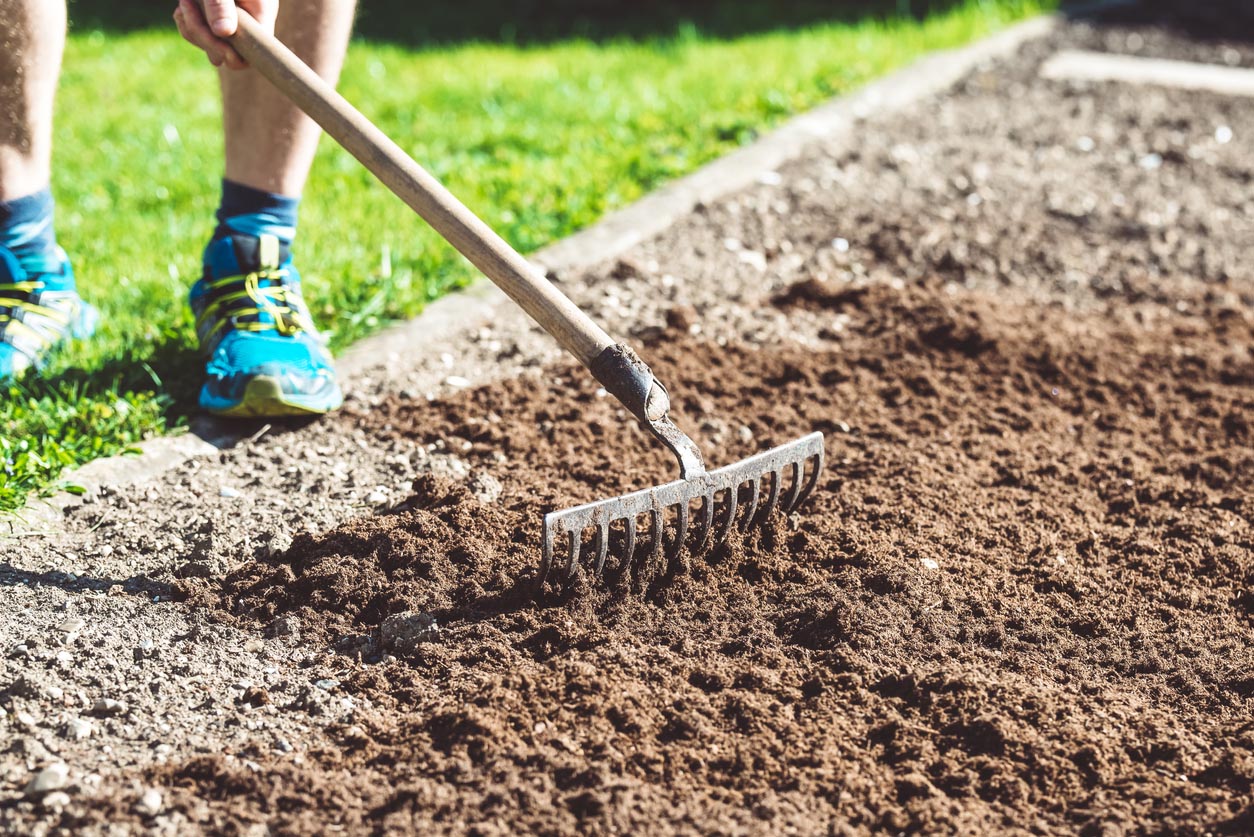
STEP 5: Rake any remaining rocks or debris and tamp the ground.
Once the ground is leveled, the homeowner will use the rake or lawn roller to go through the area again to remove any rocks or debris that surfaced during the leveling process. After the area is free of debris, they’ll use a hose to moisten the soil. This will take about an hour of low-pressure watering. Once the area is moist, the homeowner can use a hand tamper or a rolling tamper to compress the surface.
After compacting, there’s the option to completely smooth the area out with sand. However, it’s essential for homeowners to refer to the above-ground pool’s instructions before taking this step.
STEP 6: Add sand to the ground and tamp again.
If recommended by the above-ground pool’s instructions, it may be necessary for a homeowner to add sand to the ground before placing the pool. Most home improvement stores carry bags of sand that are uniform in texture, which will help keep the ground level. Homeowners will want to use a rake to form a 1- to 2-inch layer of sand. Once the sand is spread, it will need to be tamped down with the hand tamper or rolling tamper. It’s important for homeowners to make sure that any twigs or stones that may have surfaced during the process are removed.
STEP 7: If desired, treat the area with herbicide or fungicide to deter plants from sprouting and damaging the pool liner.
The damp conditions around a pool make it a prime location for weeds and fungus to grow. Spraying herbicides or fungicides can help mitigate this problem, protecting the liner of the pool. While the exact amount needed may vary based on the type of chemicals and the size of the ground area, in most cases a gallon each of herbicide and fungicide will be adequate. Homeowners will want to apply these according to their instructions, then fasten a tarp over the area and leave it untouched for 2 weeks to allow the weeds to die off.
STEP 8: Contact a landscaping or pool professional.
After the ground is leveled, it’s time for the homeowner to learn how to install an above-ground pool. It’s vital to follow the manufacturer’s instructions to install the pool correctly or contact a pool professional for assistance. They will know the best way to level ground for a pool that won’t cause issues for the pool liner. Even if this increases the project budget, the cost of an above-ground pool is still more affordable than the cost of building a pool below the ground. Homeowners can contact a landscaping company to spray the area with herbicides or fungicides to keep growth at a minimum around the pool. If the area for the pool is still uneven, a professional can assess any damage and work to level the ground for a pool.
Leveling the ground for an above-ground pool can be a difficult task, so it’s advised to have a professional verify that the area for the pool is truly level before the pool is installed. This will ensure that the pool water level is even and there’s no possibility of damage to the pool walls or liner.
The DIY method is definitely the cheapest way to level ground for a pool. However, if safety or the abilities required to successfully level the ground for the pool are a matter of concern, it’s typically best to hire a professional who knows how to level ground and has the experience to do the job right.
Want to build a pool?
You may need to reslope your lawn, and a pro can help. Get free, no-commitment estimates from experts near you.