We may earn revenue from the products available on this page and participate in affiliate programs. Learn More ›
Building a new house is a complex undertaking that must comply with building codes, ordinances, and even homeowners associations, so you may think house design is best left to the pros. Still, no one knows better than you how you want your home to look and feel, inside and out. Thousands of complete floor plans are available in magazines and online, but if you’re looking for something no one else is offering, try your hand at designing your own house.
Eventually, your plans will probably have to be redrawn by a contractor or architect in order to secure a building permit, but you can have a lot of input on the layout of the rooms, square footage, and the style of the home. Today’s house-design apps are user-friendly and can help you create a professional-looking plan, but using one is not essential—you can even sketch a plan on paper. Here’s how to get started.
Start With a List
Designing a house is a lot like shopping for a house. Create a list of your “must-haves” and your “wants,” and you’ll start to solidify a mental image of your dream home. Odds are the list will change—more than once—as you proceed through the design and construction process, but this is the place to start.
Under “must-haves,” list the minimum number of bedrooms and bathrooms that will work for your family, and add the features you don’t want to compromise. For example, if you work from home, a home office may be a necessity. Under “wants,” list all the things you’d like if budget allows, such as a separate shower in the master bathroom, a jetted spa tub, or a ground-floor laundry.
Consider the Lot
Often, the lot on which to build is purchased first, and when it’s paid off, it can be used as a down payment to secure a construction loan and a subsequent mortgage. If you already have a lot, or you know where you want to buy one, consult the lot plat before starting the home-design process.
The lot will come with setbacks on all sides, which you must take into consideration when planning the size of the home. There may be easements you cannot build over. If the lot is in a neighborhood with an homeowner associations, you may be required to design the home to complement neighboring homes, such as adhering to a common roof pitch or incorporating a minimum amount of masonry on the front. Knowing the regulations in advance will help during the design phase.

Create the Design
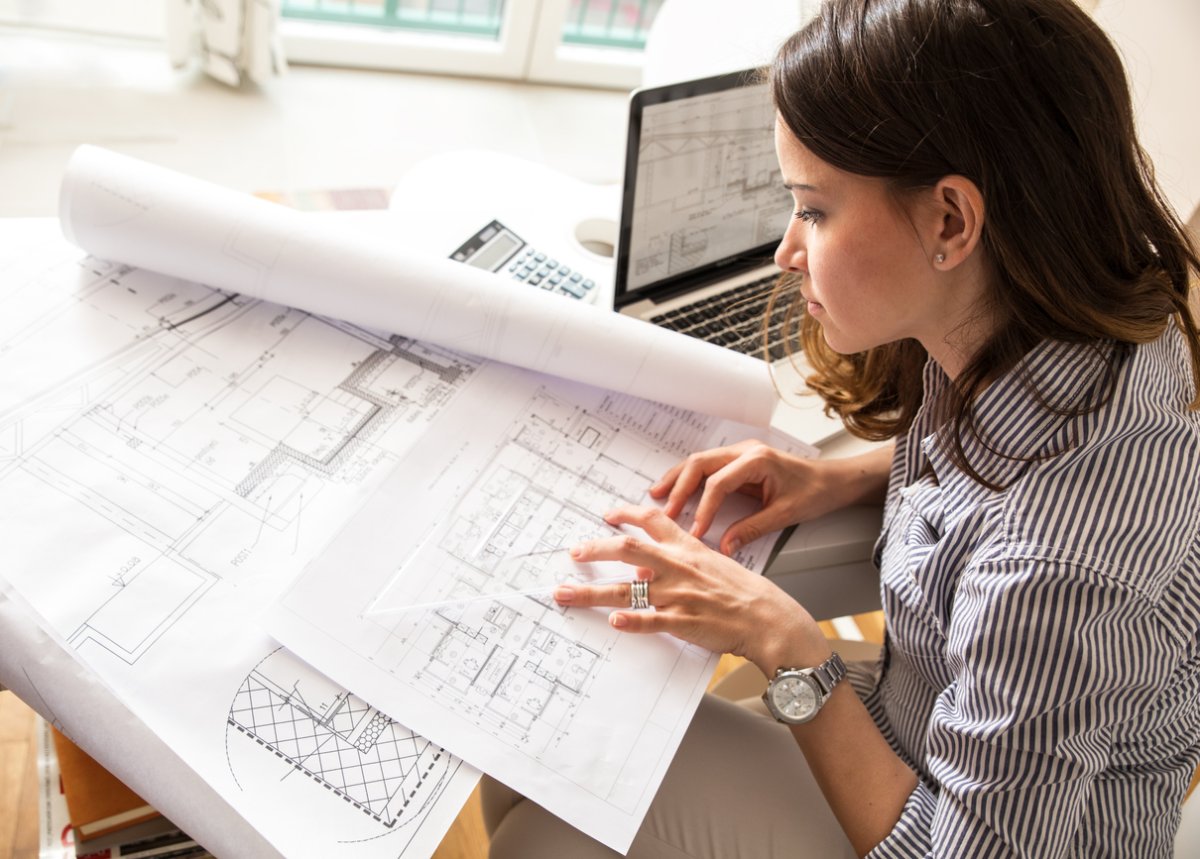
The design phase isn’t as complicated if you already have an idea of what you want. The simplest way is often to use house-design software that allows you to choose from a few basic floor plans and then add and subtract rooms, hallways, and other features until you have a plan you’re happy with.
Dozens of programs are available, including SketchUp, a user-friendly, web-based program that allows users to create a house design. For a fee, you can purchase a desktop version with unlimited cloud storage, but the free version offers everything necessary to develop a plan. Most design apps come with a free trial, so be sure to try them out before buying.
Try Sketching
If you’re not tech-savvy, you can always sketch out your home design ideas on a piece of paper. It’s not uncommon for those wanting to design their new home to draw out a rough floor plan and then find a magazine image or printout of what they’d like the home’s elevation (exterior) to look like. Large-format graph paper works well because you can draw to scale.
Keep your sketches in a design folder along with swatches of paint colors you’d like to use in various rooms, and make notes about the type of flooring, fixtures, and countertops you’d like. The more details you decide on now, the less likely you are to get caught having to choose something at the last minute.

Consult a Contractor or Architect
Once you come up with a floor plan and an elevation you like, it’s time to talk to a contractor or architect to find out if it’s feasible and whether it meets building codes. In some cases, a room might have to be relocated—or removed entirely—for the house to be structurally sound. Load-bearing walls may have to be added, and the layout may require some tweaking to comply with other standards. For instance, rooflines may need to be adjusted to suit the exterior wall dimensions.
In most cases, either an architect or a contractor can help you make necessary modifications while keeping the desired design and style of the home. Some building authorities require house plans to have an architect’s stamp, while others will allow personally drawn plans as long as they meet building codes.
