
We may earn revenue from the products available on this page and participate in affiliate programs. Learn More ›
Unless the plan is to install a swimming pool in the basement, you probably cringe at the idea of water trickling beneath your house. While the best time to waterproof is during new construction, if you live in an older structure, you don’t have that luxury. There are, however, a few measures you can take to protect your home from water, running the gamut from inexpensive safeguards to high-dollar professional remedies. Here’s all the information you need to choose the best basement waterproofing solution.
The Problems Caused by a Wet Basement
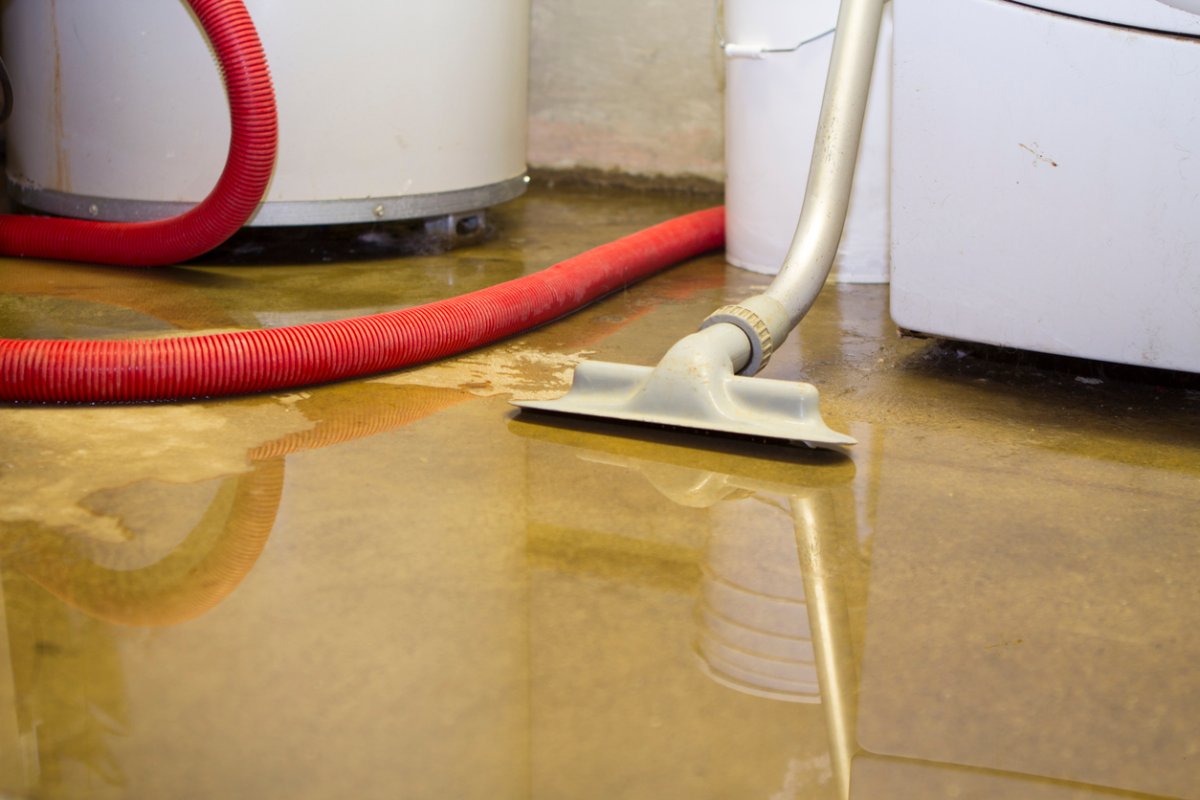
Located below grade (ground level), basements are notorious for feeling damp because unsealed concrete walls and floors tend to absorb water from the outside soil and transfer it to the basement’s interior. Slight dampness in a basement can be treated by installing fans that exhaust to the home’s exterior and by using only moisture-resistant flooring. However, a leaky basement is a whole different story—the presence of water, either running down walls or puddling on the floor, is cause for concern.
Wood Rot and Water Damage
Basements are typically made from masonry (concrete, stone, or block), which holds up well to occasional water damage. Still, if water leaks into the basement where the foundation meets the wood framing (sill plate), these leaks can eventually rot out the plate and damage the rim joist and any nearby floor joists.
When constructing a basement today, building codes require wood floor plates—and sometimes wall studs—to be made from pressure-treated wood to help resist water damage, but pressure treating isn’t a cure-all. Standing water will still eventually warp treated wood members, causing them to swell, become disfigured, and even rot. It takes longer for treated wood to rot, but it ultimately will.
Development of Mold and Mildew
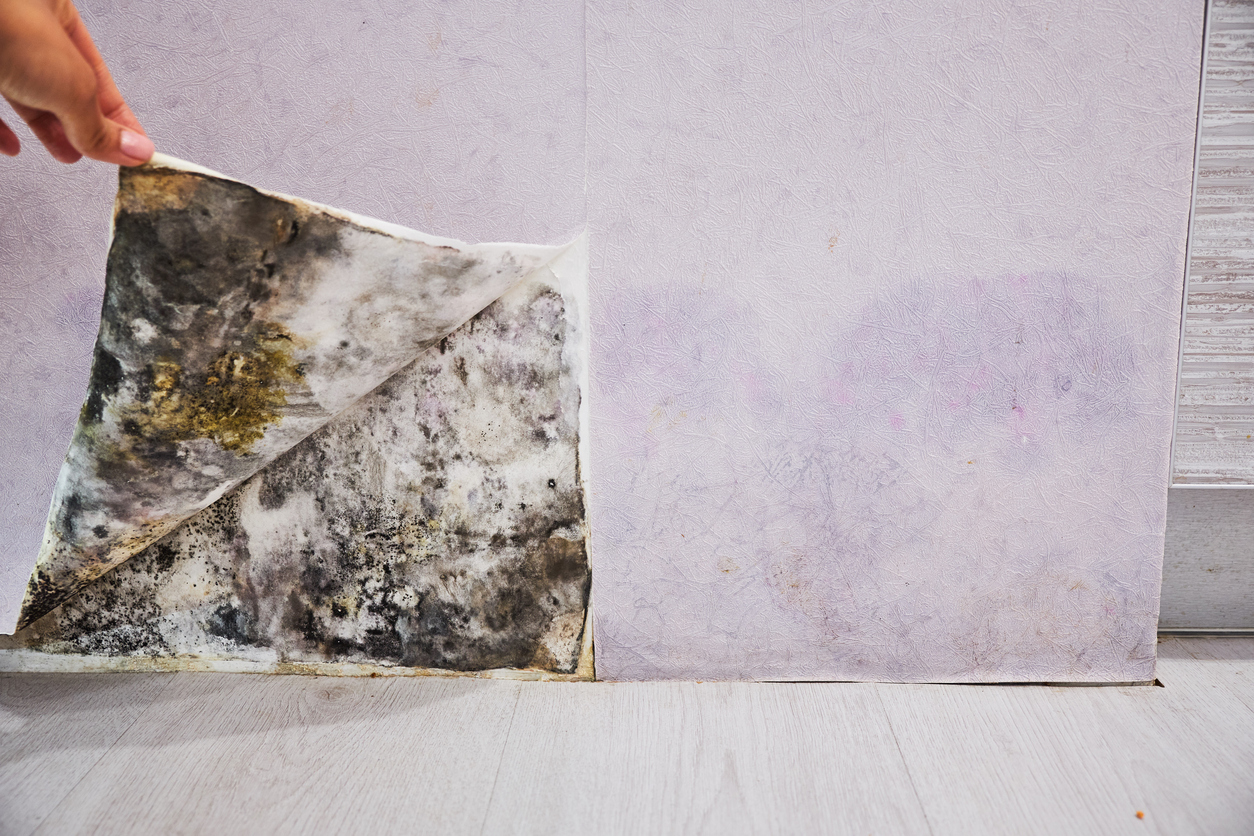
Basements are also naturally musty, but a strong smell of mold should alert the homeowner that something is amiss. A wet basement is the perfect breeding ground for mold and mildew to grow. Mildew often appears as a white residue, while mold is usually black, green, or dark brown.
Most mold found in basements is not what’s known as “black mold,” or “toxic mold” (Stachybotrys), although it should be treated as if it were. Any mold can lead to health concerns, so all mold growth should be eradicated. If neglected, the mold will produce airborne spores that can be transferred through the home’s central heat and air system to the rooms above.
Damage to Stored Items
Basements, like attics, are a favored spot for storing things the family isn’t using right now—stuff that is either valuable or at least too good to give away. Suppose these items are placed directly on a basement floor. In that case, even a small amount of puddling water can be enough to permanently damage wood furniture legs or be absorbed by entire cardboard boxes of stored clothing, linens, and other items, which will likely be permanently ruined.
Even if furniture or books are stored off the basement floor on shelves, pallets, benches, or tables, the high humidity that accompanies a wet basement may cause the materials to become damp, which can still destroy them.
Causes of a Wet Basement
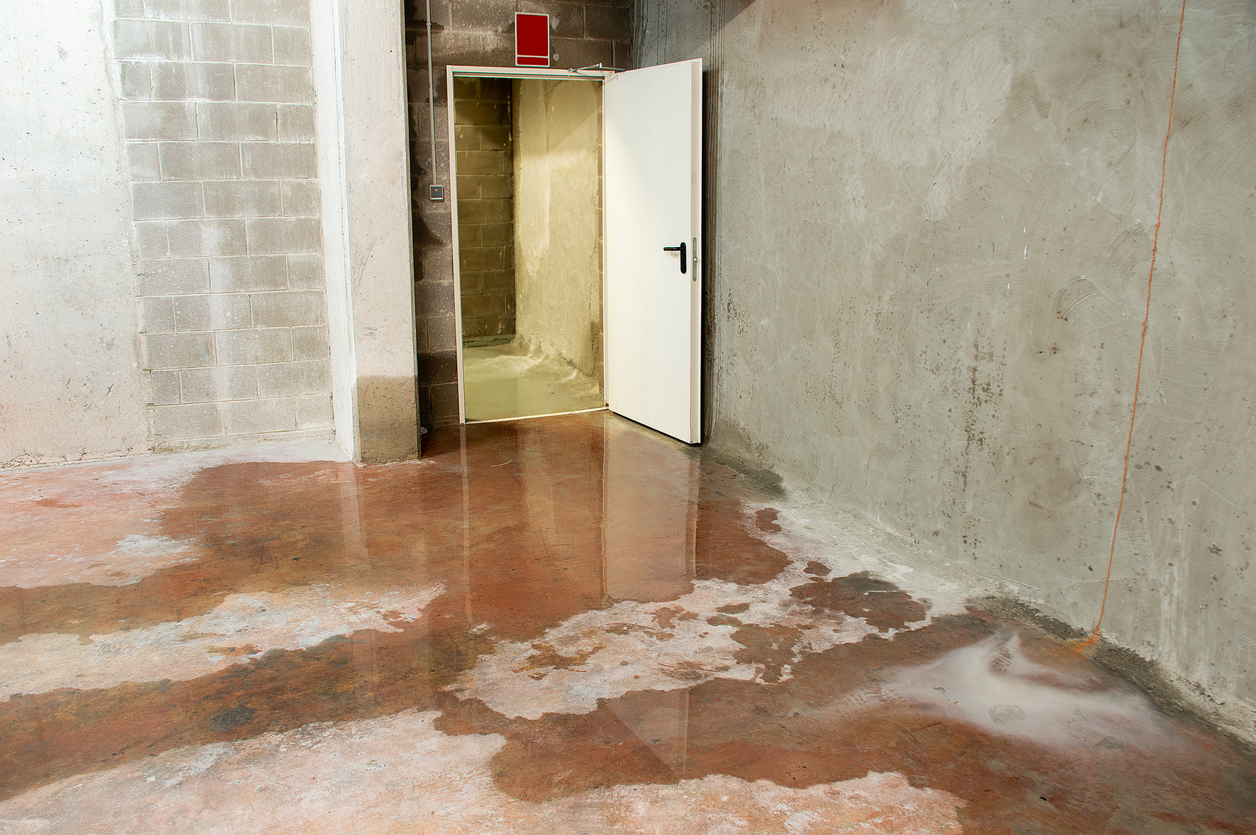
Foundations and water don’t mix, and during the construction phase, the builder should take steps to ensure water drains away from a basement—not toward it. The leading causes of a wet basement include:
- Inadequate guttering and downspouts to direct rain away from the foundation.
- Irrigating foundation plantings, such as shrubs and bushes, in such a way that allows water to drain along the basement wall.
- Clogged drain tile or no drain tile. When a new basement is built, drain tile should be installed around the bottom perimeter to carry water away.
- Incorrect yard grade. A yard should slope a minimum of 2 percent away from the foundation for adequate water drainage.
Costs of Fixing a Wet Basement
Basement waterproofing repairs are typically pricey, and depending on the cause of the wetness, could cost quite a bit. If a DIY fix isn’t suitable, a larger repair project may be necessary, but in most situations, the cost of basement repairs is an investment in the value of the home. Prices will vary, depending on the extent of the repairs and the going cost of labor.
- If the basement must be excavated, expect to pay an average of $70 to $150 per linear foot.
- Once excavated, new drain tile can be installed for about $100 per foot.
- Installing a sump pump to collect and pump water to the surface can cost between $1,500 and $3,000.
- Interior waterproofing, which may include installing a French interior drain, could cost more than $10,000.
- Simple, roll-on interior sealant can cost as little as $50 per 100 square feet if it’s a DIY project.
- If structural repairs are necessary, they could add thousands of dollars.
Basement Waterproofing Methods
The best way to fix a basement’s water problem will depend on how the water is getting in, the planned use of the basement space, and the homeowner’s budget. Some fixes are less expensive than others, and some are not possible due to the way the home was originally constructed. The following basement waterproofing methods vary, and a foundation contractor or structural engineer should inspect the basement and consult before making major changes. If actual flooding occurs, the first step is to dry out the basement and then conduct repairs.
Exterior Basement Waterproofing Fixes
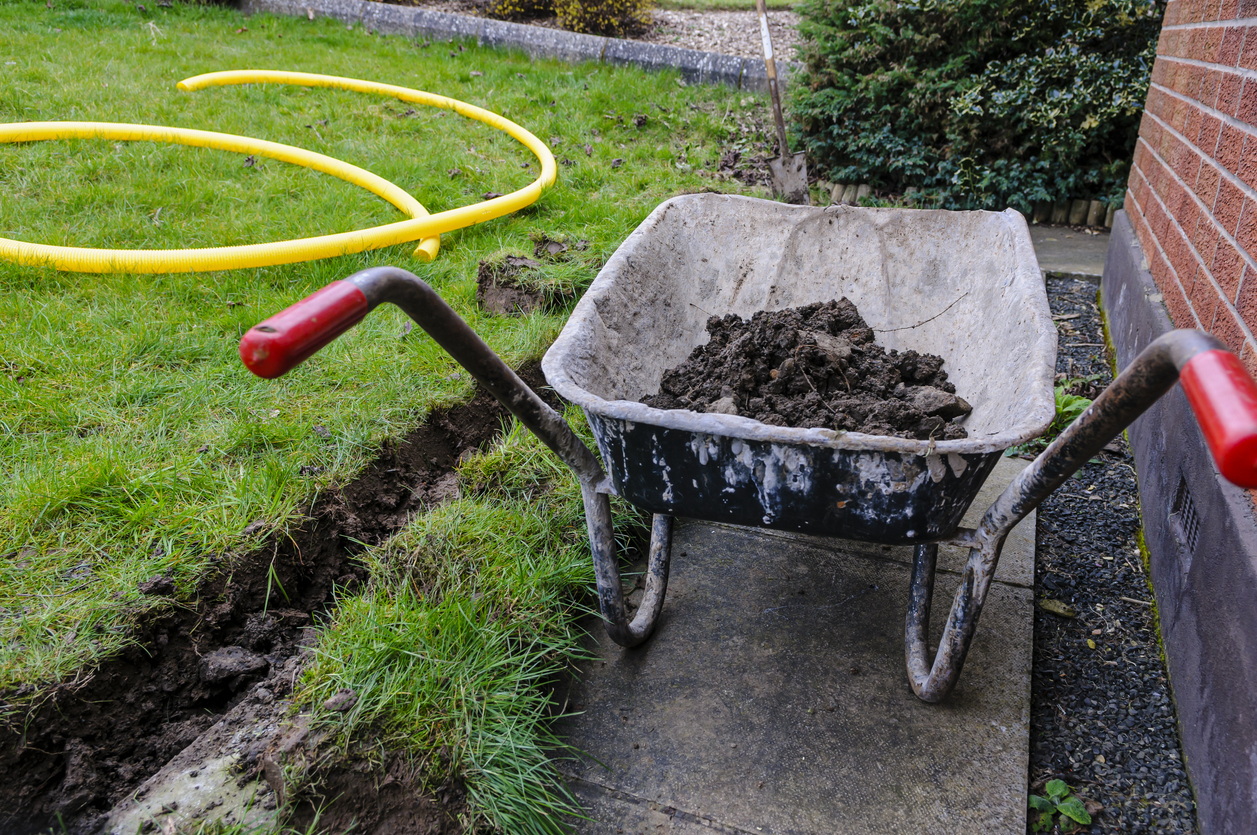
The most effective way of waterproofing exterior basement walls is from the outside. Doing so, however, involves excavating the soil away from the exterior of the foundation on all sides and installing drain tile (a flexible perforated pipe covered with mesh or fabric) at the base of the foundation.
You’ll most likely need a permit before starting, and some building authorities will allow only a licensed contractor to do the job. Digging a 7- or 8-foot-deep trench around your foundation is dangerous; it comes with a high risk of collapse, so it’s usually better to seek out an excavation contractor who employs safe digging techniques and trench bracing, anyway. Timing is essential: Schedule your contractor during a relatively dry season, or you could end up with a trench full of water that will have to be pumped out before work can continue.
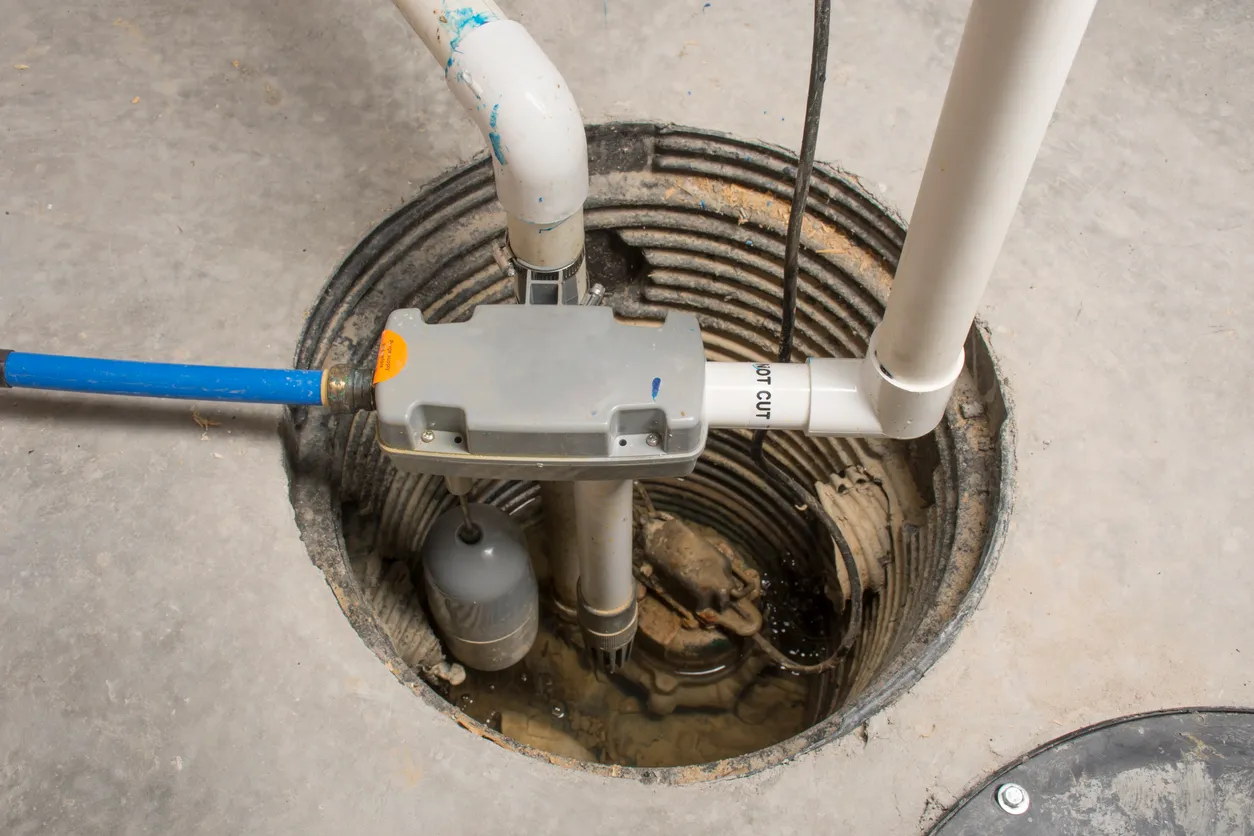
Exterior basement waterproofing with drain tile also requires the installation of a sump pit where the water will collect before it’s pumped to the surface via a sump pump. You can choose to have a sump pit installed inside, beneath the basement floor, or outside the house, typically below a window well.
While the drain tile is being installed, you or your contractor should take this time to repair, patch, and seal the exterior foundation walls. Patch large cracks with a mortar-based product, and when dry, roll, brush, or spray on an exterior masonry sealant. All said, this is an expensive project that can cost upwards of $10,000, but it’s the surest way to stop the leaks.
Interior Basement Waterproofing Fixes
Interior remedies can be helpful in situations where leakage is minimal or if exterior excavation is out of the question. If you have fine cracks that seep slowly (or just look damp), your basement might be a good candidate for an interior sealant. Most interior masonry sealants work only on unpainted concrete walls—if your walls are painted, the sealant can’t form good contact and results are likely to be poor. Available in one- and five-gallon buckets, these sealants require a heavy-duty brush or roller to apply and can cost between $50 and $500 when treating 100 square feet of wall, depending on product quality and the number of coats that need to be applied.
If the walls have numerous or wide cracks, or if previous attempts to seal the walls were unsuccessful, you may want to consider installing an interior floor drain system. This process is similar to that of installing exterior drain tile, but excavation is shallow and confined to the inside perimeter of the basement floor. If you’re comfortable running a concrete saw and a jackhammer—and you have a strong back—you can potentially do this job yourself, although it’s labor-intensive and messy. Installation requires excavating a trench along the basement walls, filling it with pea gravel and perforated drain tile, installing a sump pit for water collection, and then filling in the trench with concrete so that a narrow grate is the only evidence that a drain lies beneath. Typically, plastic panels are installed over leaky walls to direct water downward to the grate. Installation of the trench drain, the sump pit, and the panels can run into thousands of dollars, but doing the labor yourself can save you a little cash.
Precautionary Measures
Even if you don’t need to fully waterproof your basement, you should at least take steps to protect your foundation from water. Install gutters and downspouts, and attach downspout extensions that direct rainfall away from your house. If your yard does not already slope away from the foundation at a minimum 2 percent grade, bring in topsoil to build up the level of the soil around the foundation. Relocate foundation plantings that require frequent watering, and install waterproof window well covers on any basement windows that can’t be used for egress.
Water that pools by the foundation is always problematic. If you have clay soil that swells when wet, it can exert lateral pressure on the exterior foundation walls, increasing the risk of cracking and shifting. Frost heave during freeze-thaw cycles can also damage the foundation. Remember: Water and basements don’t mix. If you’re proactive in keeping water away from your foundation, you’ll have a better chance of keeping your basement, and the rest of your home, safe and dry.

FAQs About Basement Waterproofing Methods
Q. How long does basement waterproofing last?
Inexpensive fixes may last a couple of years, while complex repairs, such as excavation and the installation of new drain tile could last for the rest of the home’s useful life.
Q. Does insurance cover basement waterproofing?
Often, basement waterproofing isn’t covered, but damage caused by a flood may be covered. Talk with your insurance agent because policies differ.
Q. How much does it cost to waterproof a 1,000-square-foot basement?
The final cost will vary by type of waterproofing, but, in general, waterproofing runs from $3 to $9 per square foot, so about $4,118 for 1,000 square feet.
Q. Does basement waterproofing increase home value?
Waterproofing the basement can substantially increase the home’s value if it keeps the basement dry.
