We may earn revenue from the products available on this page and participate in affiliate programs. Learn More ›
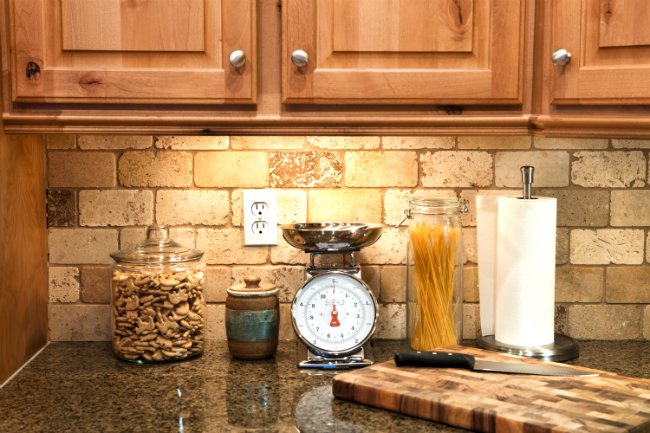
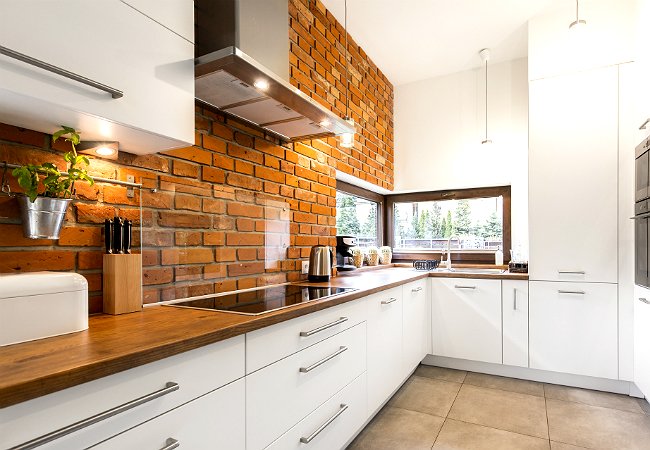
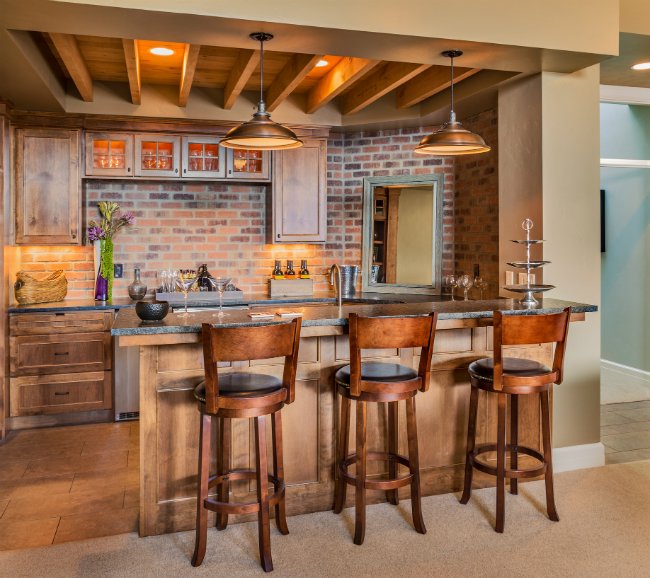
Once a purely practical feature to guard against everyday spills and splatters, brick backsplashes are now desirable in residential kitchens and baths for their distressed glamour. But if you aim to install one yourself, read on to bone up on must-know—yet perhaps somewhat surprising—info that will save you time, money, and effort during installation and also allow you to maintain your backsplash once it’s up.
1. Get the look for less!
You can’t beat a solid brick backsplash for strength and durability, but it will set you back between $12 and $20 per square foot to purchase and install. That’s why budget-conscious homeowners often opt for brick veneer: decorative paneling made of thin, interlocking real brick panels. Synthetic brick lookalikes fashioned from porcelain or plastic are also available for even less money, but the genuine brick variety more accurately recreates the aged allure of solid brick.
Installation of a solid brick backsplash involves laying brick over an existing masonry foundation that lies behind the wall, but brick veneer can be installed in a single layer (usually a half-inch to three-quarters of an inch thick) over metal, concrete, or wood backing, or even directly over drywall with wall anchors or constructive adhesive. This shorter, less complex installation process, plus lower material costs, will save you from $2 to $9 per square foot as compared with solid brick. Brick veneers have another advantage beyond lower price: While solid brick alone offers little insulation or water resistance, during brick veneer installation, moisture-resistant insulation can be added to help prevent indoor heat from escaping and moisture from seeping in.
2. Update your tool set.
If planning to DIY a solid brick or brick veneer backsplash, you may need to add to your toolset. Bricks and veneers will need to be cut prior to mounting in order to fit edges or corners. Your best bet for cutting brick is with an angle grinder (view example on Amazon) fitted with a toothless diamond cutting blade (view example on Amazon). Use a tape measure and pencil to measure and mark the area of each brick you want to cut. As you finish cutting each brick with the angle grinder, tap the excess material with a mason’s hammer to snap it off.

3. Get smart about sealant.
Coating a solid brick backsplash with a clear polyurethane sealant is highly recommended. The sealant, in either a satin or matte finish, will help keep air and moisture out and also keep stains from bath products, food, oil, and cooking fumes at bay. If installing a brick veneer backsplash with insulation behind it, you may wish to skip the sealant, but should you choose to add one, choose a clear silane- or siloxane-based sealant to help block out moisture and preserve the color. Avoid silicate-based sealants, which can discolor brick veneer.
4. Clean with caution.
While the porous surface plus the deep recesses of mortar joints make both brick and brick veneer backsplashes prone to grimy build-up, you mustn’t be heavy-handed with cleaning. Undiluted acids or abrasive products like steel wool or sandblasters can fade and even erode brick.
Instead, simply spray away surface dust and dirt with plain water from a spray bottle. For persistent dirt or stains, prepare a paste of equal parts dish soap and table salt. Spread the paste across the brick and mortar with a damp rag and then scrub gently with a bristle brush. Never use a wire brush—the metal traces left behind can discolor brick.
If dish soap and salt don’t do the trick, dilute a tablespoon of boric acid in a gallon of warm water, then gently work the solution into the brick with a bristle brush. The more potent astringent properties of boric acid will help disintegrate stains, while its anti-fungal properties can help prevent the formation of rot on brick. Finish either cleaning treatment by removing the soap paste or boric acid solution from the brick with a clean rag saturated with warm water.
5. Face up to efflorescence.
Brick structures both indoors and out can become spotted with white mineral deposits that look like chalk powder. This efflorescence occurs when water-soluble salts formed within bricks, mortar, or brickwork backing migrate onto the surface of the brick. The salts can come from groundwater or soil that contacts the brick or backing, or from water, sand, or cement introduced into the brick or mortar during manufacturing. This means that efflorescence can show up on even well-maintained solid brick or brick veneer backsplashes.
Because the job of a backsplash is to protect walls from splashes, it’s a natural target for moisture, a common source of efflorescence. But you can take pains to reduce the risk of this unattractive spottiness. Before installing a brick backsplash, avoid resting solid brick or brick veneer panels on wet ground. After installation, apply a clear, waterproof brick and masonry sealant to solid brick and be sure to quickly fill minor cracks that appear in brick or brick veneer with clear, silicone caulking.
If mineral deposits do sneak their way on, prepare a solution of one-and-a-half cups of muriatic acid diluted in a gallon of water, then dip a bristle brush into the solution and scrub it over the entire brick backsplash. Let the solution dwell for a few minutes, then rinse completely with a spray bottle and plain water, or the spray head in your faucet.
