We may earn revenue from the products available on this page and participate in affiliate programs. Learn More ›
Considered a high-end upgrade—until now—installing tile has been the domain of professional tile setters, due in large part to the complex and messy method of attaching the tiles to the wall with thin-set mortar. The slightest mistake in mixing or applying the mortar can cause the tiles not to adhere, so most homeowners opt to hire a professional (a pricey proposition) or pass on the chance to update with tile. Fortunately, that’s all changing; a revolutionary new tile-setting mat allows DIYers to install tile without the need to mix and apply thin-set mortar. With SimpleMat from Custom Building Products, attaching tiles is easy and mess-free, and you don’t have to wait between setting the tiles and applying grout.
Follow along for step-by-step instructions on how you can install a tile backsplash with SimpleMat and SimpleGrout. With this innovative tile setting mat and grout, you can get the look you want without the mess or the high price tag.
Materials and Tools
– Premixed drywall compound (optional)
– Drywall taping knife (optional)
– Screwdriver
– Painter’s tape
– Tile sponge
– Degreasing cleaner (optional)
– Tile
– Measuring tape
– String line
– Custom SimpleMat
– Scissors or utility knife
– Grout float
– Tile saw or tile cutter (optional)
– Tile spacers (recommended)
– Custom SimpleGrout
– Pail of Water
INSTRUCTIONS
The following will walk you through the four stages of installing a tile backsplash: 1) prepping the wall, 2) creating a layout, 3) attaching the tiles, and then 4) applying the grout and finishing the project. The same process can be used to install tile in other areas, including countertops and shower walls. For a visual, check out the video “How to Install Tile Using a Tile Setting Mat.” SimpleMat is not suitable, however, for installing tile on floors or in areas where the tile is submerged, such as swimming pools or shower bases.
Prep the Wall
STEP 1: Remove the old backsplash and patch the wall if necessary.
Depending on how the old backsplash was attached, it could damage the surface of the drywall when it’s removed. Repair the drywall by smoothing on a thin coat of drywall compound with a drywall taping knife. Let the compound dry completely before proceeding. If there is no existing backsplash, you can skip this step.
STEP 2: Remove outlets and covers.
Remove any outlet and switch covers with a screwdriver and then apply painter’s tape over the outlets and switches to protect them during the tiling process.
STEP 3: Clean the wall.
Clean the wall thoroughly to remove all traces of dust, dirt, and grime, which can reduce SimpleMat’s adhesive ability. If the wall is already fairly clean, wiping it down with a damp sponge will suffice. If it’s stained or greasy, spray on a degreasing cleaner, wipe thoroughly, and let dry completely.
Create the Tile Layout
STEP 4: Measure the size of the backsplash.
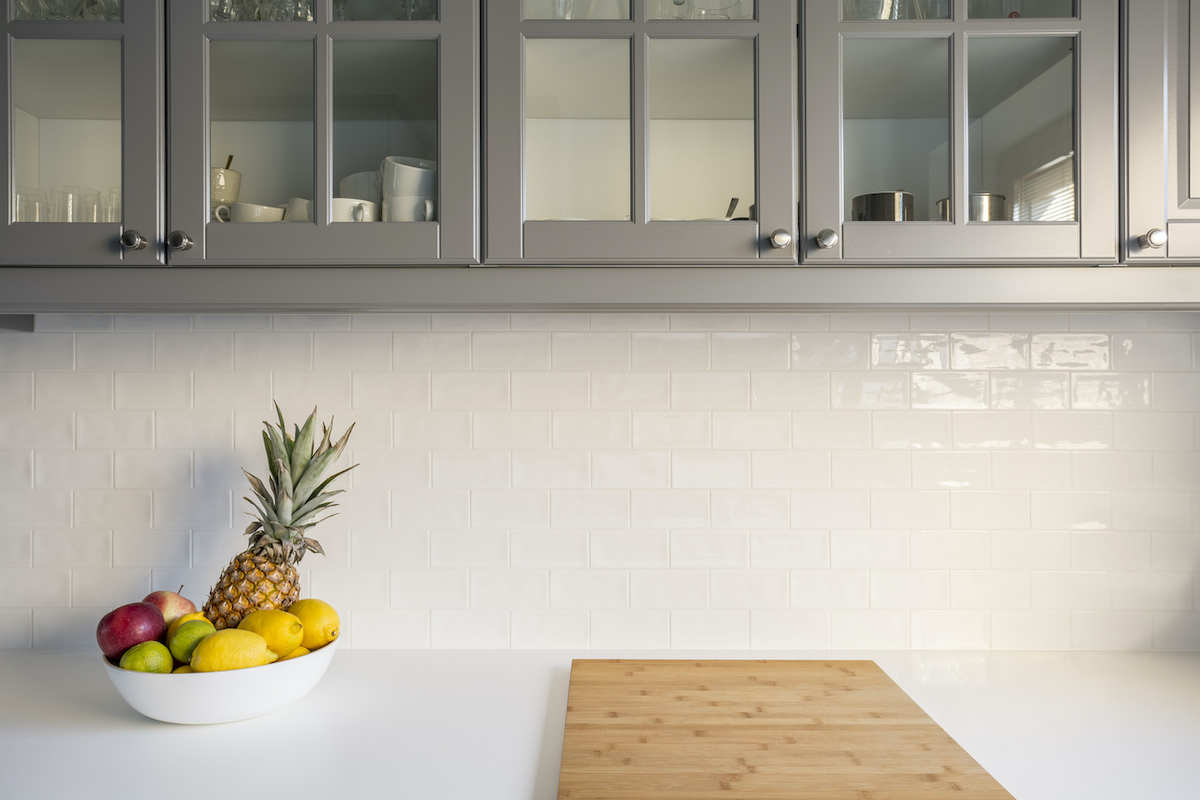
Determine the dimensions of your desired tile backsplash and snap a chalk line on the wall to indicate the top edge and side edges. A standard backsplash extends 4 inches above the countertop and that’s a good minimum height for protecting the wall from splashes and spills, but feel free to create a taller backsplash for design purposes. Some of today’s most stylish kitchens feature tile backsplashes that extend all the way from the countertop to the underside of the upper cabinets.
STEP 5: Plan the backsplash pattern.
Create your desired tile pattern on the countertop directly below where it will be installed. This is called “dry setting” the tiles, and it will give you a good idea of what the backsplash will look like once the tiles are in place. Carefully measure the wall dimensions and make sure the dimensions of the dry-set layout are identical. If you’re using individual tiles, you’ll need to use tile spacers to ensure uniform grout lines. If you’re installing tiles that are pre-set on a backing screen, no spacers are needed.
STEP 6: Cut tiles.
At this point, you may need to cut some tiles with a tile saw or a tile cutter to fit around outlets or switch boxes. You may also need to cut tiles to fit at sides of the backsplash if they butt up against cabinets or trim.
Attach the Tiles
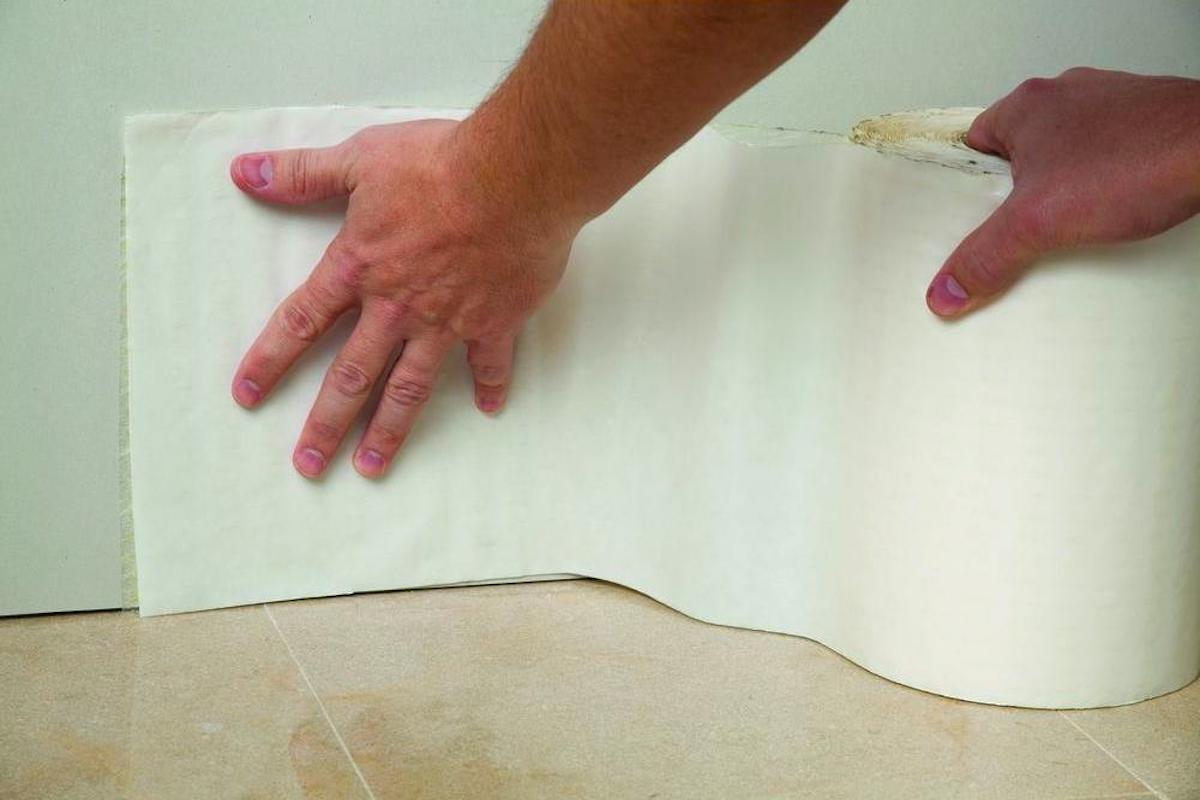
STEP 7: Cut SimpleMat to fit your tile layout.
SimpleMat comes in a 9-inch-by-40-foot roll or in 9-inch-by-18-inch sheets. The backside of the mat features a peel-off white paper backing, and the front side features super-strong glue tabs designed to hold the tiles securely in place. When measuring and cutting the mat, allow for a 1/8-inch overlap.
STEP 8: Hang the SimpleMat to the wall.
Peel the white paper from the back of the SimpleMat and carefully align the mat with the chalk lines on the wall before pressing it in place. Repeat until you’ve covered the entire area you intend to tile with the mats. Leave the front peel-off liner in place for now.
STEP 9: Press the SimpleMat into place.
Use the flat base of a grout float to press the SimpleMat firmly against the wall. This will ensure a strong bond between the mat and the wall.
STEP 10: Start tiling.
Peel the protective liner from the face of the SimpleMat and begin carefully installing the tiles, starting along the bottom row and working upward. Since you created a dry-set layout on the countertop, now you only need to pick up a tile and put it on the corresponding position on the wall. If you used spacers on your dry-set layout, use them now as well to ensure uniform grout lines.
STEP 11: Ensure tiles are bonded to SimpleMat.
Press the tiles firmly against with the flat end of the grout float. Don’t slide the trowel over the surface, just press straight inward. Now, you’re ready to grout—no waiting necessary.
Grout and Finish
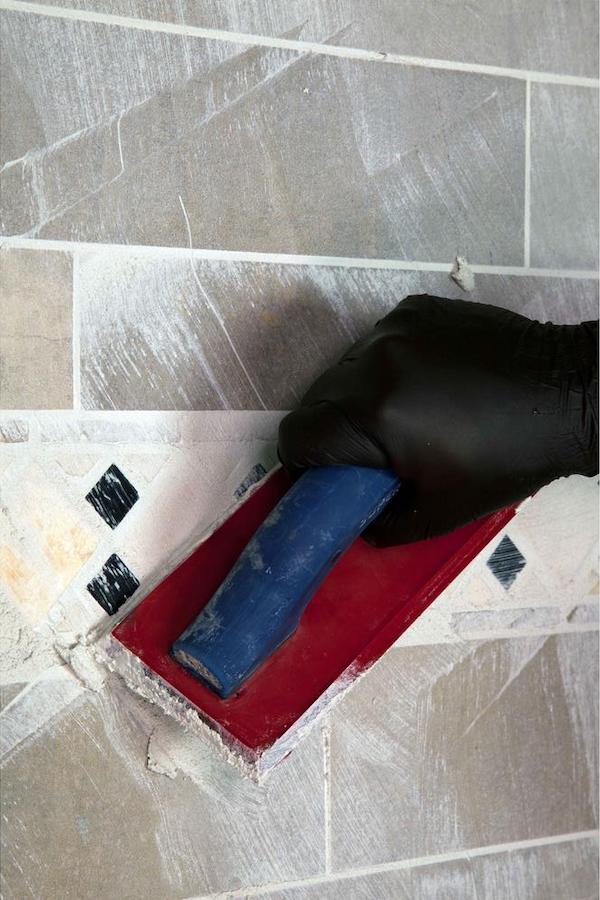
STEP 12: Apply SimpleGrout.
Apply SimpleGrout to the surface of the tiles with the grout trowel and spread evenly, working the grout into the grout lines and using the padded trowel to remove the excess. Unlike dry grout that must be mixed with water, SimpleGrout comes premixed so there’s less work and less mess. It comes in eight colors, including Bright White, Sandstone, and Delorean Gray, so you can create a custom look.
STEP 13: Remove excess grout.
Hold the edge of the grout float at a 90-degree angle to the tile and pull the float along the surface of the tiles to remove excess grout. A small amount will remain on the surface of the tile, but you’ll get rid of most of it in the next step.
STEP 14: Clean the tiles.
Immediately after removing excess grout with the grout float, wipe the surface of the tiles clean with a damp tile sponge. Wipe in a smooth circular motion without pressing the sponge into the tiles. As you wipe, the sponge will quickly pick up grout so keep a clean bucket of water handy and rinse the sponge frequently. Continue to wipe until the surface of the tiles are mostly free from grout residue.
STEP 15: Buff the backsplash.
Wait at least four hours to allow SimpleGrout to dry and then you can buff the surface of the tiles with a soft dry cloth to remove any haze left behind from the grout. Congratulate yourself on installing your own tile backsplash!
This content is paid advertising created in partnership with Custom Building Products. Its facts and opinions are those of BobVila.com.
