We may earn revenue from the products available on this page and participate in affiliate programs. Learn More ›
When you open your dishwasher after a cycle, you expect to be able to put your clean, dry dishes straight into the cabinets. But if your dishwasher isn’t drying the dishes properly, you have to either dry them off yourself or wait until they air-dry—and both options are inefficient and frustrating.
If you’re often wondering, “Why is my dishwasher not drying?” check out these possible causes of your dishwasher’s poor performance so you can get your appliance back to its hardworking, time-saving self.
1. You aren’t loading the dishwasher properly.
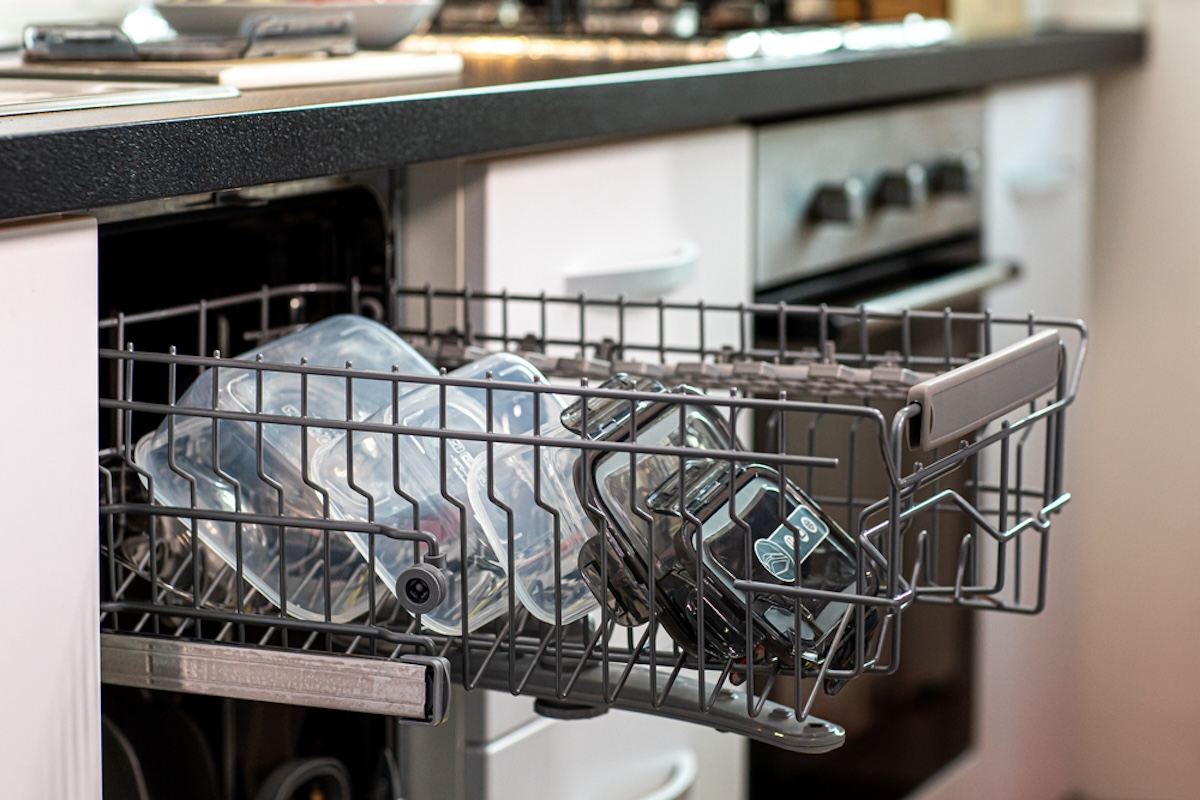
Overloading the dishwasher can hamper drying. To promote airflow during the drying cycle, always leave some space between dishes, without nesting or stacking them. Loading a dishwasher properly also means putting lightweight plastic items on the top rack between, not on, the tines to make them less likely to flip over and collect water.
2. Your dishwasher cycle settings may be wrong.
Most of today’s best dishwashers use either a heating element or condensation to dry dishes. Heating elements are common on older models, particularly from American manufacturers. These dishwashers rely on a round or U-shaped electric heating element at the bottom of the tub to dry the dishes. While effective, this method uses more energy, requires a longer cycle, and can be tough on plastics (which is why they’re typically relegated to the top rack).
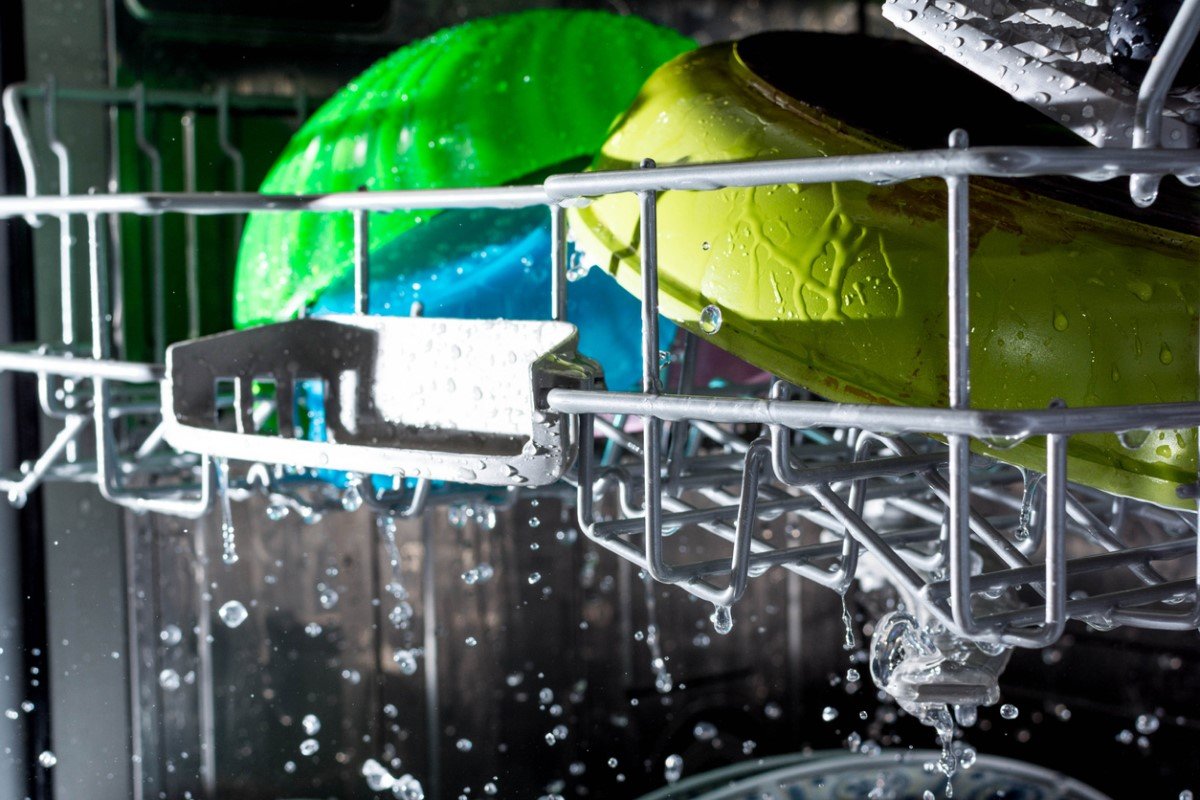
For these reasons, manufacturers have moved toward condensation as the primary drying method. In this method, after the final hot-water rinse cycle, the water evaporates off the dishes and condenses on the stainless steel walls of the tub, which are cooler than the dishes. Condensation is more energy-efficient, tends to be quieter, and is easier on delicate plastic items. In fact, with a dishwasher that dries via condensation, you can put plastics in the bottom rack. But because plastic doesn’t retain heat like glass, metal, and ceramics do, water doesn’t evaporate as well from plastic items, so they generally emerge wetter from a dishwasher that uses condensation drying.
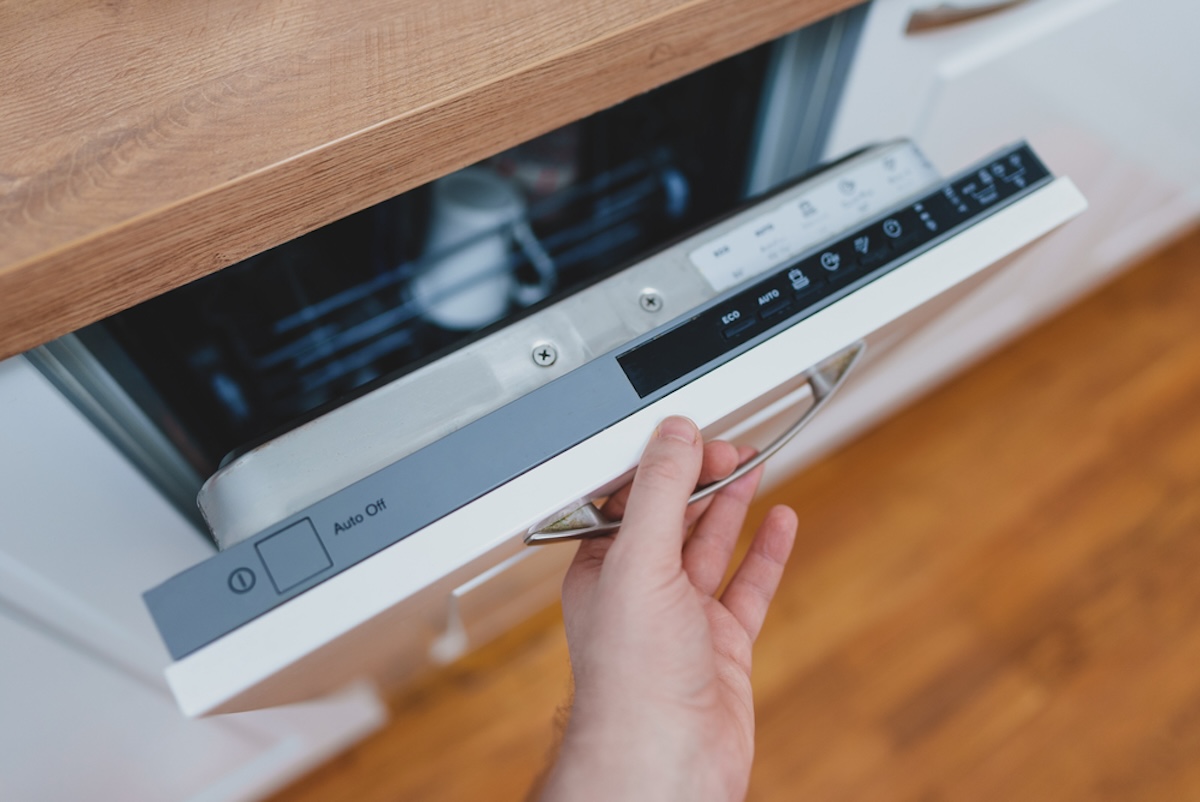
If your dishes aren’t coming out as dry as you’d like, research whether your dishwasher has a heating element, and make sure that the “Heated Dry” option is turned on before you start a cycle. (Some models default to heated drying, while others require you to select the option.) Note that even if your dishwasher defaults to a heated dry setting, if you select a speedy setting (often called a “quick” or “express” wash), it may not include heated drying. In general, to get the best performance from your dishwasher and to make sure you’re using its most eco-friendly dishwasher features, become familiar with all its settings for both washing and drying.
3. You’re not using rinse aid, or the rinse aid is not dispensing properly.
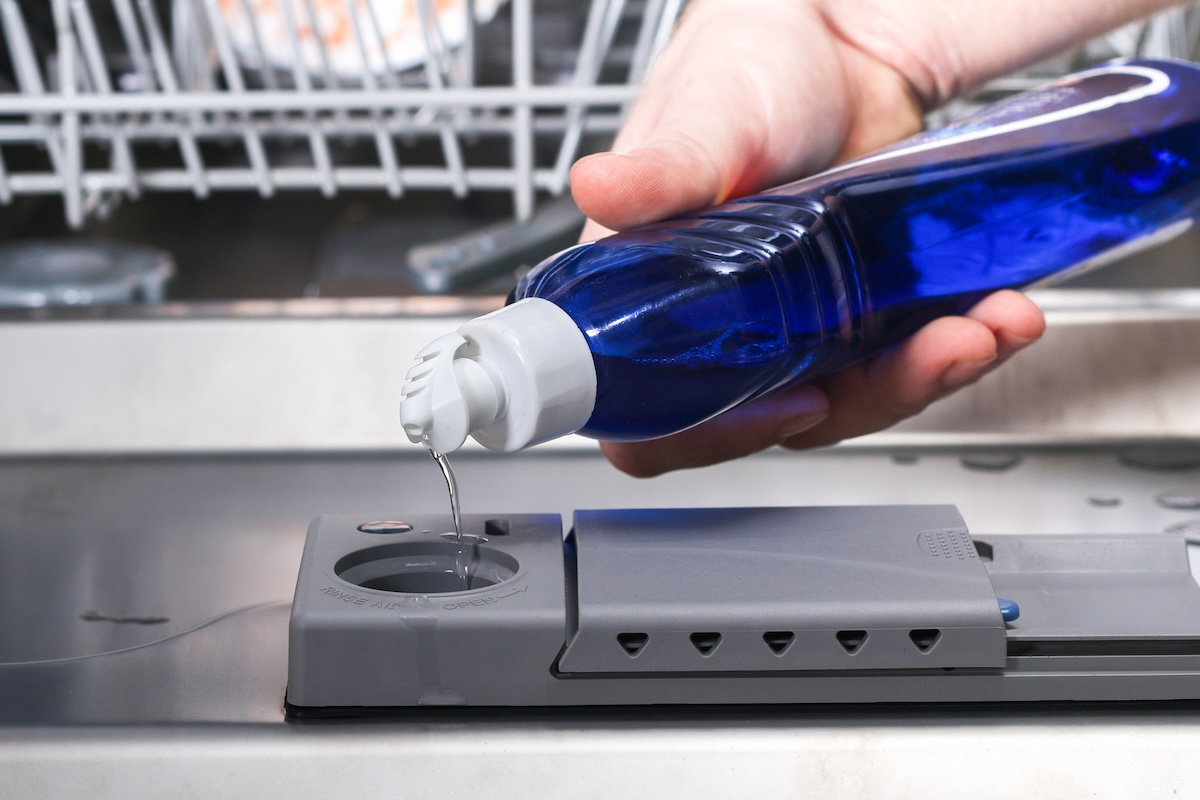
Dishwasher rinse aids reduce the surface tension of water, causing it to run off the clean dishes instead of forming water droplets. This helps prevent spotting and streaking, and it also helps dishes dry faster, particularly in a dishwasher that uses condensation drying.
The rinse aid dispenser is usually located on the interior of the dishwasher door, next to the detergent dispenser. Periodically check the indicator on the dispenser and refill as needed. Always close the compartment securely and wipe off any liquid that has spilled.
On some dishwashers, the amount of rinse aid dispensed in each cycle can be adjusted. If your dishes emerge spotted or excessively wet, try adjusting the setting. It’s also possible that a buildup of gunk could be preventing the rinse aid from dispensing into the machine during the rinse cycle. To clean the rinse aid dispenser:
- Open the cap or lid and wipe away any debris in the dispenser.
- If possible, use a turkey baster or similar suction device to remove any rinse aid still in the dispenser reservoir.
- Set a dishwasher-safe bowl filled with 2 cups of white vinegar on the top rack of the empty dishwasher.
- Leave the rinse aid dispenser cap off, if possible, and run the appliance on the hottest water setting to clean the dishwasher interior and help flush away debris and slimy bits of food.
- If the dispenser is still not releasing rinse aid, you’ll need to remove it and wash it out thoroughly or replace it—both of which probably require removing the outer or inner dishwasher door panel. But if the problem is just a leaky or broken dispenser cap or lid, it’s an easy fix to buy a new one and replace it.
Top Tips for Drier Dishes
Even after you’ve figured out why your dishwasher isn’t drying, you can help the process along and improve dishwasher performance by loading the appliance properly.
- Before starting the dishwasher, run the hot water tap nearest to the appliance (usually the kitchen sink) to purge cold water from the lines. According to Polya Petrova, a cleaning and appliance professional at Fantastic Services in the U.K., “Running hot water to ensure the initial fill is hot will improve both washing and drying performance.”
- Cups, bowls, and glasses should be on the top rack with their openings facing down to keep them from filling with water during the wash cycle.
- Put plates, pots, and pans on the lower rack facing the center of the dishwasher.
- Don’t overfill your dishwasher. There should be a little bit of space between items to allow water and detergent to reach all surfaces and facilitate even drying.
- Mix up silverware in the utensil holder, rather than putting all the spoons in one compartment, forks in another, and so on. Putting too many similar pieces together leads to nesting, which prevents optimal cleaning and drying.
- If your dishwasher has a heating element, keep all plastic dishware on the top rack to prevent melting. If your dishwasher relies purely on condensation drying, plastic items can go on either rack.
- At the end of a dishwasher cycle, crack the door open a bit to allow moist air to escape. Let the dishwasher sit for half an hour or more before emptying it to give any remaining water a chance to evaporate.
- Unload the bottom rack first so water doesn’t drip down from the top rack to the bottom rack.
4. The dishwasher’s vent may be blocked.
Many dishwashers have a vent to let steam escape. Over time, built-up gunk can prevent the vent from functioning properly, or the vent may be stuck closed or not open fully.
Depending on the model of the dishwasher, the vent could be on the side of the door, inside the door toward the top, toward the bottom, or even concealed inside the door. If the vent is easily accessible, remove the cover if you can and clean out any debris.
If the vent is equipped with a fan to help exhaust hot air from the appliance, the fan motor may have failed. It’s not always obvious where the fan is located, so if you have reason to suspect the vent/fan assembly, check your manual for more info.
5. The heating element may be broken.
If you’ve selected the heated dry setting, but your dishes are still wet at the end of the cycle and don’t feel warm to the touch, the heating element may be on the fritz. While you can check the heating element yourself to see if it’s working, we recommend calling in a professional if it needs replacement. To check the heating element:
- Turn off the power to the appliance by unplugging it or shutting off the electricity at the breaker.
- Open the dishwasher door and inspect the heating element, checking for corrosion or breaks. If the element is broken, it will need to be replaced.
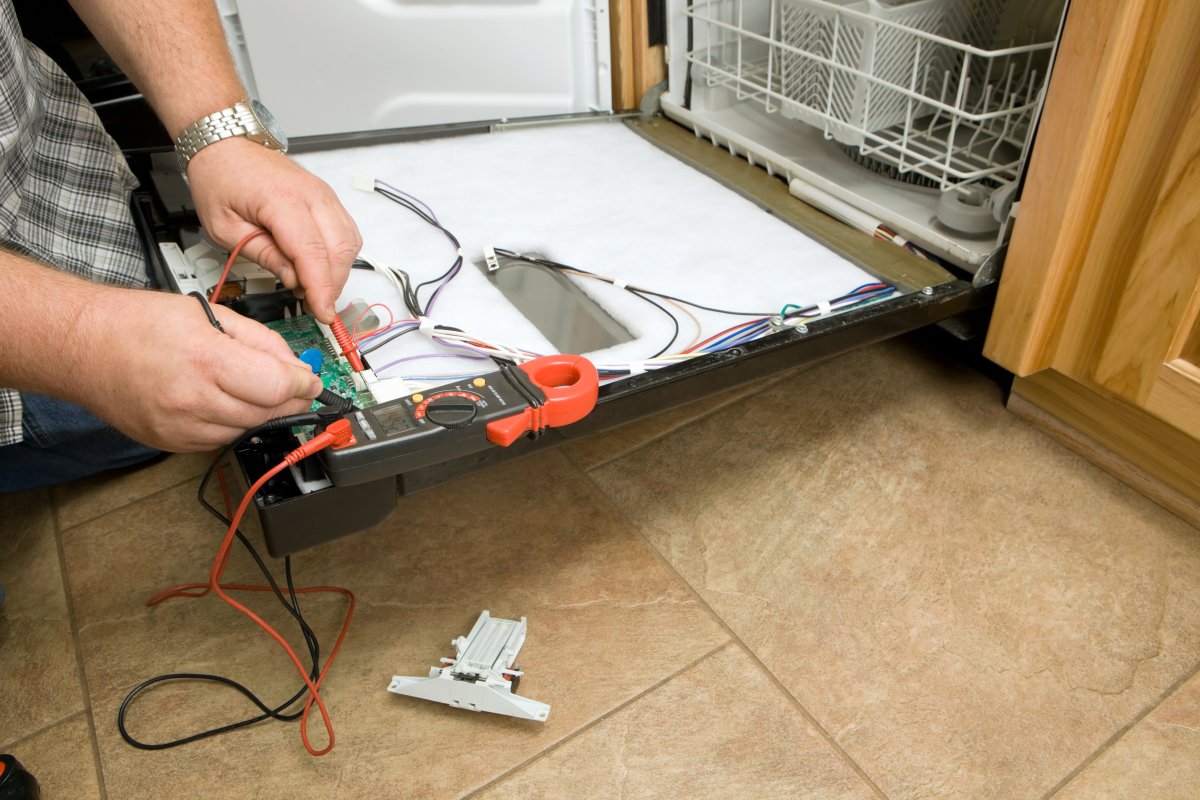
- If you don’t notice any obvious problems, you’ll need to test the heating element for continuity, confirming there’s a continuous electrical path. You’ll need a multimeter, also called a multitester. This useful tool costs less than $20 and is available online or at any home improvement or hardware store. (See our tested guide to the best multimeters for our top picks.)
- Remove the access panel at the bottom of the dishwasher, at floor level. You’ll need to crouch down, or even lie down, on the floor for access. Depending on the dishwasher model, you may need a Phillips or flathead screwdriver or you may just need to rotate a few fasteners by hand. (It helps to have an assistant shine a flashlight onto your work area.)
- Check inside the access area for two small metal terminals poking down from the heating element up above in the dishwasher tub. Each terminal will have a wire attached to it with a slip connector. Gently pull the connectors down and off the terminals, removing the wires.
- Set your multitester to ohms (the omega symbol, Ω) and clamp or touch the multitester’s probes to the two terminals. Typically, a dishwasher’s heating element in working condition will give a reading between 15 and 30 ohms on your multimeter, but this can vary. If the needle doesn’t move at all or moves all the way to zero, the heating element needs replacing—call an appliance repair person. If the reading is normal, you at least know the heating element isn’t causing your problem.
6. The high-limit thermostat may have malfunctioned.

The high-limit thermostat is a safety device that prevents your dishwasher’s heating element from getting too hot. If it malfunctions, however, it can shut the heating element off before the dishes are dry. To test the thermostat, you’ll need a multitester set to the lowest ohms setting.
- Unplug the dishwasher or shut off the power at the breaker.
- Remove the bottom access panel as described above.
- Look inside the access area underneath the dishwasher tub for the high-limit thermostat, a silvery disk roughly the size of a quarter toward the right side of the tub. Slip off the two wires connected to it, either unclip the thermostat or use your screwdriver to remove any screws holding it in place, and then remove the thermostat from the dishwasher.
- Touch the two probes of the multitester to the terminals on the high-limit thermostat. If the component is at room temperature, the reading should be at infinite resistance.
- Hold the thermostat near a hot light bulb or space heater and check the reading again. The needle should now show zero. If you get other readings, your high-limit thermostat is faulty and needs to be replaced. Again, this is a job best carried out by a pro.