We may earn revenue from the products available on this page and participate in affiliate programs. Learn More ›
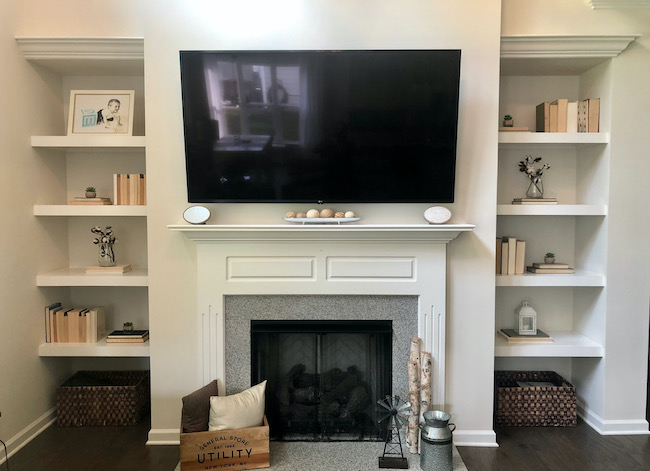
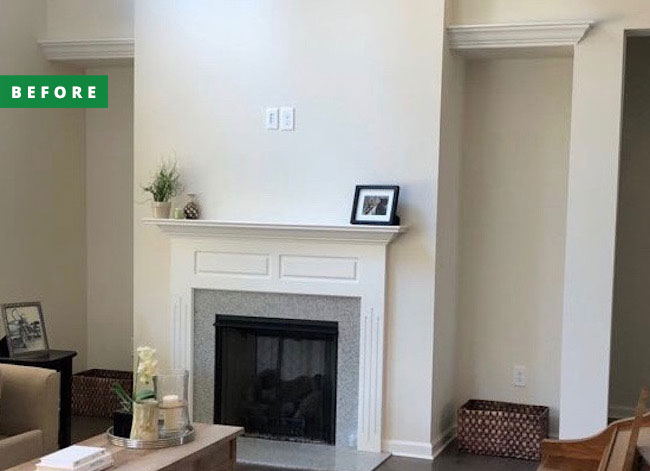
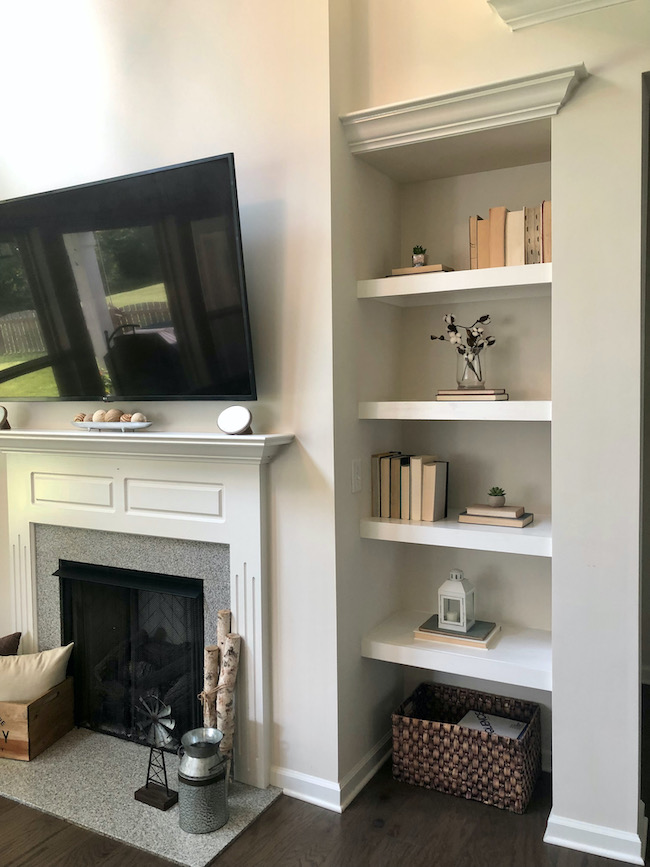
Sometimes a home’s natural architectural features offer a place to get creative, allowing you to make use of what would otherwise be wasted space. An alcove around a fireplace or entertainment center provides the perfect place to add shelving for storage and display.
Since these architectural features already provide the supporting framework, often all that’s left to do is add the shelves. What’s more, this project can be completed with tools most DIYers have in their workshop. This guide shares the steps to complete this simple addition of DIY built-in shelves.
Tools & Materials
Bobvila.com may earn a commission from purchases made through these links.
- Carpenter's pencil
- Tape Measure
- Stud finder
- Cordless drill
- Finish nailer or hammer with nail set
- Safety glasses
- Table saw or circular saw
- Circular saw or chop saw
- Caulk gun
- Birch plywood for shelves
- 1x2s for shelf supports
- 1x3s for shelf facing
- Wood glue
- 2-inch wood screws
- Finish nails
- Paint and paint supplies
- Solid white caulk
STEP 1: Plan your shelves.
Assess the alcove and determine how many shelves you want to add. Consider what you’d like to put on the shelves, and make sure there is enough spacing between each shelf to fit those books, knickknacks, and family photos. Consider using uneven spacing by including some shelves that are further apart to accommodate large books and some that are closer together to feature smaller decorations.
Once you’ve figured out the number and spacing of the shelves, decide how deep to make the shelves. While the shelves can be as deep as the alcove, setting the shelves back from the opening a few inches may create a more appealing look.
STEP 2: Take measurements.
Use a tape measure to measure the width and depth of the opening to determine the size of each shelf. Use a pencil to mark the location of the shelves on each side of the alcove.
In a perfect world, everyone’s home would be perfectly square. Alas, that is rarely the case, even with newer homes. Walls can curve or be slightly out of square with the floor, affecting the space between two opposing walls from floor to ceiling. By taking individual measurements for each shelf, you can account for these discrepancies and ensure a good fit when you install each shelf.
STEP 3: Purchase wood.
Now that you know how many shelves you’re building and have taken measurements, you’ll need to decide what type of wood to use. While hardwood makes for durable and beautiful shelving, you’ll pay a premium for it. Hardwood can cost two or three times as much as softwood. Unless you’re planning on staining the DIY storage shelves to allow the natural grain to show, hardwood isn’t worth the cost. While solid pine boards are much more affordable, pine is softer, making it more susceptible to dents.
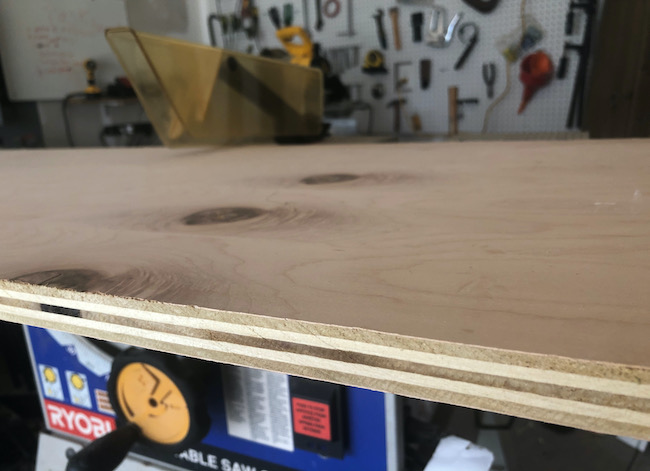
If painting the shelves, the most affordable option is 3/4-inch-thick birch plywood. Birch plywood is cheaper than solid hardwood, but it has a hardwood veneer that gives it better dent-resistant characteristics than soft pine. You can even stain it if you want. And, if you face the shelves with 1x3s, you don’t need to worry about possible ragged edges of plywood being visible.
In addition to the wood for the shelving, you’ll also need 1×2 and 1×3 boards to create the shelf supports. Purchase enough 1x2s to create supports on the sides and back of each shelf and enough 1x3s to face each shelf.
Pro Tip: If planning to paint the shelves, reduce the amount of time you need to spend sanding, priming, and painting by purchasing pre-primed dimensional lumber for the 1×3 shelf facing and 1×2 supports.
STEP 4: Cut and install the supports.
Cut three 1x2s for each shelf. Two of the 1×2 supports should match the depth of the shelf while the third should match the width.
Use a stud finder to locate the studs behind the drywall on all three sides of the niche at the location of each shelf and use a pencil to mark two separate stud locations for each support. Use a level to make sure your marks are level.
Hold each wood support in place and use a cordless drill to make pilot holes through each support and the wall, using the marks for the stud locations as a guide. Attach each support to the wall using wood glue and 2-inch wood screws or drywall screws. Wipe up any excess glue with a rag.
Pro Tip: Studs run from floor to ceiling. Once you locate a stud for one shelf support, use a level to mark the stud locations for the above and below supports.
STEP 5: Cut and attach each shelf.
Use the measurements you took from Step 2 to cut each shelf using either a circular saw or a table saw. Remember to wear safety glasses, and cut each shelf to the specific measurements you took in Step 2 to account for any discrepancies in the width of the alcove.
Pro Tip: DIYers often consider painting to be the final step in a carpentry project. When it comes to built-in shelving, painting the shelves and the supports when they are flat on a garage floor is much easier and faster than painting them after they’re installed in the alcove. Paint each board and support, and then touch them up after they’re installed.
Use wood glue and finish nails to attach each shelf to their corresponding supports. When fitting the shelves, make sure the outer edge of the shelf fits flush to the outer edge of each support. This will make it easier to attach the 1×3 facing boards in the next step.
Pro Tip: Label the shelves as you cut them to correspond to their position in the built-in to avoid mixing them up when you transport them for installation.

STEP 6: Attach the facing.
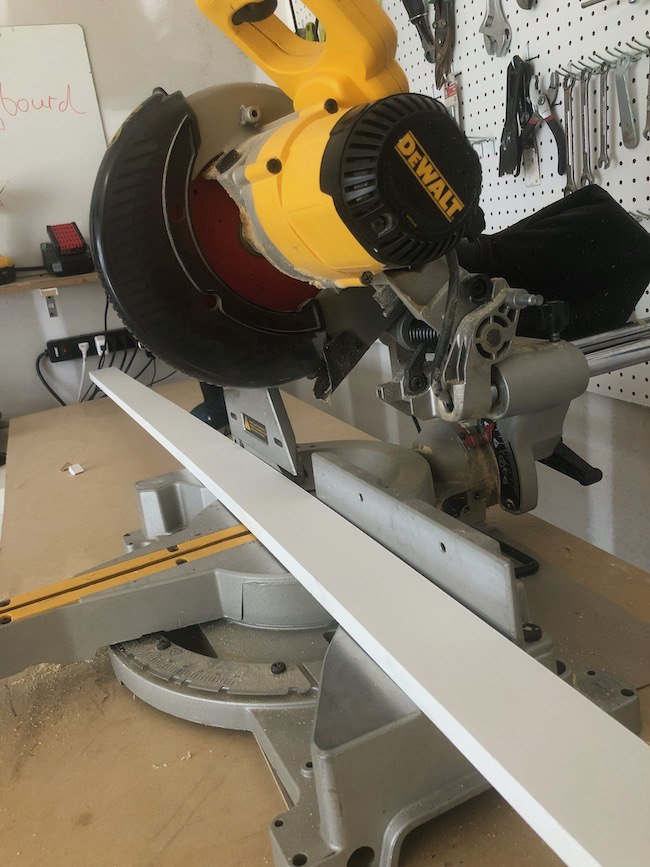
After the shelving supports and shelves are installed, it’s time to install the facing for the shelves. Measure the width of the shelf and cut each 1×3 using either a circular saw or chop saw.
Again, it’s important to measure for each piece and cut each piece to size as the width of the shelves will likely vary slightly due to inconsistencies in the walls. Use glue and finish nails to attach the facing, making sure to wipe up any excess glue.
STEP 7: Add finishing touches.
Complete the project by filling any nail or screw holes with wood filler. Sand the wood filler and paint the sanded areas as well as any areas that need a touch-up. Once the paint is dry, caulk around all the edges of the shelves with a solid white caulk to close any gaps and give the shelving a finished built-in look.
Pro Tip: Oil-based paint can take up to a week to cure while latex paint can take up to 30 days to fully harden. Avoid placing items on the shelves until they have fully cured to prevent objects from sticking to the paint and damaging the finish.
STEP 8: Considerations for built-ins.
Alcoves and niches in the walls of a home are a perfect place for built-in shelving, transforming what is typically wasted space into a useful place to store and display items.
By using the existing framework of the home, you can add shelving without having to construct an entire bookcase. All you need is a sheet or two of plywood, a few lengths of dimensional lumber, fasteners, and some basic carpentry tools.
