
We may earn revenue from the products available on this page and participate in affiliate programs. Learn More ›
Sit on Storage
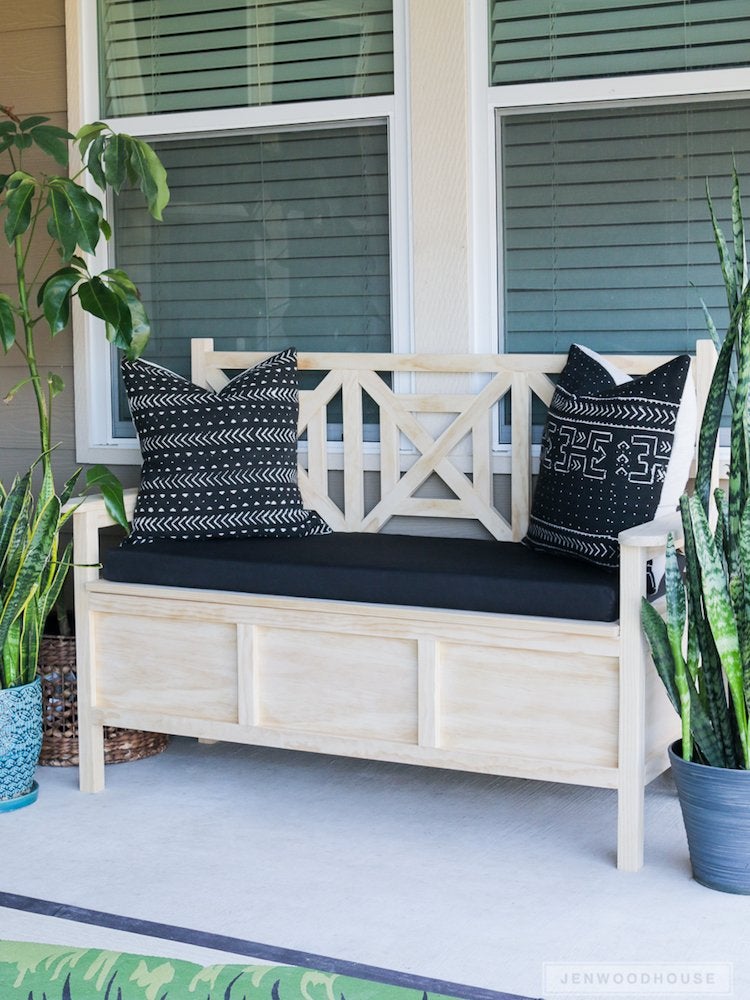
You can never have enough storage, even in the backyard. To add more functionality to her outdoor space, Jen Woodhouse took things into her own hands and built this impressive bench with hidden storage. The geometric bench back might seem complicated to replicate, but she reveals that the “angled cuts are all at 45 degrees,” which are simple to cut yourself or have done professional at your local home center.
Customized Cozy
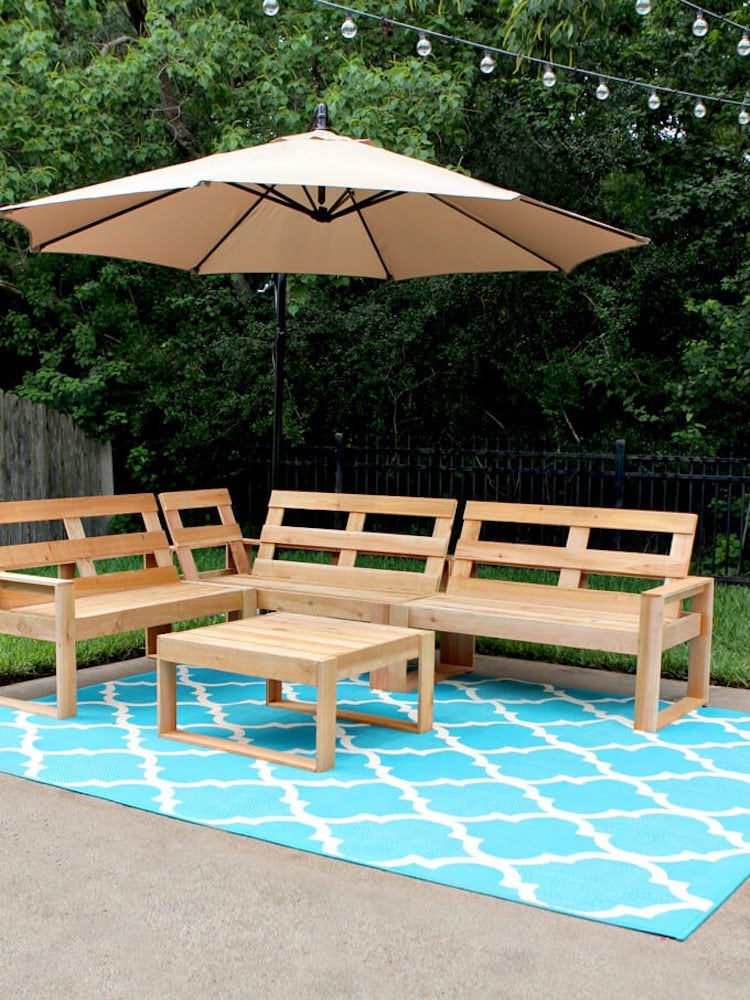
Obtaining ample seating for guests to use at an outdoor bash isn’t cheap, if you buy from traditional retailers. But if you choose to make your own, you could save hundreds and create an outdoor sectional that’s completely customized for your needs. Husband and wife duo Courtney and Brent, behind Gray House Studio, used a West Elm design as inspiration for their own more affordable version. Dress it up with a few pillows and cushions and you’re good to go!
Copper Cabana
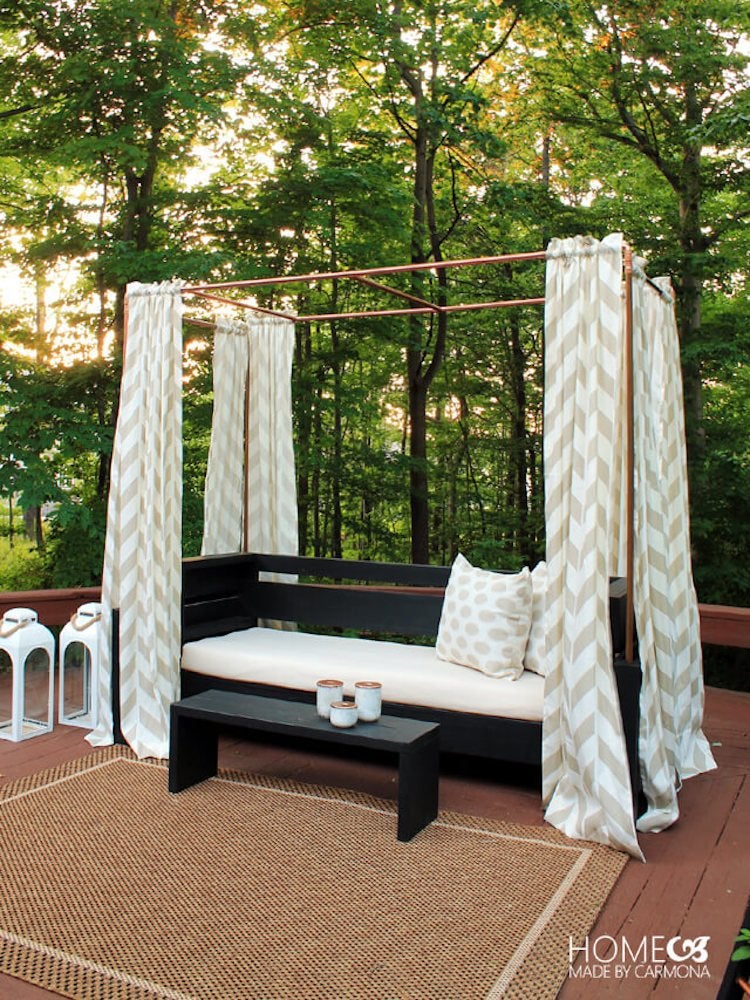
You don’t need stay at a fancy resort to lounge in the shade of a cabana. In fact, making your own DIY defense from the sun is both affordable and straightforward! Over at Homemade By Carmona, Carmona shows off her backyard cabana made of copper pipes and durable curtain fabric. Consider it a little luxury in your own backyard!
Garden Included
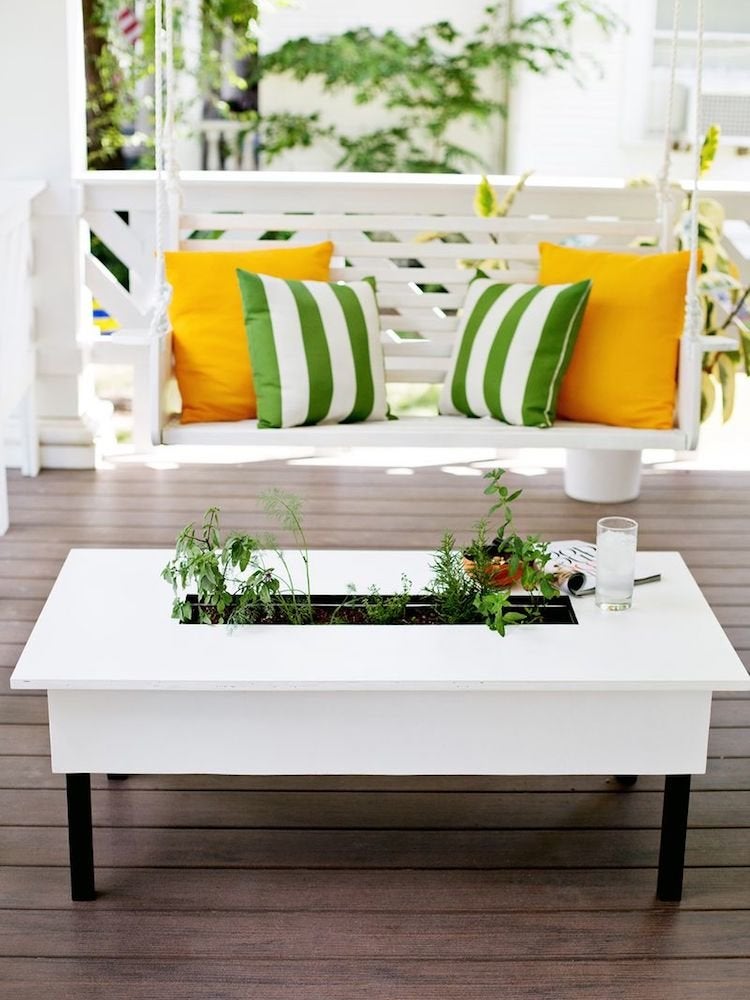
Let your outdoor furniture pull double duty. This simple design plan from A Beautiful Mess combines an herb garden with a coffee table—making it the most convenient spot to grab a sprig of mint for your lemonade and place a light but refreshing summer spread.
Boho Daybed
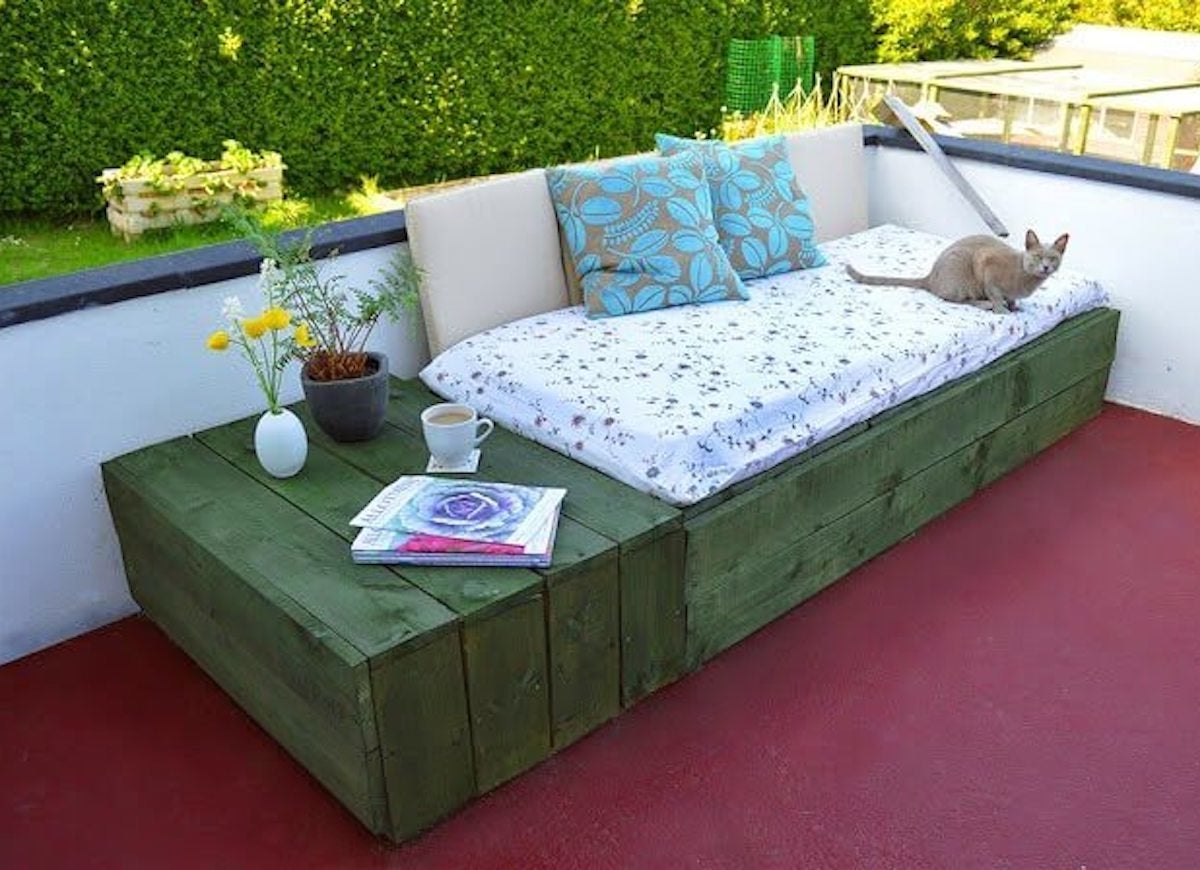
If you think daybeds are only for the indoors—think again! This sunny spot is the best place to cozy up with a cup of morning coffee. It’s surprisingly simple to put together a daybed like this for your porch or patio. The base is nothing more than four pallets. See how Tanya at Lovely Greens made it happen, and get ready to kick back and unwind.
Summer Movie Seating
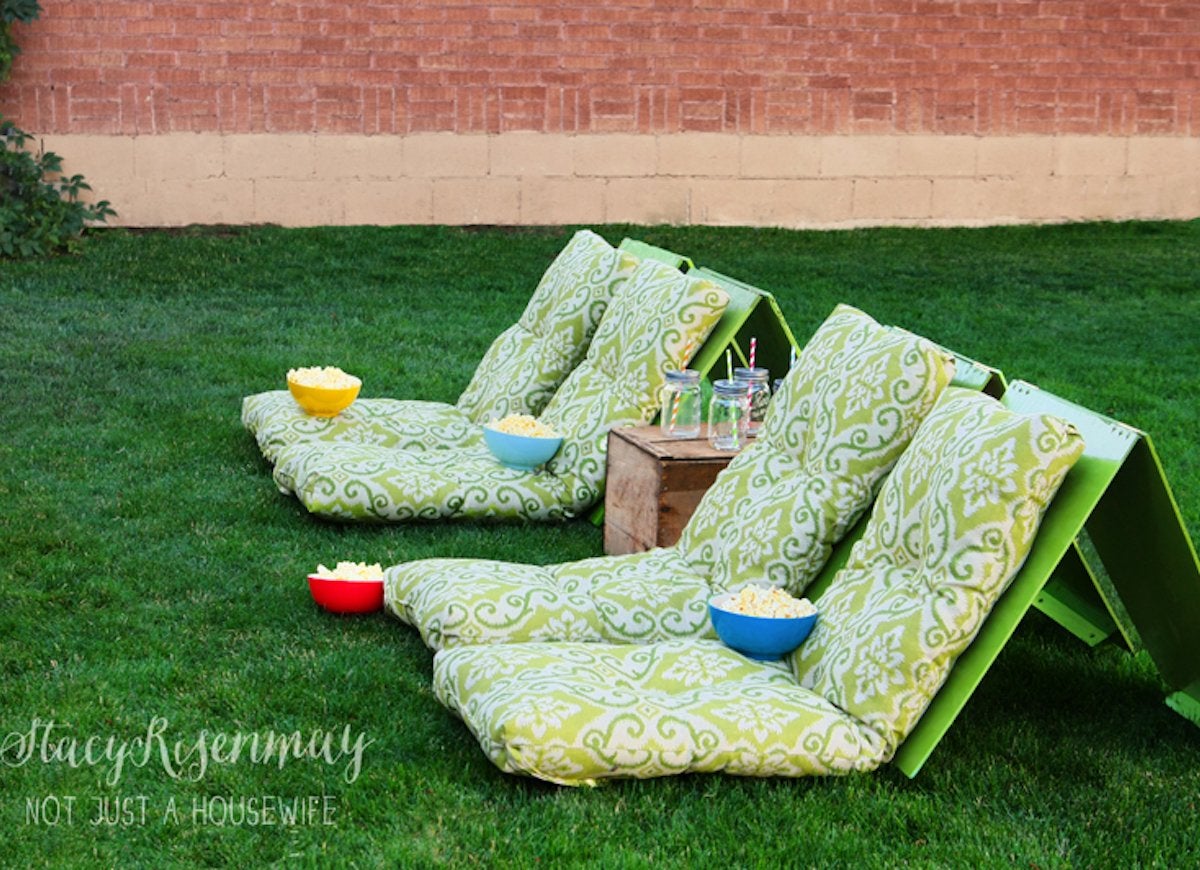
Drive-in movie theaters are, sadly, a thing of the past. But you can still enjoy a flick under the stars—in your very own backyard, in your very comfortable outdoor movie theater seats. See how Stacy Risenmay does it over at Not Just a Housewife. This DIY outdoor furniture project is so quick and easy, you’ll want to make a dozen chairs or more.
Instant Drink Station
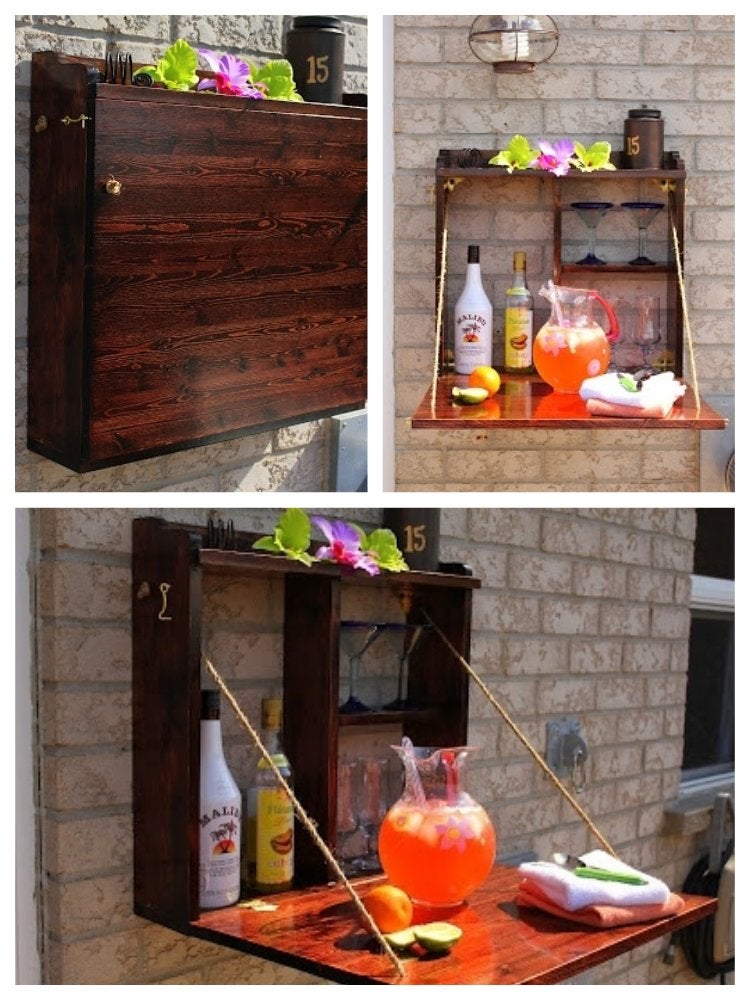
Sipping summer cocktails just got a lot more convenient. This fold-out bar tucks away to almost nothing when not in use. Open it up, and refreshment is at the ready. Head over to Turtles and Tails to see exactly how to make this handy bar part of your DIY patio furniture collection.
Hanging Out in the Trees
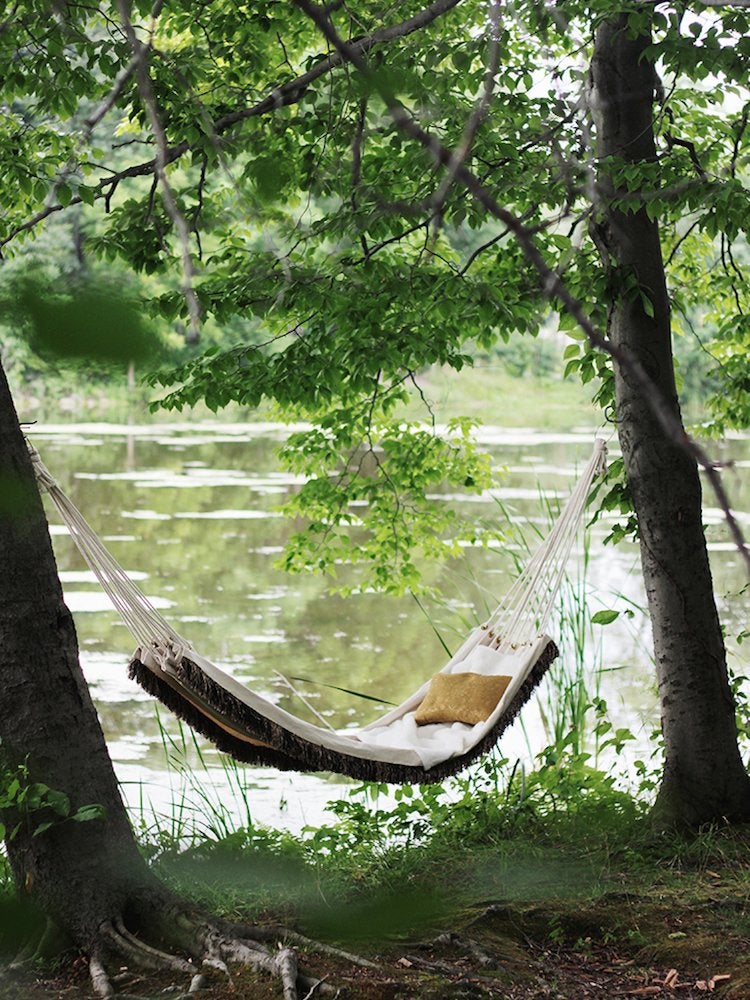
How often have you dreamed of lazing through a summer afternoon in a hammock? That dream can be a reality sooner than you think. Head over to The Merrythought, and let Caitlin show you how you can make one from a canvas drop cloth. Then, grab a book and a lemonade, and settle in for some well-deserved rest and relaxation.
Classic Loungers
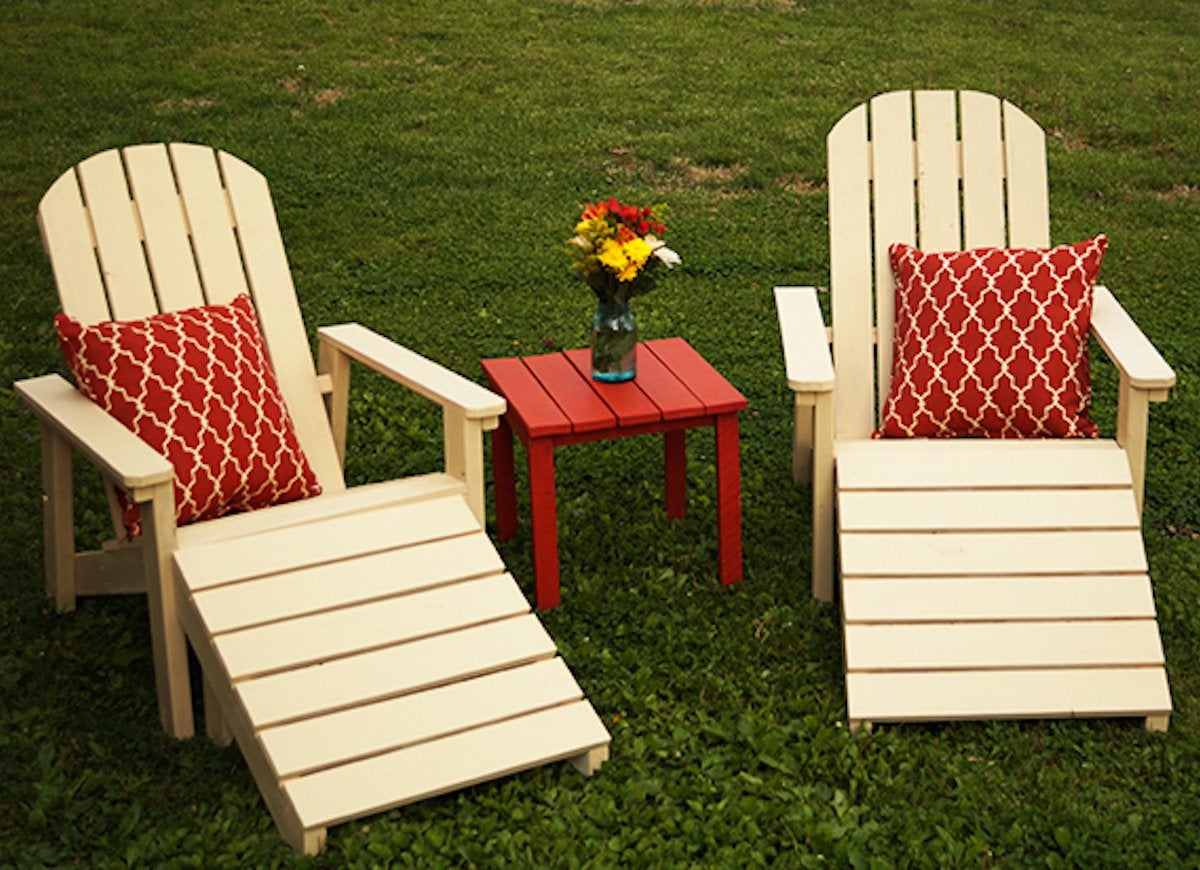
Nothing says summer like the classic Adirondack chair. You can make your own with stock lumber—or save a bundle, like Saved By Love did, by using scraps from your local home center. Once your creation has been graced by a gorgeous chalk paint finish, who will ever know the difference?
Solid Design
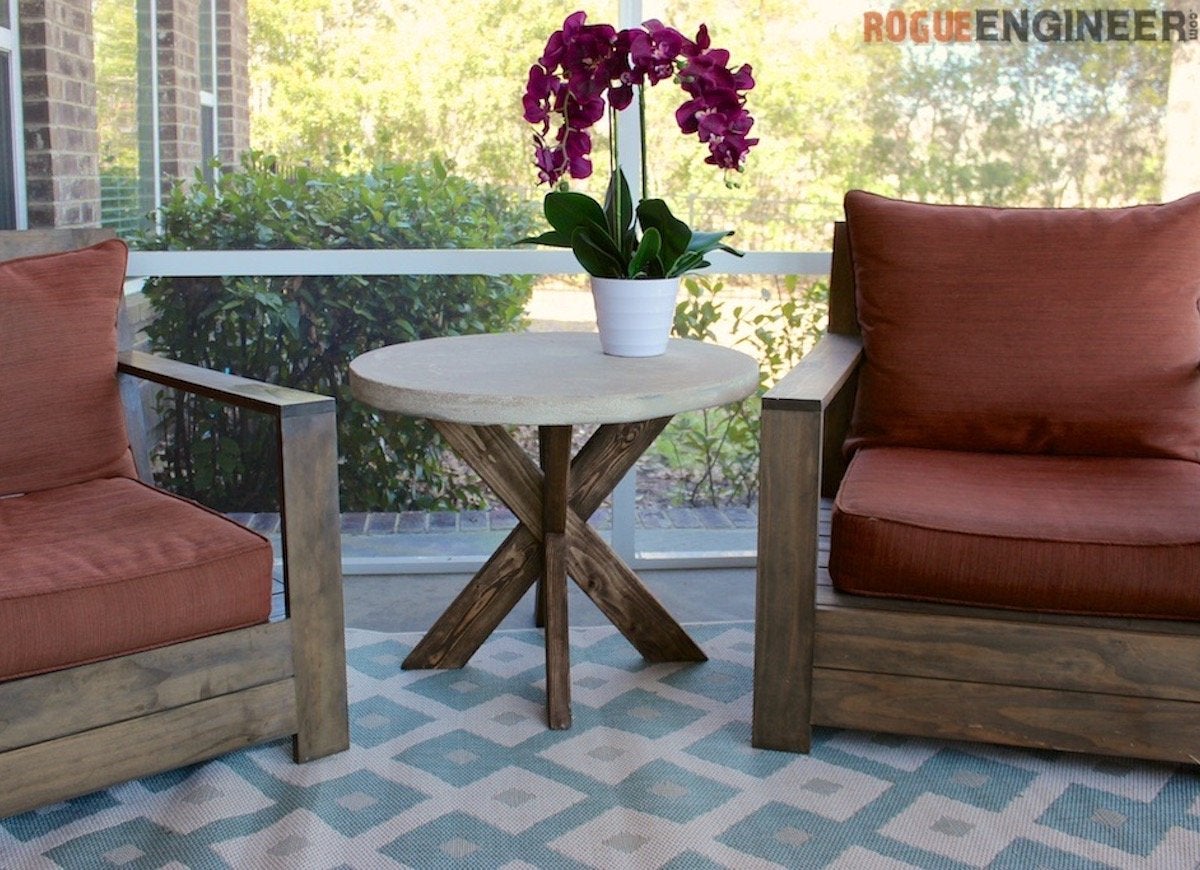
This little side table is super easy and super cheap to make with stock lumber and a bag of concrete. Jamison, the Rogue Engineer, has broken it down for you and provided a free plan. You’ll be setting drinks on your new table by the end of the weekend.
So Cheap Sofa
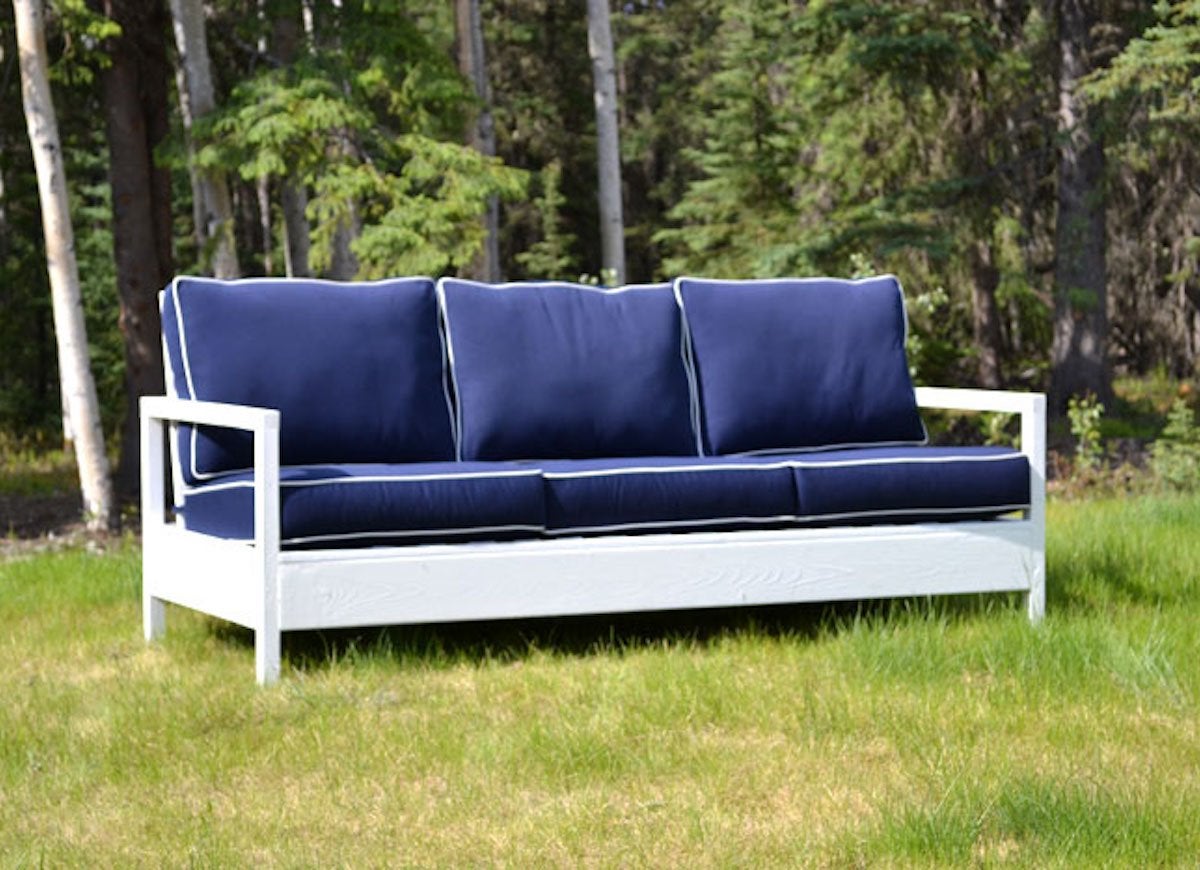
Build a simple yet elegantly modern outdoor bench on the cheap. For only around $30 in lumber, blogger Ana White recreated a Restoration Hardware sofa for her backyard. Toss some cushions on it, and it becomes an outdoor sofa, ready to seat a crowd. Everything you need to know for this project is available at ana-white.com.
Free Wood

Reclaimed pallet wood remains a favorite material for budget-conscious DIYers to craft all kinds of creative projects. Ananda, from A Piece of Rainbow, used heat-treated pallets to create this modern furniture set for her backyard. The unique design blends natural elements with sleek, sharp lines.
Classic Fun
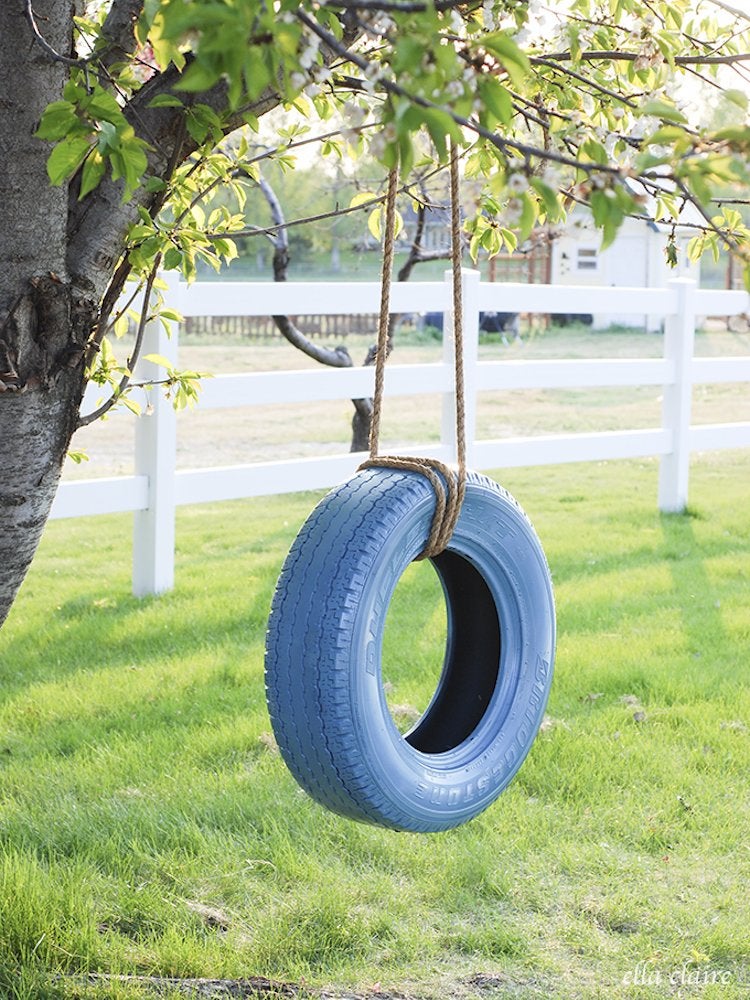
Yes, you absolutely should consider a tire swing to be furniture. Make a fab one like this with the help of Kristin from Ella Claire Inspired. Be prepared to fight with your kids over who gets to sit in it.
No-Nonsense Surface
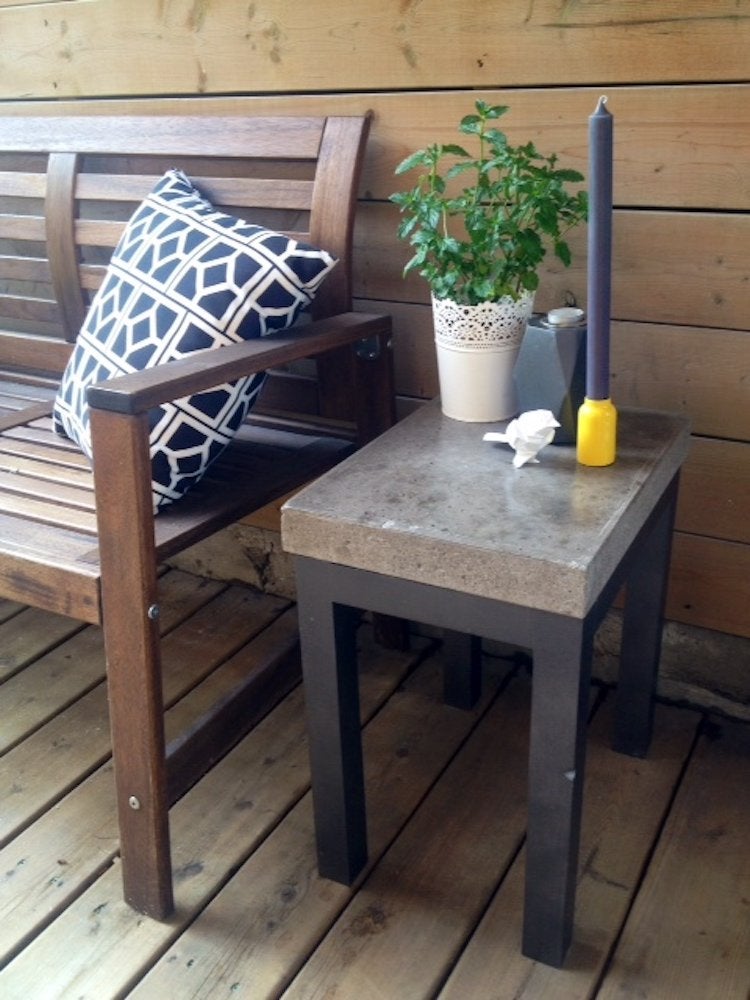
Outdoor industrial chic can be yours with this compact concrete side table. All you need is a few 2x2s and a concrete mix to bring definitive style to your space. Visit Storefront Life for the how-to.
Playful Pallets
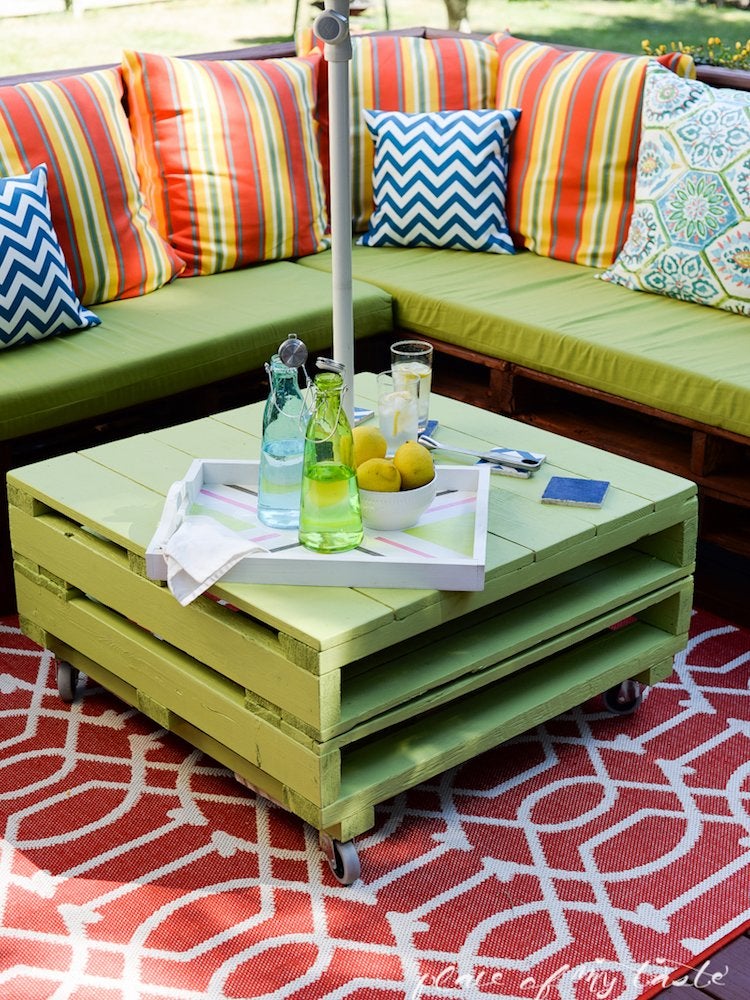
Pallets are the perfect fodder for DIY patio furniture. Their solid structure and shape makes them ideal for a wide range of projects—including a backyard makeover. That’s exactly what Aniko from Place of My Taste did with these cast-off pallets. Get the 411 on this super functional and attractive coffee table at her blog and make one for yourself.
