We may earn revenue from the products available on this page and participate in affiliate programs. Learn More ›
More Slip, More Slide
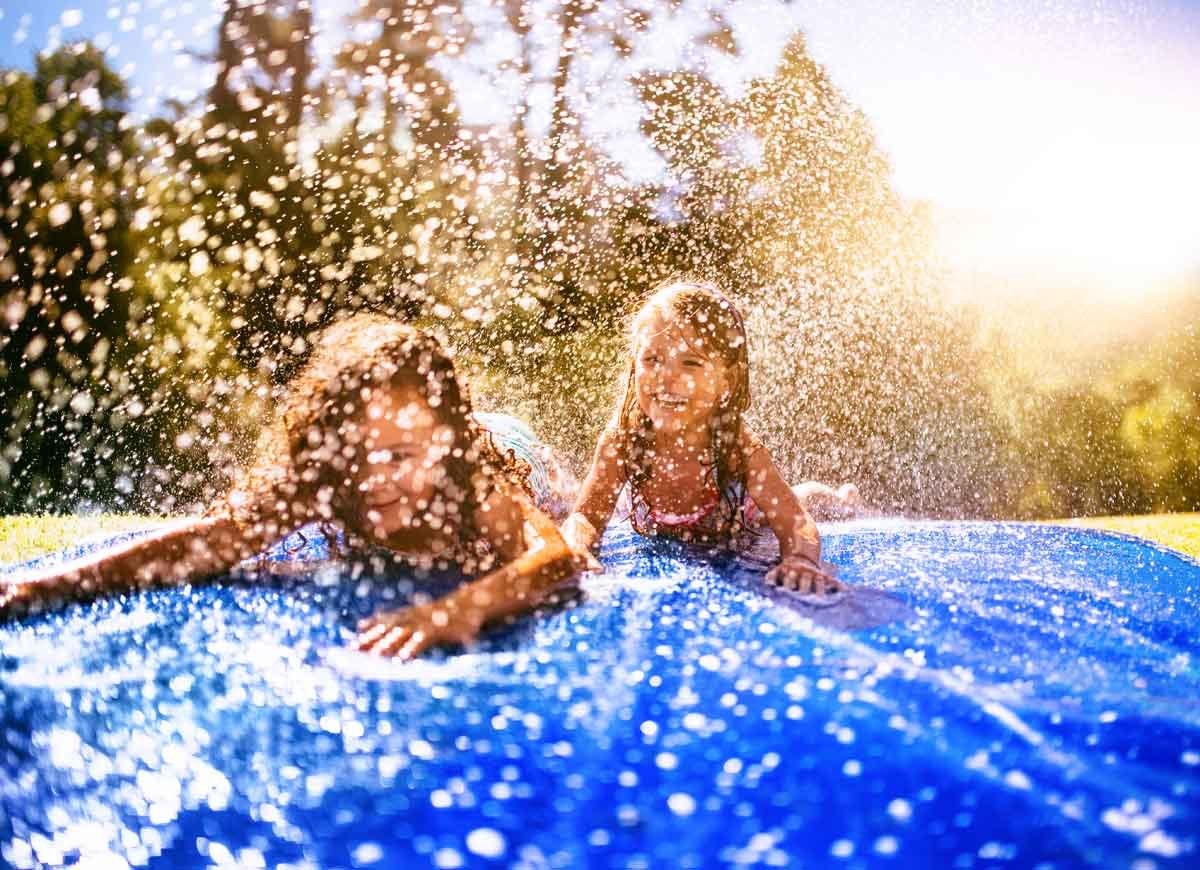
Store-bought Slip ‘n’ Slides are often too flimsy to last long and too small to give kids the thrills they want. Leave all that behind by making your own from plastic sheeting coated with baby shampoo! It’s easy, affordable, and guaranteed to satisfy even the most daring of kids.
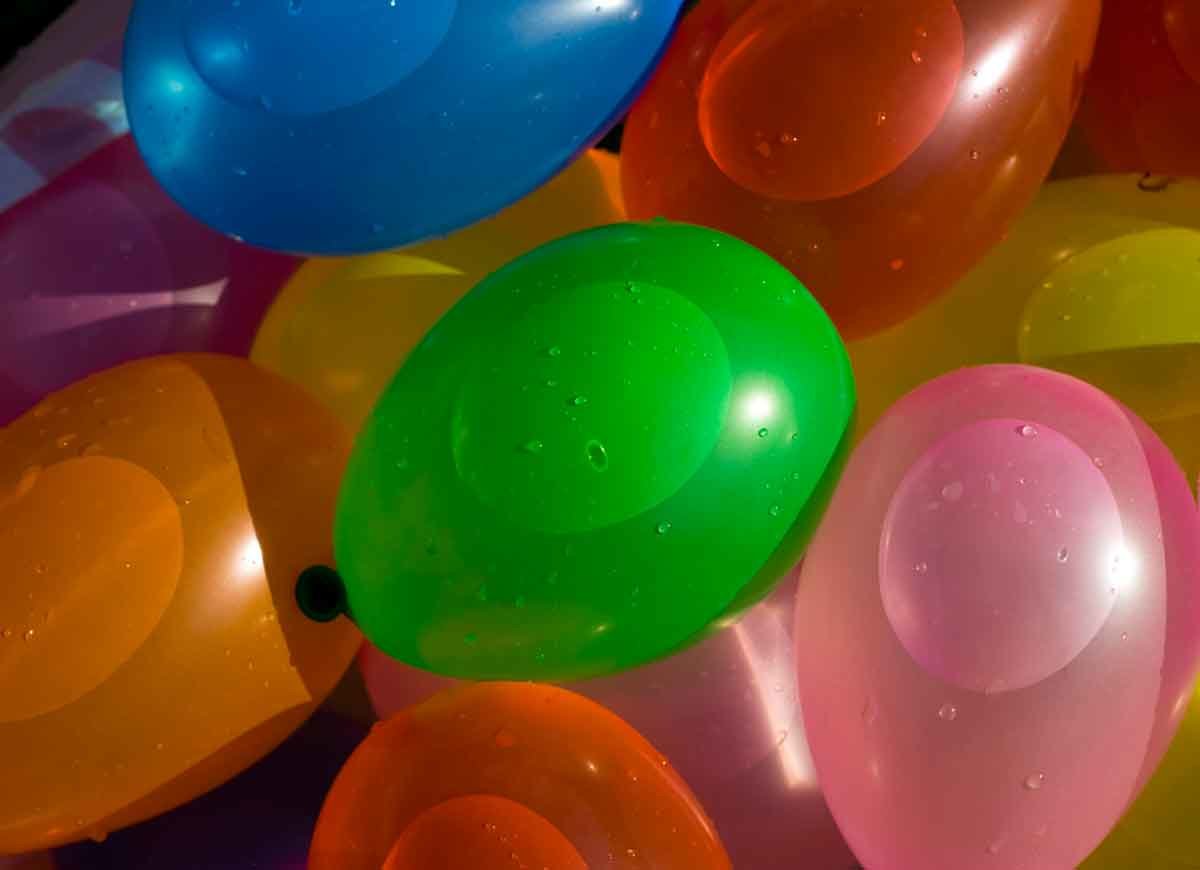
Water Balloon Piñata
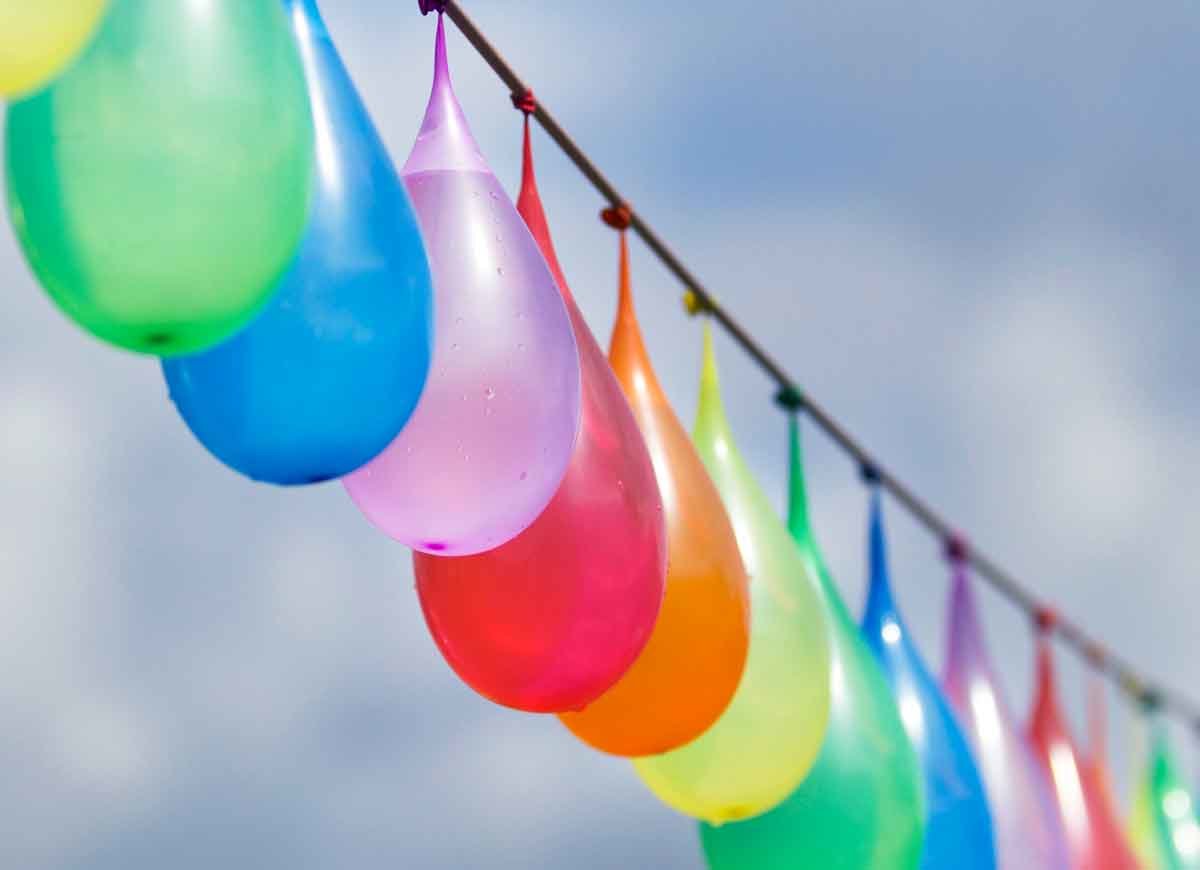
Candy is dandy, but water is sweeter—particularly when it’s hot outside. Cool down with a water balloon piñata! Simply fill some water balloons, string them between trees or poles, or suspend them from an elevated structure, like a set of monkey bars. Visit Scrap Happy Heather for more about this project.
Ocean to Go
Not lucky enough to live near the beach? Bring the beach to your backyard by making a water blob. Use two thick sheets of plastic sheeting and a roll of duct tape to create a giant sack that you can fill with a garden hose. Food coloring and glitter will make it even more enticing for your little mermaids and mermen. Get the full instructions at ClumsyCrafter.com.
Water Arms Race

The only way to make a day playing water games more fun is to add a little friendly competition. String small, single buckets between trees or poles in your backyard, making sure the strings are taut (one bucket and string per team). Teams then have to move their bucket from one end of the string to the other using only the water from their water guns. This game is sure to have all participants soaked by the end of the line.
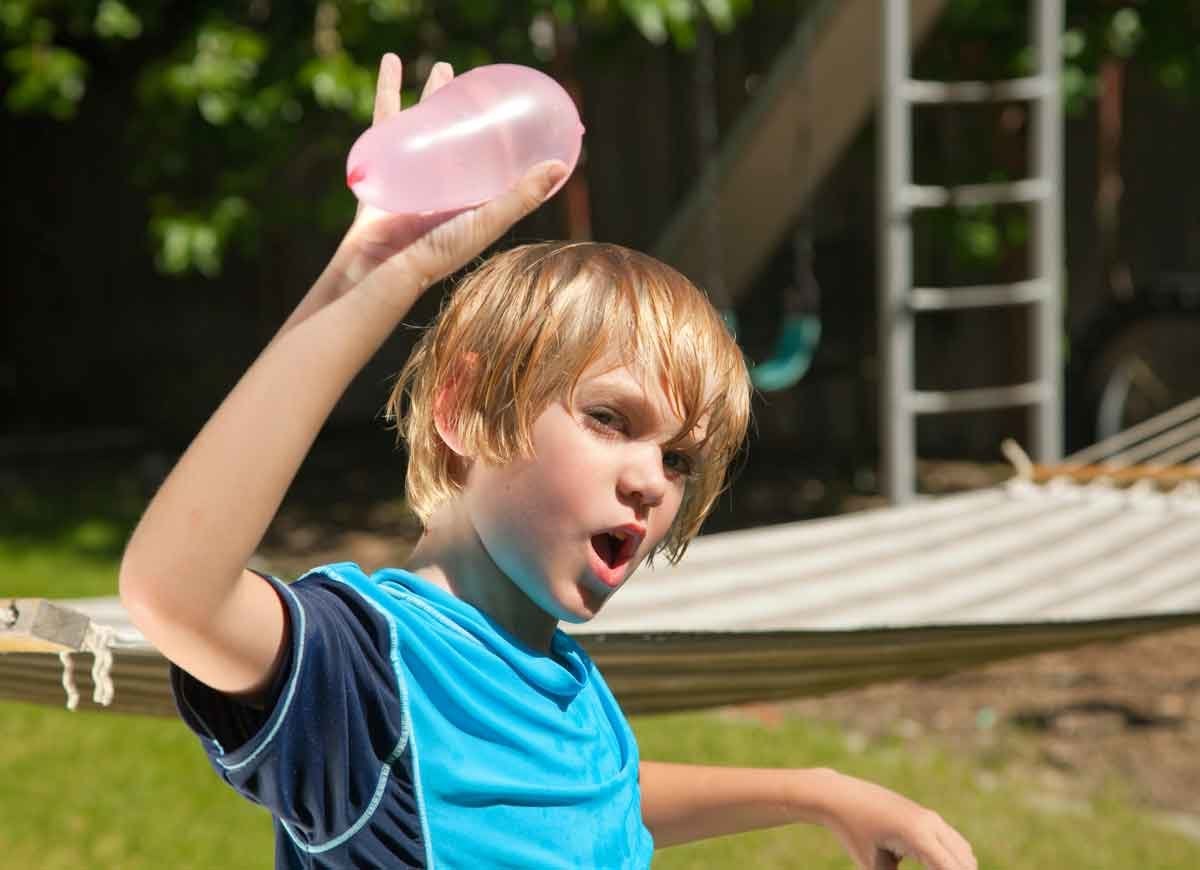
Water Balloon Dodgeball
Make dodgeball summer-friendly by using water balloons instead of balls. Less painful than regular dodgeball and much more fun, this version of the old standby will have laughter ringing through your backyard as long as the sun and water last.
H2O-me Run
Another modified summer classic is this watery baseball-basketball hybrid that focuses on throwing and blocking. Each child is given a bat to defend a ‘goal’ bucket from incoming water balloons, resulting in plenty of splashes.
Get Your Head in the Game
Water balloon catch is another play on classic baseball, with one player throwing balloons to his partner, who attempts to catch as many as possible in order to beat the other teams. Sounds easy? Think again. The catcher can use only a bowl strapped to his helmet to capture the water balloons. This game is perfect for older kids, who will appreciate the skill required.
Eco-Friendly Water Bombs
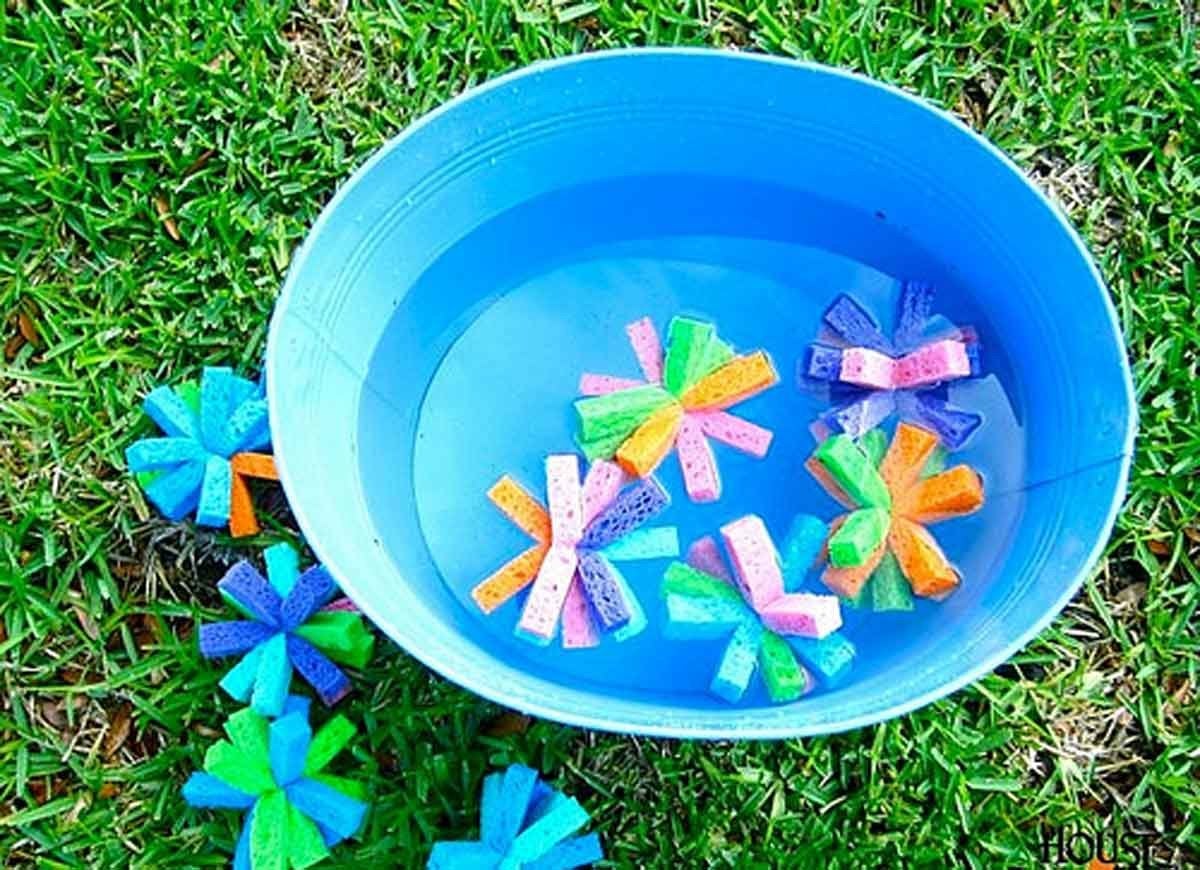
If you’re concerned about the ecological impact of latex balloons or worried about latex allergies, water bombs are a great alternative. Made from common kitchen sponges, they are eco-friendly and reusable, and they deliver the same wet wallop as traditional water balloons. Better yet, they’re an easy DIY. HouseofHepworths.com has a great tutorial.
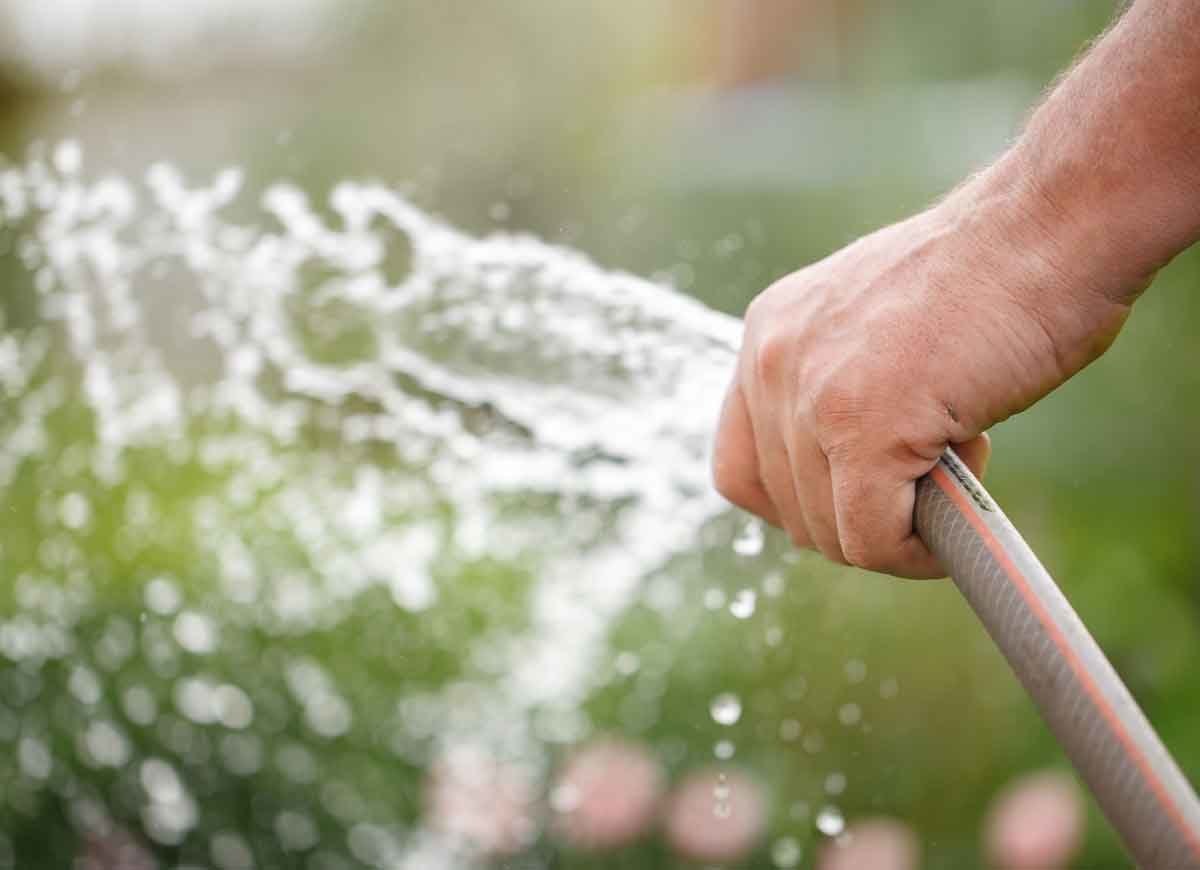
Kid Wash
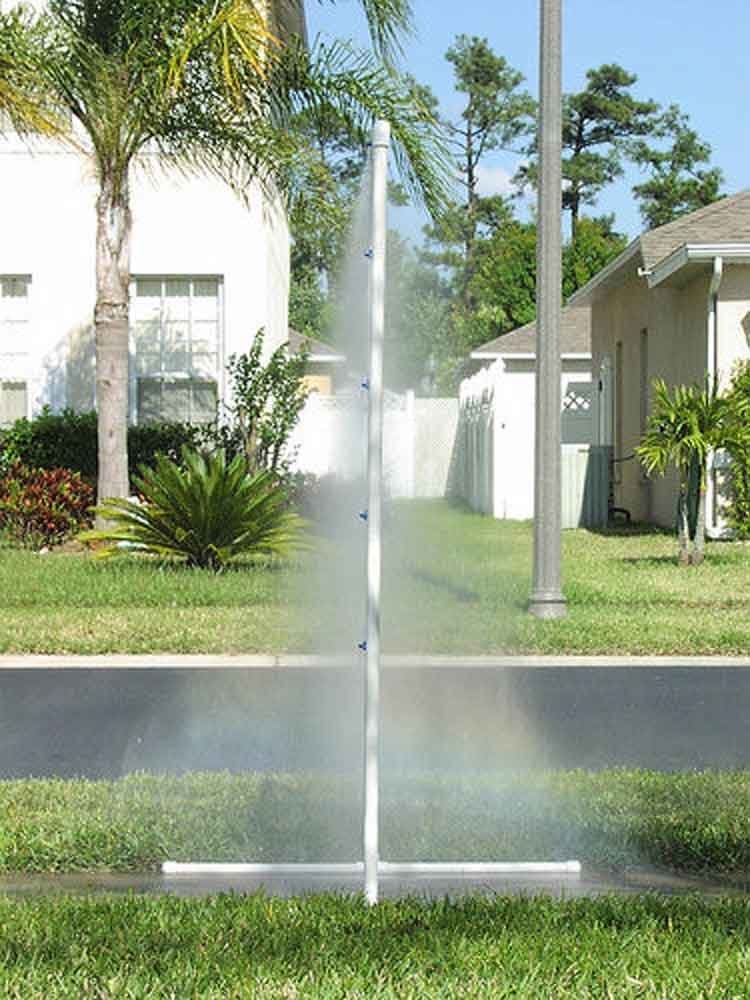
After a day of watery fun in the backyard, your kids—and your floors—will be grateful that you have a kid wash station set up. A fun and easy DIY, this outdoor shower is constructed from PVC pipe with holes drilled into them. Just attach a garden hose to the structure and you’ll have a refreshing addition to any backyard water party.
Bucket Dump
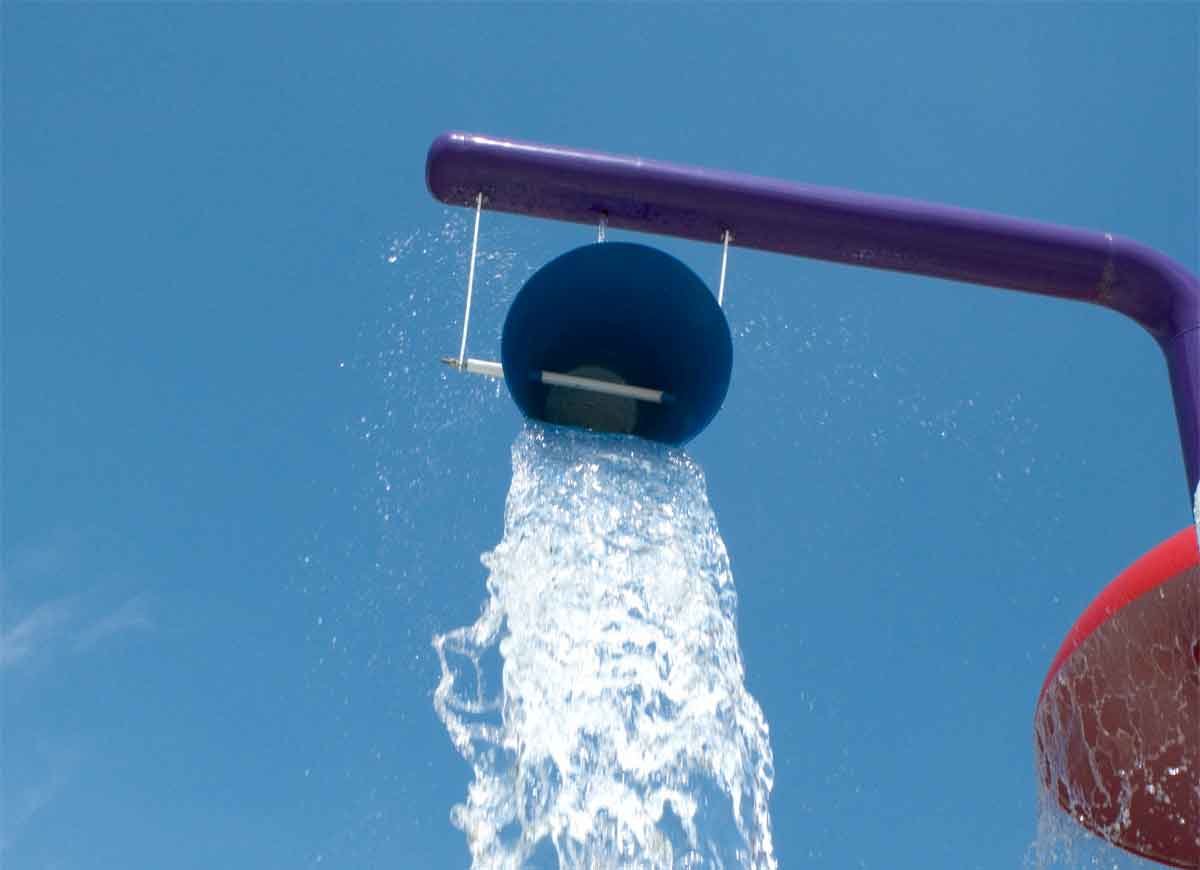
Wish you had a full-scale water park in your backyard? Whip up a DIY bucket dump from PVC pipe! While this project is a little more advanced, it’s nonetheless doable and fun. Check out one tutorial here.