
We may earn revenue from the products available on this page and participate in affiliate programs. Learn More ›
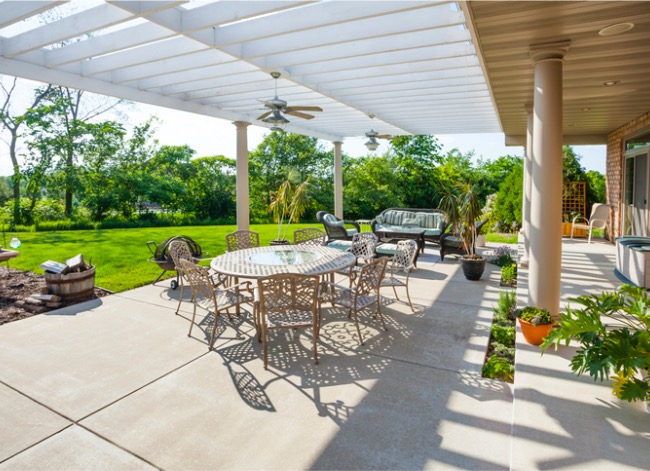
Concrete is durable, dependable—and, naturally, a bit cold in tone. If this steely neutral isn’t your style, you can update your patio, basement floor, or concrete countertop in a range of eye-catching colors using acid stain technology. Metallic acid salts and hydrochloric acid in the stain penetrate the surface and react with the concrete’s natural lime content to impart deep hues that won’t fade or peel off.
Acid stain is available from home improvement centers and online. To determine how much you might need for your particular project, consider that a gallon of stain will cover approximately 200 square feet of concrete. Then, choose from a dozen or so translucent colors, including earthy browns and tans, rich greens, deep golds, rustic reds, and terra cotta tones that complement concrete both outdoors and in. The finished result is a striking marbled effect that can be waxed to achieve an attractive satin sheen.
Learning how to acid stain concrete isn’t difficult. Perform each step carefully before going on to the next step. Concrete should be fully cured before applying acid stain, so if your surface is new, wait 28 days before staining.
Tools & Materials
Bobvila.com may earn a commission from purchases made through these links.
What You Should Know Before Acid Staining Concrete
Acid staining concrete is a relatively straightforward project, but understanding a few basics is essential. You must first adequately prepare the concrete surface and then evenly apply the stain to prevent blotchy results. Neutralizing the concrete acid stain is also required because concrete is naturally alkaline, and stain is acidic. Knowing what to expect—and how the process works—will ensure a beautiful finish.
How Acid Staining Works
Unlike paint, which sits on the top of the concrete surface, acid stain penetrates the concrete and infuses it with a translucent tone that adds color while allowing the natural concrete to show through. Depending on the type of stain and technique chosen, various effects are available, including mimicking the look of hardwood planks or marble.
How Much Concrete Acid Stain Costs
Having acid stain professionally applied runs about $2 to $4 per square foot for a simple, all-one-tone application. Complex projects that involve blending colors or creating patterns and textures will run more—ranging from about $12 to $25 per square foot. Buying a gallon of stain for DIY projects can run in the neighborhood of $60 per gallon.
- Slick, machine-troweled concrete will require chemical etching for the acid stain to penetrate uniformly. If a contractor is handling the project, this will result in an additional fee. If it’s a DIY project, expect to pay about $20 for a gallon of concrete etching solution, such as Valspar Fast Prep (available from Lowes) to treat the concrete before staining.
- A broomed finish is common for concrete floors, patios, and driveways, because the broomed texture reduces the risks of slipping on the concrete surface when wet. A broomed surface is optimal for acid staining, and professionally applied costs will range from $2 to $4 per square foot for a simple application on a typical broomed patio or driveway.
- Concrete surfaces that contain aggregate are suitable for acid staining but be aware that the aggregate materials (rocks) will remain their same hue. Only the concrete portion of the surface will accept the stain. Staining concrete with aggregate should not affect the cost of the project.
- Stamped concrete is just as suitable for acid staining as broomed concrete and will run similarly in cost.
How Long it Takes to Acid Stain Concrete
In general, from the time the acid stain is applied to the time the color is fully developed takes about 5 to 24 hours, depending on the brand of the stain and the manufacturer’s instructions. Cleaning and prepping the existing concrete surface can add another 2 to 5 hours to the project.
Before You Start: Pro Tips
- Before applying acid stain to the entire concrete surface, test it in an inconspicuous area to ensure you like the color.
- If an acid stain manufacturer recommends a specific application tool, use it. They know their product!
- The color of the concrete surface will lighten slightly as the solution dries. However, make a note of the color while it’s wet because if a surface sealer with a gloss is applied over the stain, it will resemble the color of the stain when it was wet.
- Don’t skip the neutralizing step after the stain has cured to the desired shade. Neutralizing will stop the coloring process and help ensure uniform color distribution.
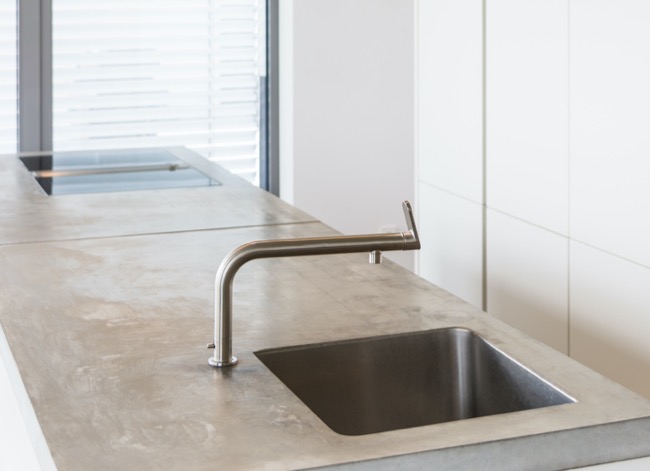
- After staining, apply concrete surface wax to interior floors or concrete countertops. For concrete countertops, use a food-safe wax, such as carnauba, to seal the countertop and give it a lustrous sheen.
How To Acid Stain Concrete in 10 Steps
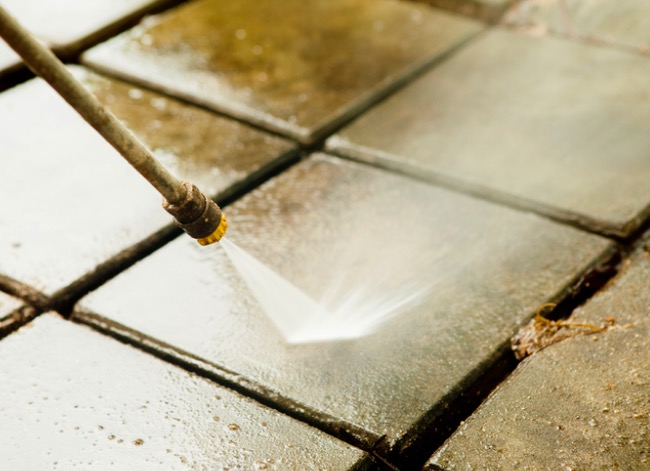
Step 1: Clean and prepare the surface.
Clean the existing concrete surface with a concrete cleaner labeled for use on the specific type of dirt or blemish you wish to remove. You might have to use more than one cleaner; a product designed for grease might not tackle paint splatters. For stubborn marks, such as hardened tar or paint, use a grinder (see Step 3). If the concrete has a slick, machine-troweled surface, use a concrete prep product designed to etch the surface, which will allow the stain to penetrate.
Tip: Some grease can be difficult to see, so to spot it, lightly spray the surface with plain water. If the water beads up in spots, you’ve probably found grease stains.
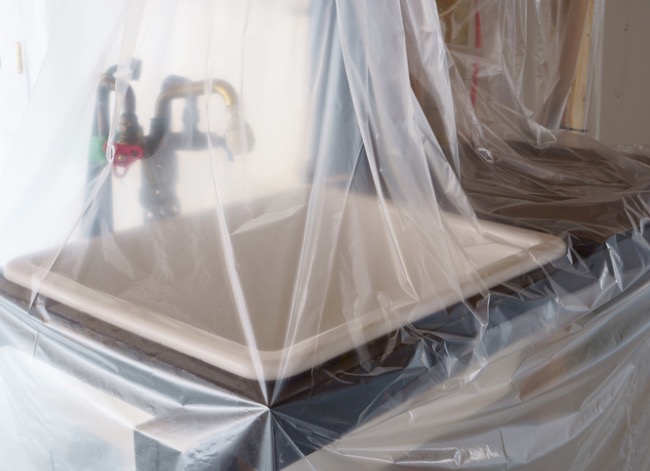
Step 2: Protect and ventilate the work area.
If applying acid stain indoors, cover adjacent walls with plastic sheeting, held in place by painter’s tape, and open windows for ventilation. Use fans to help circulate air when applying acid stain indoors. The concentration of acid in acid stains is pretty mild, but if any of the solution splashes on exposed skin during application, rinse it off promptly.
Outdoors, protect any nearby siding, lamp poles, etc., with plastic sheeting and move patio furniture away. Any porous items are just as likely as the concrete to absorb the stain.
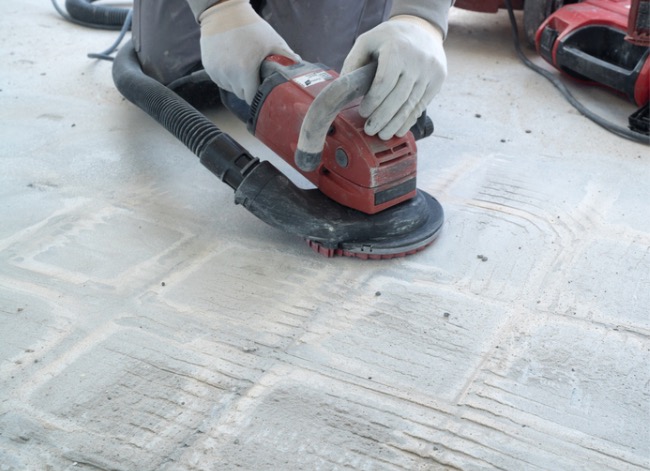
Step 3: Prepare the surface for staining.
Poured slab concrete isn’t meant to be perfectly smooth, but large protrusions (called “fins”) or rough patches should be removed before staining. Smooth the surface with a grinder (available for rent at construction rental centers) fitted with an abrasive silicon carbide disk. A grinder is also helpful for removing hardened tar and paint. Use an etching solution if the existing concrete surface is slick and smooth.
Step 4: Prepare the acid stain.
Don your long-sleeved shirt and long pants, protective goggles, and chemical-resistant gloves. Dilute the acid stain with water in a pump sprayer as directed by the stain manufacturer. Spray the concrete evenly, starting along one edge of the slab and working your way to the other side. For concrete countertops or other small items, you can mix the acid stain in a smaller plastic bucket and apply it with a regular paintbrush.
Step 5: Wet the concrete.
In some cases, wetting the concrete before applying stain will help it absorb more uniformly, but read the manufacturer’s instructions first to be sure wetting is suitable. Spraying the concrete with a light mist from a hose nozzle is usually all that’s necessary to dampen the concrete. Don’t get it so wet that water puddles.
Wetting also can help create artistic finishes by saturating portions of the concrete and leaving other portions dry. The dry portions will absorb more of the stain, giving the concrete a marbled look.
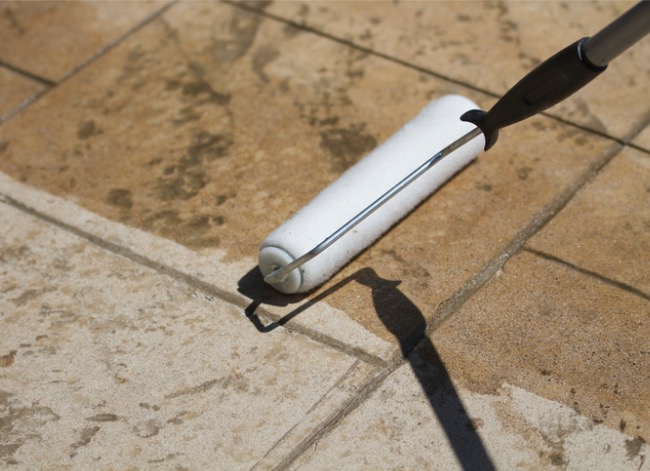
Step 6: Apply the acid stain to the concrete.
Immediately after spraying a strip—while the solution is still wet—use a natural bristle push broom to brush the solution into the surface of the concrete with smooth, back-and-forth strokes to create a uniform look. If you’re going for more of a mottled look, you can skip this step.
Most of the time, you will want to keep a “wet edge,” so don’t allow part of the acid stain to dry before applying the rest because it could result in a noticeable lap mark. In other words, don’t take breaks once you start the project.
Step 7: Allow the acid stain to penetrate and develop.
Allow the acid stain to penetrate the entire concrete surface and fully develop its color for from 5 to 24 hours (check manufacturer’s instructions for exact timing). The longer you leave the acid stain on, the deeper the final hue will be. Some brands of acid stain act more quickly than others. Don’t leave the stain on longer than the maximum time recommended by the manufacturer, however.
Step 8: Neutralize the acid stain.
When the concrete reaches the desired color, apply an alkaline neutralizing solution such as trisodium phosphate (TSP), which you can buy at a hardware store, to stop the chemical reaction. This involves some elbow grease and a lot of water!
Mix the TSP with water as directed on the container and apply the solution liberally to the concrete, scrubbing thoroughly with a heavy-duty push broom. If you’re working indoors, you’ll need a wet/dry vacuum to suck up the water solution as you go. Afterward, rinse thoroughly with clean water. It might take three or four rinse cycles to remove all acid and TSP residue.
Step 9: Apply a penetrating concrete sealer.
Once the acid stained concrete is clean and completely dry, apply a penetrating concrete sealer to protect the surface from stains. When purchasing sealer, read labels carefully to ensure you get the right product—an interior concrete sealer is not suitable for exterior use.
Sealers vary in finish, so if you want a wet look go for a sealer that features a semigloss finish. If you desire a natural finish, select a sealer with a matte finish.
Step 10: Clean up and enjoy!
Once the sealer cures—about 1 to 3 hours for penetrating sealers, and up to 48 hours for some types of topical sealers—the floor or patio is ready to use! No extra precautions are necessary.
Sweeping or vacuuming an interior stained floor or an occasional wet mopping is all that’s needed to keep it clean and well maintained. Outdoors, sweeping is fine, as is hosing the concrete down with water to clean away dirt and leaves. Steam mops are not recommended for use on concrete floors, though.
FAQs About Acid Staining Concrete
Q. Can you acid stain old concrete?
Yes, you can! Just be sure to strip off any existing sealer, clean the surface, and etch the concrete if it’s slick.
Q. Can you acid stain broomed concrete?
Broomed concrete is among the best surfaces for applying acid stain. Make sure it’s clean and free from old sealers, first, however.
Q. What happens if you don’t neutralize an acid stain?
If the acid dye isn’t neutralized, it might not form as secure a bond and could result in a splotchy finish that must be stripped off and reapplied.
Q. Can you acid stain colored concrete?
Sure, any color of concrete can be acid stained. Keep in mind, however, that any existing color will affect the final color of the concrete.