We may earn revenue from the products available on this page and participate in affiliate programs. Learn More ›
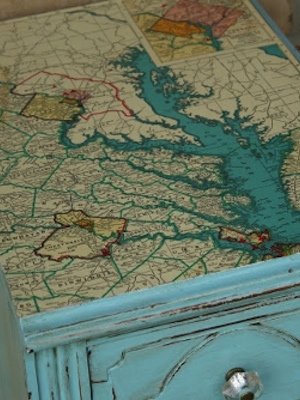
The fancy French word decoupage refers to the simple act of gluing paper or fabric cutouts onto an object. The results can be magical; once varnished, the glued-on design looks as if it were inlaid. For hundreds of years, people have been experimenting with decoupage, and in expert hands it’s truly an art form. But armed with only a few inexpensive, easy-to-find materials—and a willingness to be patient—even a beginner can create a masterpiece.
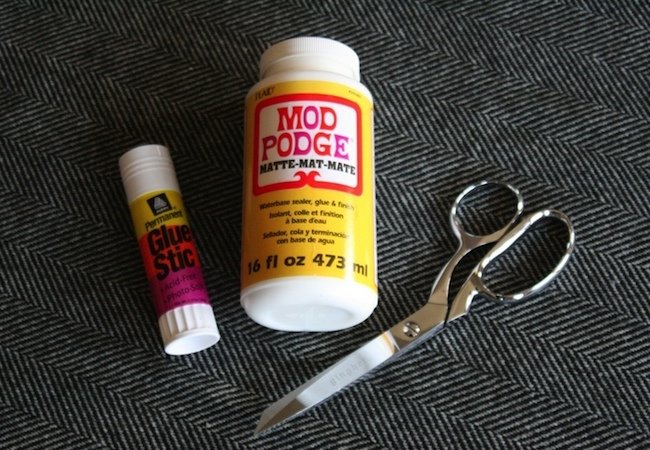
Tools & Materials
Bobvila.com may earn a commission from purchases made through these links.
Step 1
The first step of any decoupage project is to prepare the object you plan to transform. Repair any surface imperfections—whether scratches, gouges, or bona fide holes—and if applicable to the material with which you are working, sand the object to a smooth finish. Then clean it thoroughly and let it dry completely.
Step 2
Assemble the paper or fabric you are going to apply in your decoupage. Choose anything so long as it’s flat and flexible: maps of places you love, theater tickets with sentimental value, or even sections of a beloved old dress. You don’t need to use scissors or a matte knife—ripping is fine—but to achieve a seamless look, cutting is recommended. So too is dry-fitting the cutouts to determine where they work best on the object’s surface.
Step 3
With a paintbrush, apply a thin layer of decoupage medium (for example, Mod Podge) to the object you are covering. Next, lay the initial piece of paper onto the object, smoothing it gently with your fingers to remove any wrinkles or air bubbles. Once you’re finished, apply another thin layer of decoupage medium on top of the paper, then allow both layers to dry completely, undisturbed.
Step 4
To preserve the job, particularly if you expect the object to get wet, it’s wise to seal it using either varnish or polyurethane. Before you do so, gently buff the decoupaged surface with steel wool, then clean it with a damp cloth. Once it has dried, proceed to apply the sealer. If you want your design to look as if it were painted on, repeat the process of buffing, cleaning, and sealing as many times as needed to achieve the desired appearance.
Almost any furniture or home accent can be updated through decoupage. A glass vase decoupaged with tissue paper suddenly shimmers ethereally, while clay pots covered in Sunday’s funny papers become wonderfully playful. Fair warning: Master this technique and you may love it so much that you’ll want to decoupage EVERYTHING!