We may earn revenue from the products available on this page and participate in affiliate programs. Learn More ›
Water-bath canning is a terrific, cost-effective way to preserve produce for later in the year. All summer long, home gardens and farmers’ markets are teeming with fresh, seasonal produce that can be enjoyed during the off-season with the help of canning, a food preservation method that has been around since the early 1800s.
Although the canning process may seem intimidating at first, it’s fortunately easy to learn. Once you’re familiar with the two ways of canning, water-bath canning and pressure canning, the rest is as simple as following a recipe.
What Is Water-Bath Canning?
Water-bath canning, also known as hot water bath canning, is the process of immersing lidded canning jars filled with food in boiling water for a specified amount of time, which differs from recipe to recipe. This method is the simplest form of canning and the least expensive for beginners.
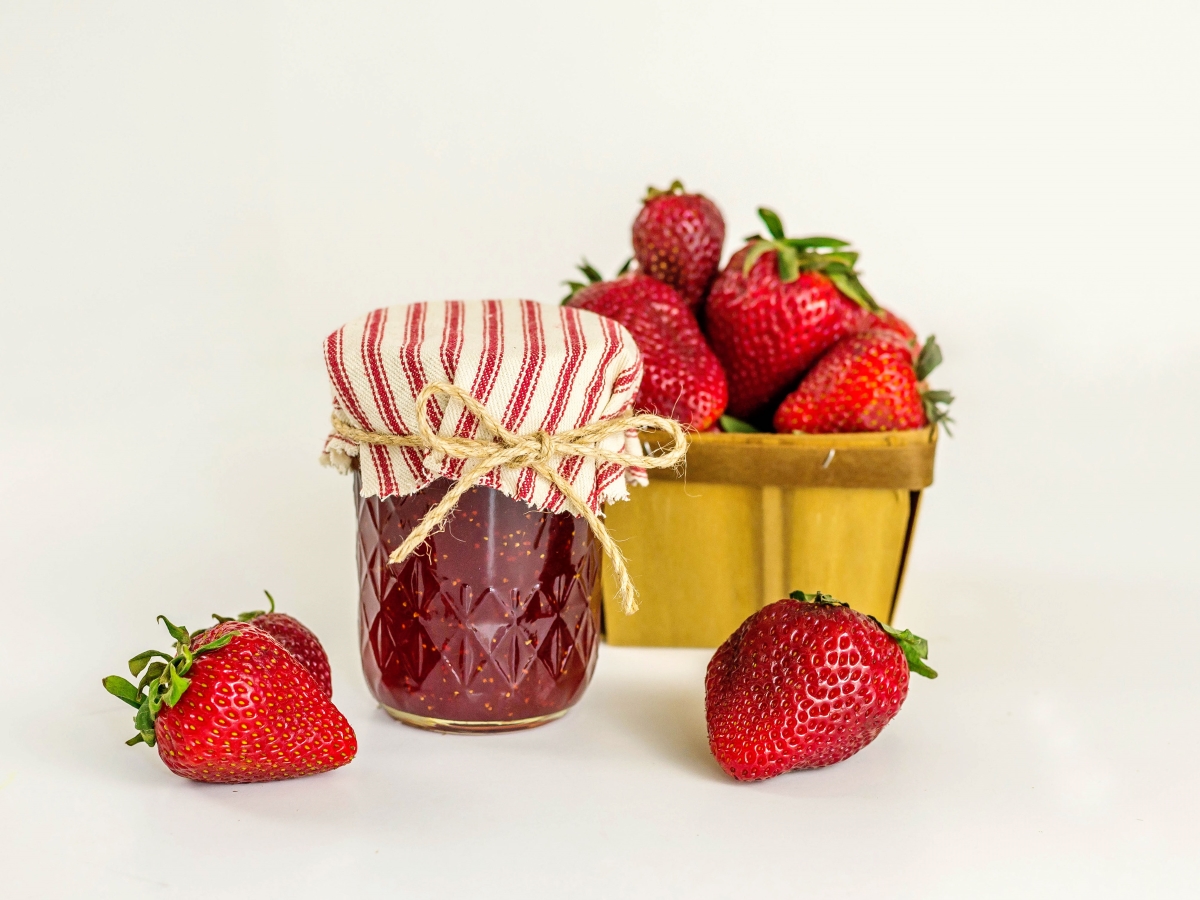
However, water-bath canning is suitable only for produce or foods that are highly acidic, making it the go-to method for most tomatoes, berries, fruit, jams, jellies, and fermented and pickled veggies. The acid helps preserve the food by destroying and blocking the growth of bacteria and mold rapidly when heated. The acidity of a food can be increased by adding lemon juice, citric acid, or vinegar.
In water-bath canning, the food’s internal temperature must reach between 180 and 250 degrees Fahrenheit in order to destroy most yeast, mold, and bacteria in acidic foods. The acid in the food and the processing time recommended in the recipe ensure that the food reaches the proper temperature.
Water Bath vs. Pressure Canning
The second canning method is called pressure canning. In pressure canning, pressurized steam generates the temperature of 240 degrees or higher required to destroy the bacterial spores naturally present in low-acid foods. A pressure canner is a specialized appliance and significantly more expensive than the pots used for water-bath canning.
The major difference between these two canning methods are the types of food that each one preserves: Water-bath canning is for more acidic foods, and pressure canning is for less acidic foods. A tested recipe from an authoritative source will indicate which method should be used to preserve certain produce. High-acid foods can be safely pressure canned, but the end product may come out softer in texture than with water-bath canning. A low-acid food, however, cannot be safely preserved by water-bath canning because the internal temperature of 240 degrees Fahrenheit or higher isn’t attainable.
Some low-acid foods include meats, beans, carrots, squash, corn, peas, and greens. High-acid foods safe for water-bath canning include pickles, salsa, fruit, jams, jellies, and tomatoes (with added acid). Always consult a reputable recipe or your local county extension office for guidance on which canning method to use.
Essential Supplies

- Canning pot with rack: A large stockpot with a removable rack helps keep jars in place while water-bath canning and makes lowering and lifting the jars into and out of boiling water easier.
- Glass canning jars: Proper canning jars are made of tempered glass designed to withstand high heat, and they’re available in several sizes and two opening options (regular and wide-mouth). The most popular jar volume is 1 pint. New jars come with matching lids and rings/bands, and the jars and rings are reusable. The lids, however, are not.
- Canning tool sets: An essential canning tool set normally includes lid and jar lifters, a funnel, and a bubble remover/headspace tool.
- Ladle: A soup ladle makes it easy to fill canning jars with brines, sauces, or jams.
- Citrus juicer: Handy for squeezing lemons and limes. Many jelly and jam recipes require the addition of acid from citrus fruits.
- Potato masher: Mashing helps break down cooked fruits for jellies and jams.
- Towels to wipe down jars and protect your hands and countertop from the heat.
- Tested water-bath canning recipes from a reputable source will ensure that your canned foods will be safe for consumption.
RELATED: The Best Kitchen Appliance Brands
How to Preserve Food Using the Hot Water Bath Method
Before you start water-bath canning, review your recipe and instructions. Carefully follow guidelines on preparation, jar size, preservation method, and processing time.
STEP 1: Prepare the jars, lids, and rings.
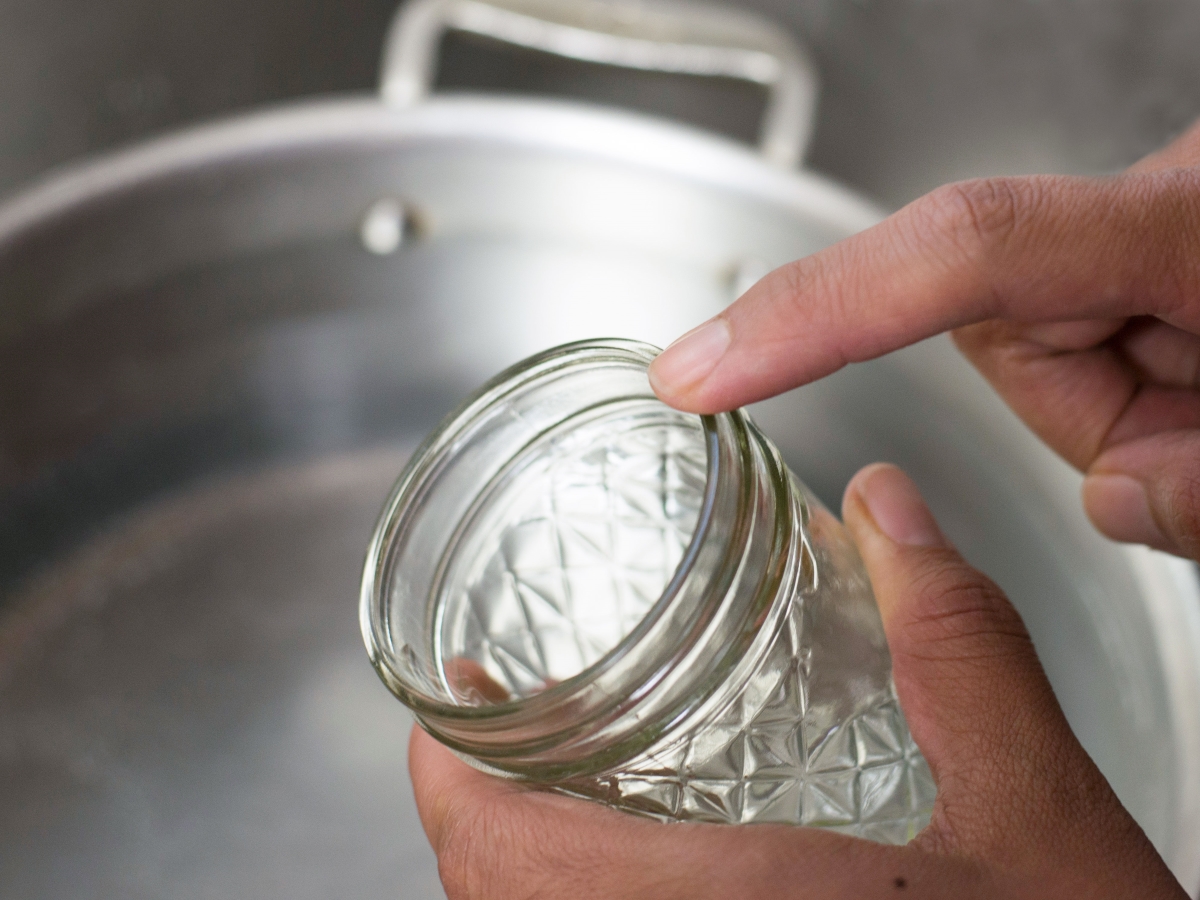
Inspect each canning jar for nicks, cracks, uneven rims, or sharp edges. These imperfections may prevent sealing or cause the jar to break. Check the underside of lids for scratches or an irregular or incomplete sealing compound (the orangish rubbery ring around the underside of the lid). Inspect the rings/bands for rust. Any jars, rings, or lids with any of these imperfections cannot be used for canning and should be discarded. For jars that do pass your inspection, wash them in hot, soapy water and dry them well.
STEP 2: Fill the water-bath canner at least half full with water.
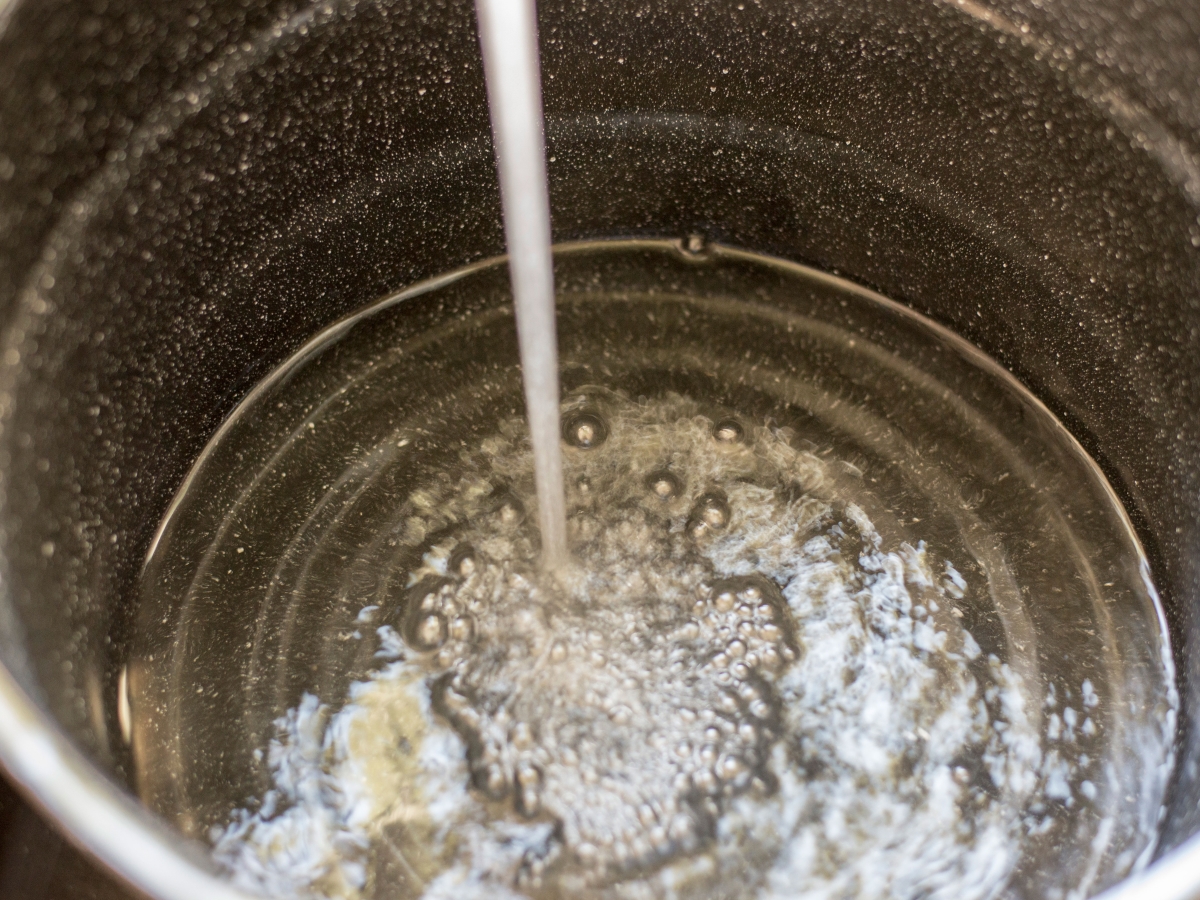
Fill the canning pot half full with water. Heat the water to 180 degrees Fahrenheit. Cover and simmer. Place the cleaned jars into the water and leave them there until you are ready to fill them with food. Keeping the jars hot prevents them from breaking when filled with hot food. The lids and bands can be kept at room temperature.
STEP 3: Prepare a high-acid recipe.
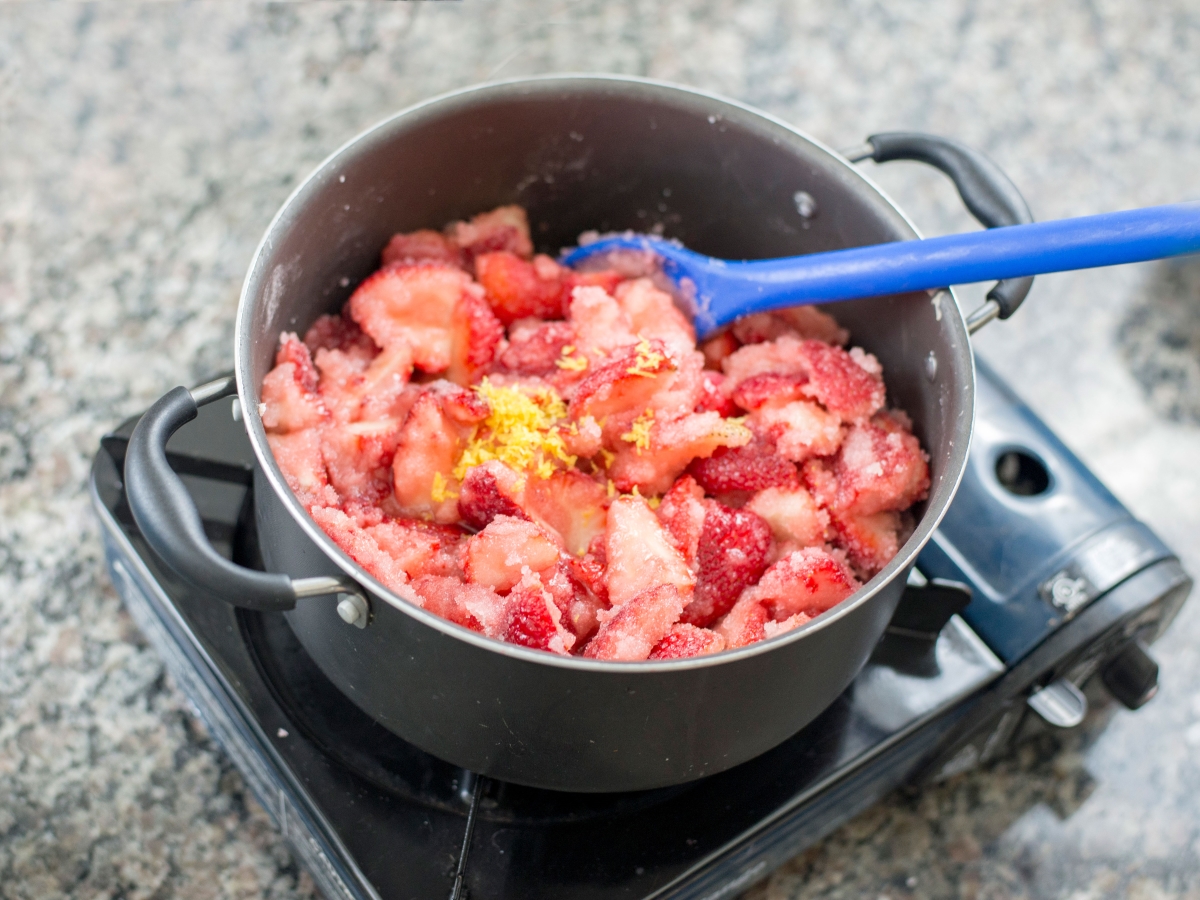
Cook your food according to the directions outlined in the recipe.
STEP 4: Fill the jars.
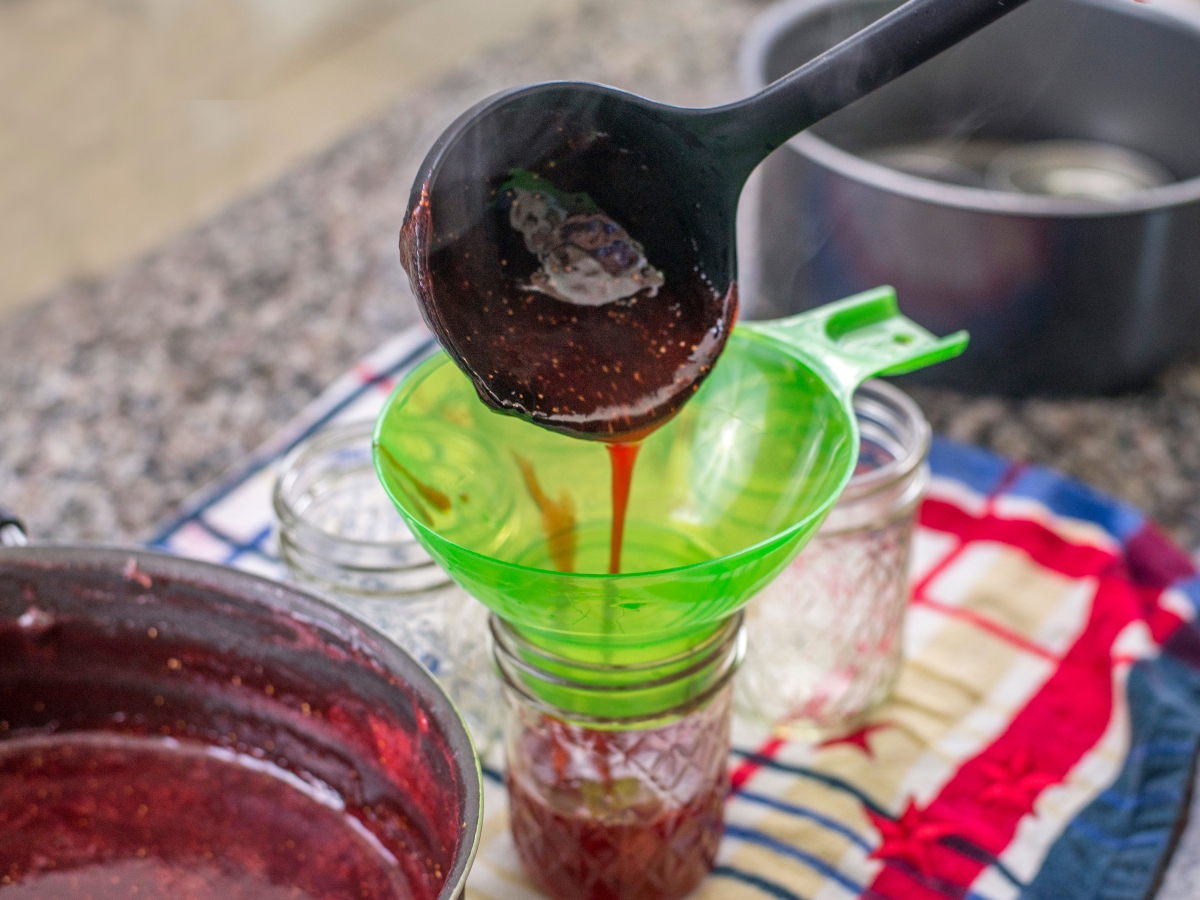
Use a jar lifter to remove a jar from the simmering water. Fill the jar with the prepared food using a funnel. For proper sealing, you must leave the headspace (the needed amount of space between the food and the rim of the jar) recommended in the recipe. You can measure this space using the bubble remover/headspace tool. If instructed by the recipe, use this tool to remove air bubbles in the food. Repeat this process to fill the remaining jars.
STEP 5: Clean the jar rims and place the rings and lids in position.
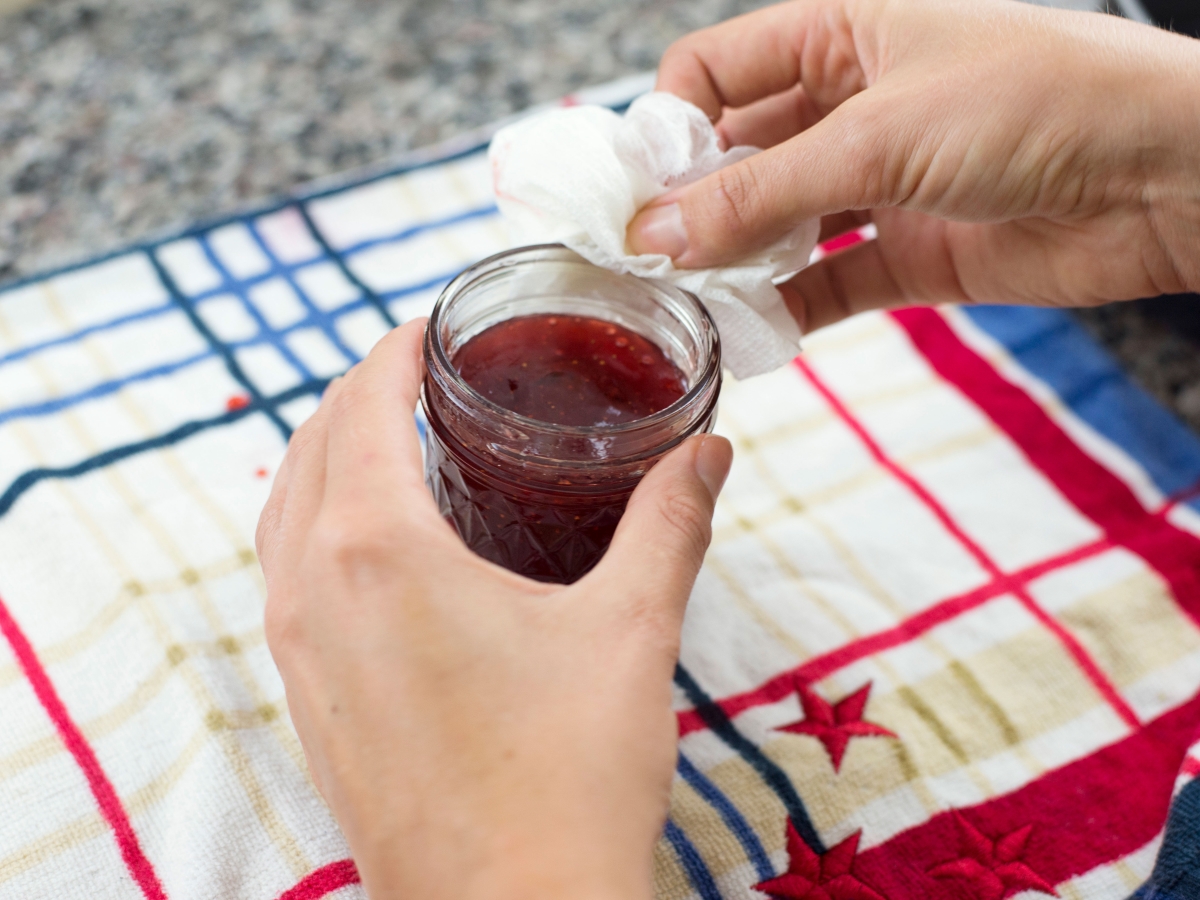
Wipe the rim and threads of the jar with a clean, damp cloth to remove any food residue. Place the lid on the jar and apply the ring. Turn the ring until it’s fingertip tight.
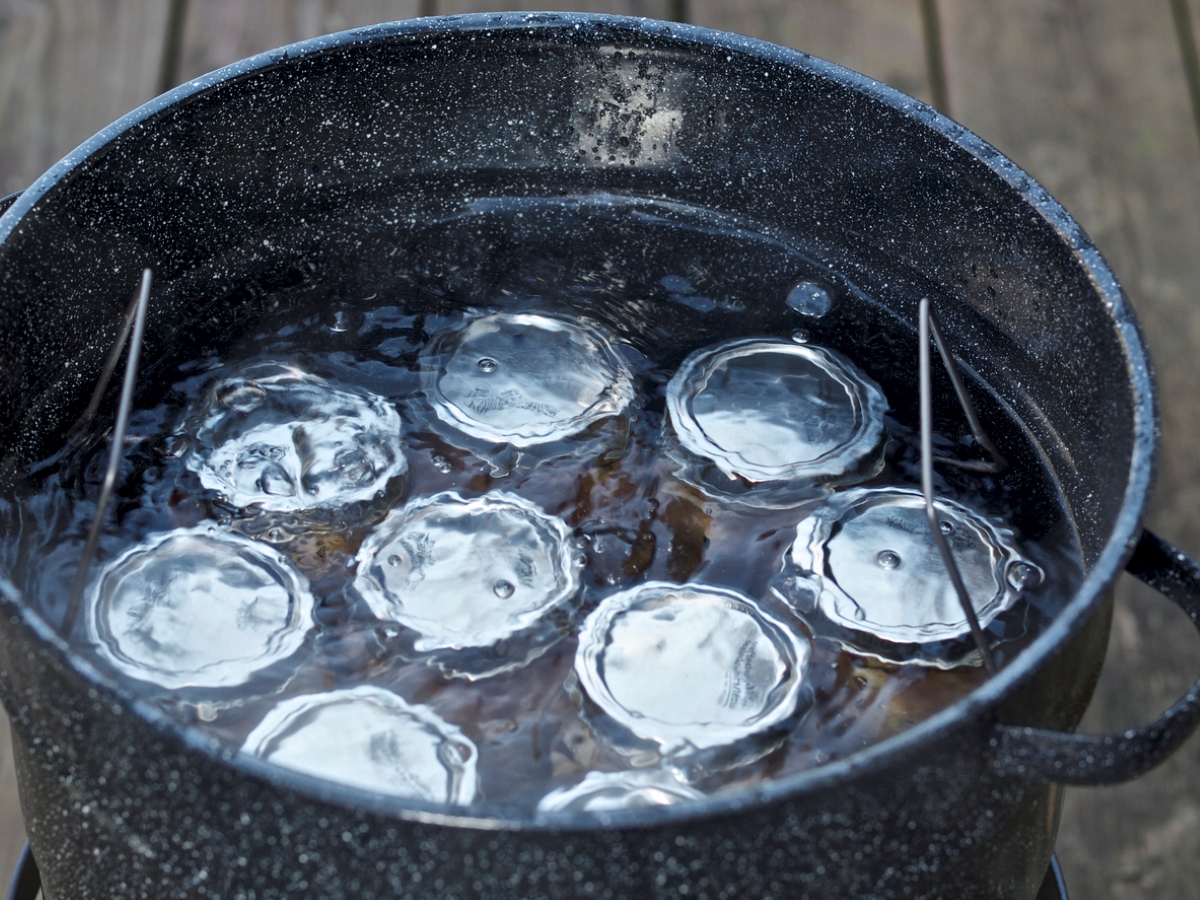
STEP 6: Place the jars in the canner and process.
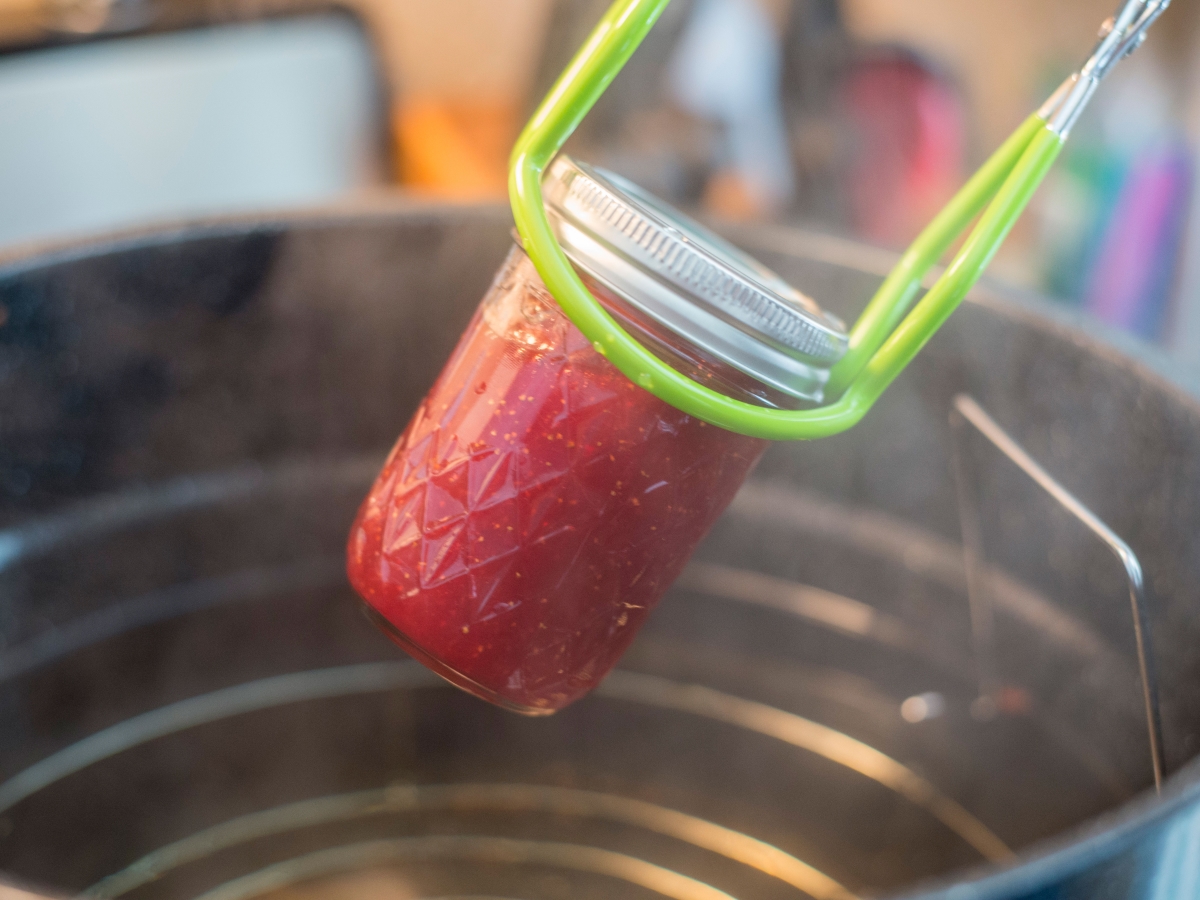
Using the jar lifters, place each capped jar into the canner. Once all the jars are inside, ensure that the jars are covered by 1 to 2 inches of water. Add more water if needed. Place the lid on the stockpot and bring the water to a boil. Processing time begins when the water is at a rolling boil. The recipe should indicate how long to boil jars for canning, so follow the instructions precisely.
STEP 7: Inspect the jars’ seals.
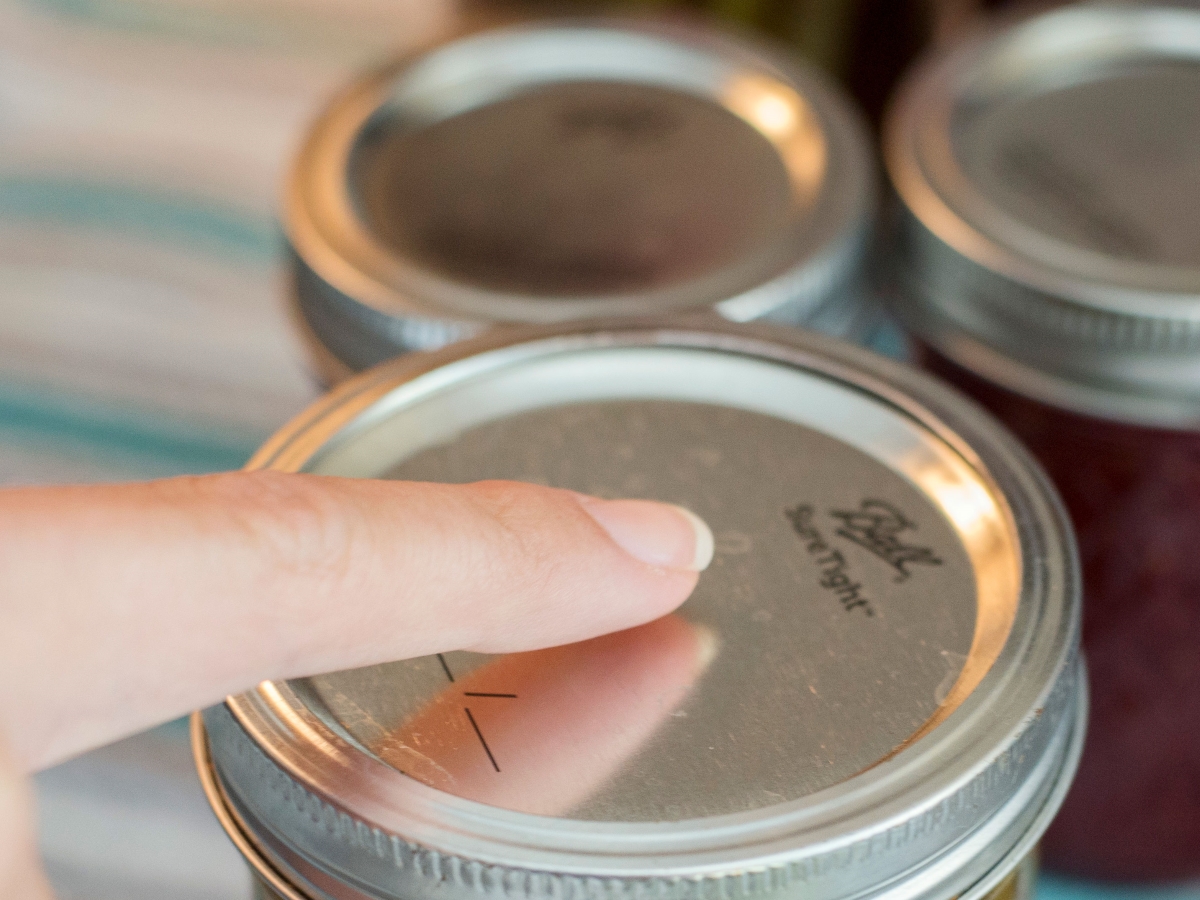
Once the jars have been fully processed, turn off the heat. Use a jar lifter to remove each jar and place it on a towel. Allow the jars to cool to room temperature. As the jars cool, you may hear a popping sound as the jars seal, but do not be alarmed if the jars do not make this sound. A vacuum seal can be created without making a popping noise. Allow the jars to sit at room temperature for 24 hours. Then, unscrew the rings and press down gently on the center of each lid. If there isn’t any give, the jar has properly sealed.
Another way to check the seal is to try to lift the lids off with your fingertips. A properly sealed lid will remain attached. If a lid fails to seal within 24 hours, immediately refrigerate the product. Clean the canning jars and lids, label them, and store them in a cool, dry, dark place for up to one year.
Final Thoughts
Before you eat your canned food, always inspect the jar thoroughly. First, check the seal. If the jar has lost its vacuum seal, dispose of the jar’s contents. Next, check the contents for rising air bubbles and unnatural colors. Finally, when you open the jar, sniff for abnormal odors and look for any cottonlike mold growth on the surface of the food or the underside of the lid. If your jar passes inspection, its contents are safe to enjoy.