We may earn revenue from the products available on this page and participate in affiliate programs. Learn More ›
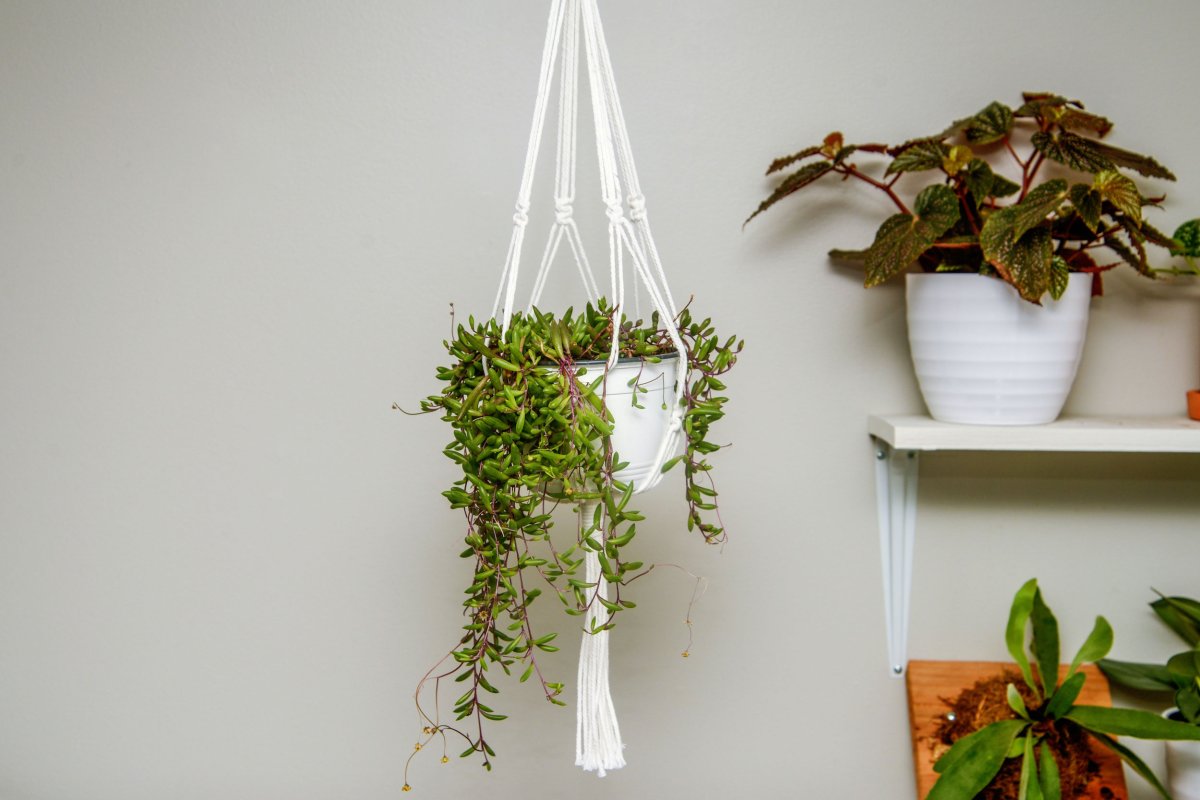
Macramé is a trendy craft often seen in plant hangers, wall hangings, and other decorative items. The technique involves tying a series of knots to form a pattern, creating what are essentially intricate nets. Although the knots seem complex, they can actually be quite simple to tie. The DIY macramé plant hanger shown here uses just two basic knots: wrapping knots and square knots. Once you learn these two knots, you’ll be able to do many different macramé projects.
Watch the video tutorial and follow the detailed step-by-step instructions below to make your own macramé plant hanger in a matter of minutes!
RELATED: 3 Good Reasons to Dust Your Houseplants—and How to Do It
Tools & Materials
Bobvila.com may earn a commission from purchases made through these links.
BEFORE YOU BEGIN
This project is more of a “recipe” than a pattern. Two sections of square knots create a basket that can hold a pot up to 6 inches in diameter, and you can adjust the length of the hanger as needed to fit your space.

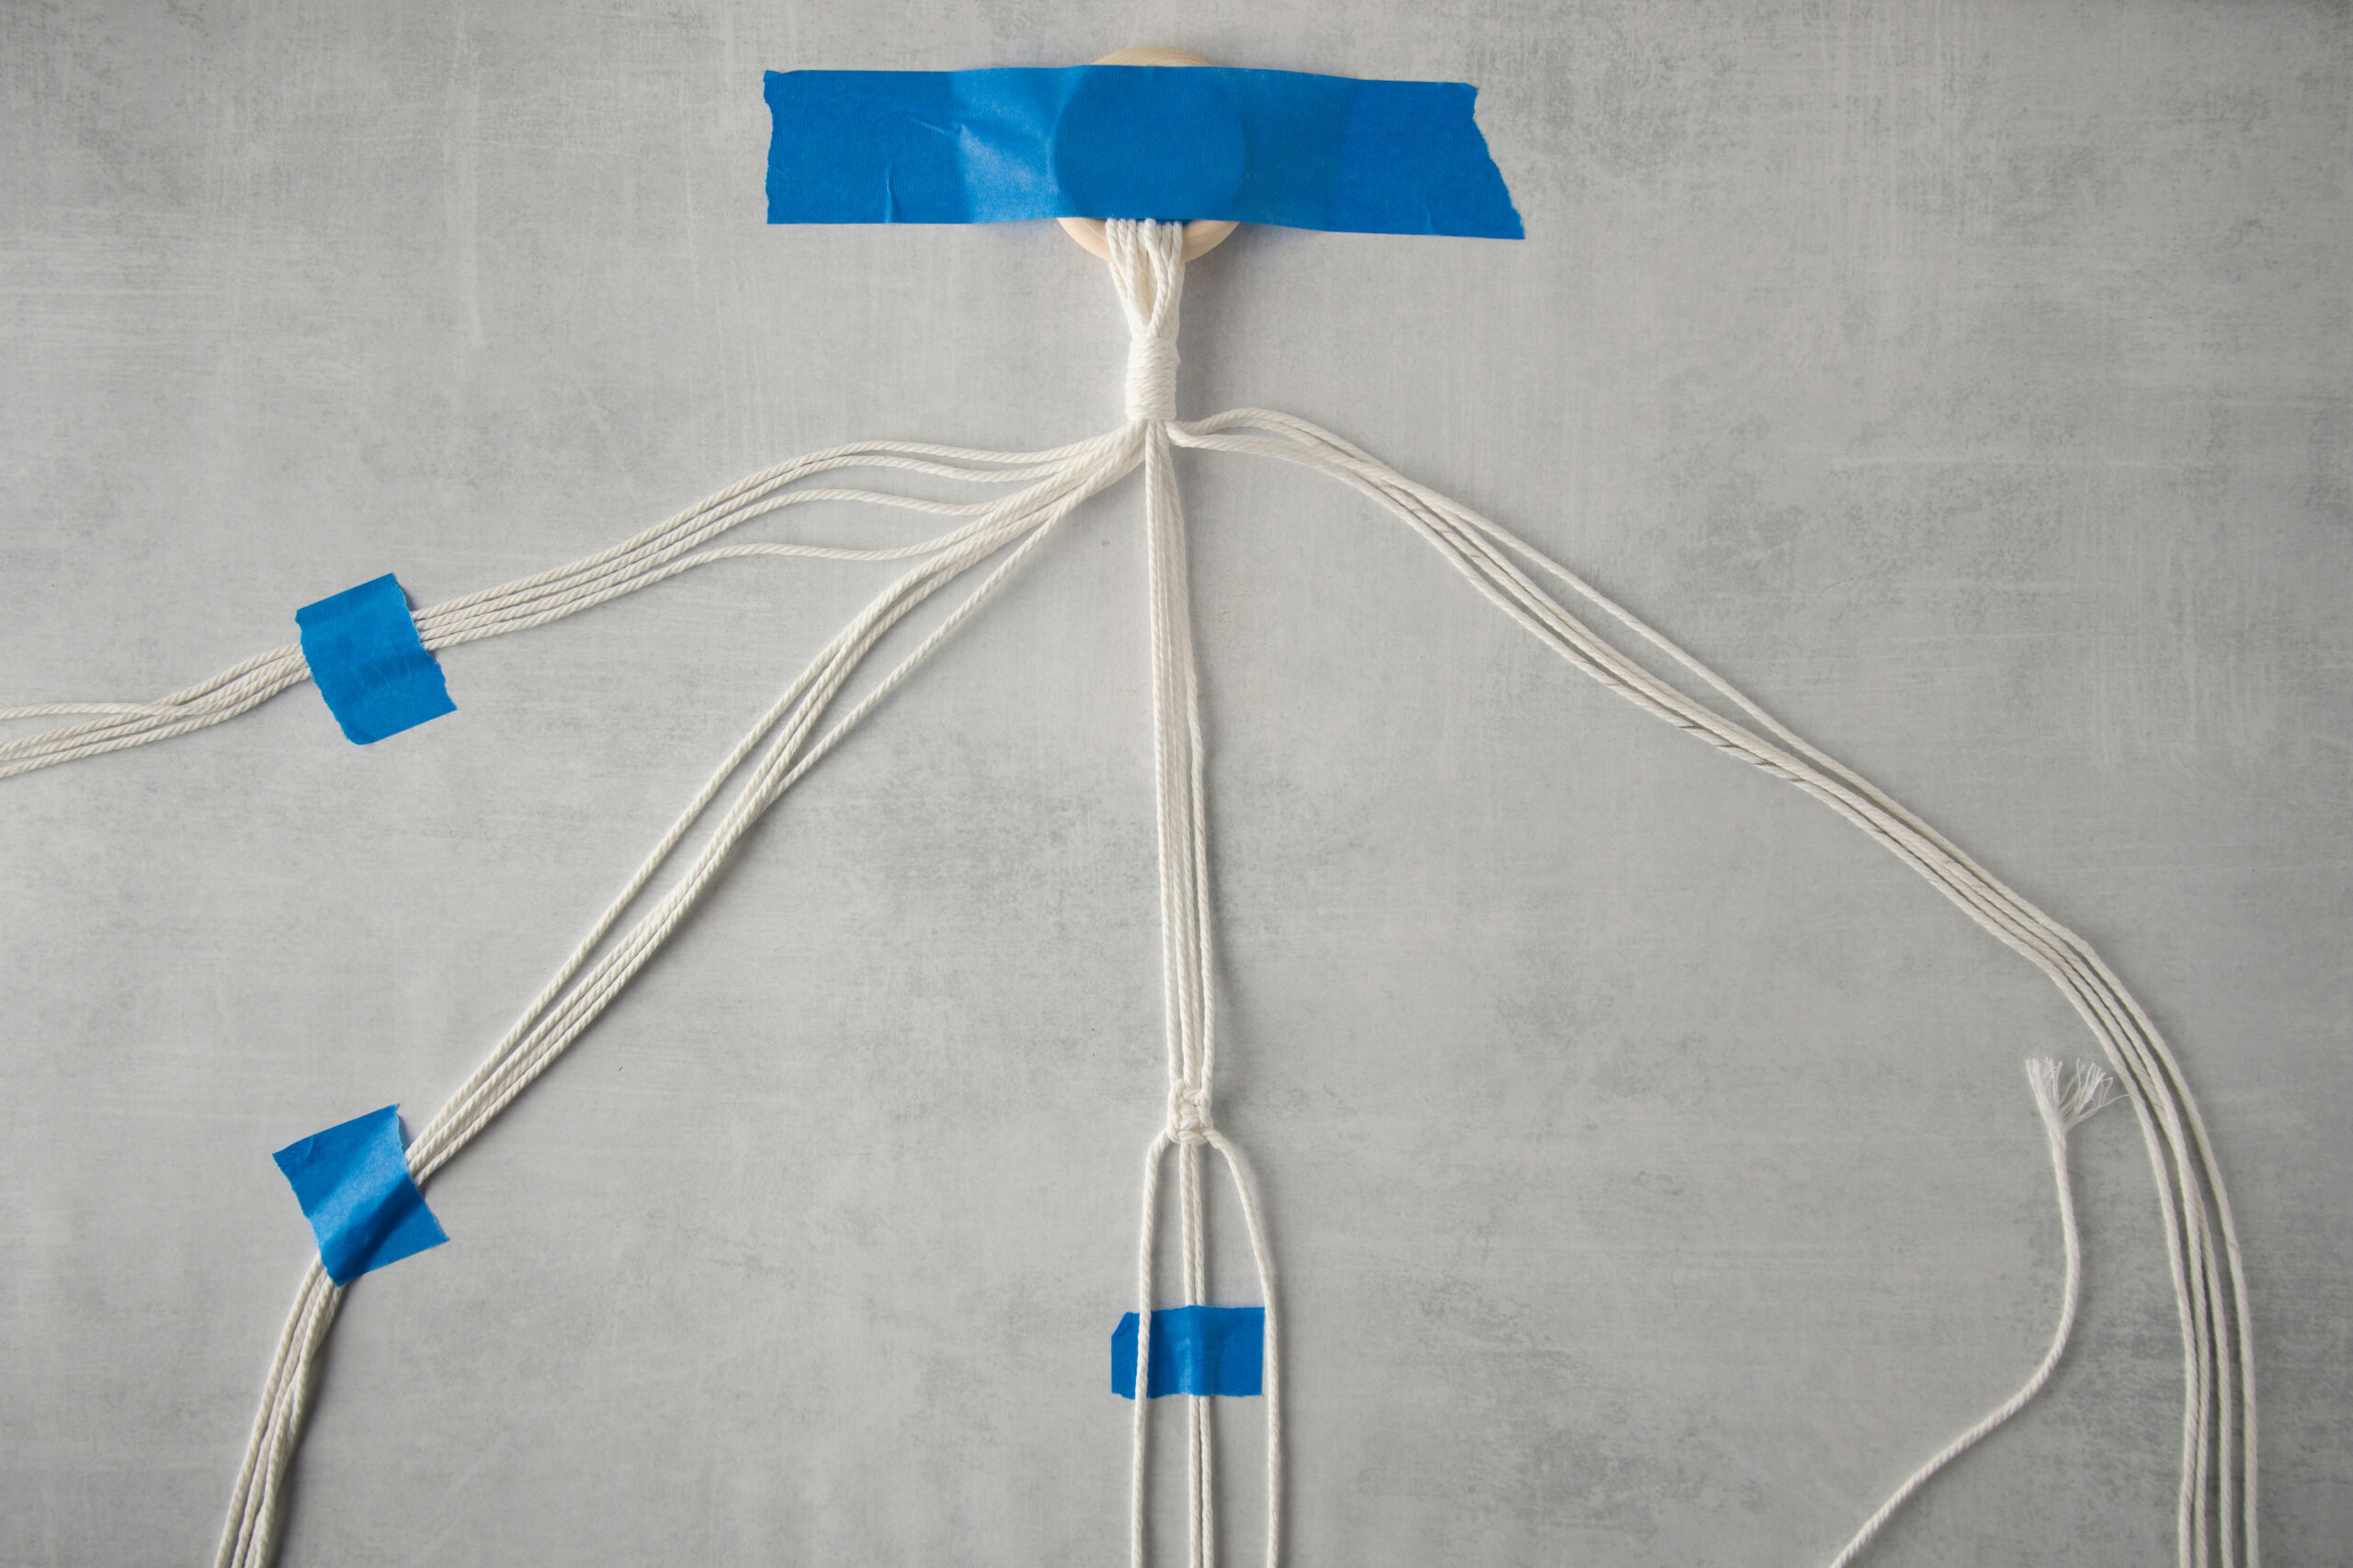
STEP 1: Slide the cords through the wooden ring.
Gather all eight 6-foot lengths of cord and slide them through the wooden ring. Center the cords so that the ends are even, then use painter’s tape to secure the ring down on a flat surface.
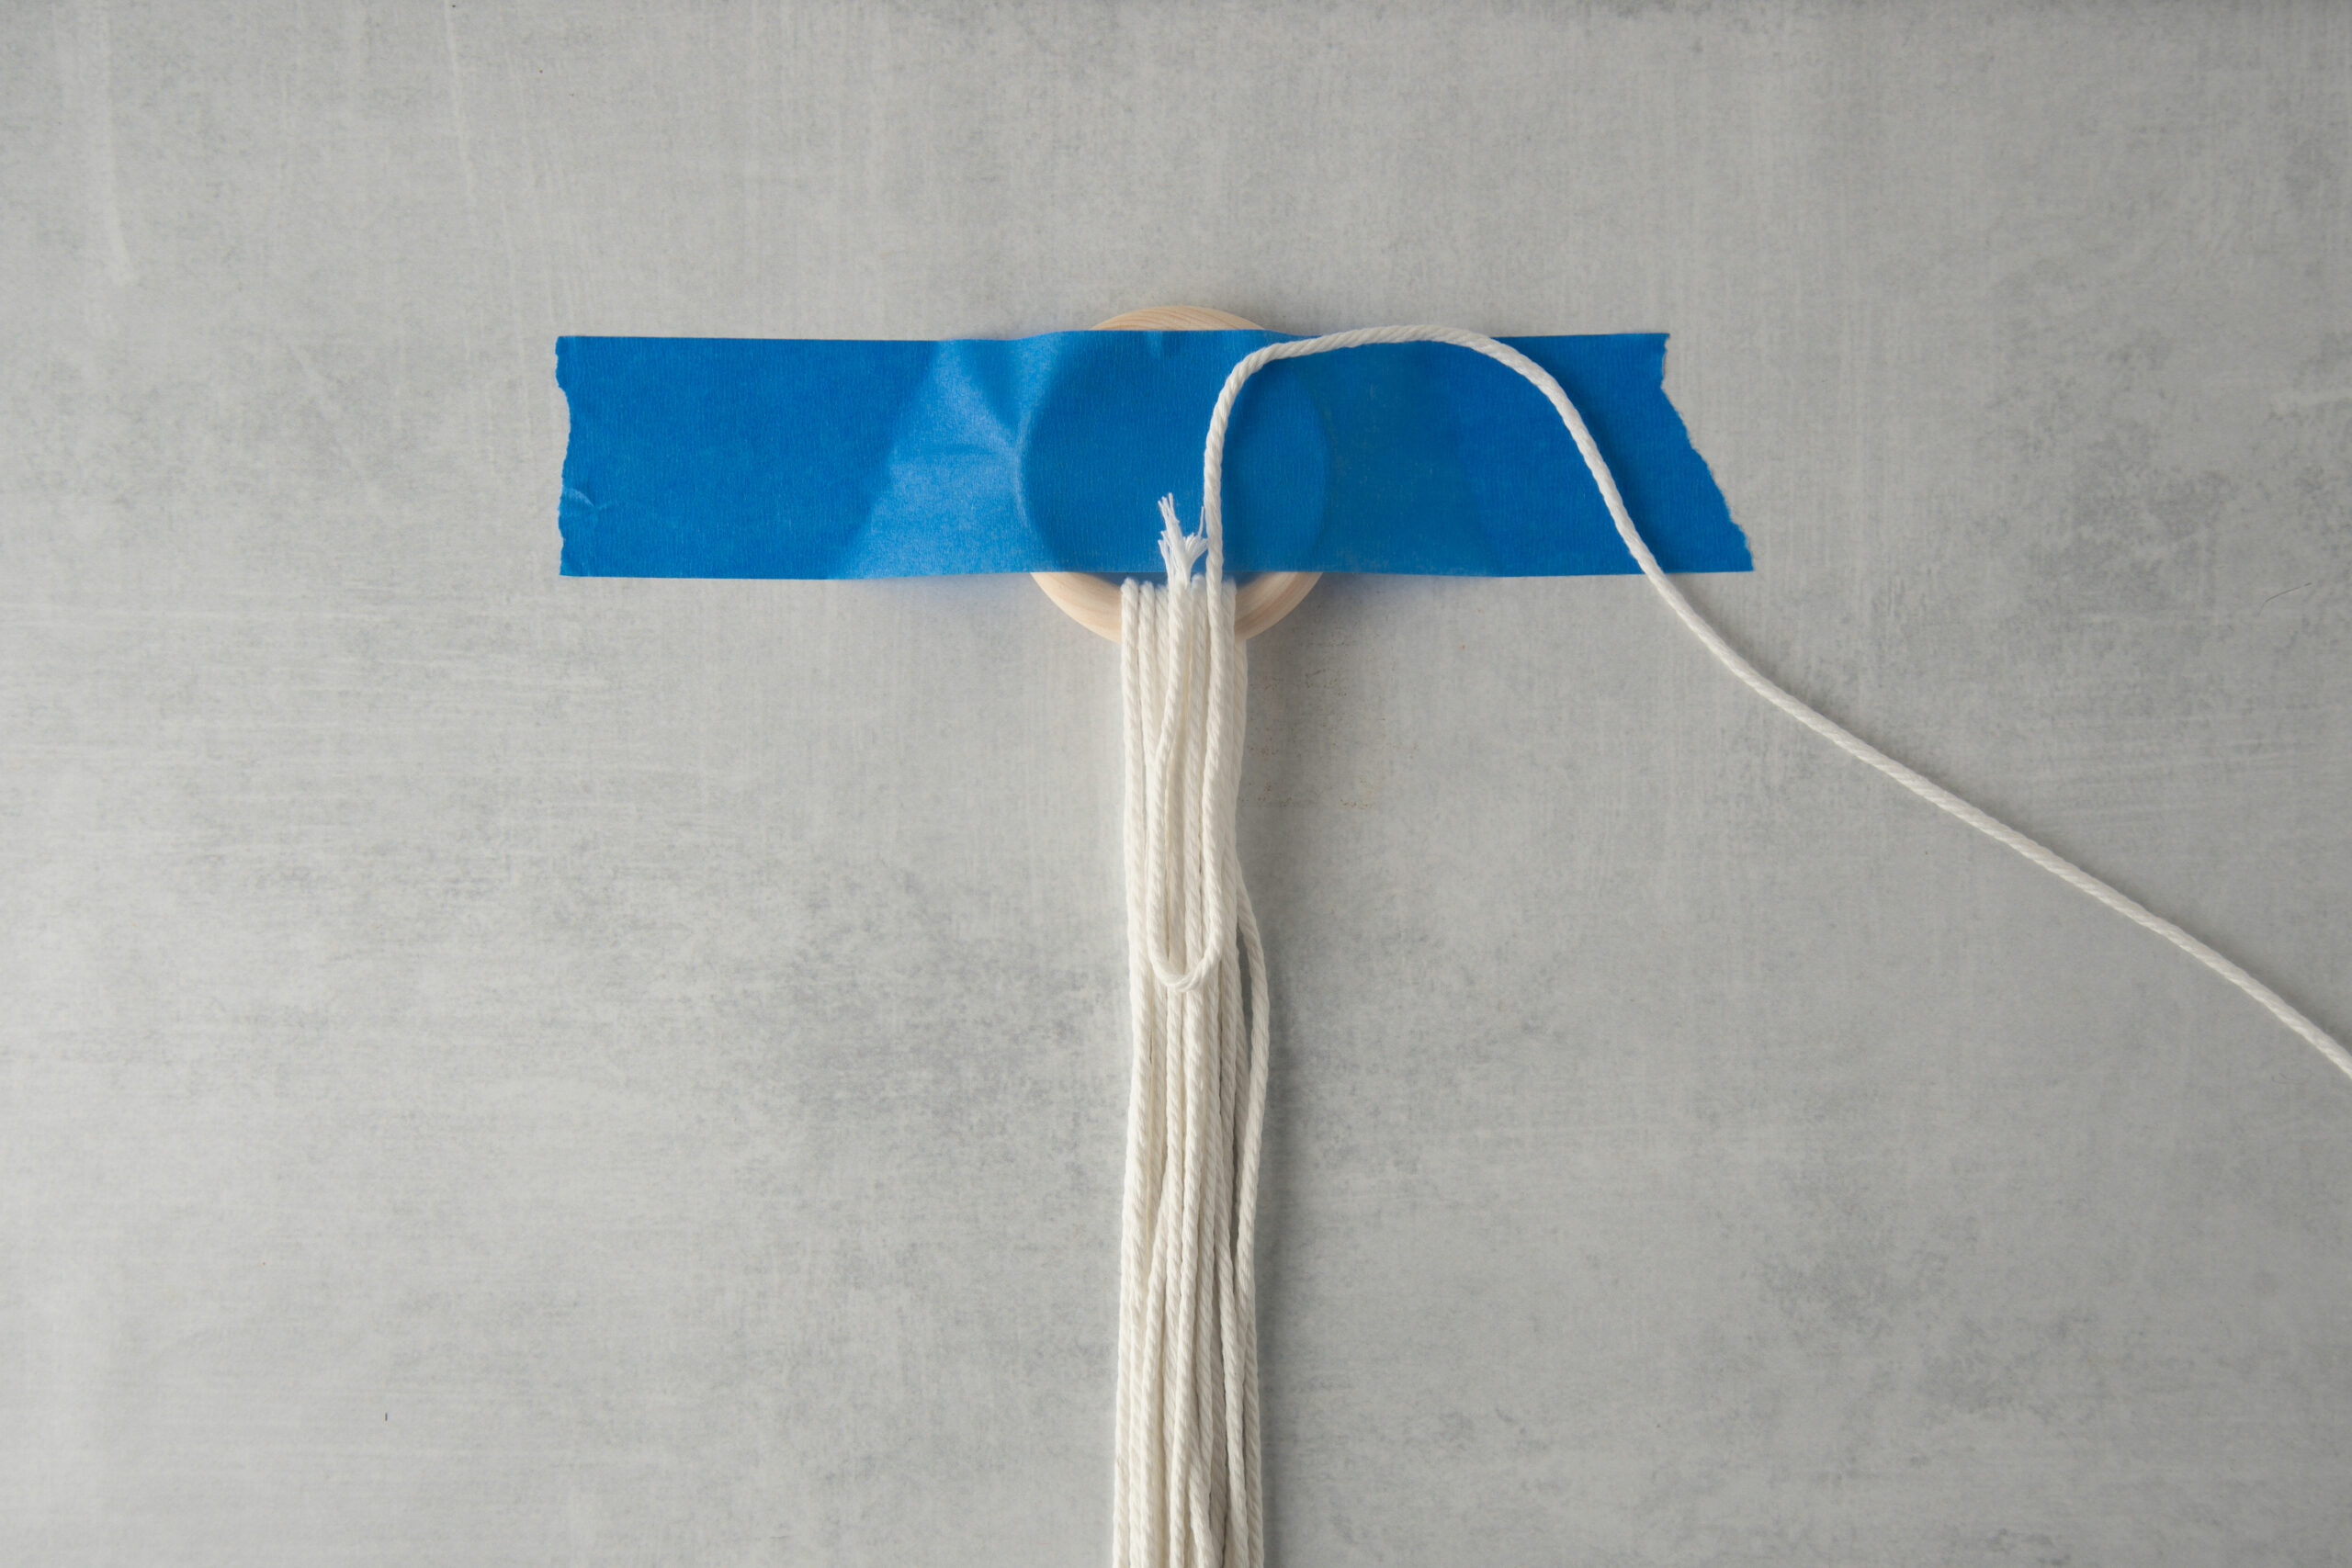
STEP 2: Tie a wrapping knot.
Lay one 2-foot length of cord on top of your cord bundle in a U shape.
Tuck the longer end of the cord around the bundle so it comes out the back and to the right of the bundle.
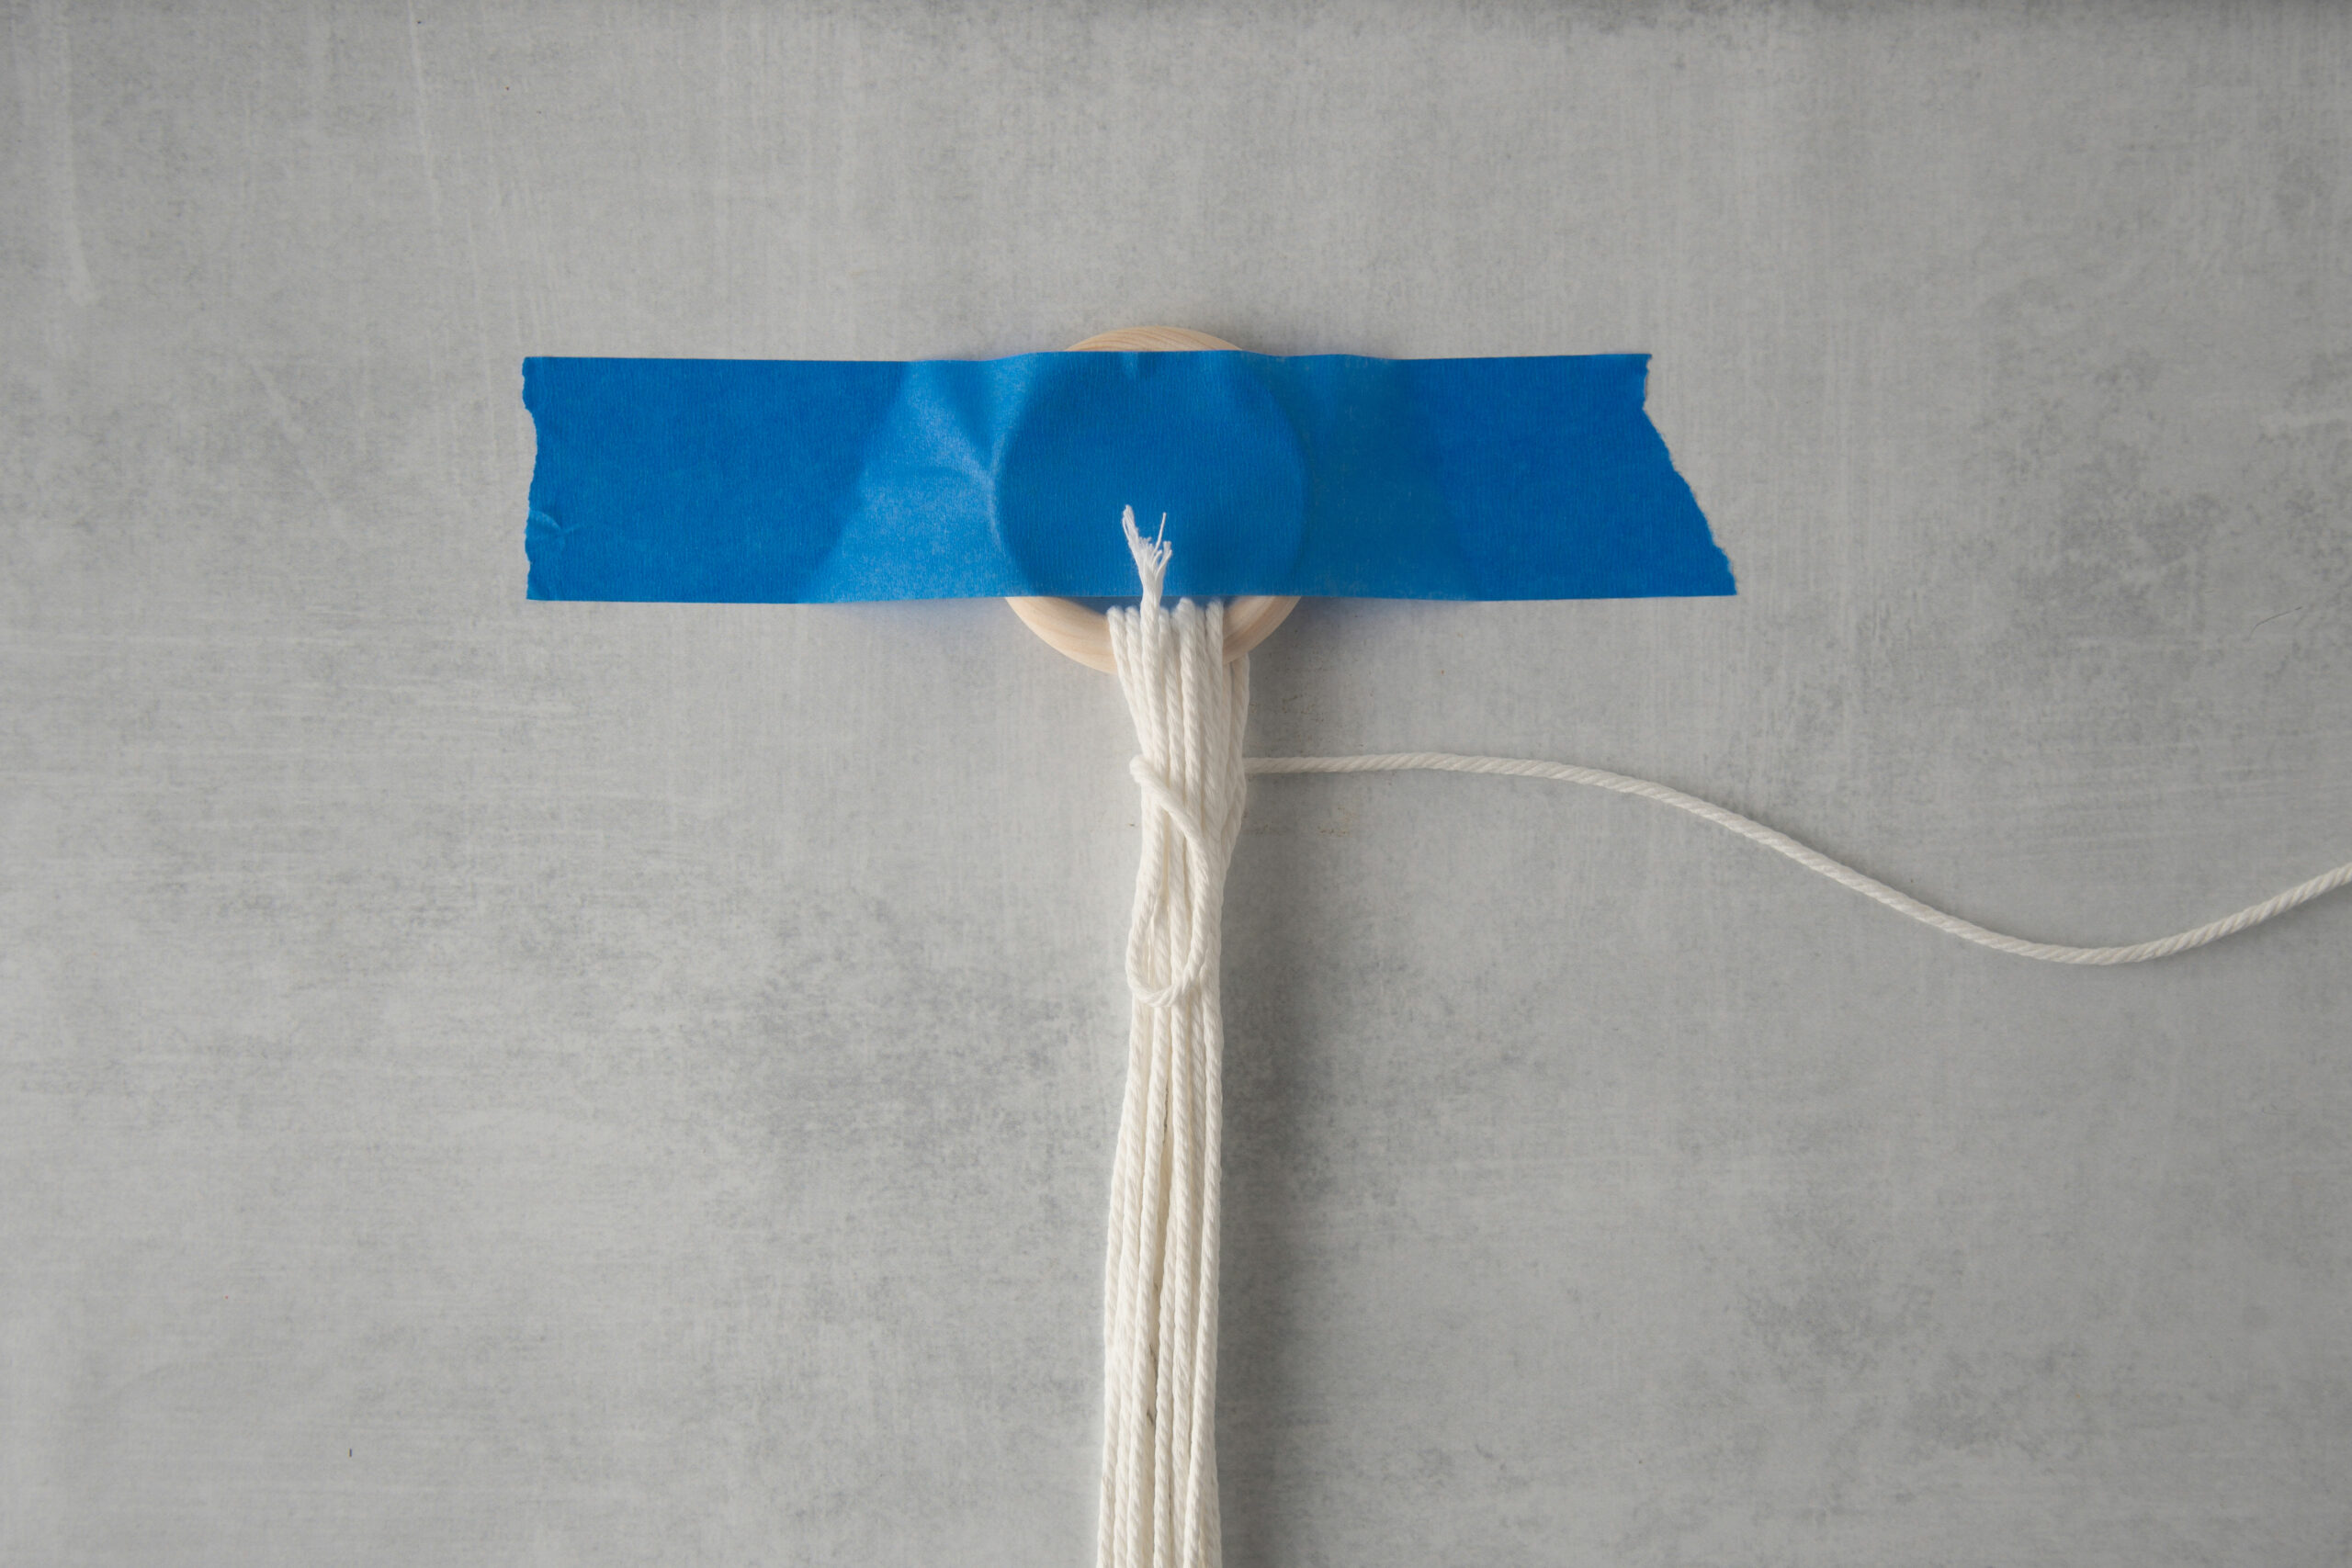
Wrap the cord around the bundle until it forms a coil about an inch long.

Slide the wrapping cord into the loop at the bottom.

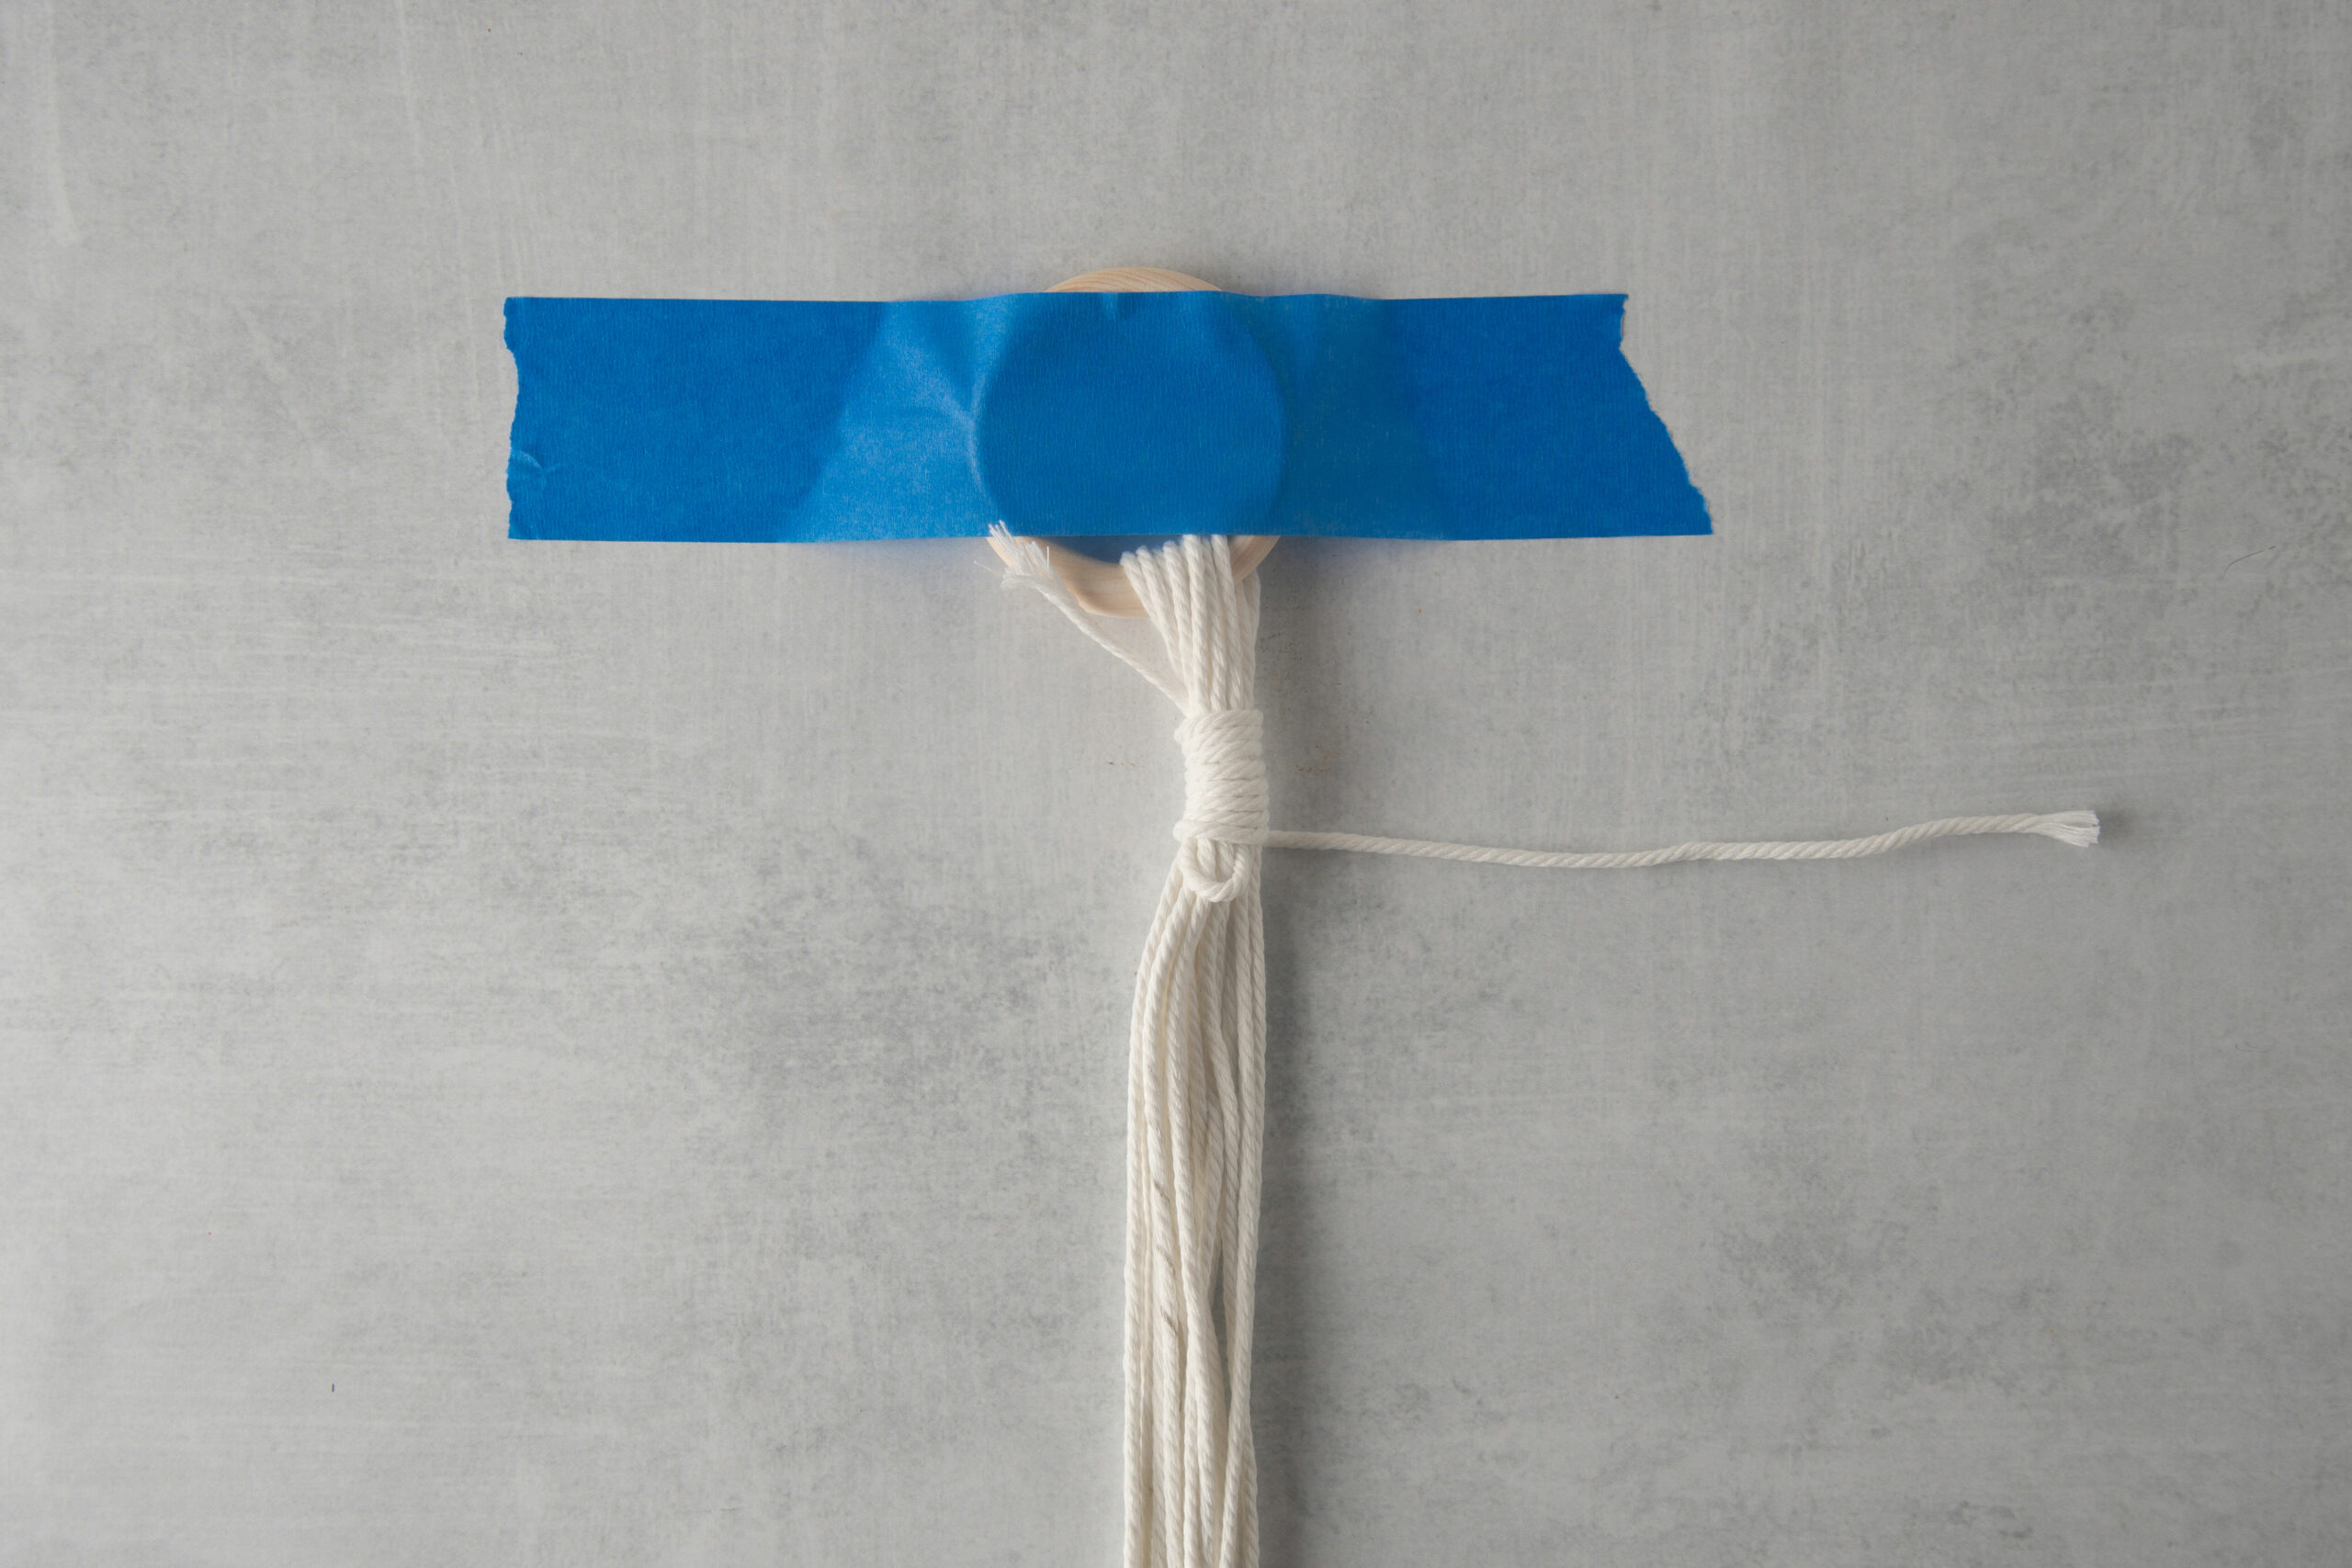
Pull up the short end of your original U shape. Doing this will pull the bottom loop into the center of the wrap. Give both ends a slight tug to secure the knot, and then trim the ends.

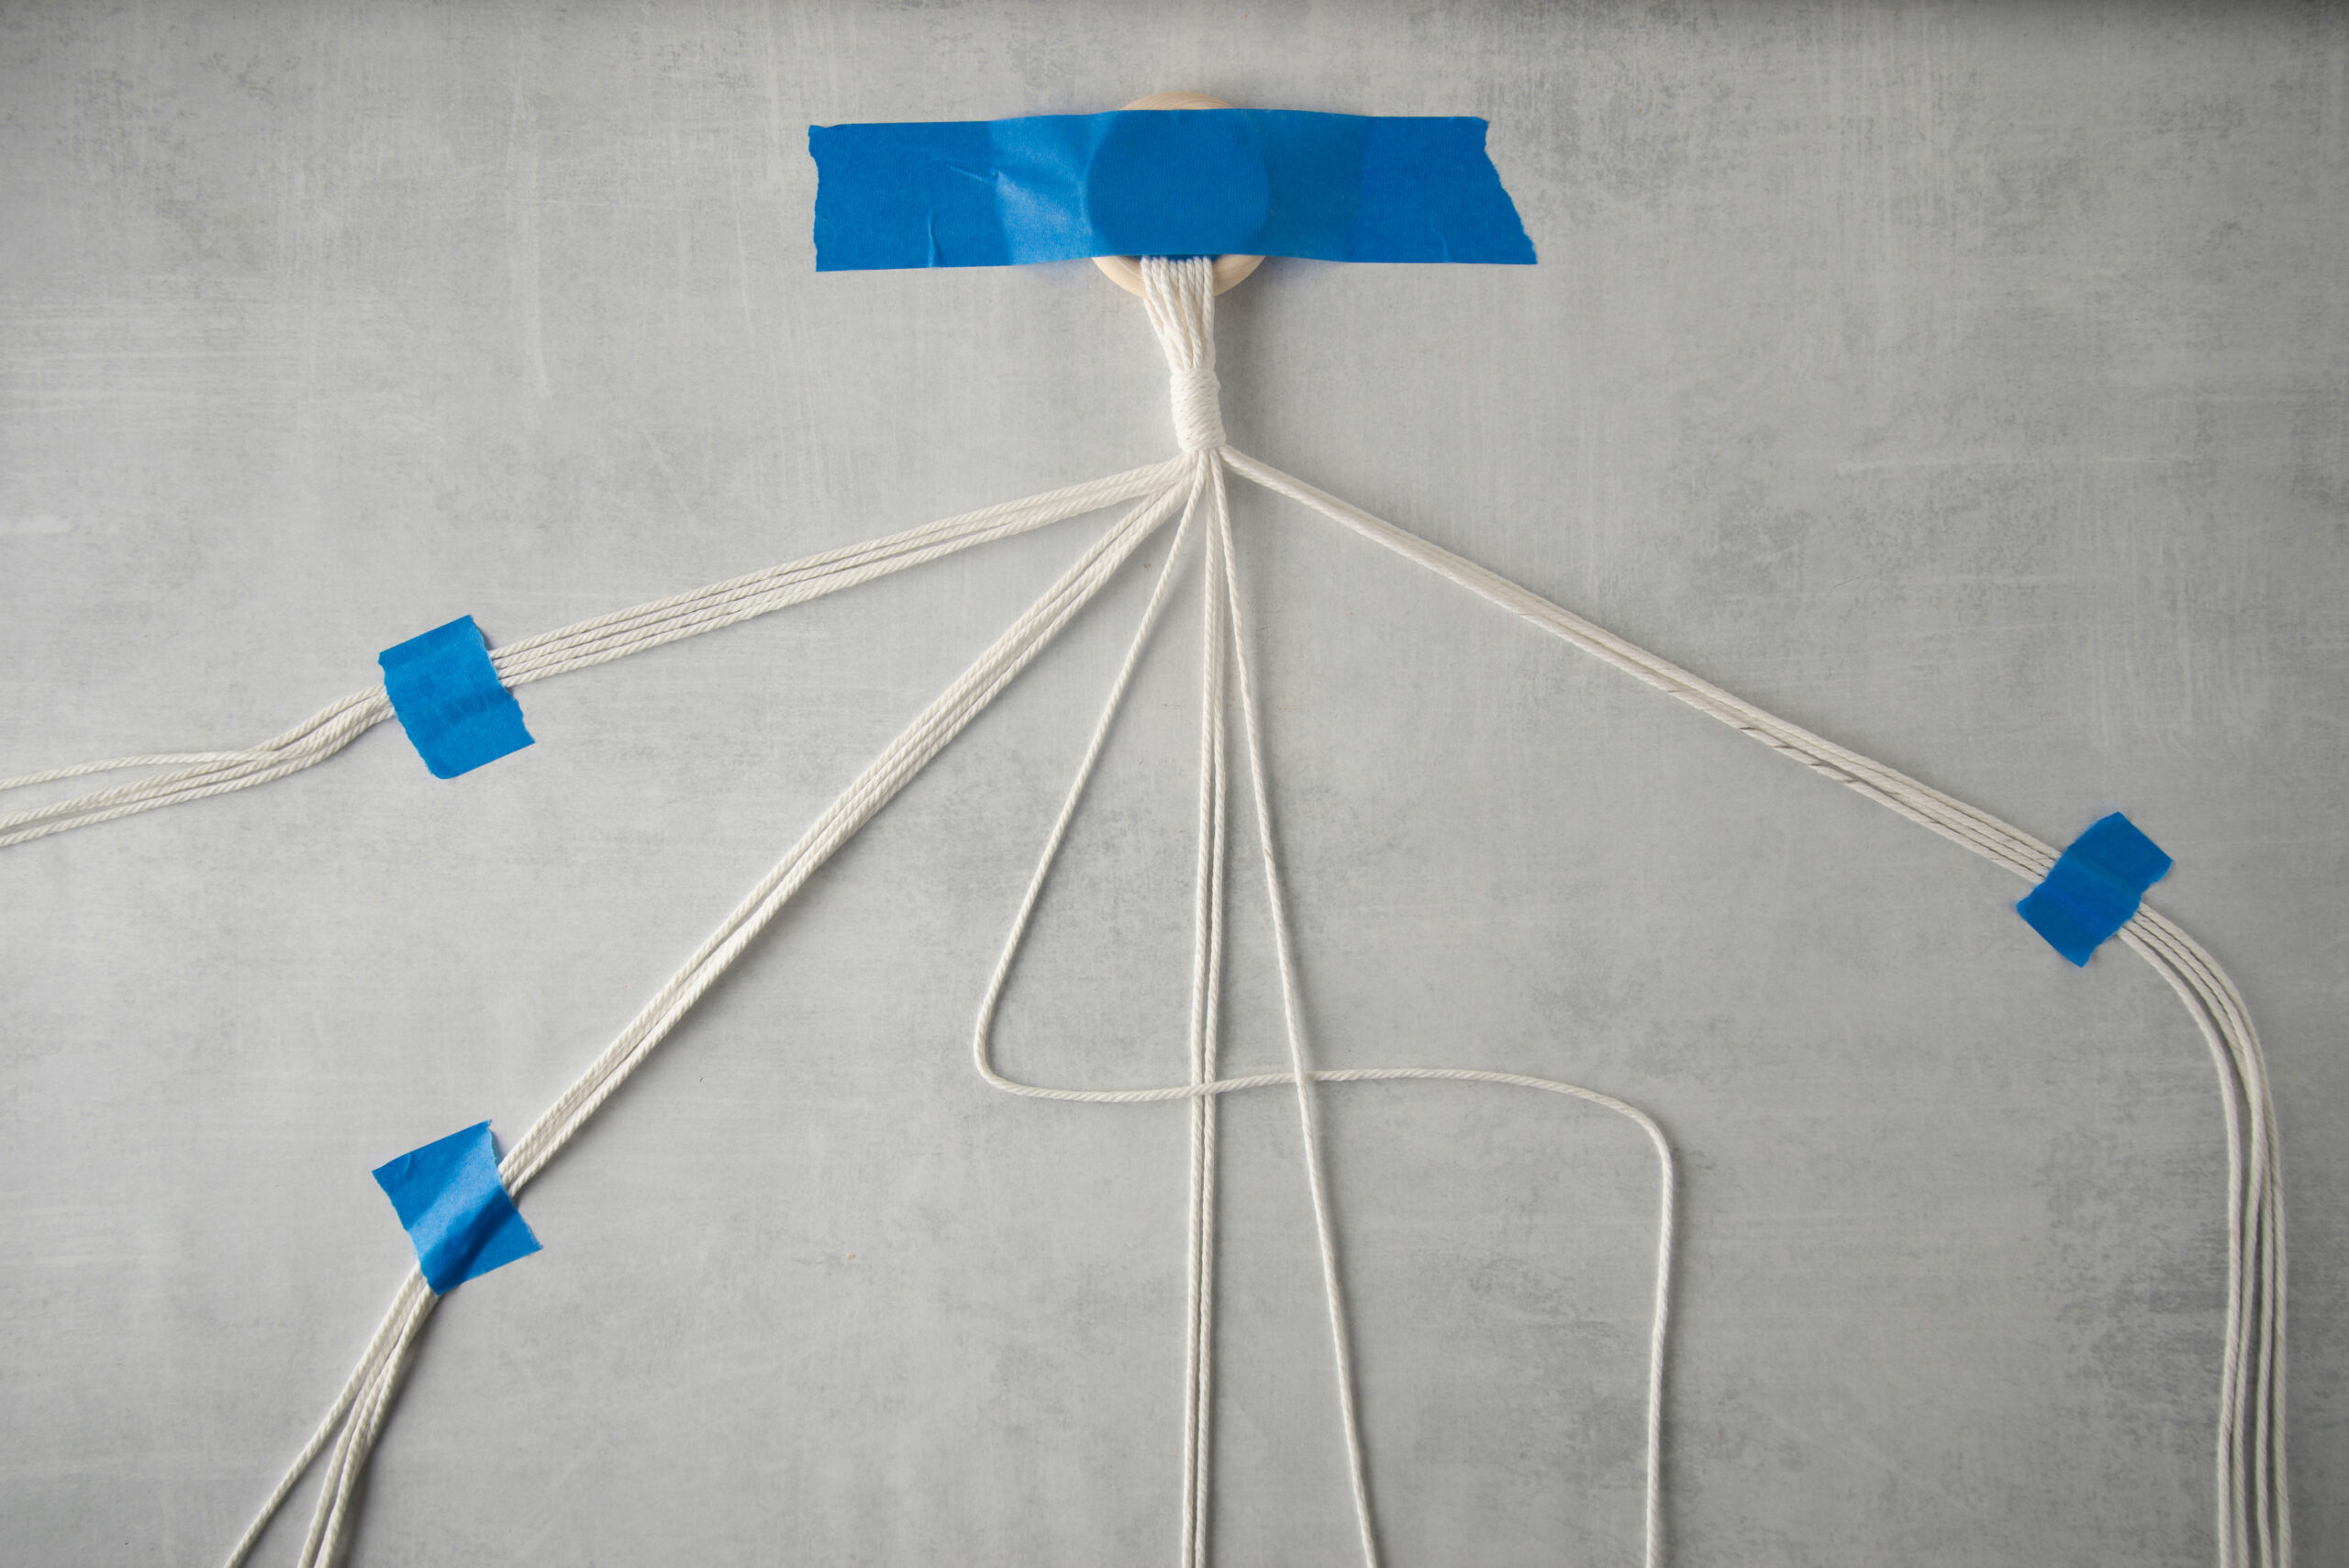
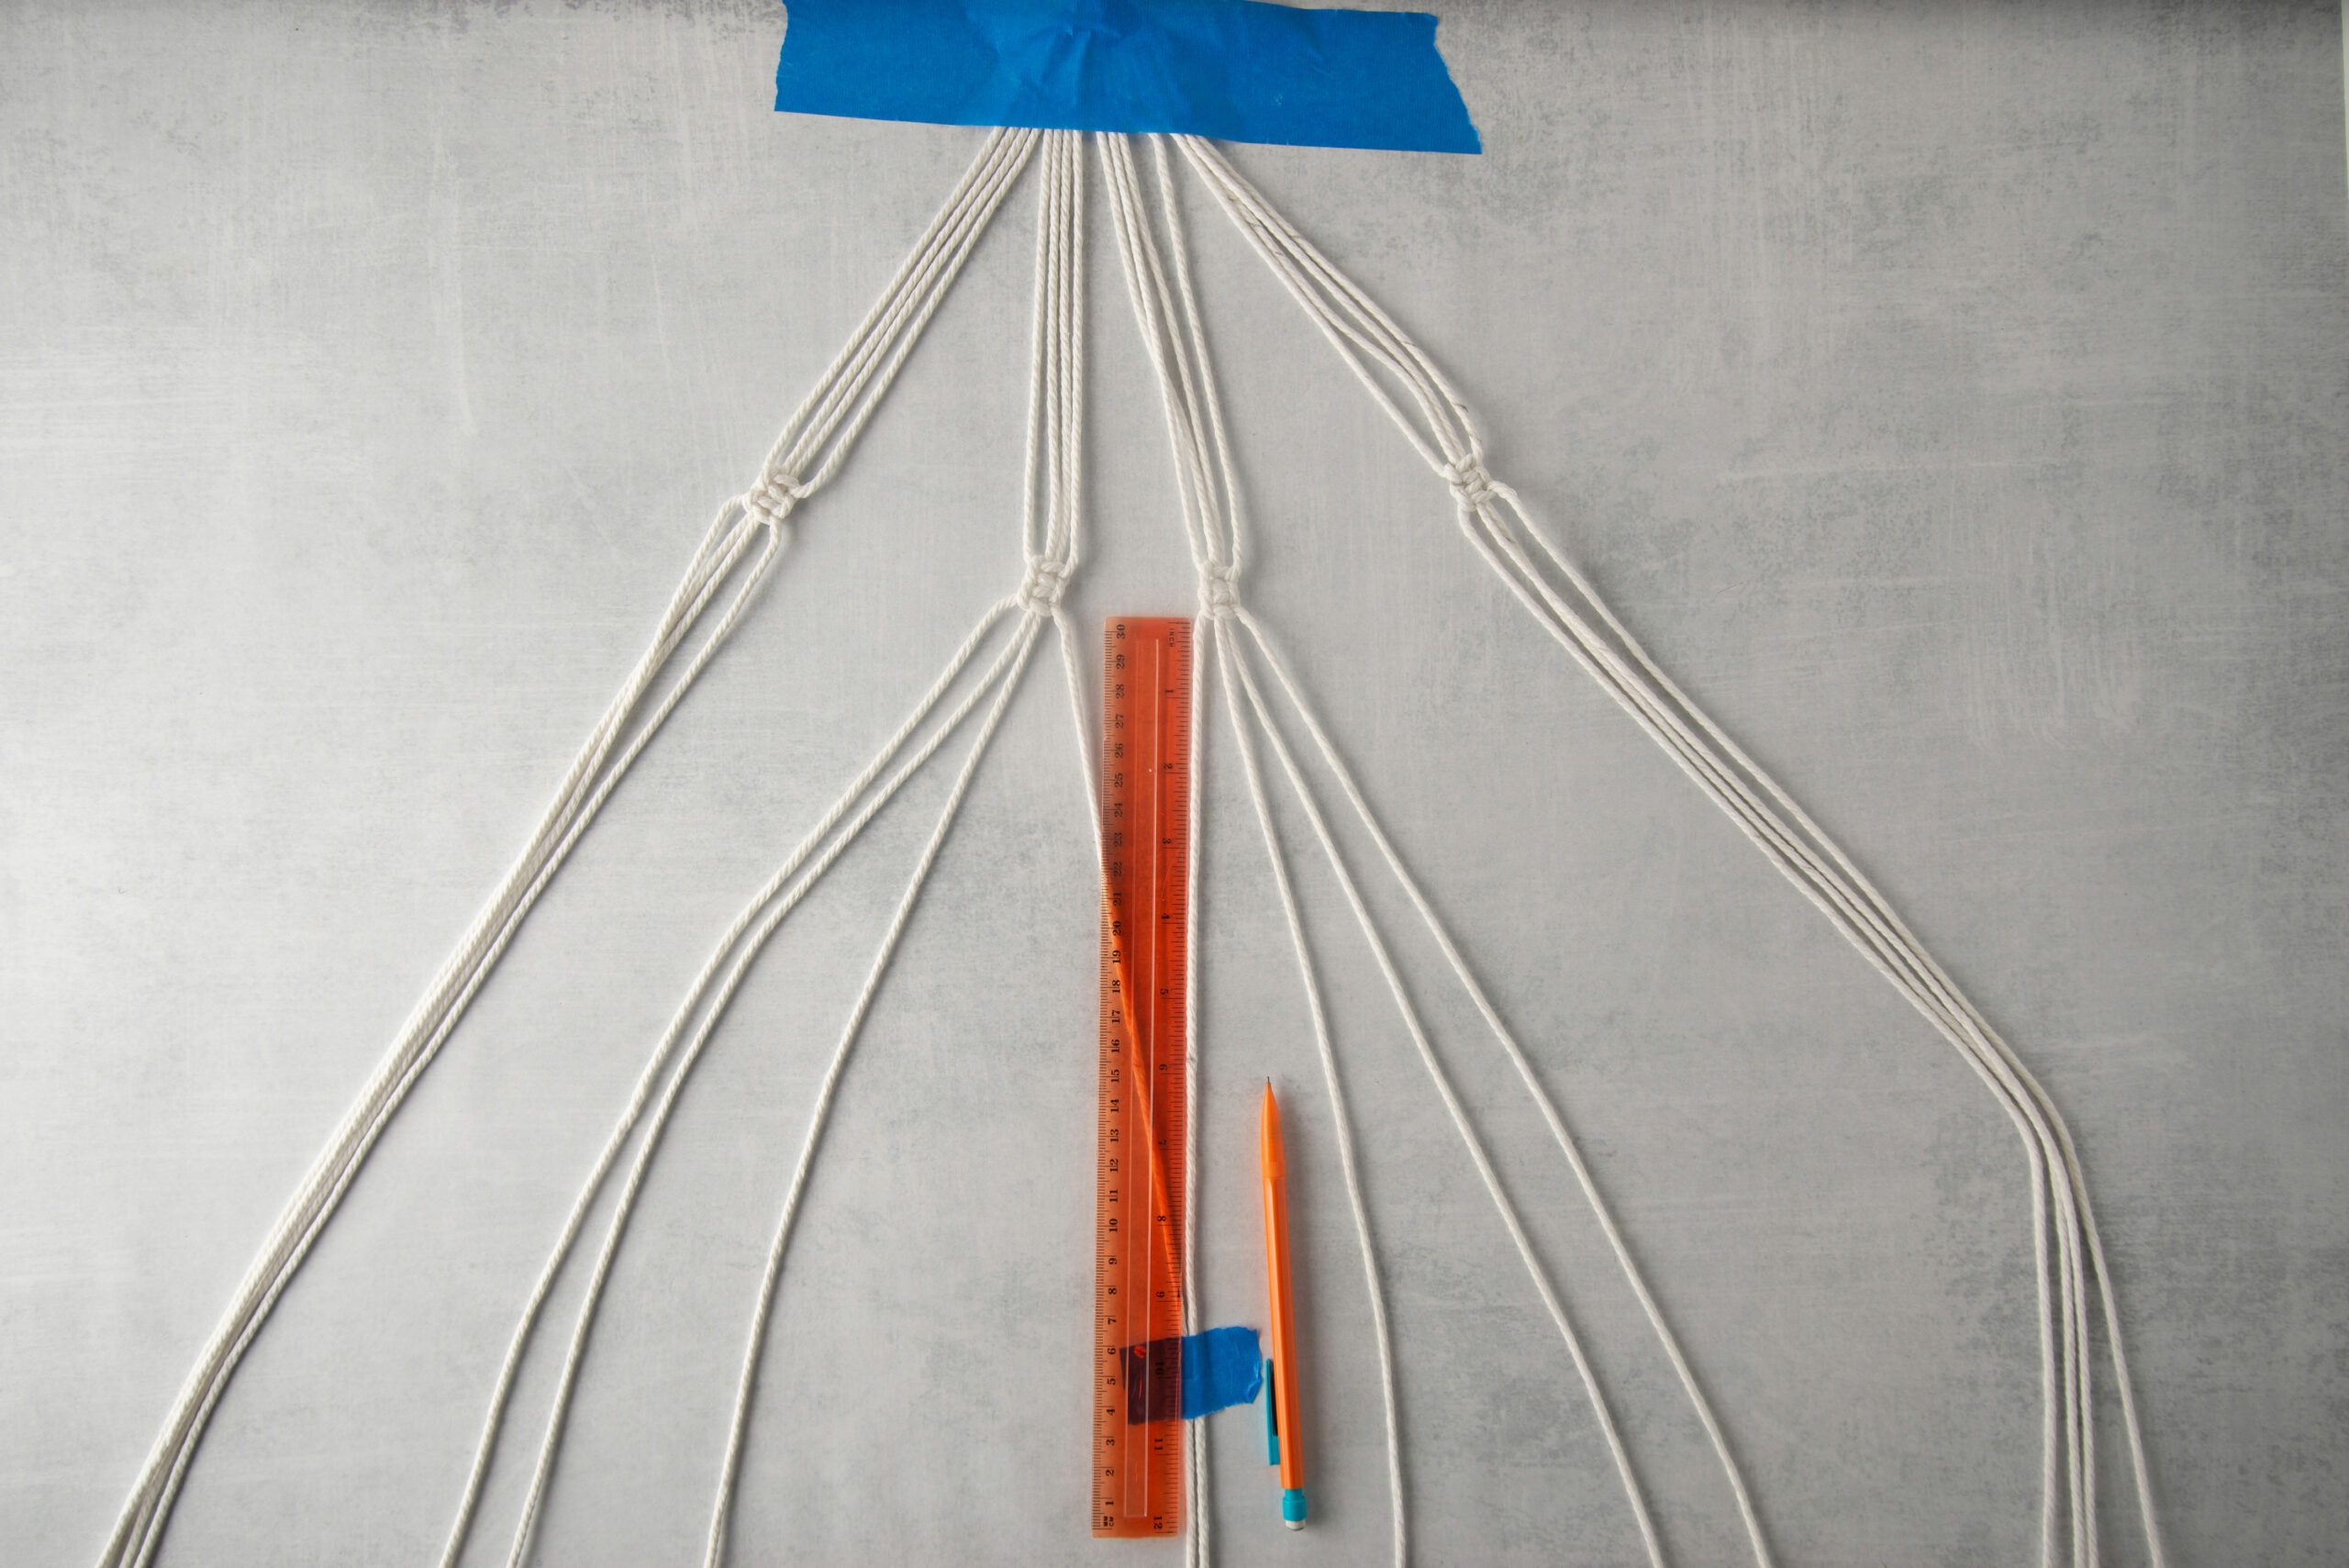
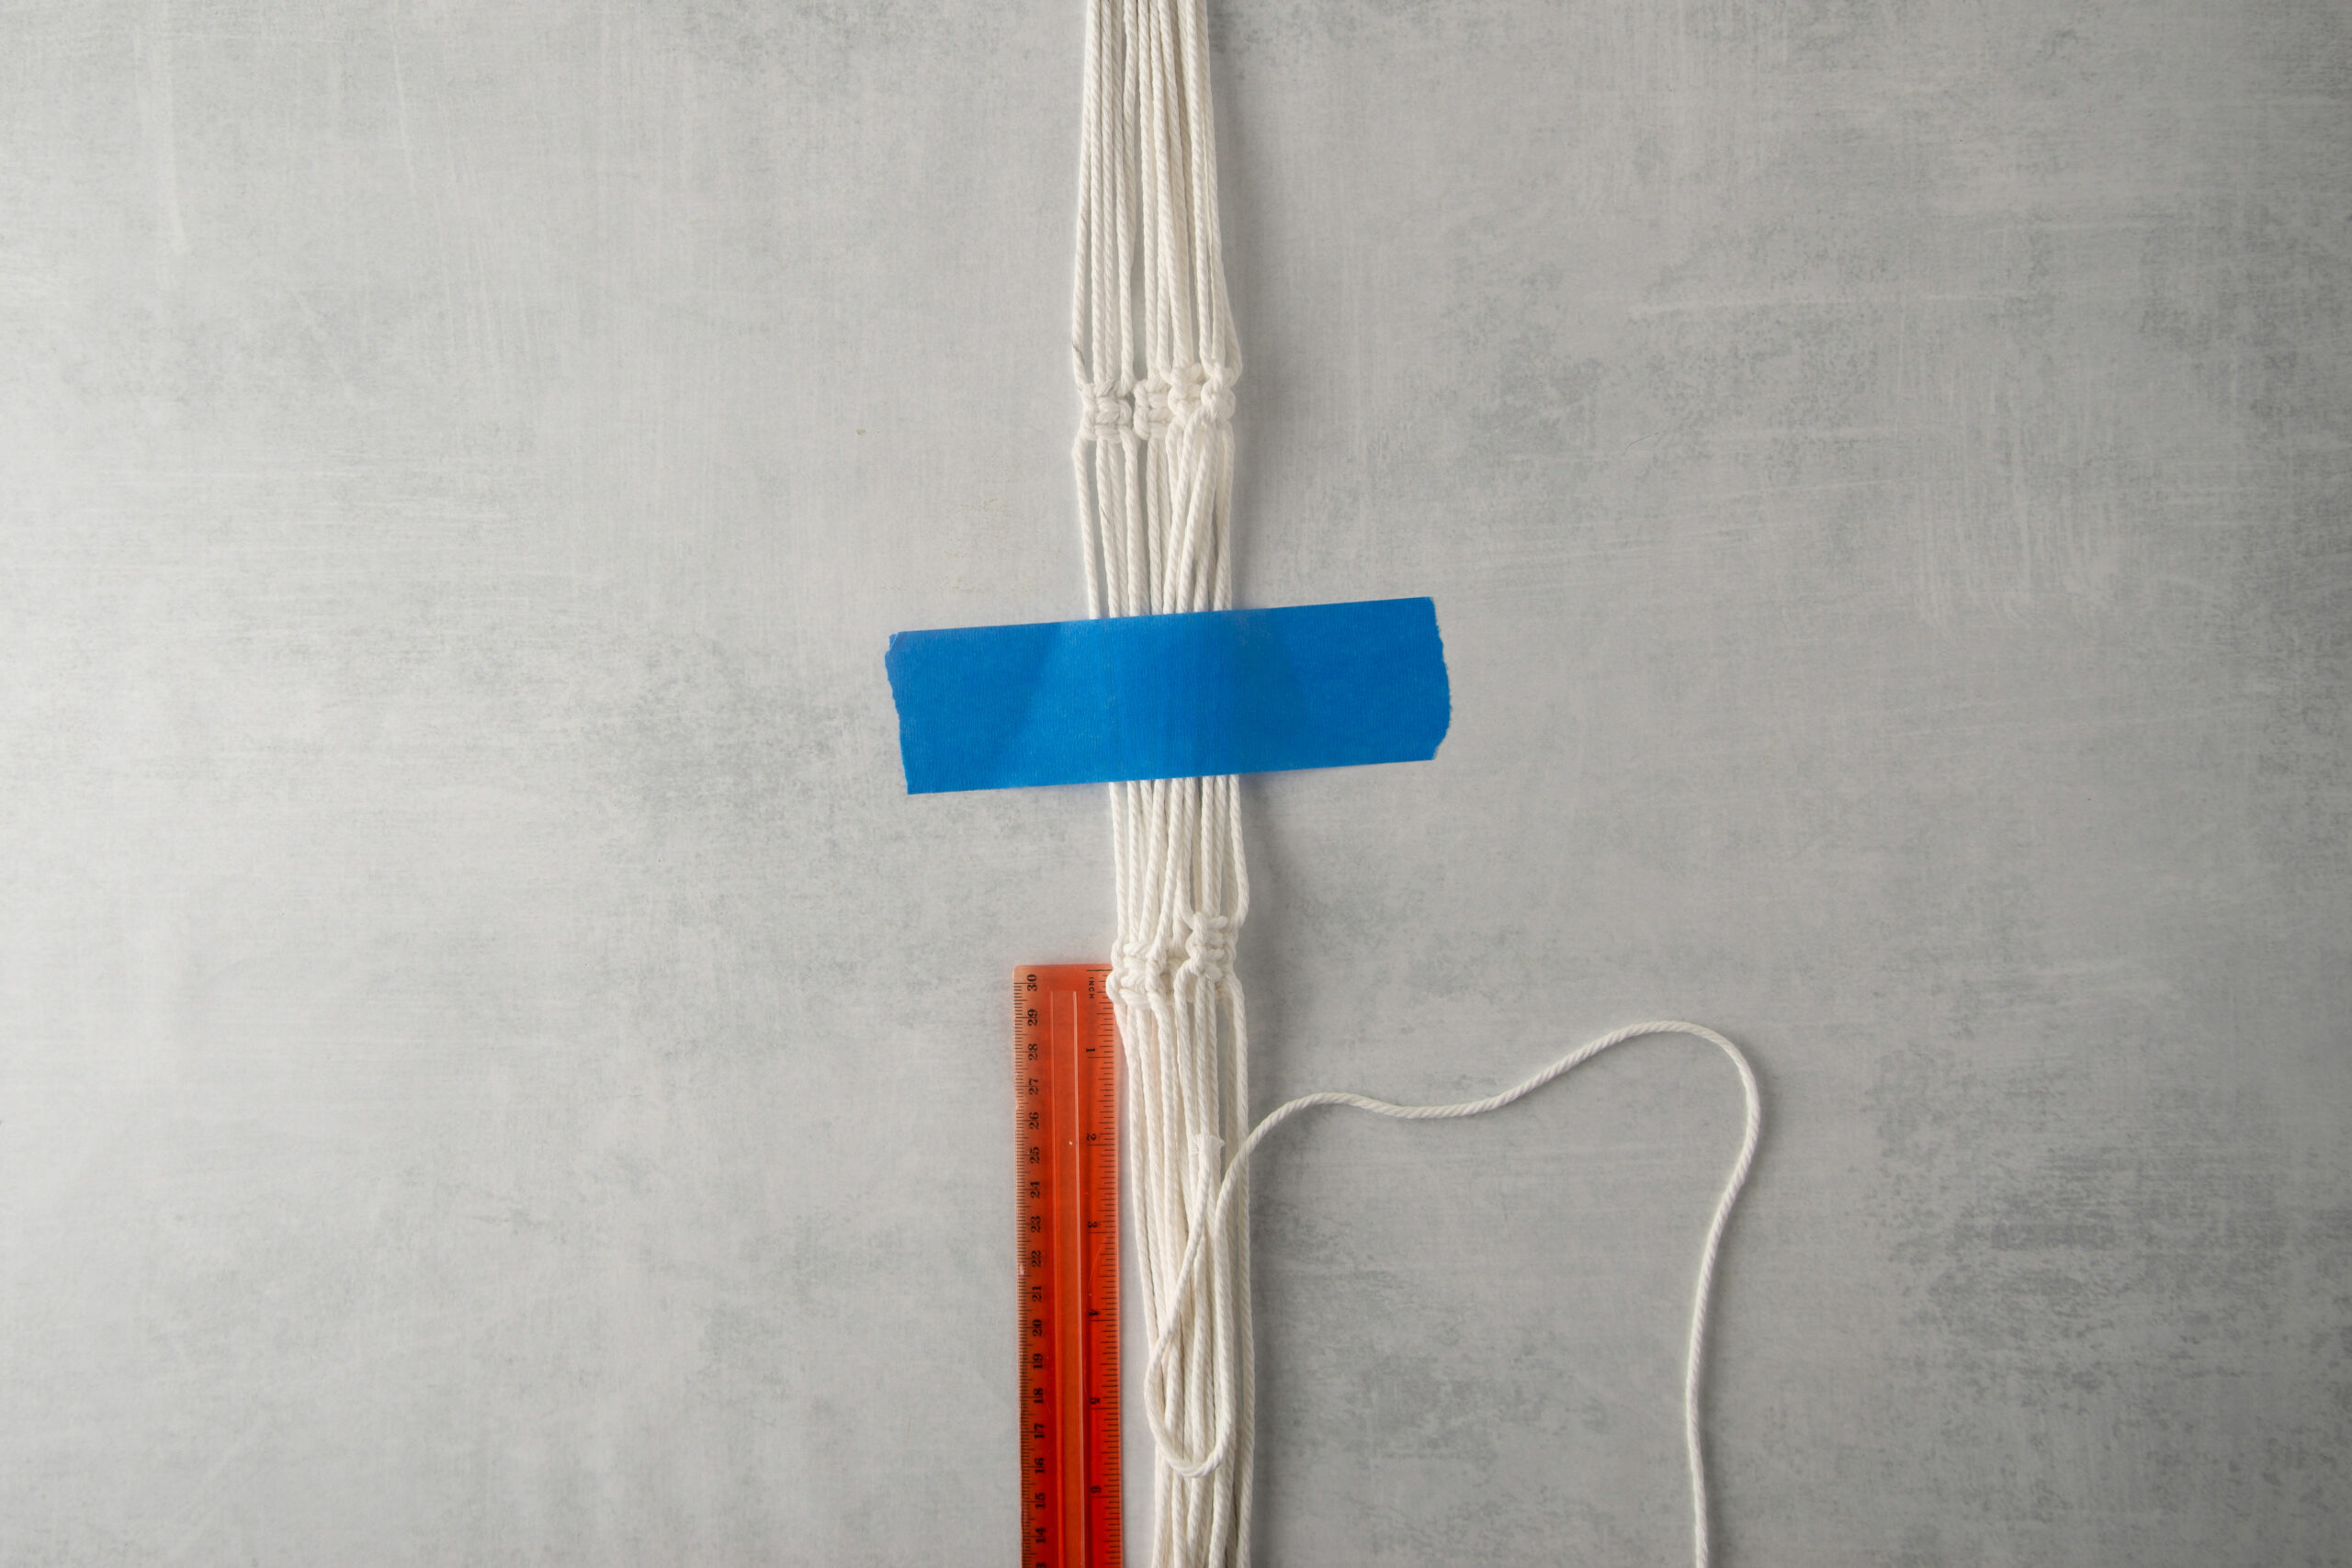
STEP 3: Tie two square knots on two sets of cords.
Split the cords into four sets of four. Use painter’s tape to keep them separated. Starting with one of the sets in the middle, move the outer cords away from the two center cords (the anchor cords). From the base of the wrapping knot, measure 8 inches down and make a mark with a pencil on the anchor cords.
Pull the left cord over the anchor cords making the shape of the numeral 4. Place the right cord on top of the left cord.
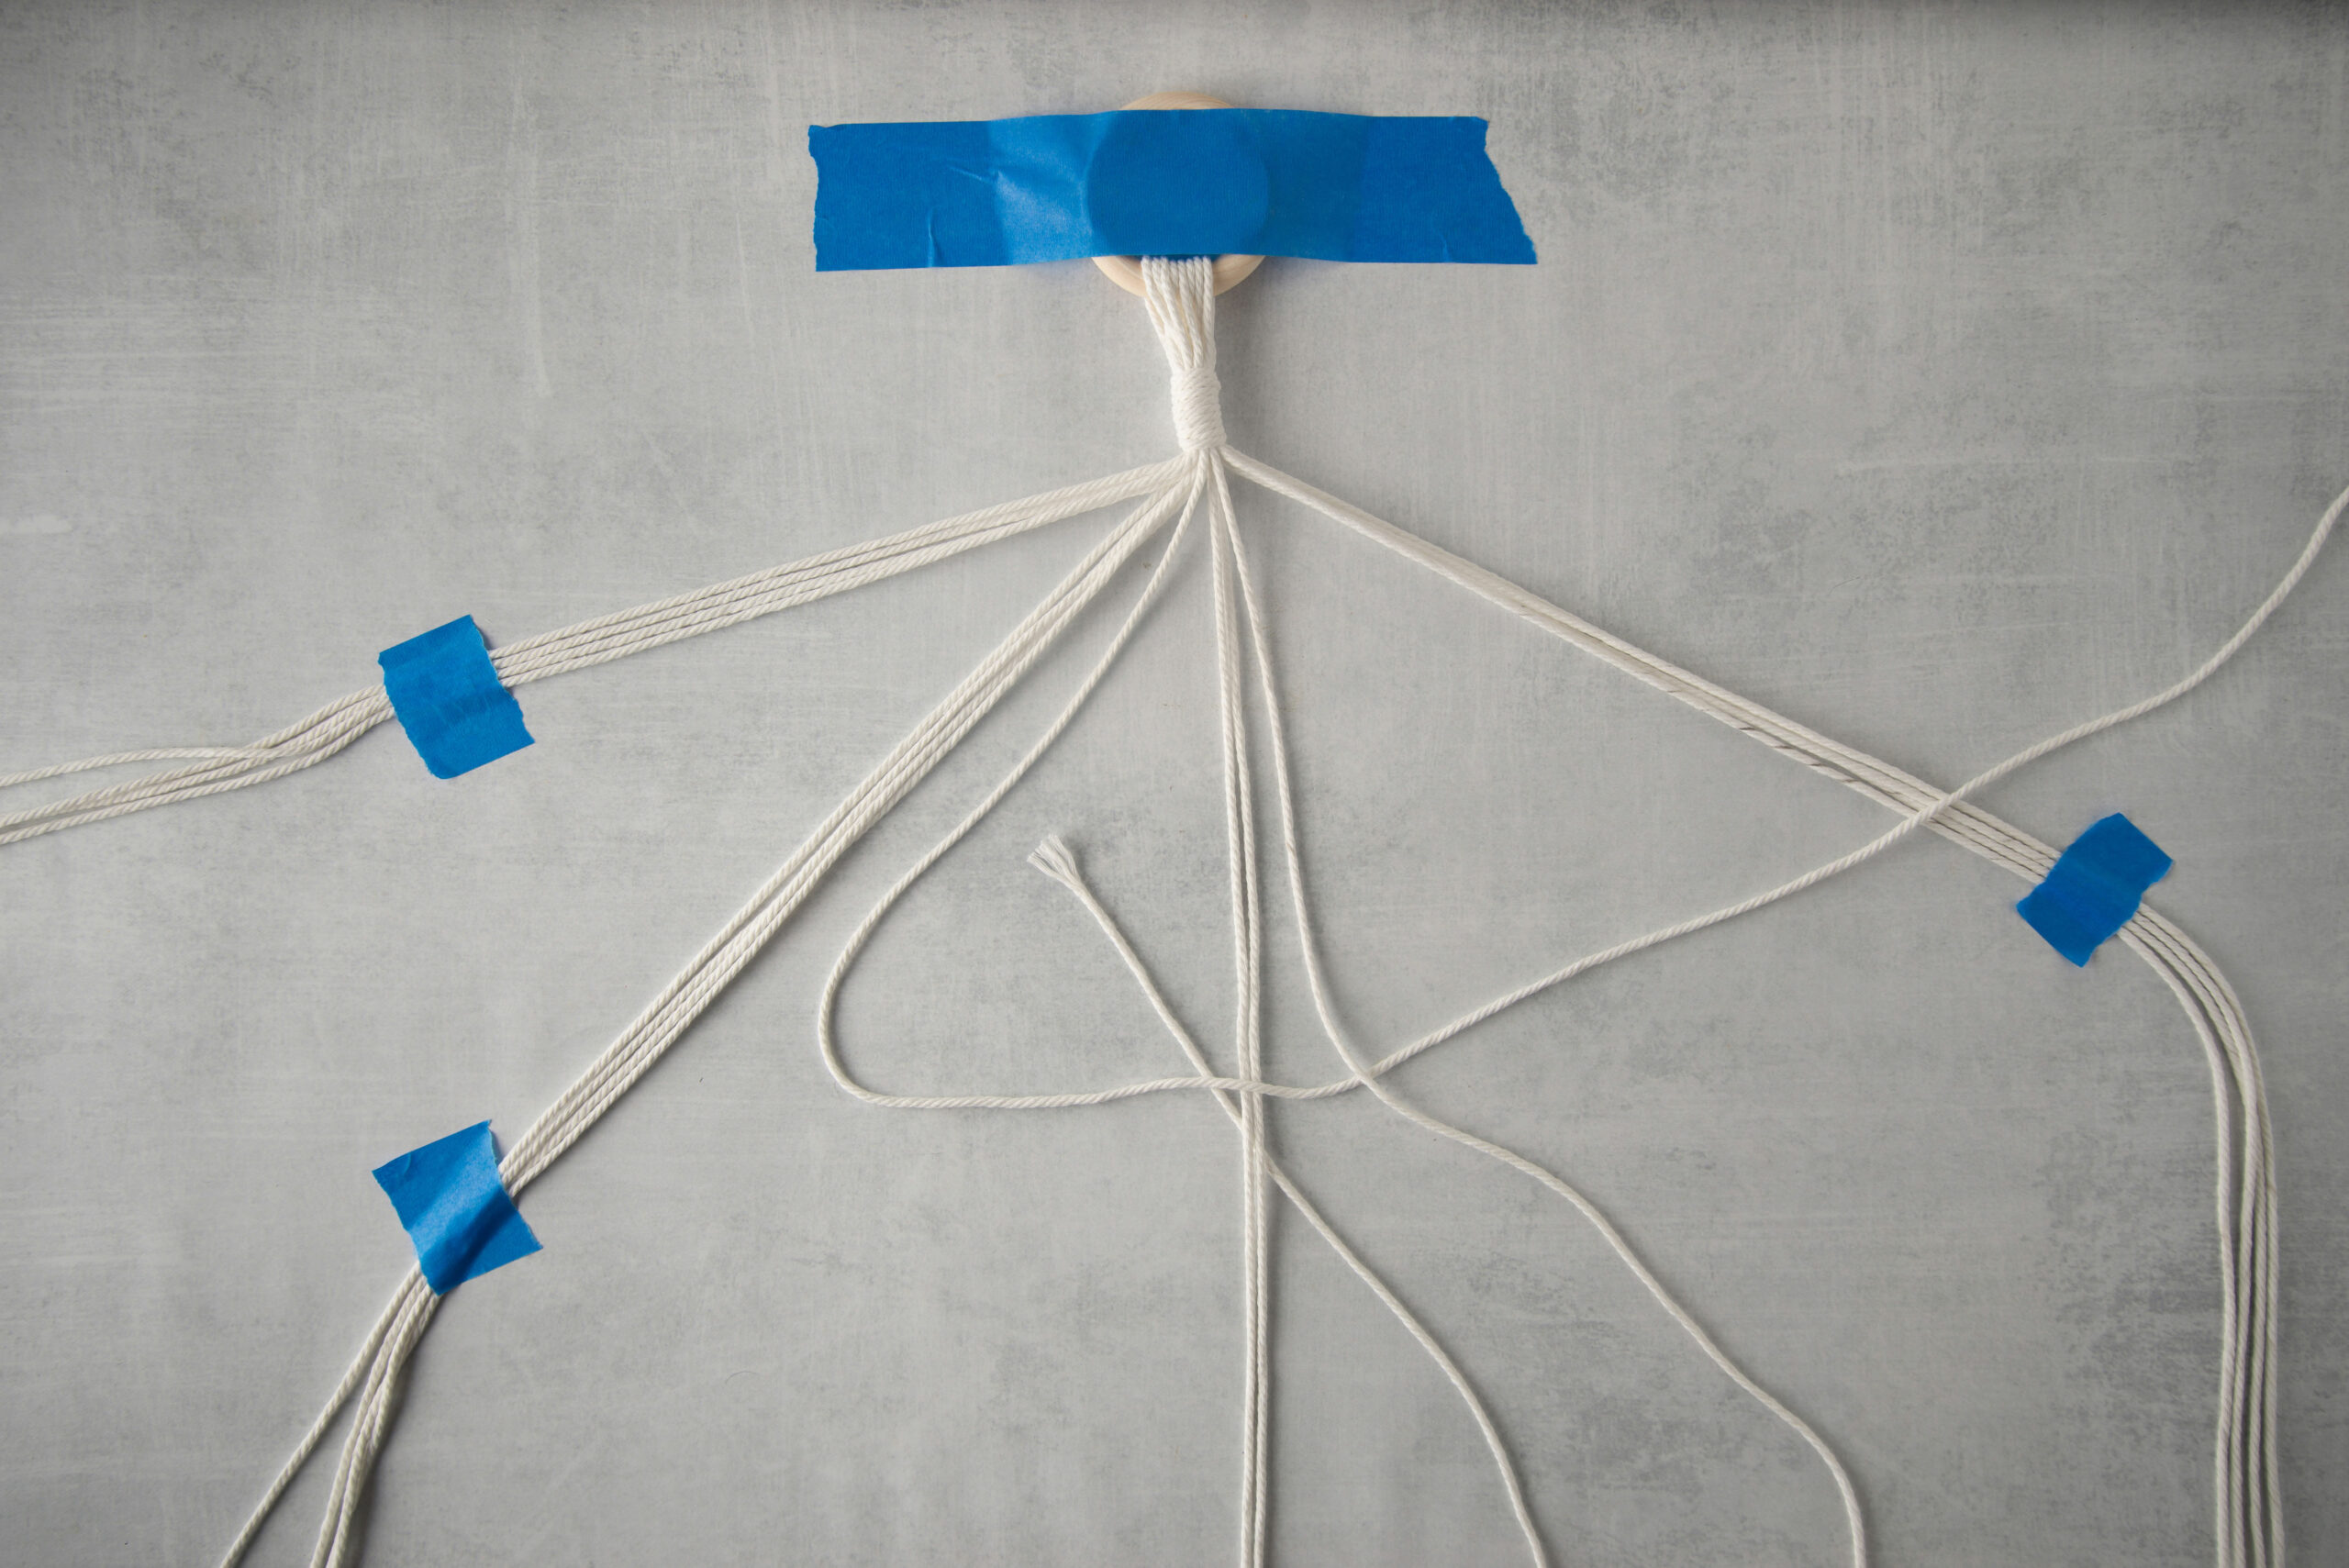
Grab the end of the right cord and bring it behind the two middle anchor cords and up through the triangle of the numeral 4 shape. There should now be cords on the top of and below the anchor cords.
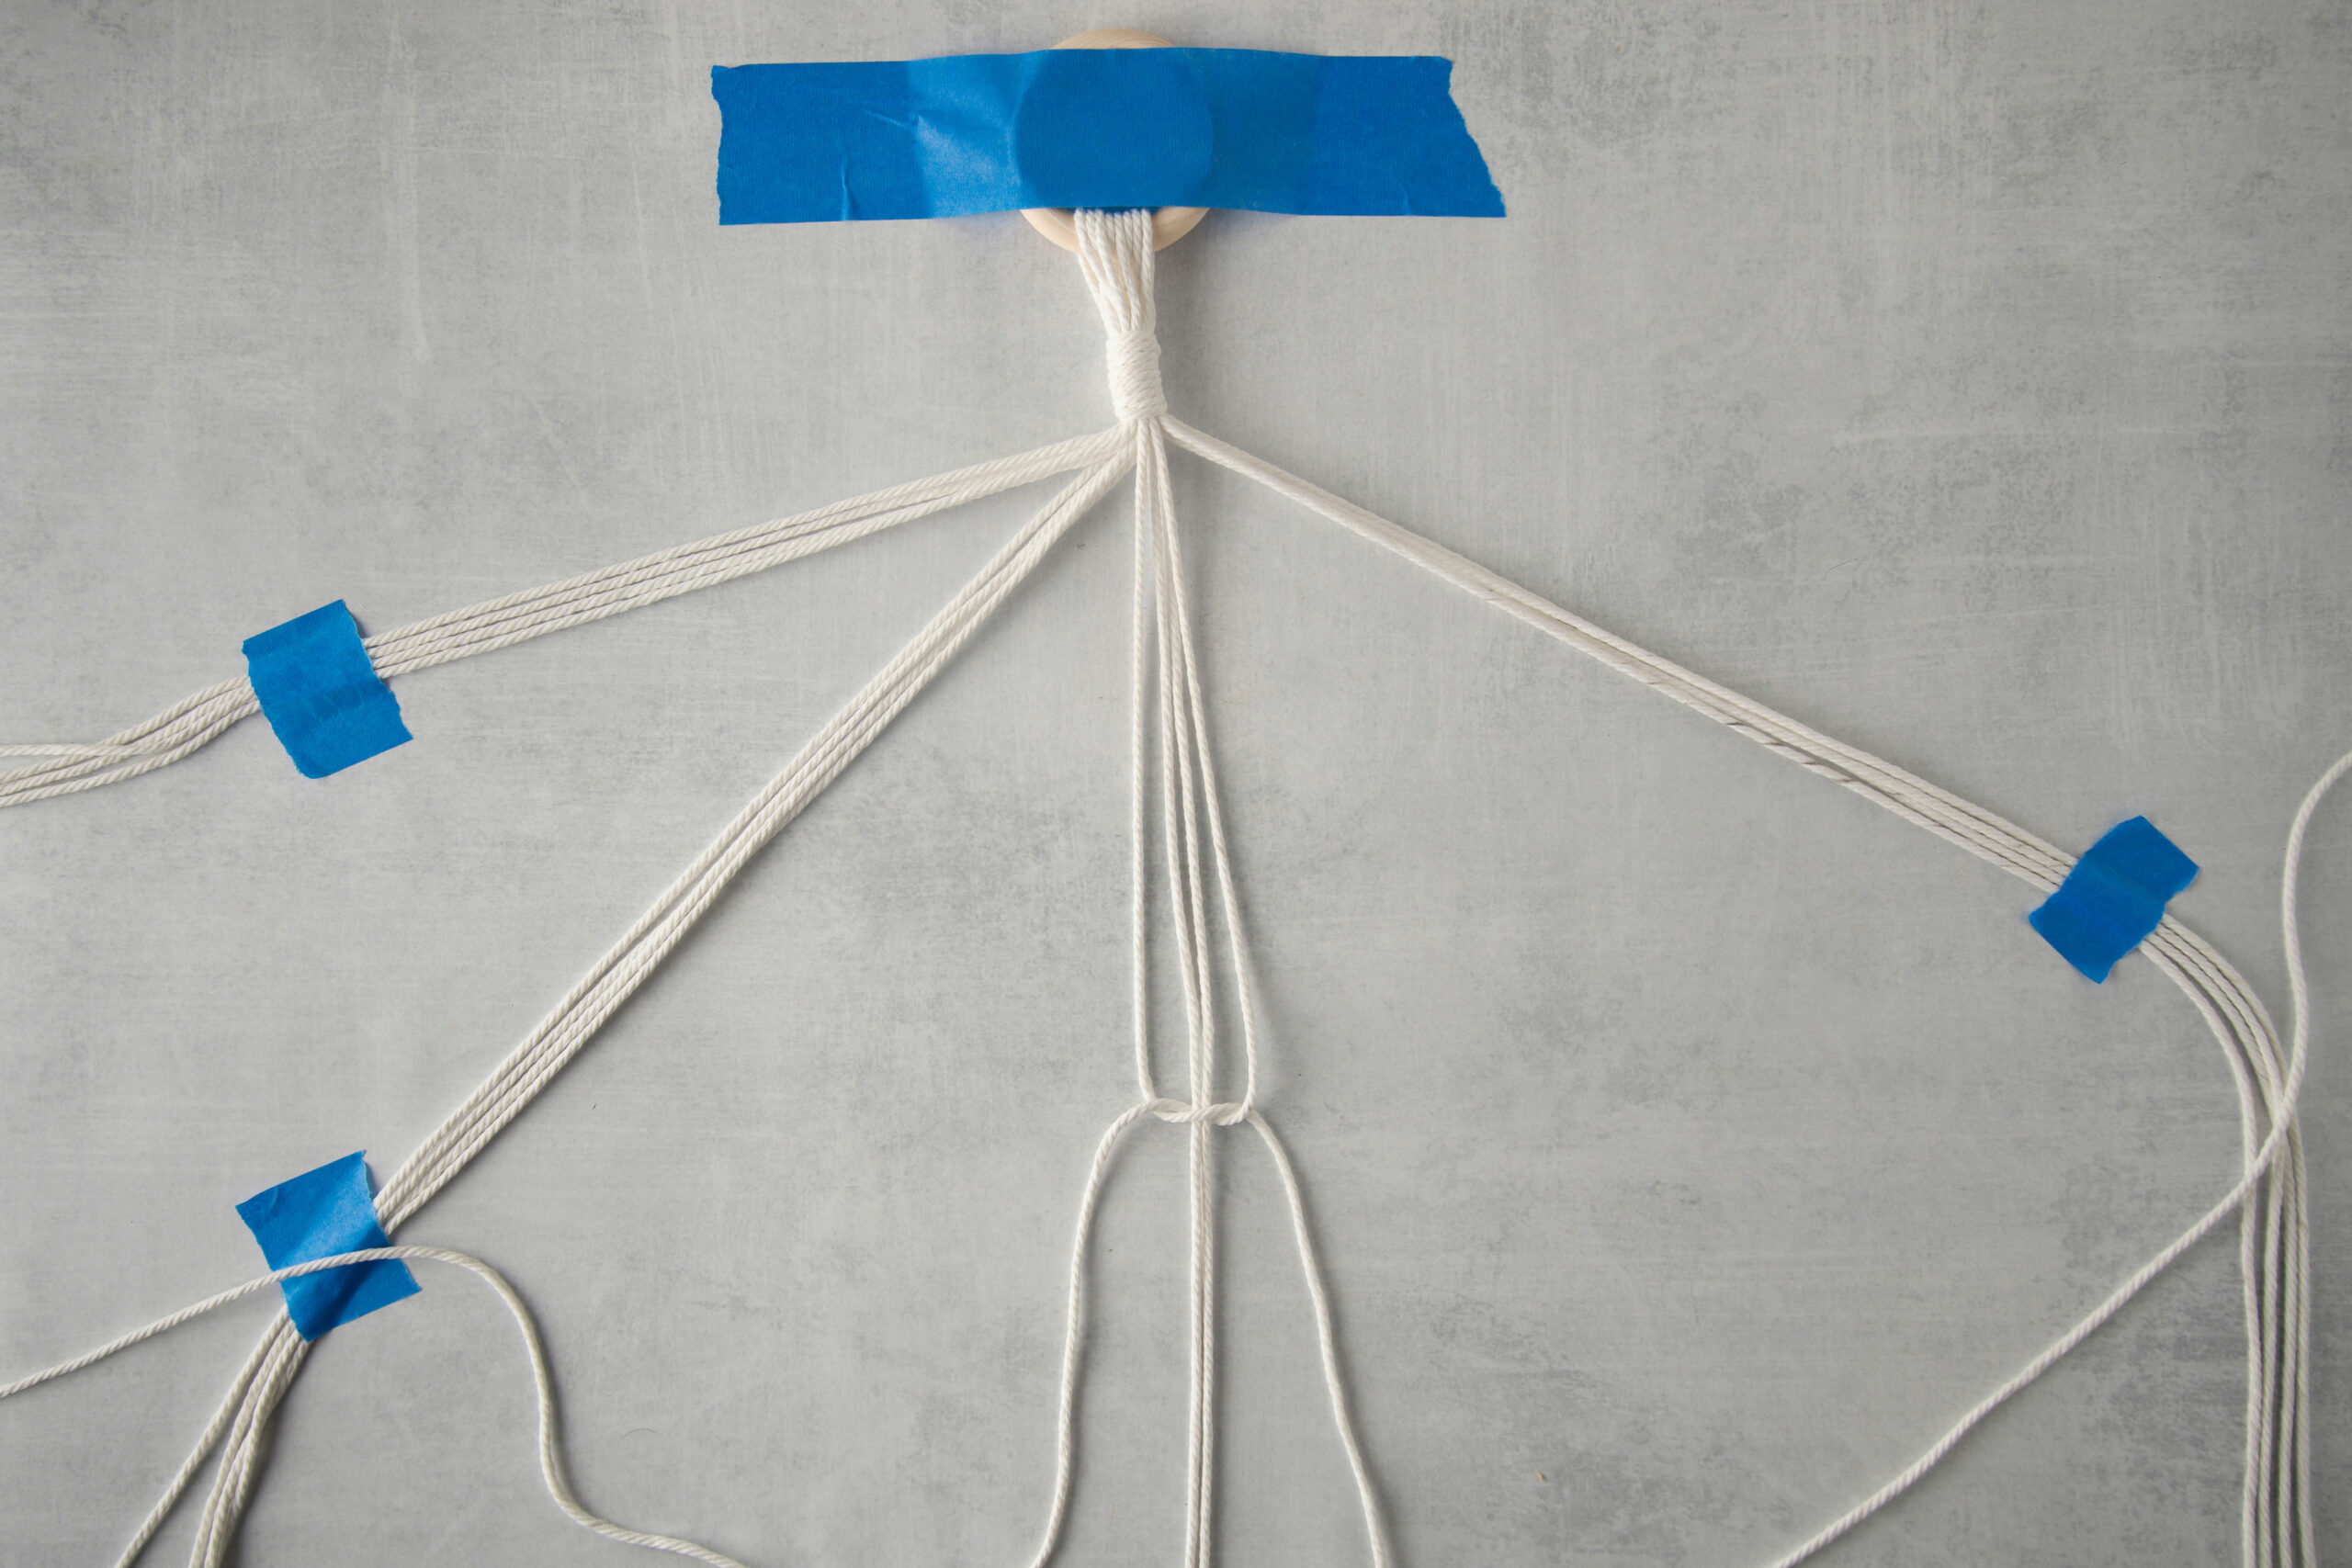
Pull the two cords evenly and slide the knot up the anchor cords so that it lines up with the pencil mark. This is a left-facing half knot, which is one half of a left-facing square knot.

To complete the square, you will need to make a right-facing half knot. Take the cord that is now on the right side, place it over the anchor cords and under the cord that is now on the left side.
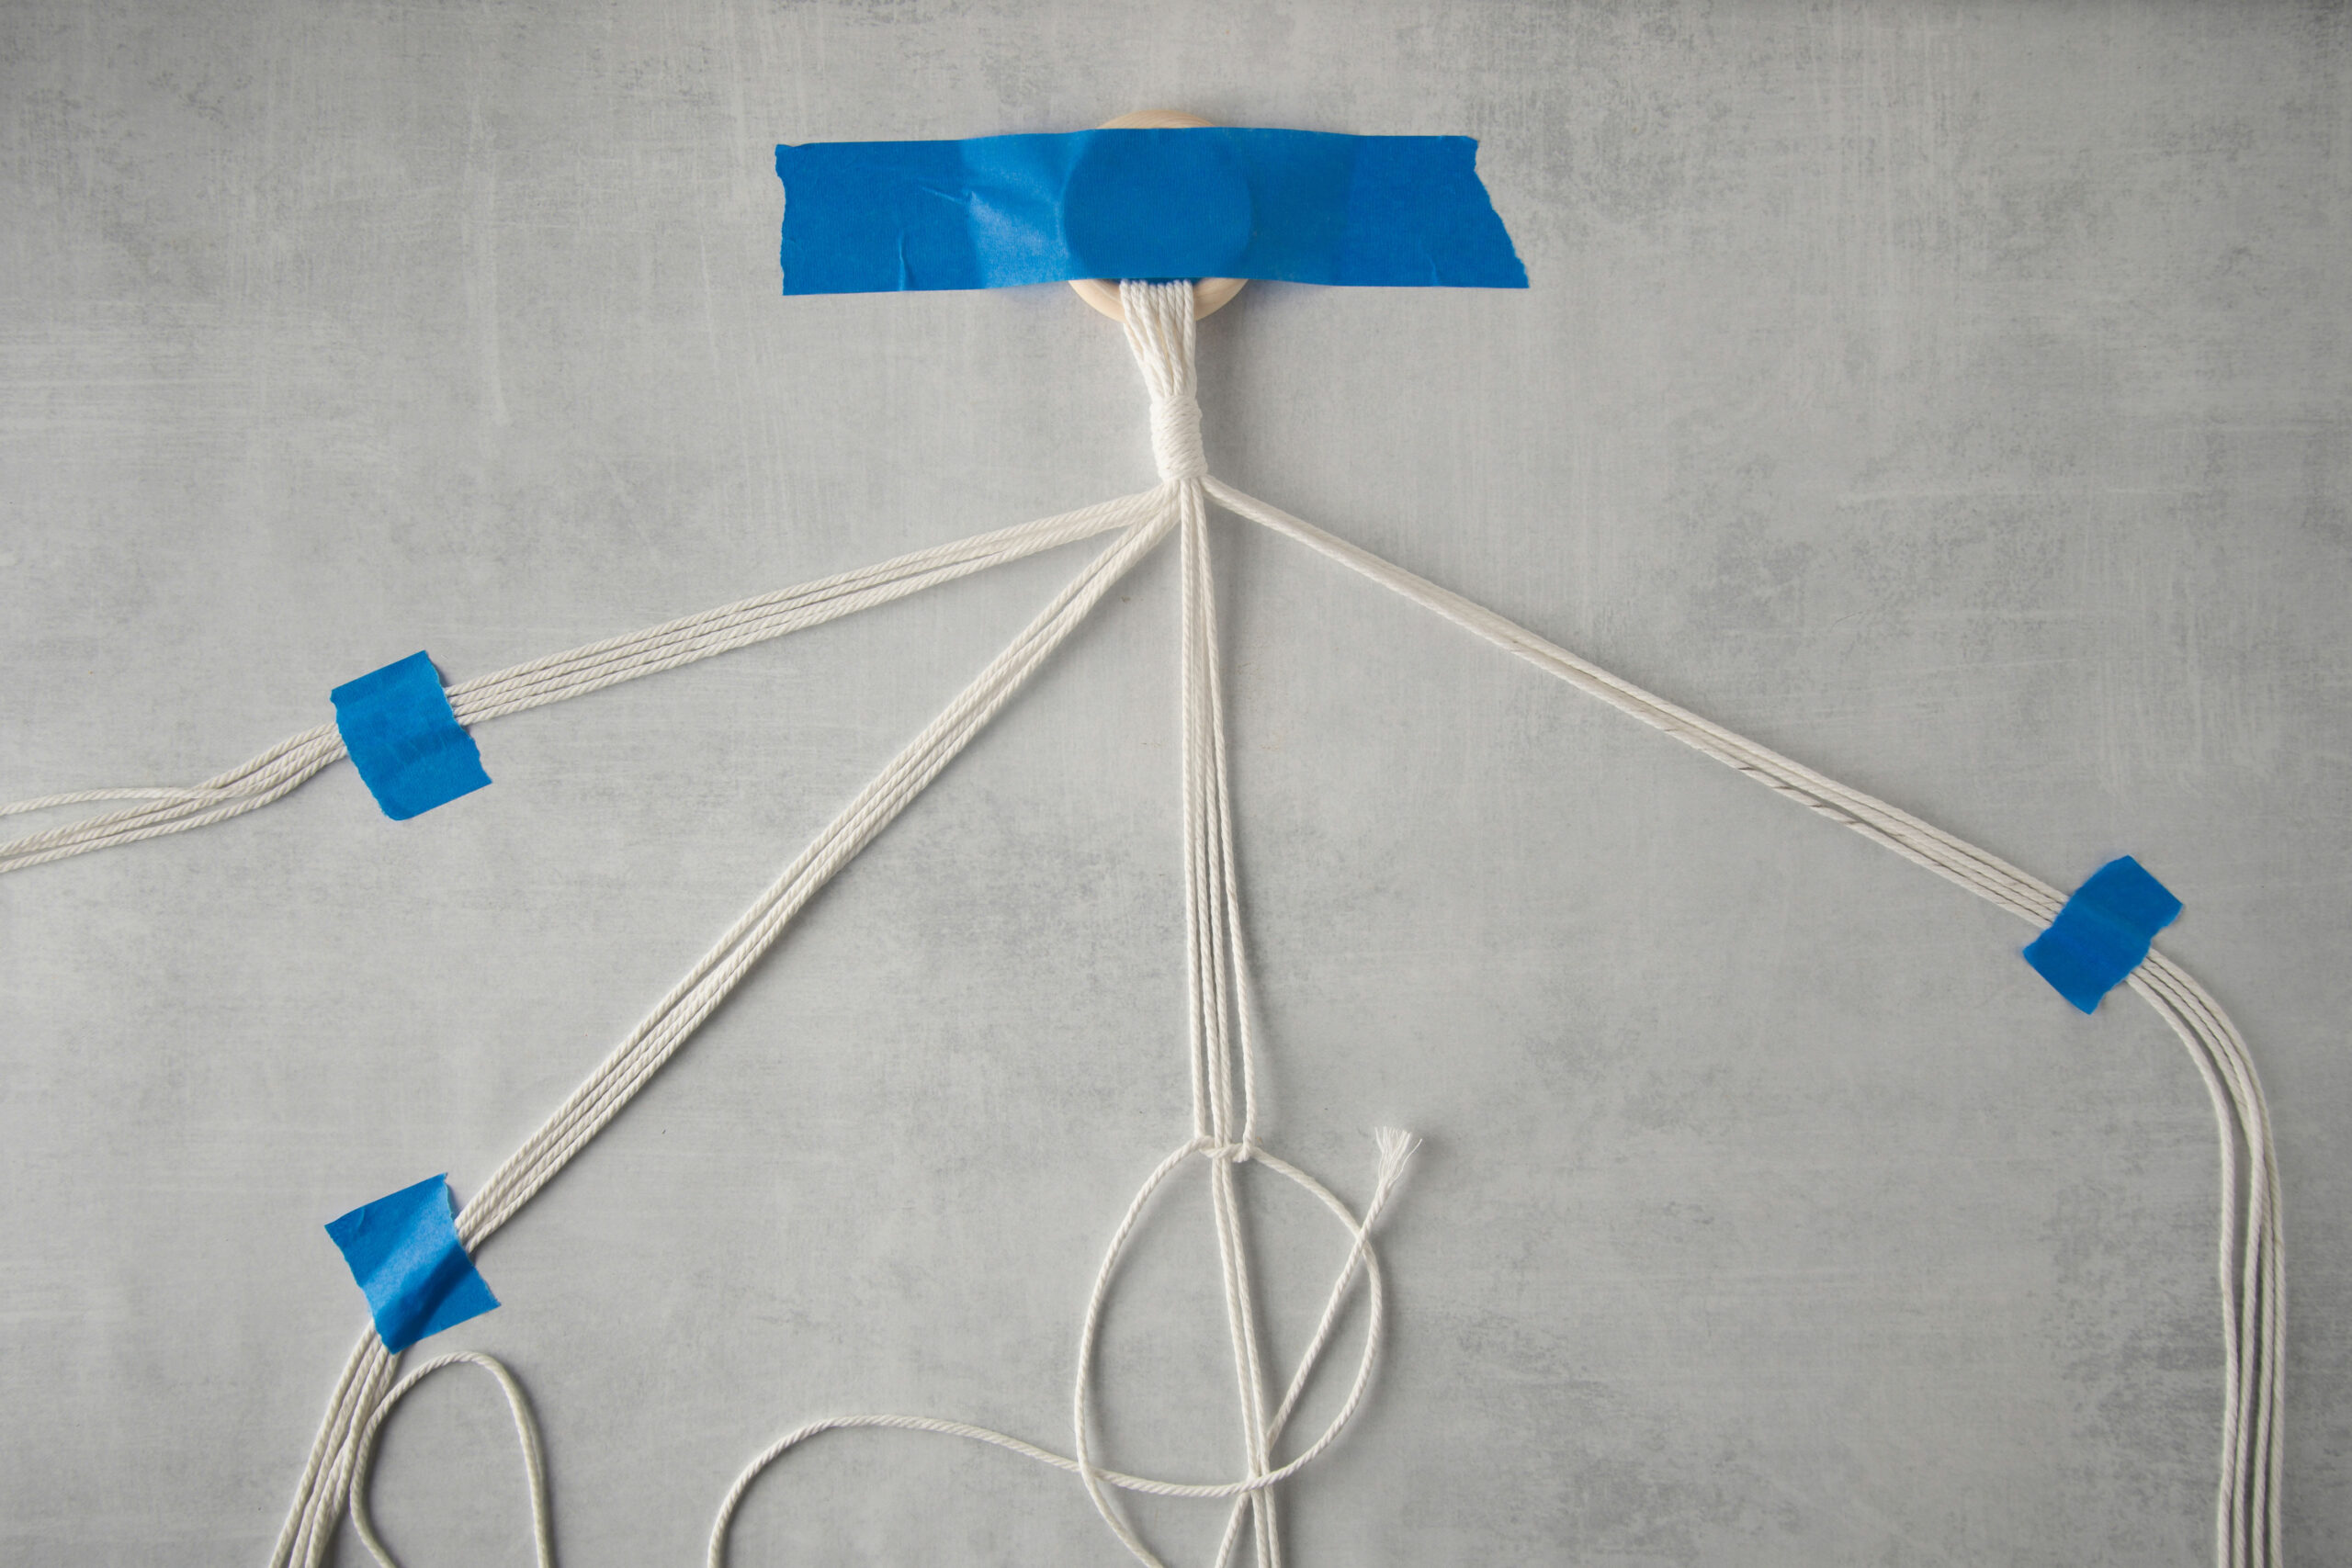
Take the cord that is sitting on top of the cord you just crossed over from the right side, and feed it under the anchor cords and through the loop on the right. Pull the right and left cords evenly, and slide the knot up the anchor cords. You have now completed one left-facing square knot.
On that same set of four cords, make one more set of left- and right-facing half knots (in other words, make one more complete left-facing square knot).

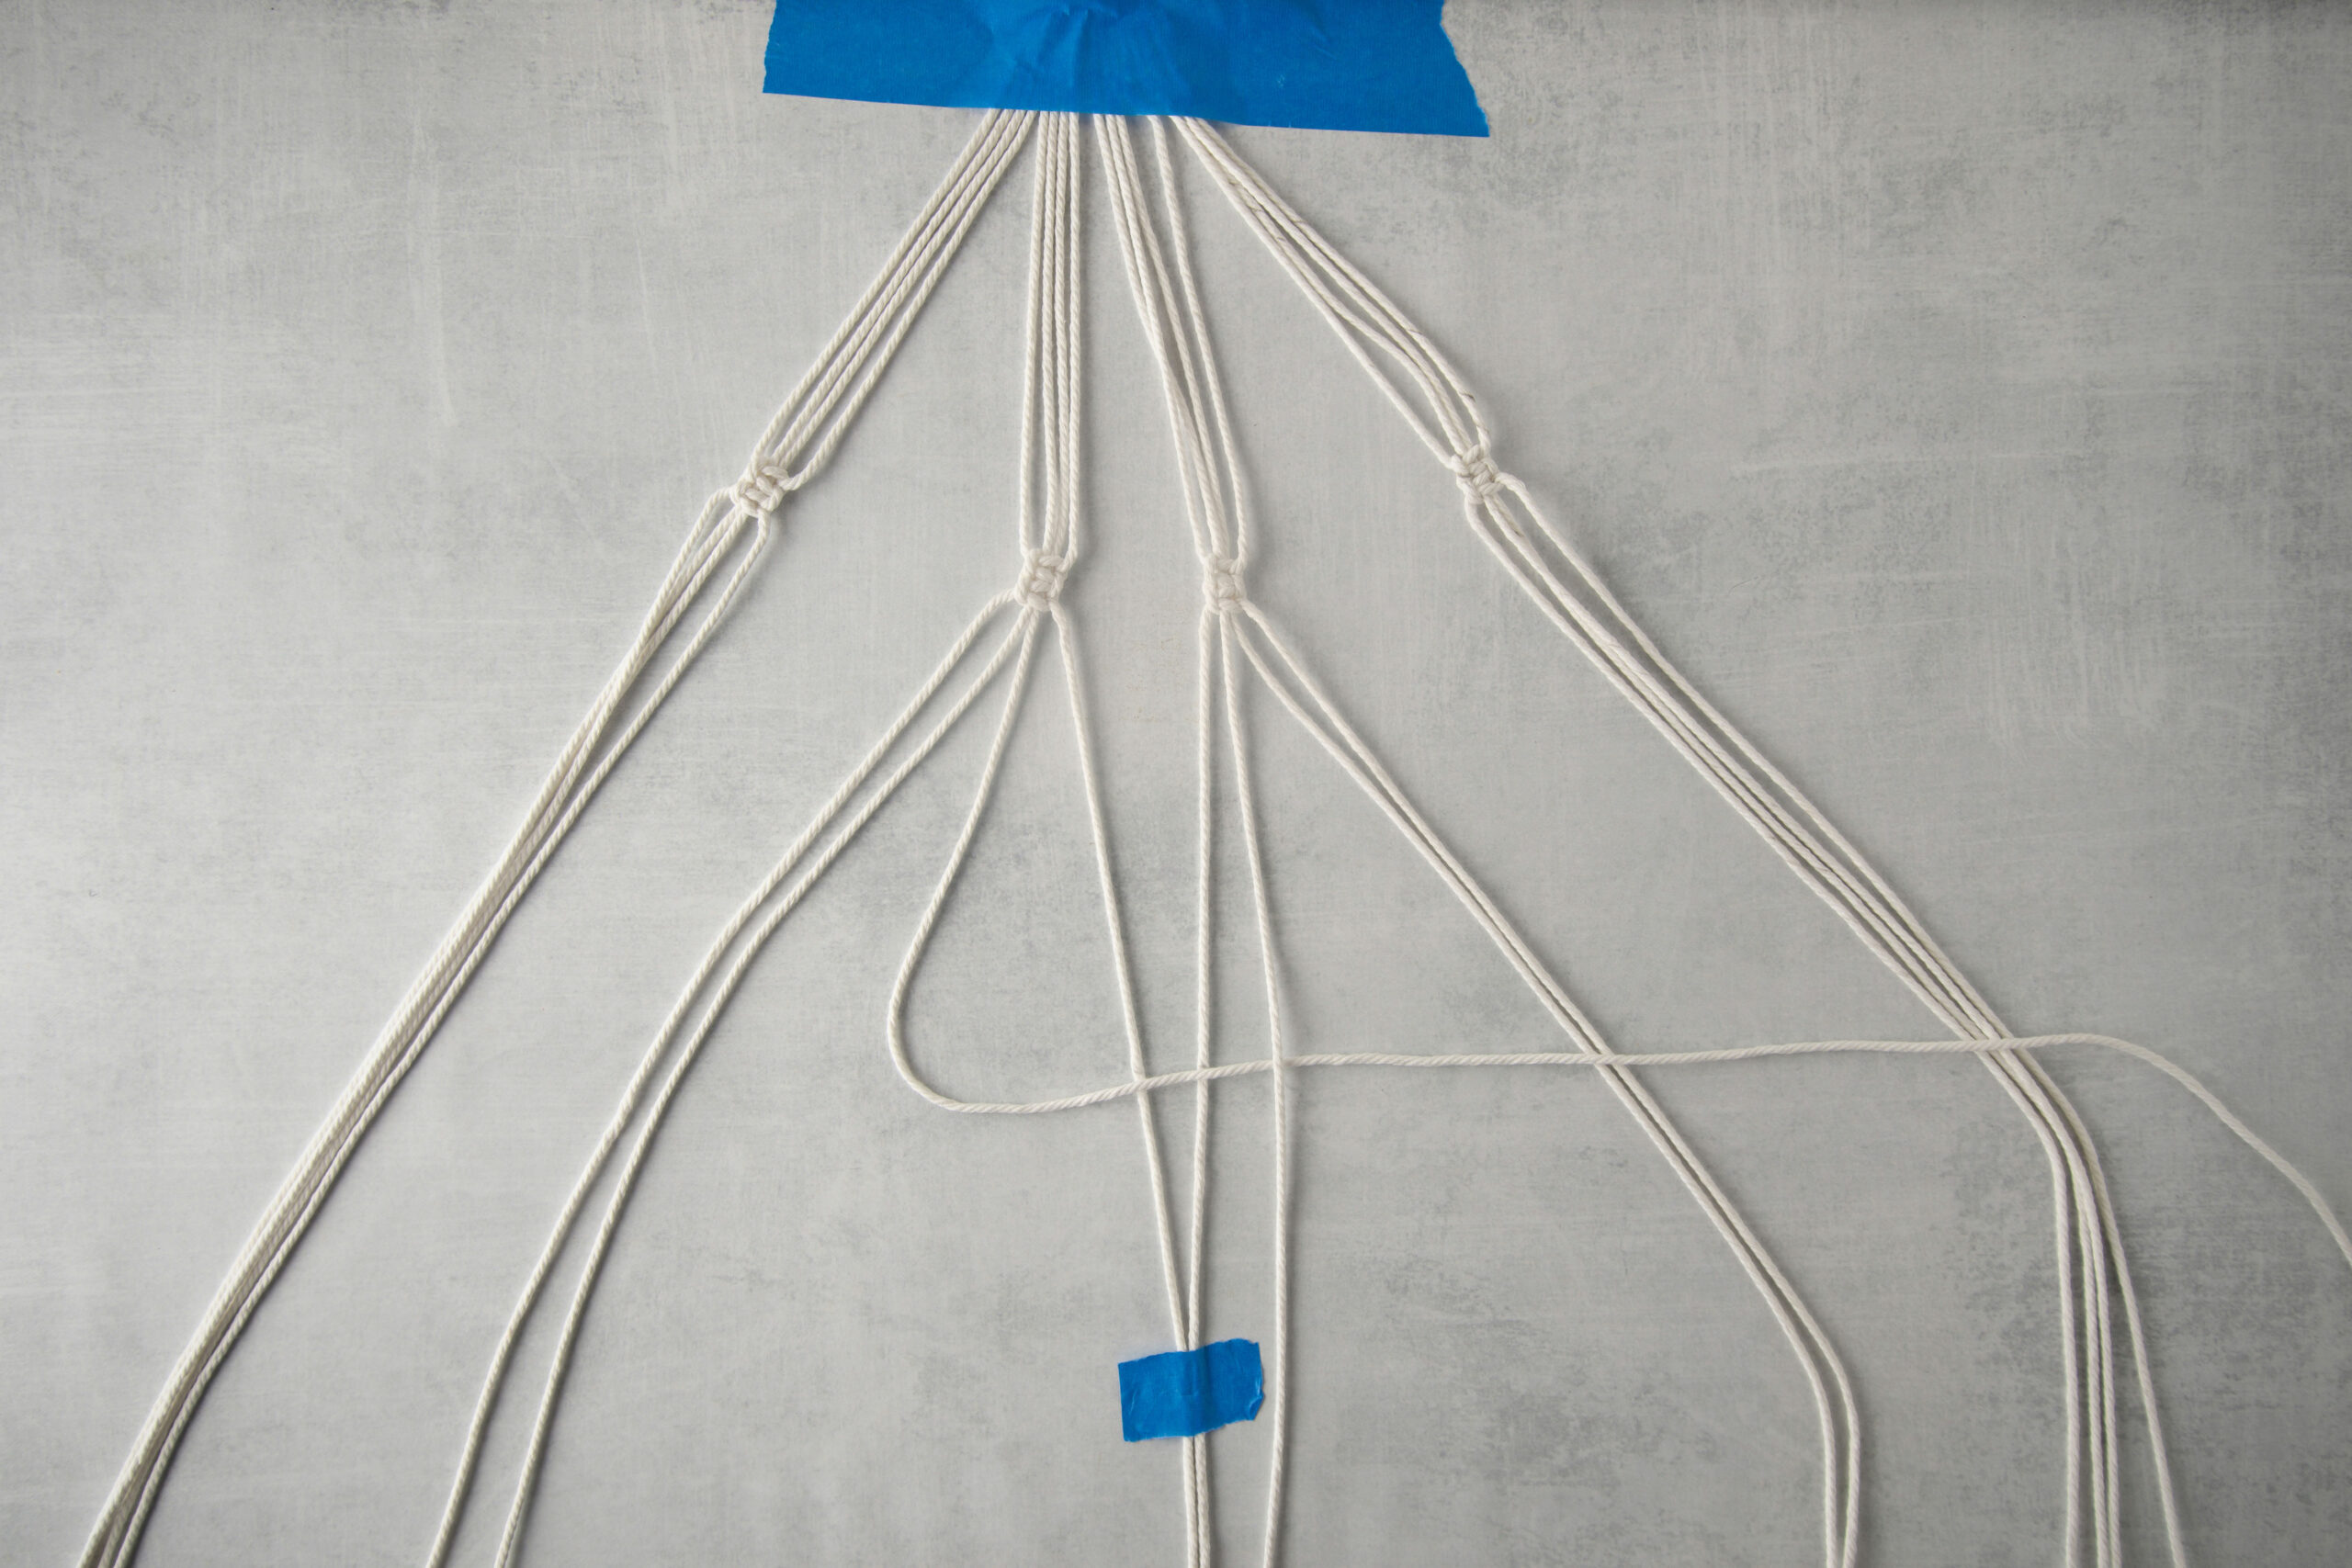
STEP 4: Repeat the process on the remaining sets of cords.
Repeat the process until you have two complete left-facing square knots on each set of four cords. Make sure the knots are lined up as evenly as possible.

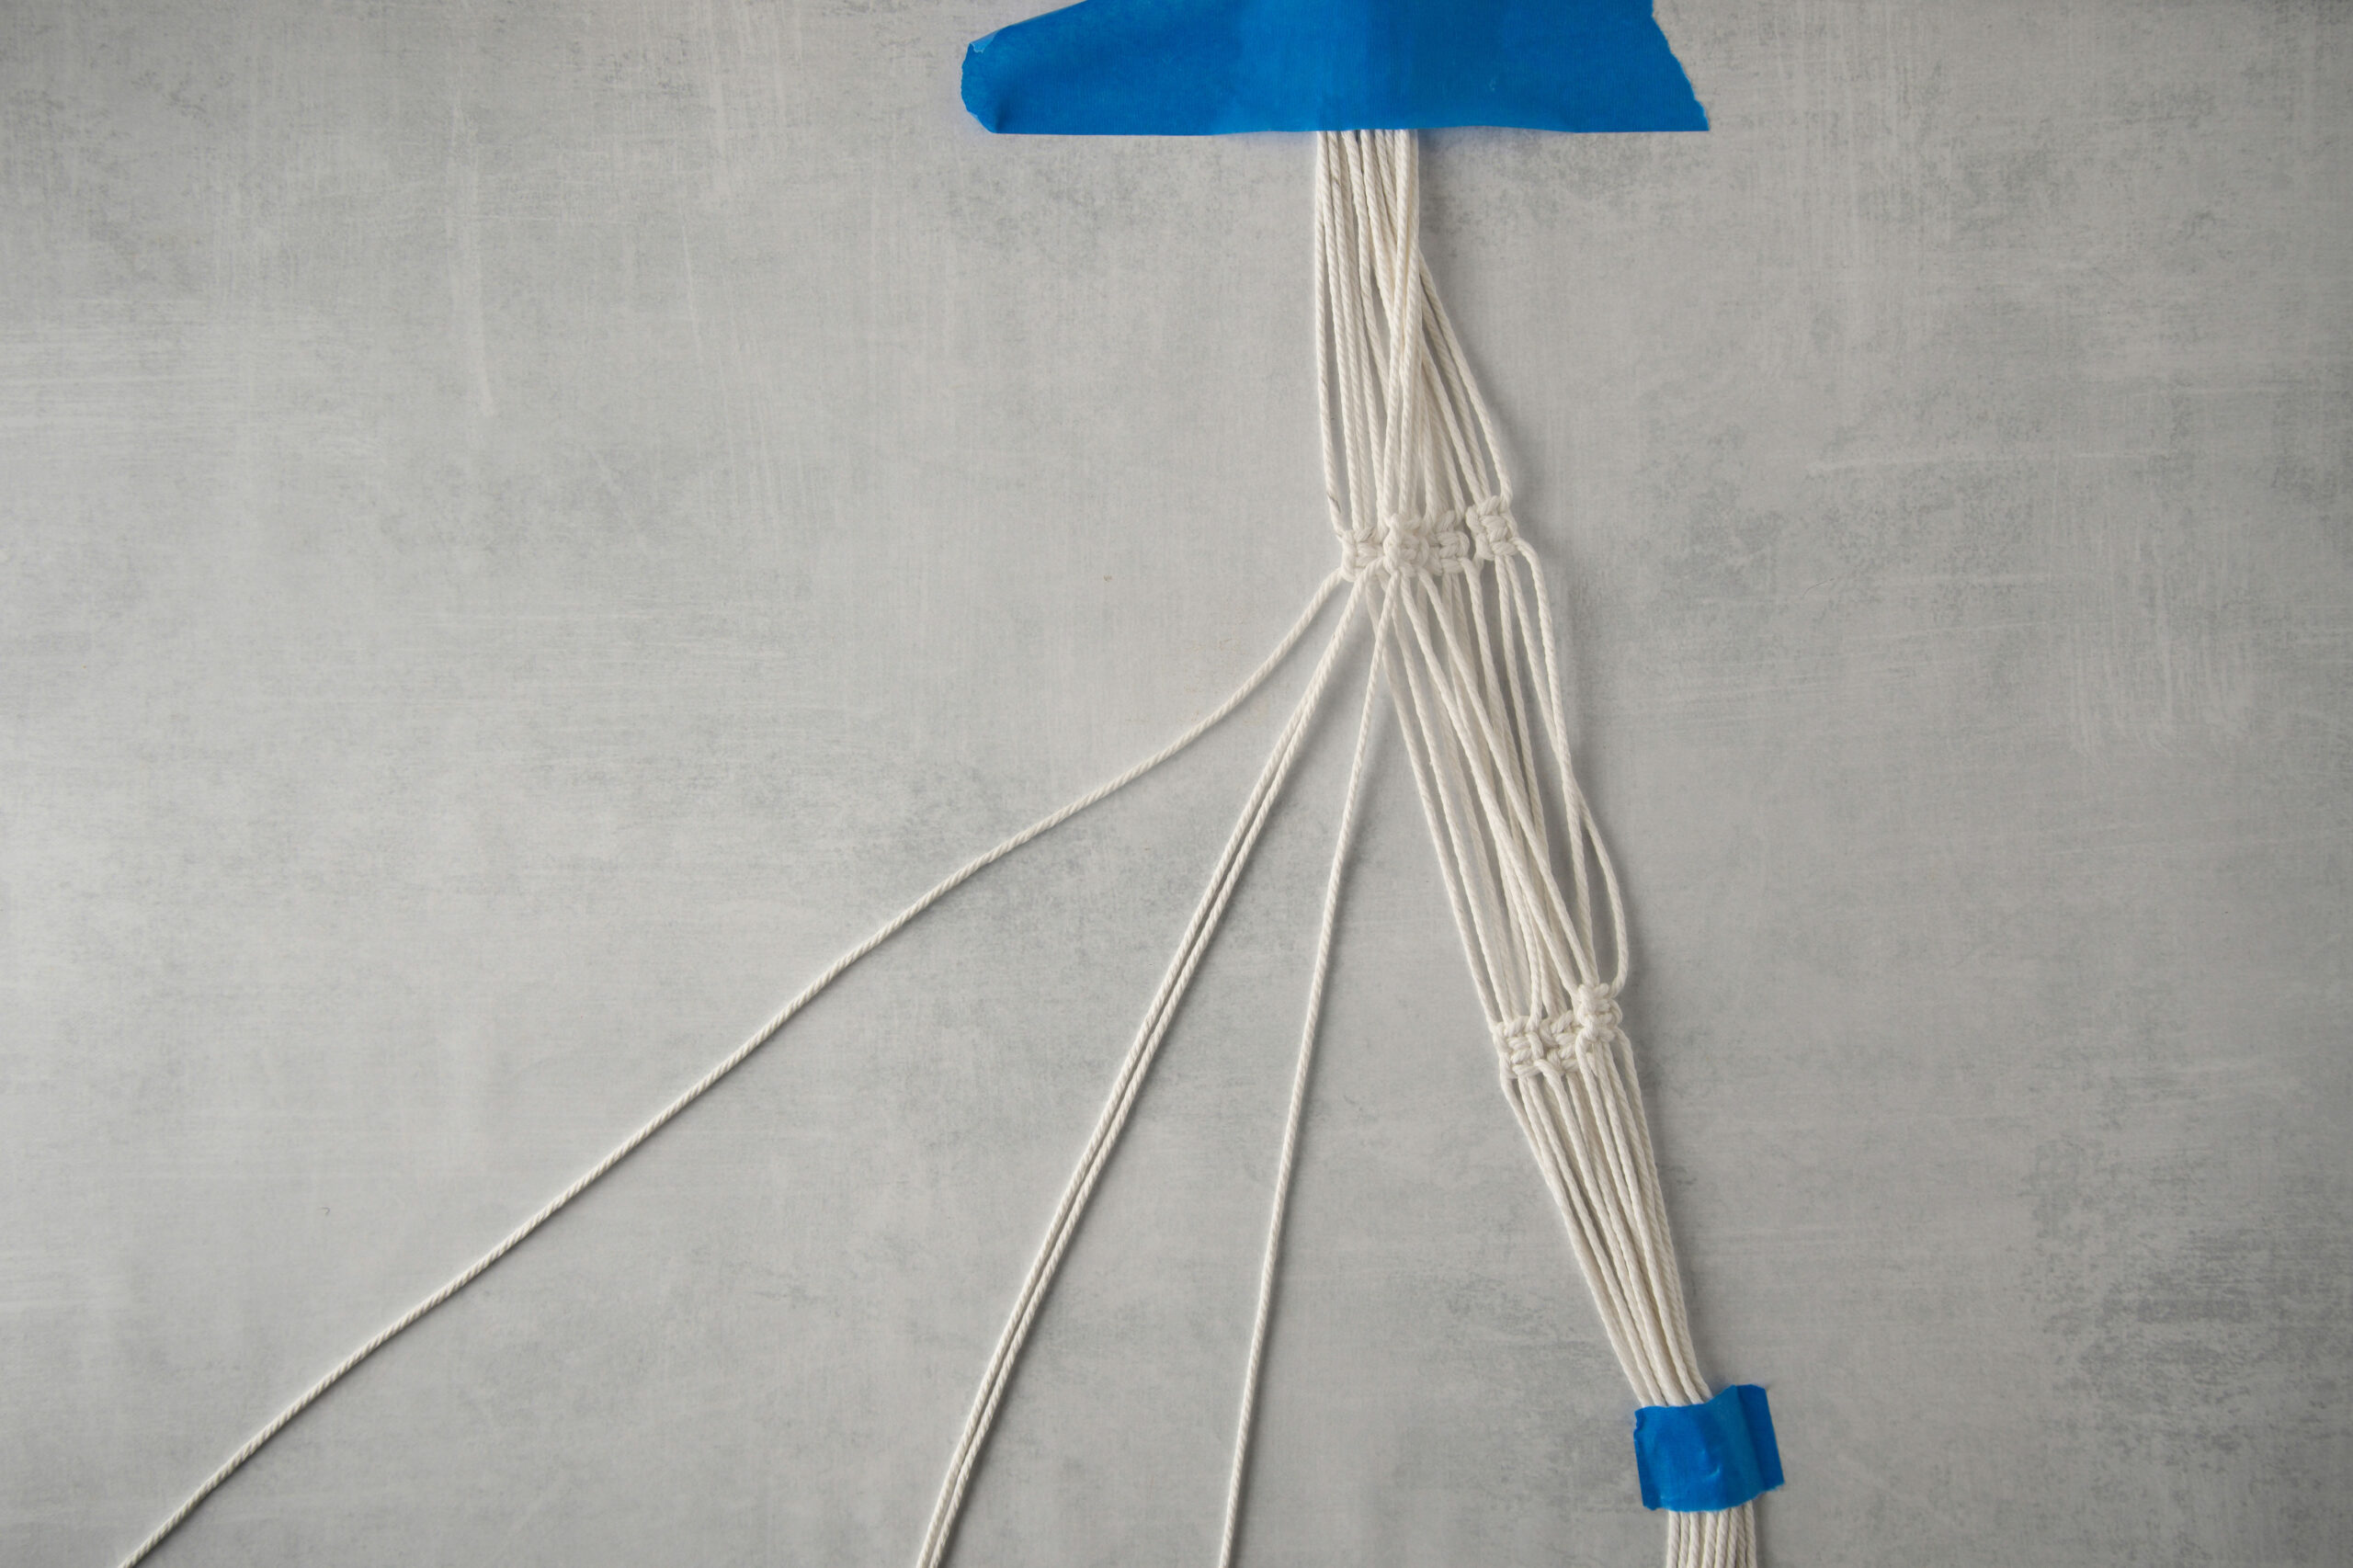
STEP 5: Create a Net
Now it’s time to create a net to hold the pot. Separate the four groups again. From each of the two center groups, take the two cords that are closest to each other. You will now tie square knots in this set of four cords.
Measure about 6 inches from the bottom of the previous square knots and make a pencil mark on the anchor cords (the two middle cords).
Repeat the square knot tying process, starting with a left-facing half knot. You will complete two left-facing square knots in this first set of four cords.

Do the same thing with the remaining cords, tying two complete left-facing square knots in each group of four cords, making sure the knots line up with each other.
The last set can get a little tricky. Just move the other three groups of cords to the side, line up the remaining four cords, and tie the square knots.
STEP 6: Finish with a wrapping knot.
Using the remaining 2-foot length of cord, make another wrapping knot about 3 inches from the last set of square knots.
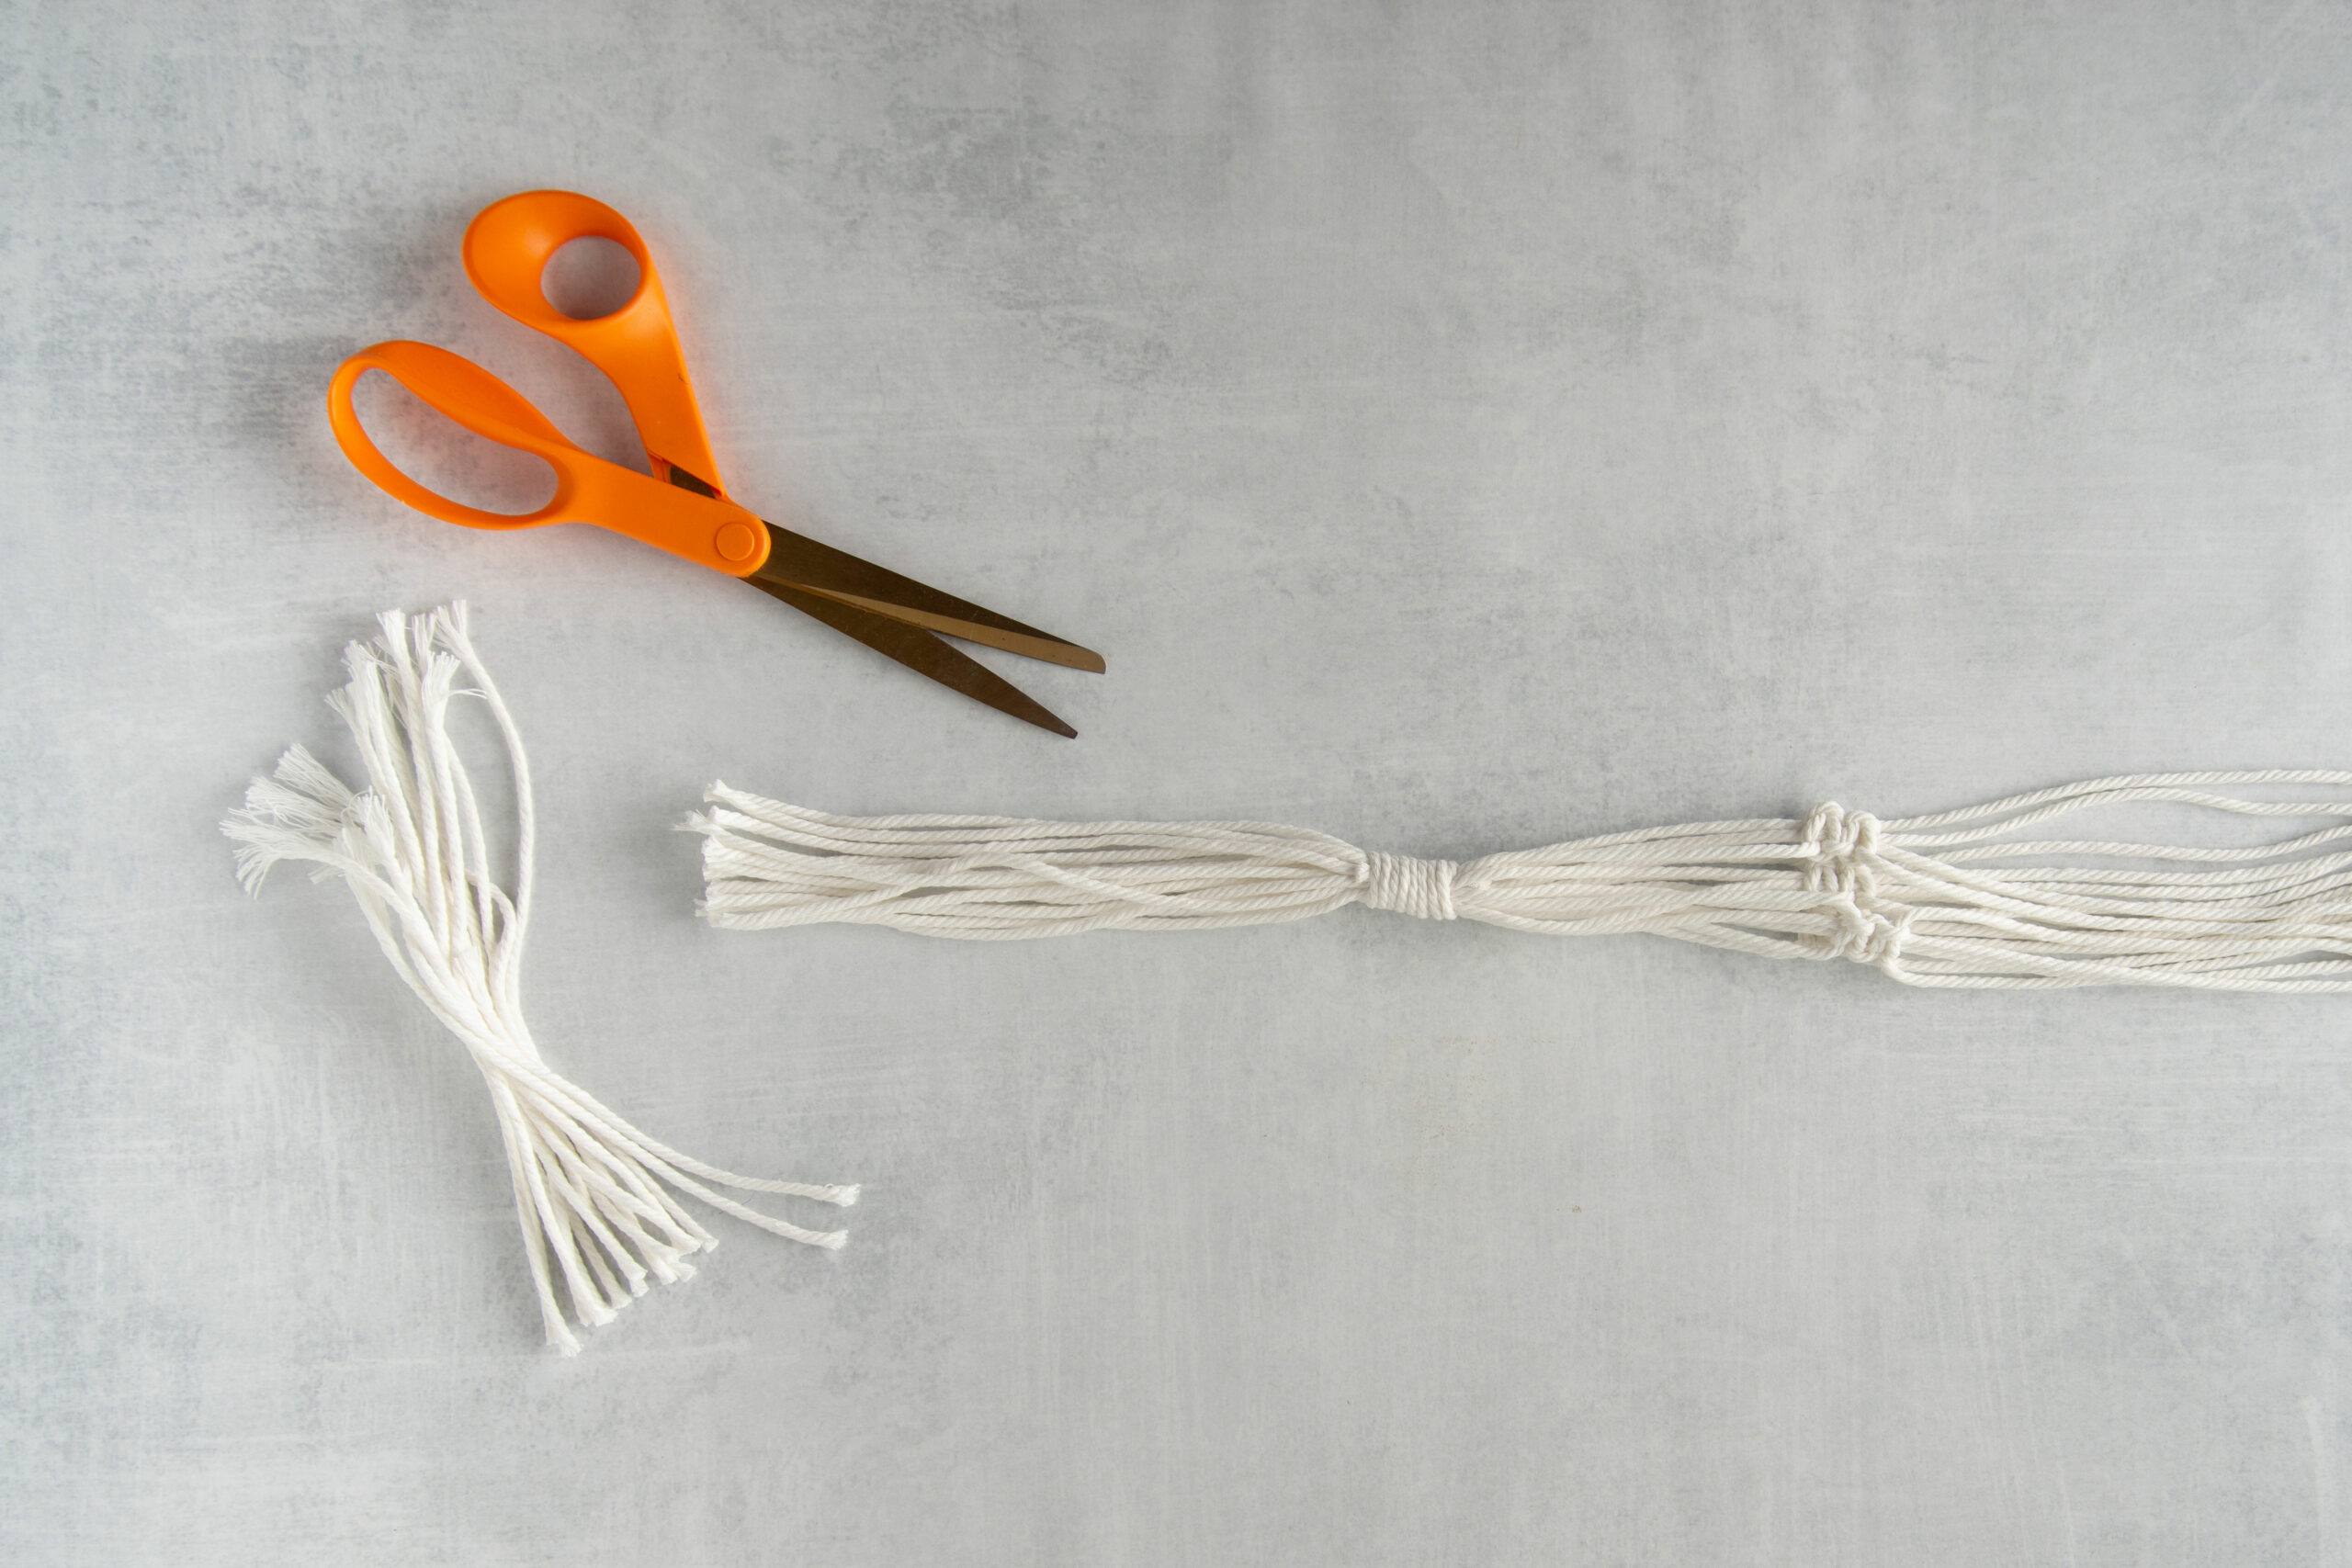
Trim the cord ends to the desired length.
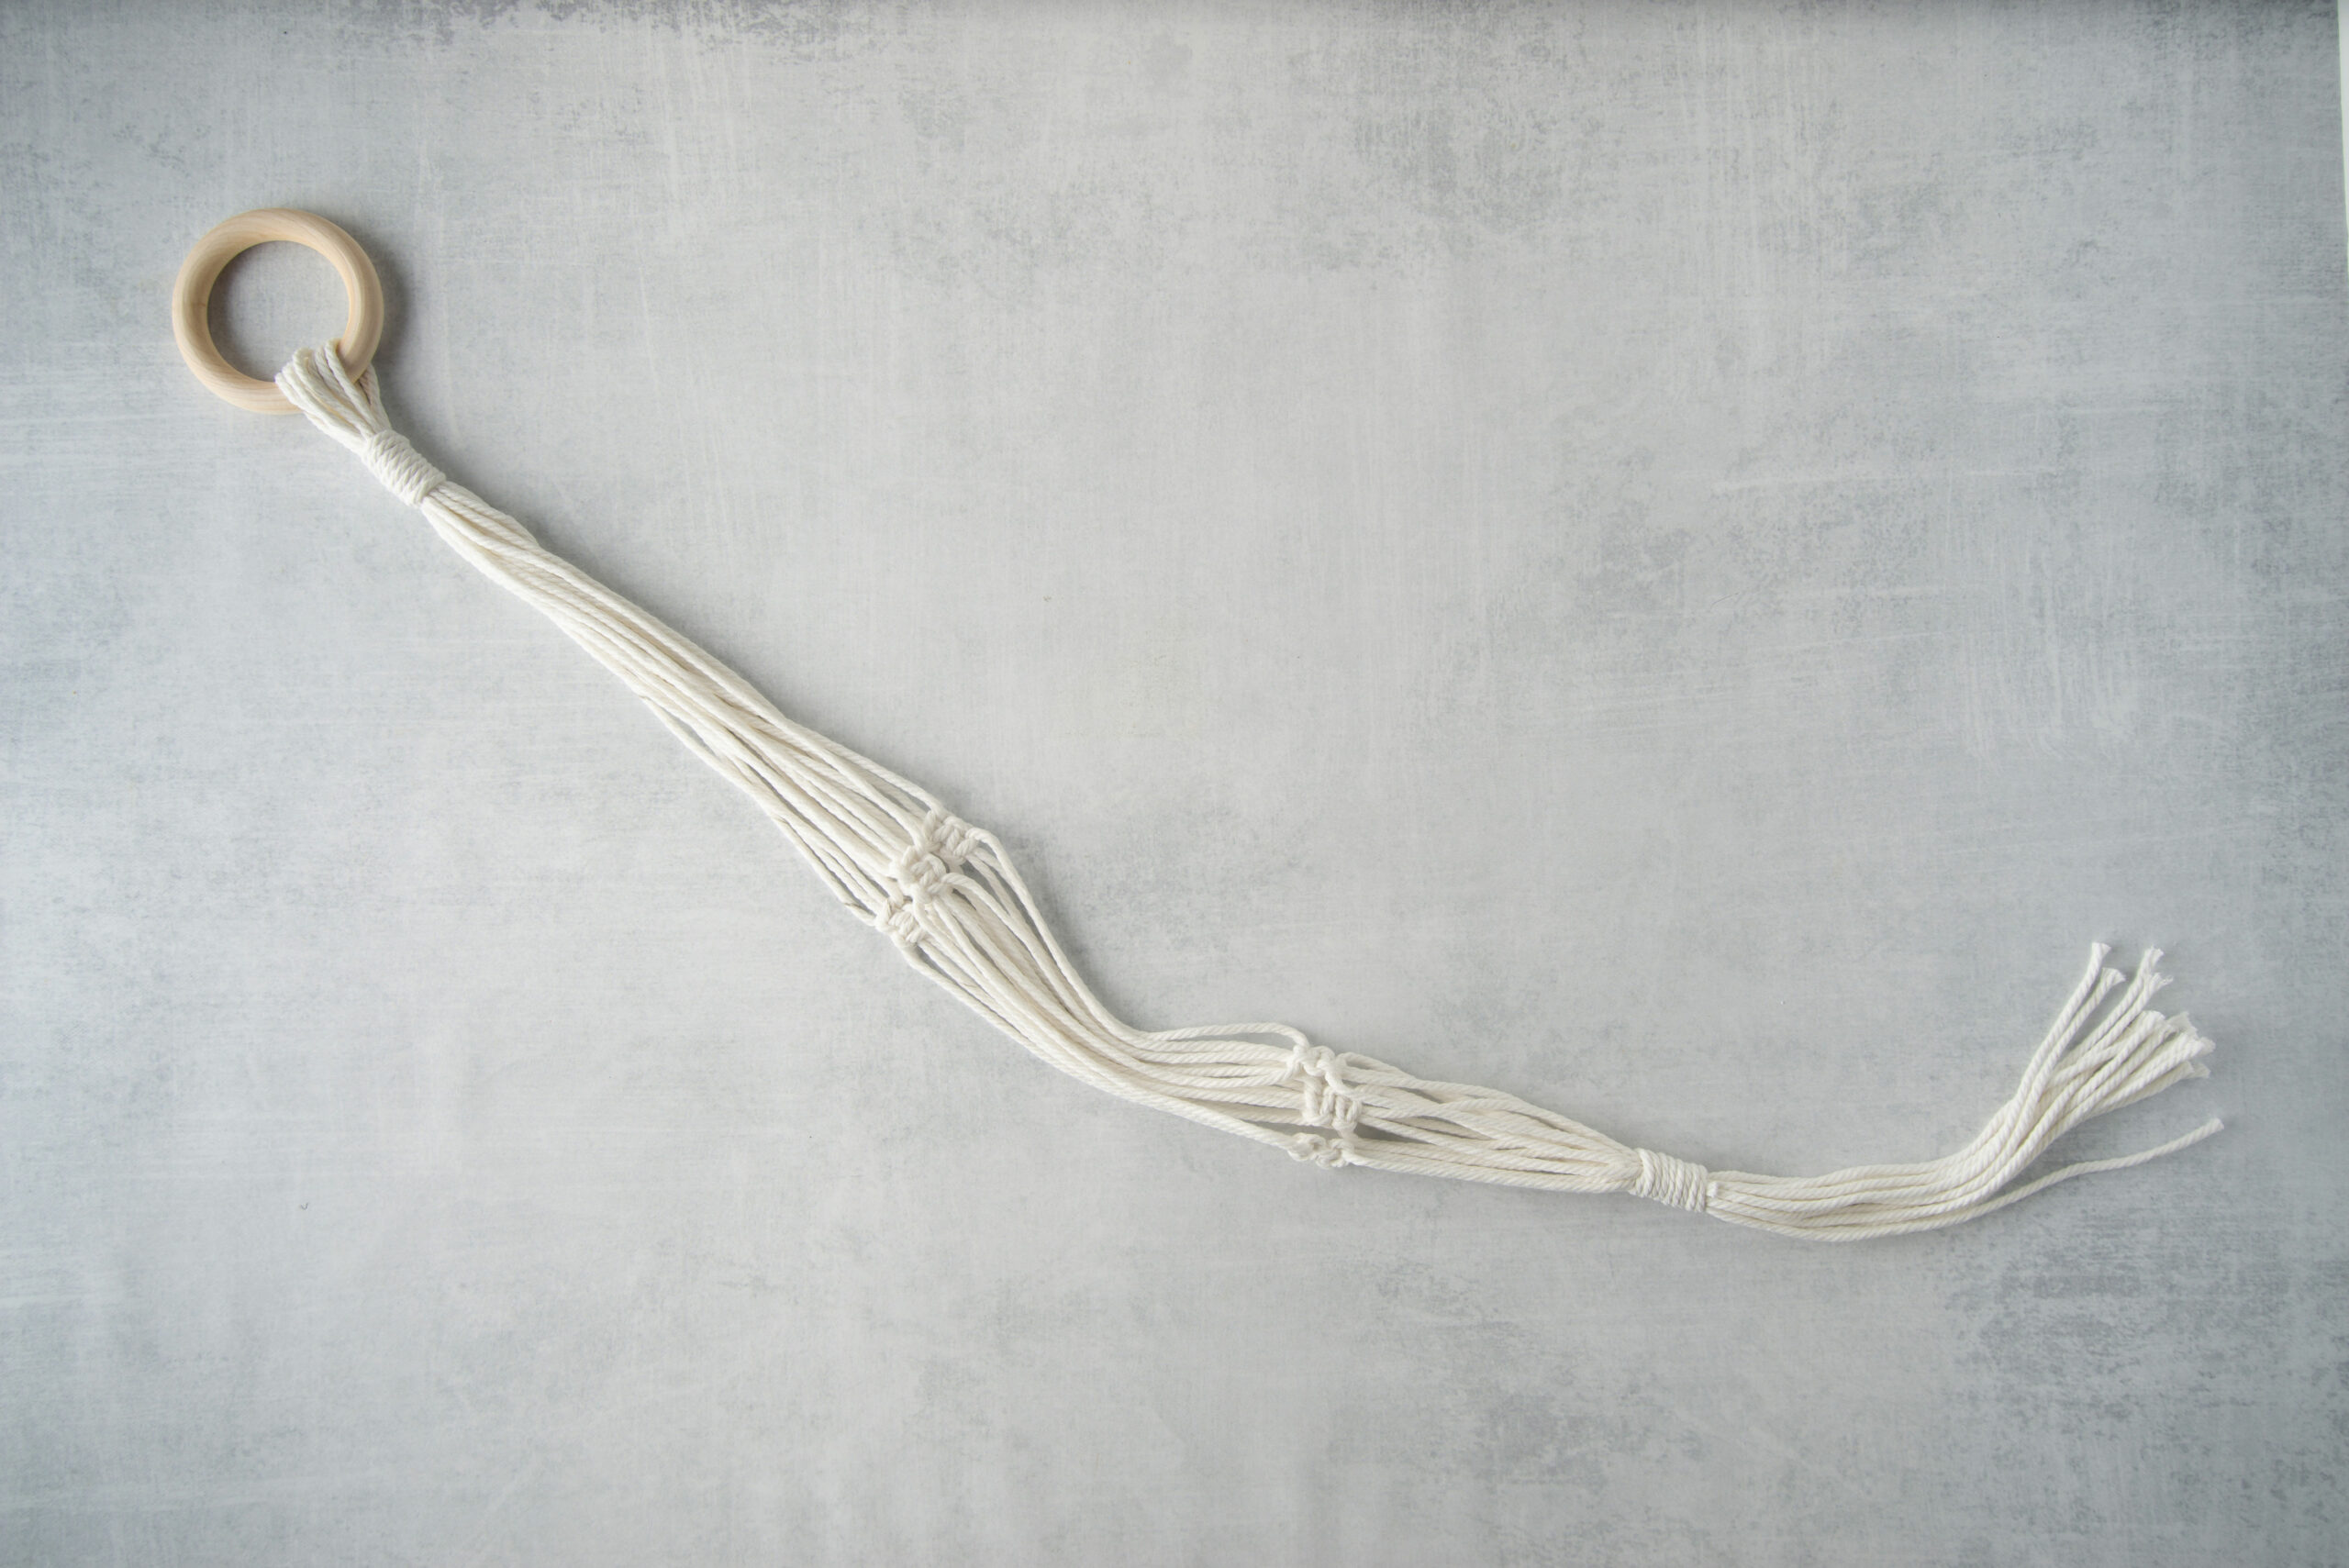
Now your handmade macramé plant holder is ready to hang!
RELATED: 11 Indoor Gardening Projects Absolutely Anyone Can Do
