We may earn revenue from the products available on this page and participate in affiliate programs. Learn More ›
Outdoor string lights are both stylish and functional, illuminating your outdoor living space while providing an inviting ambience for your family and guests to enjoy. No matter the size or layout of your yard, deck, or patio, there is a style and configuration of string lights that will work for you.
Get creative with your outdoor string lights, and be sure to check the installation instructions for the product you’ve purchased—these instructions vary by manufacturer. Generally speaking, you can install most types of string lights with a few commonly available tools and a bit of know-how. Read on to learn how to hang outdoor string lights in six simple steps.
Project Overview
Working Time: 2 hours
Total Time: 2 hours
Skill Level: Easy
Estimated Cost: $110
Before You Begin

How to hang outdoor string lights on your property will depend on how your deck, patio, or balcony is set up. The time it takes to hang the lights, too, will vary depending on how many strings of lights you are hanging and the structures surrounding your outdoor living area.
Before getting started, measure the length and width of the outdoor space you want to illuminate, and determine whether you want your lights to go around your patio’s perimeter, zigzag across a pergola, or be arranged in some other configuration. This will help you determine how long each set of string lights should be and how many sets of lights you’ll need. Though it’s possible to hardwire outdoor string lights, that process will likely require hiring an electrician. The goal of this guide is to explain how to install plugged-in or solar string lights.
Hanging Outdoor String Lights From Poles, Posts, or Trees
SUPPLIES
Outdoor string lights
Extension cord rated for outdoor use (optional)
String light suspension kit (optional)
String light poles (optional)
Tape measure
Cup hooks or brick hook clips
Drill (optional)
Ladder
Zip ties
Staple gun (optional)
Step 1: Select the right string lights for your space.
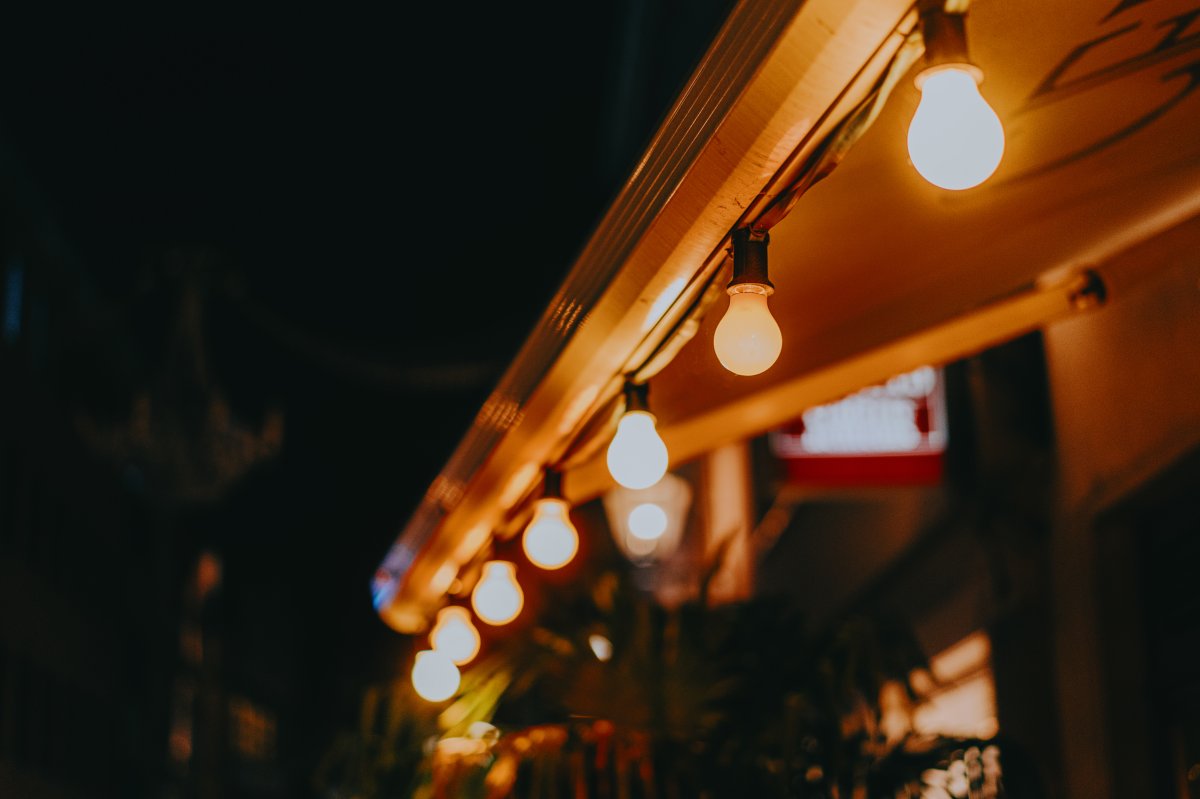
The first step to installing hanging outdoor string lights is to determine the best outdoor string lights for your alfresco living area. Calculate how many total feet of outdoor string lights you need, and decide on your preferred bulb type and style. String light bulbs come in a variety of shapes and sizes; some of the most popular options include globe bulbs, Edison bulbs, lantern-style bulbs, and tiny fairy lights.
The next important consideration is how the string lights will receive power. Homeowners with outdoor electrical outlets can use LEDs or incandescent lights. (If the electrical outlet is far from the mounting location, you might also need an outdoor extension cord; the UltraPro 25-foot cord was the top performer in our tested guide to the best extension cords). Battery-powered string lights are a great option if there are no outlets on your patio or deck. Solar-powered string lights are a terrific energy-efficient option, particularly in outdoor areas that get a lot of direct sunlight during the day.
String lights come in a range of lengths, varying between 25 and 150 feet. If you need to join more than one set of lights together to span your patio or deck, confirm that the lights you want have both male and female connections. You’ll also want to research the manufacturer’s recommendations about how many strands you can safely connect. Once you’ve purchased the string lights, be sure to test each strand before hanging them. Make sure all of the bulbs work before the lights are hanging high over your head.
Step 2: Determine where you will hang the lights.
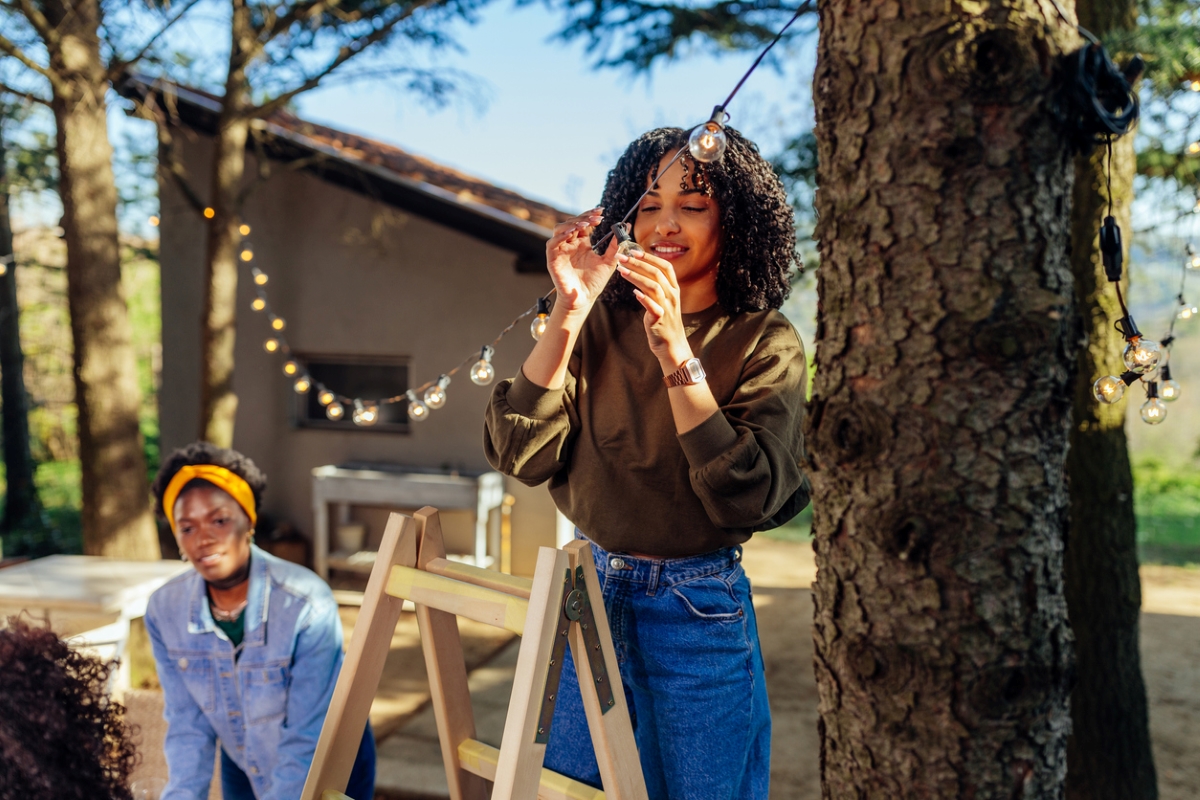
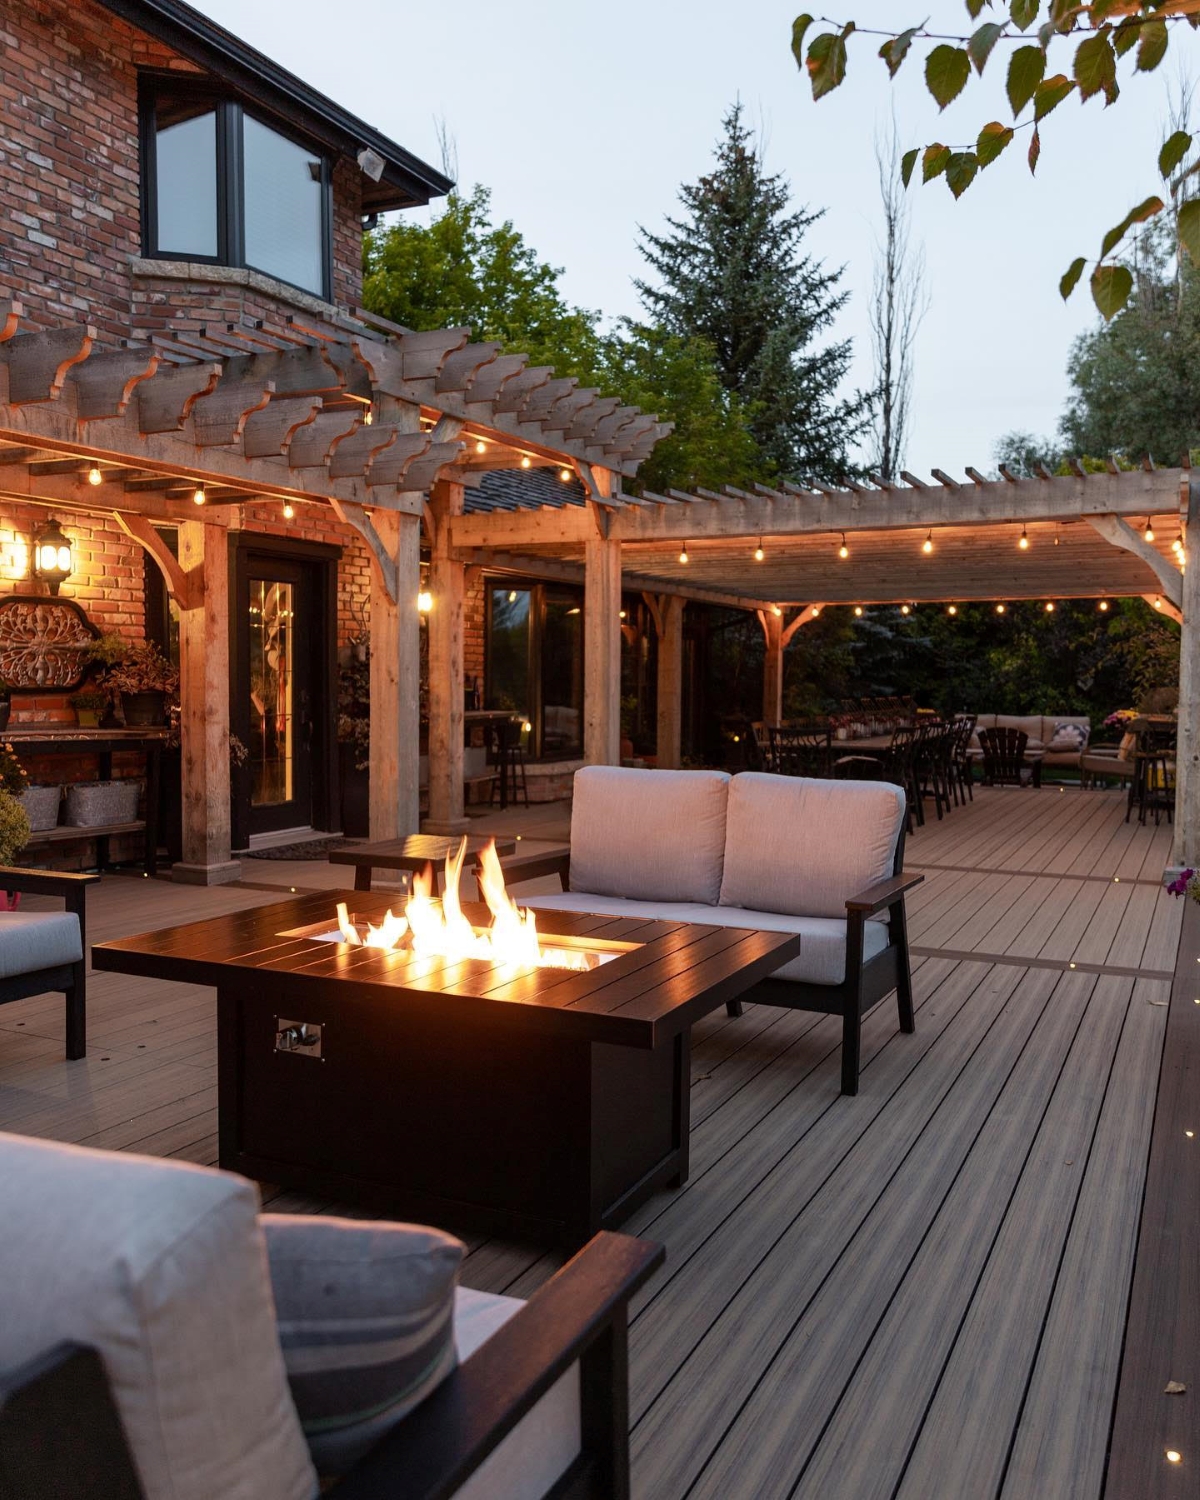
Once you’ve purchased and tested your lights, decide where and how you will mount them. In a wooded backyard, lights can easily be strung from tree branches. Fences, walls, pergolas, porch posts, roof eaves, or your siding’s trim are other good places from which to hang string lights. If your light strands are very long and you plan to hang them from just a few well-placed hooks, consider purchasing a string light suspension kit. Although string lights that hang a little loosely look great, mounting them on a taut wire will keep them from falling too low.
If your outdoor space doesn’t already have appropriate locations from which to hang string lights, you’ll need to purchase 8- to 10-foot wooden or metal string light poles and install them in the area to be illuminated. Once you’ve determined how and where the lights will hang, lay the strands out on the ground in the planned configuration to ensure that they are long enough to span the space. (Take note of where the plug ends of the strands will hang, too. If you can hide a bulky male-to-female connection under some tree branches, do it!)
Step 3: Measure and mark where the hooks will go.
Determine how far off the ground you want the string lights to hang. With pencil or chalk, mark the desired height on the first post, fence, or tree from which the lights will be suspended. Use a tape measure to determine the height of that first mark. Mark the remainder of the posts or hanging structures at this same height so the string lights hang evenly.
Step 4: Screw in the cup hooks.
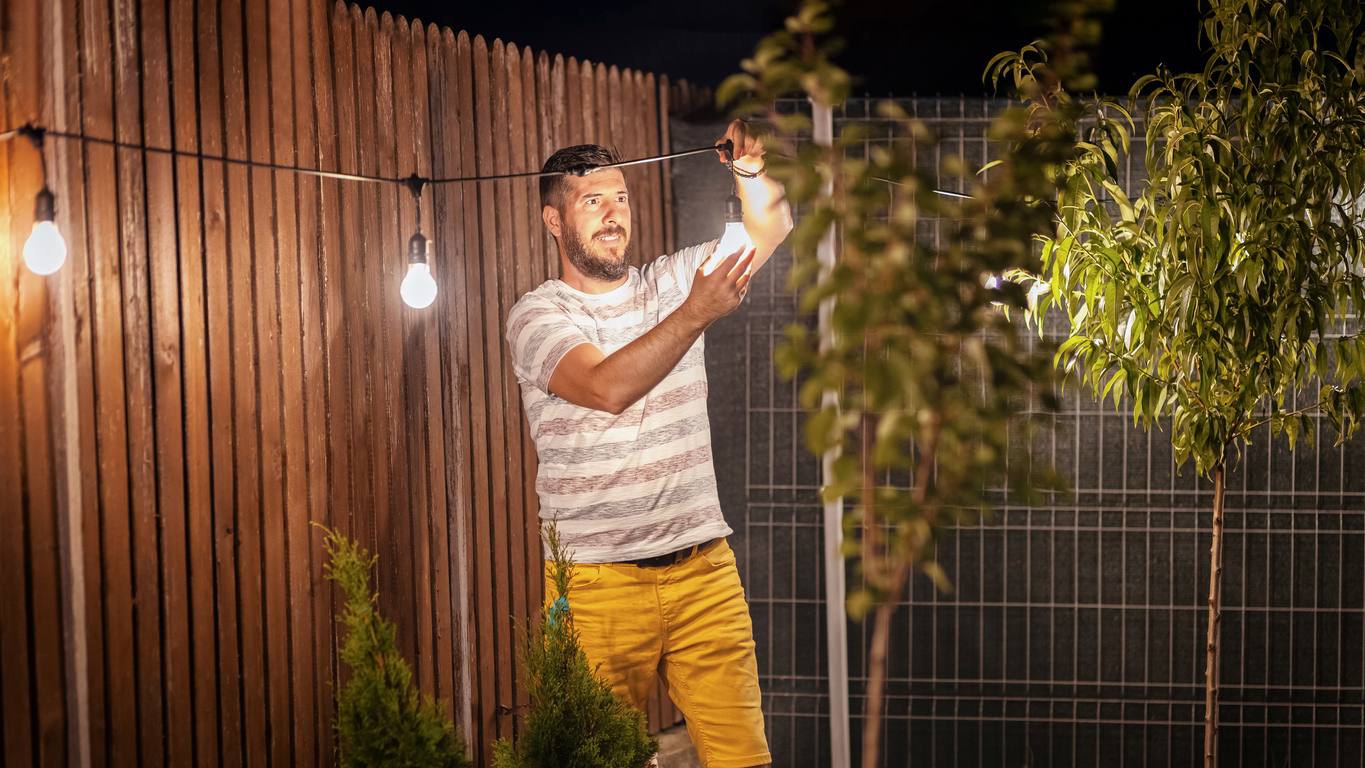
At the locations you’ve marked in pencil or chalk, screw in the cup hooks in a clockwise direction. (Be sure that the open end of the hook is positioned so it’s facing upward to prevent the string lights from slipping off.) Depending on the material into which you’re inserting the cup hooks, you might need to drill pilot holes before twisting the cup hooks in. If you’re mounting string lights to a brick surface, use brick hook clips instead of cup hooks.
Note: If you are using a string light suspension kit, install it before hanging the string lights. Most kits come with their own hardware, and you may not need the cup hooks. Skip to Step 5.
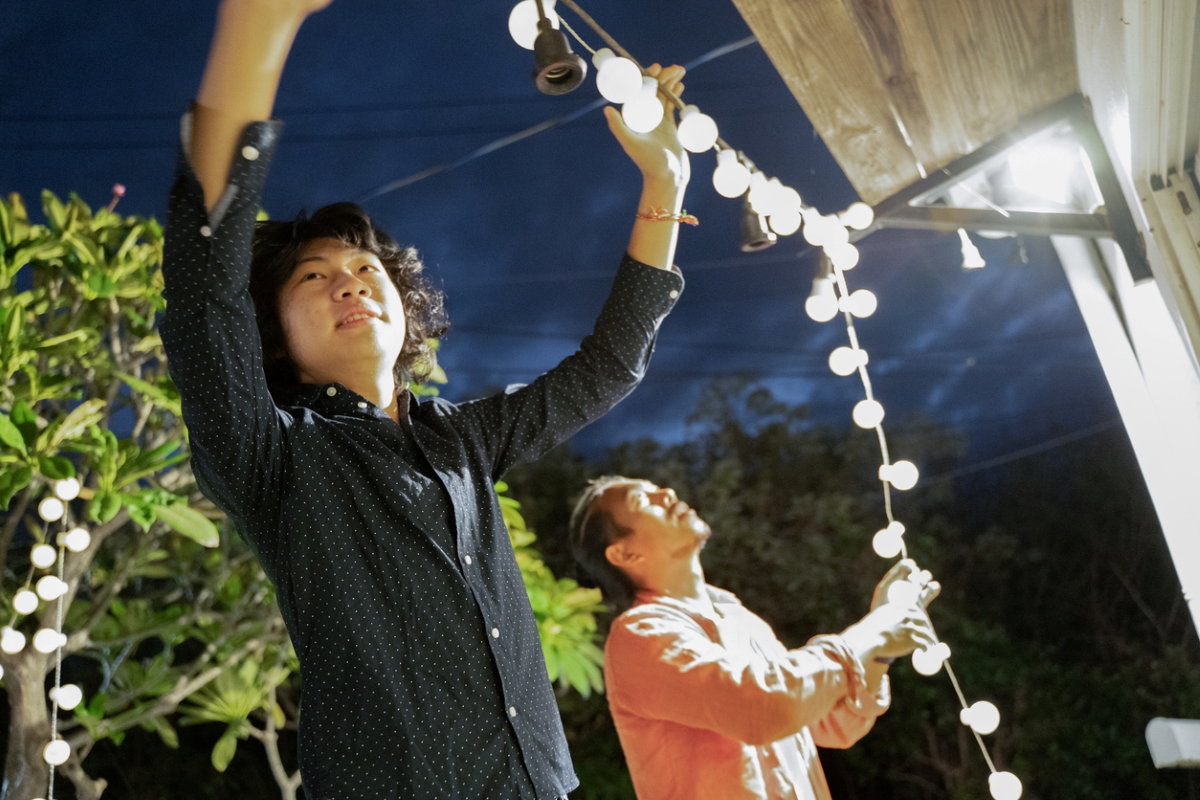
Step 5: Hang the string lights.
Hanging string lights is a lot easier to do if you screw in the glass bulbs after the strands are hooked in place (this is particularly true if you’re working with bulkier globe- or Edison-style bulbs). The strands are easier to maneuver without bulbs—and, of course, you reduce the likelihood of the bulbs breaking.
Enlist a helper to hold the plug end of the first set of lights—or the extension cord, if you are using one—near the electrical outlet that will power it. This will ensure that you’re allowing enough length in the cord to reach the outlet. Starting at the hook closest to the outlet, stand on a ladder and feed the string lights through each cup hook. For added stability, use zip ties to secure the string lights in place around the hooks. Once the strings have all been suspended, have your helper hand you the bulbs one by one. Insert the bulbs into their sockets.
Note: For some simpler, lower-to-the-ground applications—say, if you’re running string lights under your deck’s railing—you might be able to forgo cup hooks altogether and use a heavy-duty staple gun, fastening the light strands every few feet. Pull them taut as you staple, keeping your general spacing and design in mind.
Step 6: Plug in the outdoor string lights and enjoy your illuminated space.
When the lights are securely in place, plug them in and enjoy your relaxing new outdoor oasis.
How to Hang String Lights on a Covered Patio
If you’re hanging string lights under a covered patio you already have the structure in place to support them, so there’s no need to worry about installing poles or posts to hold up your lights.
When hanging string lights under a rooflike structure, the two easiest ways to attach lights are with staples or Command hooks. Staples will hold the wires and bulbs securely in place, giving your string light installation a clean look. Staples need to be driven into a solid wood surface, though, so you can only use this method if you will run your string lights along wood beams or ceiling joists.
The other way to go is to use outdoor Command hooks. These fasteners will adhere to any smooth painted or stained surface, such as the thin beadboard often found under covered porches. While Command hooks won’t give you the same neat look that staples will, they don’t limit your string light installation to beams and ceiling joists.
SUPPLIES
Outdoor string lights
Tape measure
Staple gun or Command hooks
Step ladder
Step 1: Determine where the lights will go overhead, and figure out how many feet of lights you will need.
Map out the path of your lights on the ceiling structure, making sure to work around obstacles such as lighting fixtures and ceiling fans that could interfere with the string lights.
When determining where your string lights will go, consider their intended function and the overall look you’re trying to achieve. If you want only accent lighting, run the lights around the perimeter of the covered porch. To better illuminate the outdoor dining area, run the lights so they make several passes over the ceiling of the structure to brighten the interior.
Once you’ve determined the path the lights will take, use a tape measure to calculate the total length of string lights you’ll need.
Step 2: Decide which style of bulbs you want and how many strings of lights you’ll need.
You have a few style options to consider when shopping for string lights. String light bulb styles range from globes, which create more of a café-style look, to the larger, oblong Edison bulbs, which add a more rustic feel. The type of bulb you choose will also impact color temperatures and brightness. You’ll get more brightness out of LED and halogen bulbs, while incandescent bulbs produce a warmer light. As you’re shopping, be sure you’re looking only at string lights and accessories that are rated for outdoor use.
Use the measurements you took in the previous step to purchase the right number of string lights, and look for lights that come in lengths that suit your plan. When possible, avoid buying too many short strings, which will leave you with unsightly plug connections breaking up the flow of the lights.
Step 3: Take light strings out of packaging and plug them in.
Before you open the packaging, double-check to make sure that the lights and accessories you plan to use, including any power strips or extension cords, are rated for outdoor use. When used outdoors, electrical devices rated for indoor use can lead to short circuits, creating an electric shock or fire hazard.
Take care when you’re removing the lights from the box. String light bulbs are fragile and can break if they clink together. Plug the lights in, tightening bulbs as necessary, to make sure they all work properly before installing them.
Step 4: Using either Command hooks or a staple gun, fasten the string lights overhead.

While it’s possible to hang string lights on your own, it’s a much easier process with an extra set of hands. This is especially true if you choose to hang the string without first removing the bulbs. Without someone else to hold the string while you’re wielding the staple gun, the lights tend to swing around, which can cause bulbs to knock against hard surfaces, such as a deck or cement patio, and break.
With the lights plugged into a power source, bring the first light up to its location. Don’t pull the cord too tight. Instead, leave a small amount of slack between the first attachment point and the plug. Drive the first staple, being careful not to staple through the wiring. With the first bulb in place, you can unplug the lights before you finish hanging the rest of the string.
Pull the cord tight and continue adding one staple about every foot or so near each bulb location. Make sure you’re stapling into something solid, such as an exposed beam or a ceiling joist. A hollow surface won’t provide enough material for the staple to bite into, which will cause it to pull out easily later.
If you’re using Command hooks instead of staples, you’ll need to be a bit more strategic about placement. Position the first hook next to the first bulb in the string so that the bulb prevents the string line from pulling through the hook. Pull the string tight, then install the next Command hook so that the hook presses against the base of the next bulb, holding it tight. Continue with this pattern until you’ve installed all the string lights.
Step 5: Add additional light strings as needed.
After your first strand is in place, add additional strands and keep on stapling or adhering hooks until you’ve installed all of the light strings. Keep in mind that the connection between each string of lights will create inconsistent spacing between the bulbs. Try to plan the layout of your lights so those connections are in less conspicuous places, such as in a place where the light string changes directions.
Final Thoughts
To maintain your outdoor string lights and maximize their longevity, it’s a good idea to take them down in winter if you live in a cold or snowy climate. Be mindful that many older homes do not come equipped with weather-resistant outdoor outlets, so for optimal safety consider having them replaced with more modern outlets that conform to National Electrical Code guidelines.
By following these instructions, you’ll make your outdoor living area bright and inviting—and really, change the whole vibe of your space—without breaking the bank. Take the time to research the best string light options for your needs before making a purchase, and be sure to measure the area ahead of time to make sure you buy enough sets of string lights. After just a couple of hours of work, you’ll be ready to entertain or simply relax in your new and improved yard or patio.
FAQs
Q. How many string lights do I need for my patio?
The number of sets of outdoor string lights you need for your space depends on the size of your patio and the length of the light sets you’re considering. To determine how many sets of lights you need, it helps to first sketch out your patio after measuring its length and width. Then, sketch where you want the lights to go—around the perimeter, for example—and calculate the perimeter in feet. (Be sure to account for enough string length to reach the electrical outlet, too.) Once you’ve selected the string lights you want, divide the perimeter by the length of the light strand to determine how many sets of lights you’ll need.
Q. How do you hang string lights outside without trees?
If your outdoor space has no trees from which you can hang string lights, consider hanging them from a pergola, fence, deck railing, your roof’s eaves, or an exterior wall of your home. If the space you want to illuminate is an open area without structures, you can purchase string light poles that can be inserted into the ground.
Q. How do you hang outdoor string lights without nails?
The best way to hang string lights to existing structures is to use screw-in cup hooks, not nails. If you’re reluctant to drill holes into your wood deck railing or fencing, consider stapling the lights in place using a heavy-duty staple gun.
Q. What kind of pole do you use for string lights?
An easy, economical way to hang string lights over a deck is to screw 8-foot furring strips into the deck’s rail posts, and then hang the lights from cup hooks drilled a couple of inches from the top of each furring strip. If you’re hanging string lights in an open area without wood structures to which you could fasten furring strips, consider purchasing string light poles.
Q. Where do you plug in patio string lights?
The easiest solution is to plug patio string lights into an outdoor electrical outlet located near the area you want to illuminate. If your house lacks an outdoor electrical outlet, consider purchasing battery- or solar-powered string lights.
