We may earn revenue from the products available on this page and participate in affiliate programs. Learn More ›
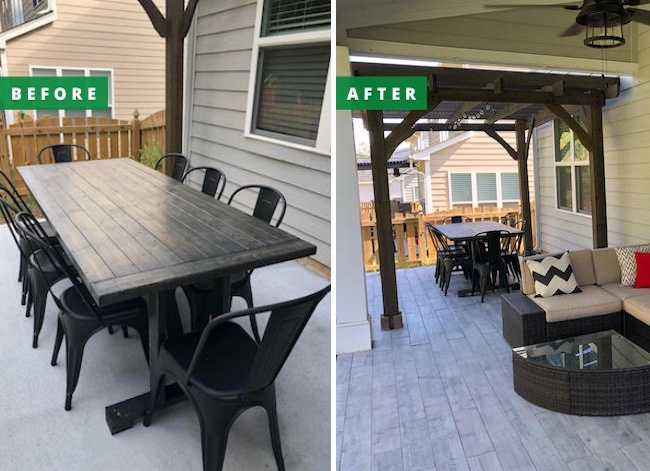
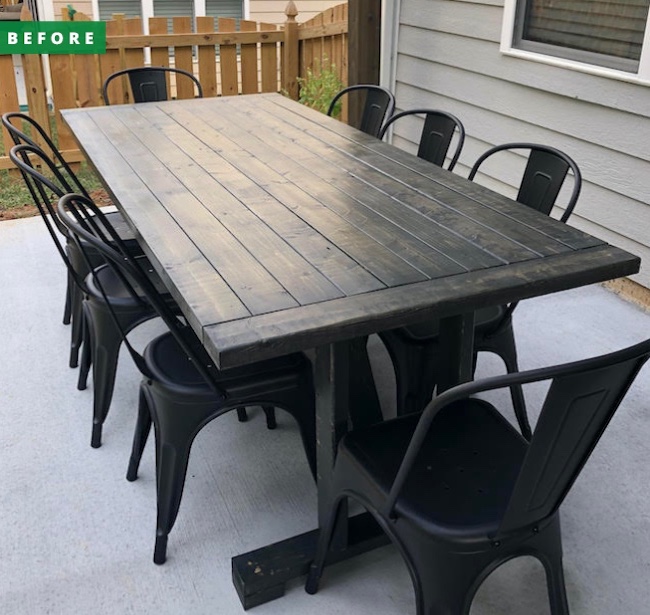
Like many homes built on a slab foundation, ours has a standard concrete patio that extends from the back of the house. While this spartan patio was perfectly functional, providing a stout place to set up an outdoor sofa, dining set, and barbecue, it wasn’t adding much in the way of aesthetics to our outdoor space.
Although our backyard patio was perfectly serviceable, we longed for a more visually interesting space for outdoor living. Our first attempt at beautifying the cold patio, which involved the addition of an “outdoor” burlap rug, was a failure. For a while, the rug added interest and warmth to the patio, but it ultimately succumbed to the elements. After a year, it was ragged, stained, worn, and ready for the trash bin.
We determined that transforming our patio into the backyard living space of our dreams would require a bigger effort. Although we knew it wouldn’t be easy, we decided that installing tile on the patio was the only solution.
Selecting a Durable and Functional Outdoor Tile
As much as we wanted a tile that would enhance the aesthetics of the patio, that tile also needed to be durable. It had to be strong enough to stand up to rain, snow, hot summers, and cold winters as well as our large gas grill and heavy outdoor furniture. Ordinary kitchen or bathroom tile wasn’t going to cut it.
We knew that the tile would get wet frequently because it’s outside, so it was also important to us that it be slip-resistant to prevent falls. We opted for an outdoor porcelain tile, a durable ceramic tile with a textured, matte surface that isn’t as slick as your run-of-the-mill bathroom tile.
A Patio That Complements Our Home’s Exterior
The whole reason we were embarking on this project in the first place was to improve the look of the patio, so aesthetics were vital. We opted for a gray tile with a faux wood pattern, complete with a textured wood grain that featured irregular knots for authenticity. The tile complemented the gray of our house’s exterior while meshing nicely with the earth tones of our outdoor furniture.
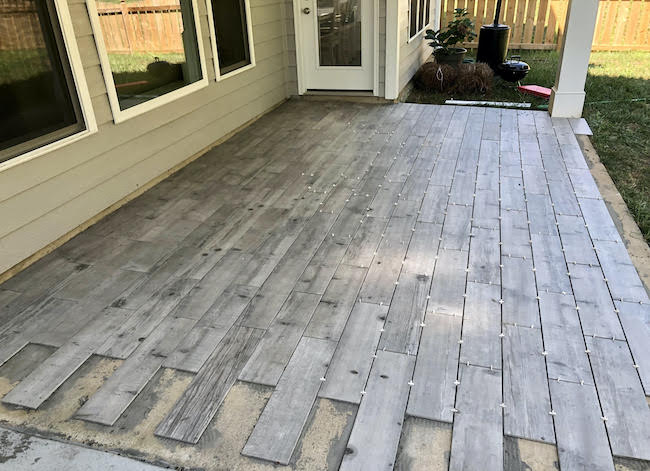
At 6 inches by 18 inches, the tile is long and narrow, accentuating the wood grain pattern. We didn’t want the grout lines to draw a lot of attention, so we went with a light gray color that blended in with the tile.
Prepping the Space
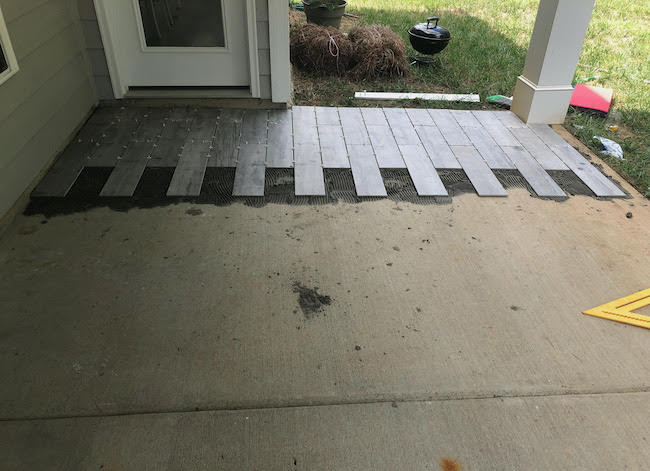
The nice thing about tiling a concrete slab patio is that much of the prep work is already done for you. There’s no old flooring to remove or subfloor to add, and the tile can be installed right on top of the concrete slab.
Because I had installed tile in a bathroom during a renovation a few years back, I knew that the first row would dictate how the tile would look when it reached the outer edge of the patio. To achieve a professional-looking installation, it was crucial to make sure the edge of the tile sat square to the outer edge of the patio.
I also didn’t want to have a skinny strip of tile running along the patio’s edge, which would be both odd-looking and structurally weak. To avoid these pitfalls, I mapped out each row, marking a line on the pavement where each row would start. While making these measurements, I accounted for 1/4-inch gaps between each tile for grout.
Essential Equipment
While a wet tile saw was the most critical piece of equipment I needed for this job, a few other essentials made this laborious project a little easier. One was a set of thick knee pads. Tiling is physically demanding work. You end up spending long hours on your hands and knees, spreading mortar and laying tile. The knee pads made that bearable and ensured that I could still walk at the end of the day! Laying tile also involves mixing a lot of concrete. While it’s possible to do this with a hoe, a spiral mixer attachment for my power drill sped up the mixing process, saving my back and arms while producing lump-free mortar.
Mixing the Concrete
One of the most critical parts of laying tile is getting the right consistency for the concrete. I used thinset, which is a type of mortar explicitly designed for tile. It’s smoother, thinner, and easier to work with than standard mortar.
There was, however, a bit of a learning curve with using thinset. I realized that once mixed, thinset begins to dry pretty quickly, especially in midsummer heat. While the manufacturer lists a working time of 90 minutes, I found that the mortar was too dry to work with after about an hour.
With that in mind, instead of mixing a whole or even half of a 40-pound bag, I mixed the concrete in smaller batches in a bucket, using about 10 pounds of dry concrete mix at a time. This strategy allowed me to use up all of the concrete before it became too dry.
Like Laying Railroad Tracks
We wanted the tiles to have a staggered look that mimicked a plank hardwood floor. So, instead of lining up the tiles evenly, I started each row with alternating full and half tiles, cut with the tile saw.
Once I established the first row, laying the tile became a mostly repetitive process of spreading concrete on sections of the patio with a trowel, then placing tiles with plastic 1/4-inch spacers. Before starting each row, I used a tape measure to make sure I was keeping parallel with the outer edge of the patio.
Grout Blunder
After giving the mortar a full day to dry, I began to grout the tile. Here’s where I made a big mistake. Grout sets in about 30 minutes, after which one must wipe the tile clean with a wet sponge.
Anxious to finish what had already become a monster job, I waited until I had spread all of the grout before wiping any of the tiles clean. The delay gave the grout enough time to dry on the tile surface, leaving a haze and dried bits of mortar. This error forced me to scrub each tile clean with a brush, turning what should have been an easy task into a much harder, more time-consuming one.
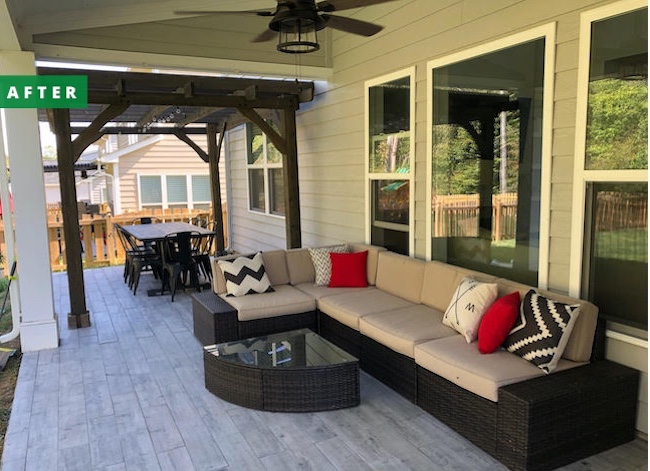
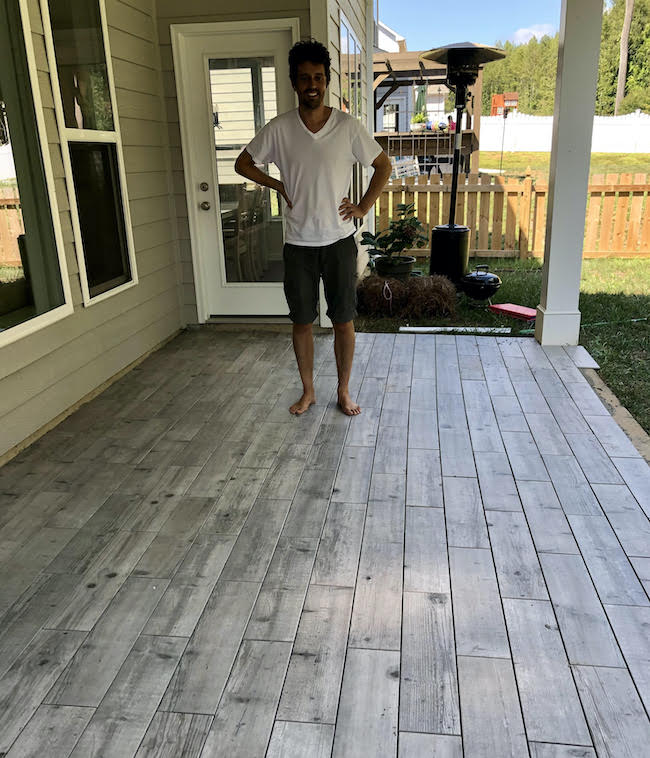
The Finished Product
Although tiling the patio turned out to be one of the more laborious DIY projects I’ve undertaken, the finished results were worth it. So far, the tile has held up well to both cold and hot temperatures as well as the wear and tear of a gas grill, heavy furniture, and regular foot traffic.
No longer merely a drab concrete slab, our patio now sports a finished look that serves as the perfect backdrop for our patio furniture, barbecue, and potted plants.