We may earn revenue from the products available on this page and participate in affiliate programs. Learn More ›
Linoleum is a classic and resilient material, often found in high-traffic spaces like kitchens, bathrooms, and hallways. Because the bond between linoleum and its adhesive actually strengthens over time, you’ll need a few special tricks up your sleeve—and a good measure of patience—when you’re ready to rip out outdated linoleum flooring.
Before You Begin
While the terms are often used interchangeably (even by flooring salespeople), linoleum and vinyl flooring are not the same thing, and they do not behave the same way during removal. Before removing any flooring, your first step is to confirm that your flooring is, indeed, linoleum. Removing vinyl flooring is a different process altogether.
Though linoleum is made of natural materials, if your linoleum flooring was installed before 1980, there’s a good chance that it contains asbestos in its backing paper. When asbestos is disturbed, it can release carcinogenic fibers into the air.

Tried-and-True Advice
“I find that a hair dryer or heat gun really helps to soften glue while releasing the linoleum from the floor. It helps to have an extra person [to pull up flooring], but you can complete the job solo while scoring the flooring to remove in small sections.
Take your time and use a scraper to remove glue while it’s soft. The glue is often more difficult [to remove] than the flooring itself, and it will require some cleaning time even after the flooring is cleared.”
—Zach Lazzari, Contributing Writer
Before pulling up linoleum flooring, use a home kit or hire a pro to test it for asbestos, and hire a qualified contractor to remove it if you find any. Among other requirements, removing asbestos requires wearing safety gear and disposal into approved disposal bags. We advise that asbestos removal be done only by professionals; some municipalities even prohibit homeowners from removing the material themselves.
After confirming the linoleum does not contain asbestos, follow these steps to learn how to remove old linoleum flooring.
Tools & Materials
Bobvila.com may earn a commission from purchases made through these links.
How to Pull Up Linoleum Flooring
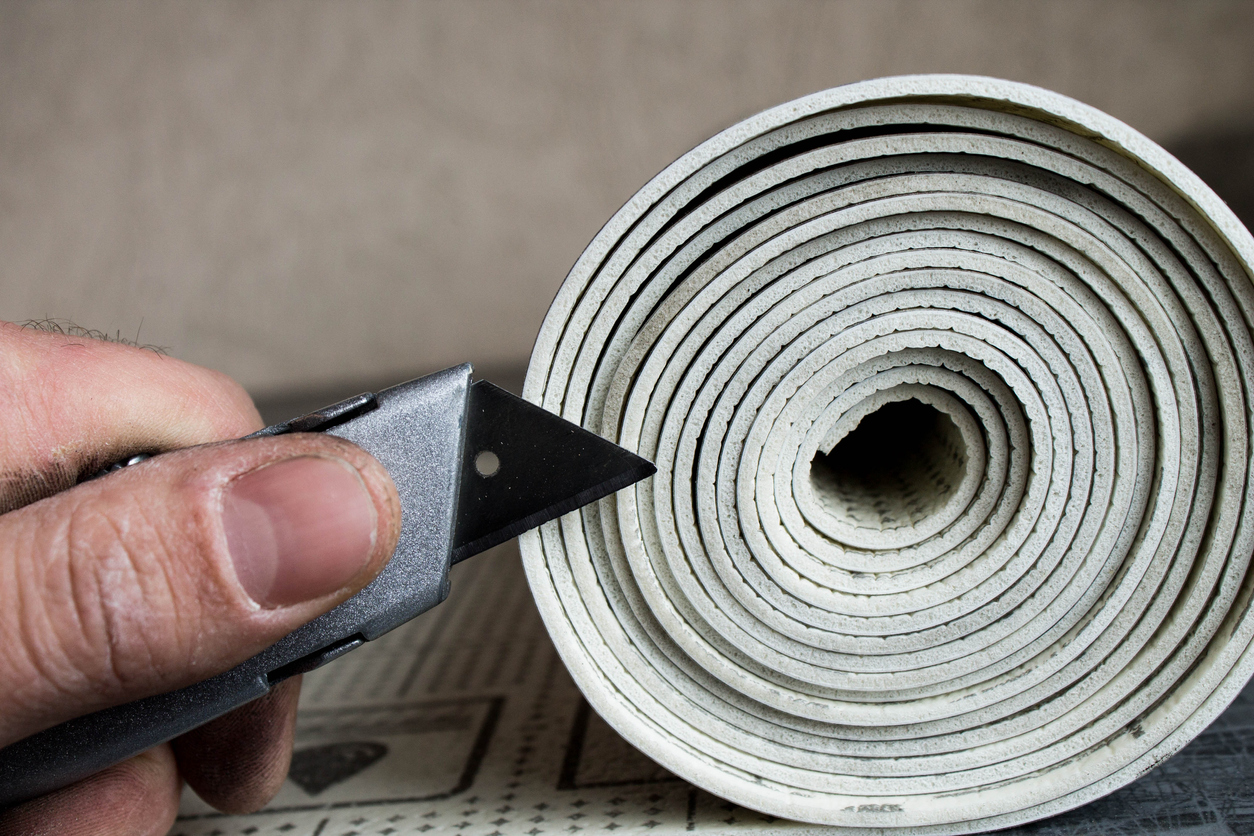
Step 1: Score the flooring into 6- to 12-inch strips.
Working in small sections with a utility knife, score the flooring into strips about 6 to 12 inches wide. If your linoleum features a tile pattern, you can use the outlines of the tiles as general guides to show where to score. Proceed carefully and don’t cut all the way through the material to avoid damage to the floor underneath, particularly if it’s hardwood that will become the new finished floor.
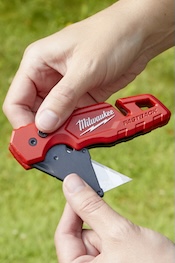
ESSENTIAL GEAR
Simply pressing the lock-release button on the Milwaukee FASTBACK utility knife and giving the knife a quick flick with your wrist snaps the blade out and locks it into a fully open position. Once open, this knife, one of our top picks in our tested guide to the best utility knives, is 6.15 inches long. We like how easy it is to swap out blades on the FASTBACK via a blade-release button near the tip of the blade, which comes in handy when scoring linoleum. Bonus: The FASTBACK has a wire cutter that you can access without exposing the blade.
Milwaukee FASTBACK Compact Folding Utility Knife at The Home Depot for $8.97
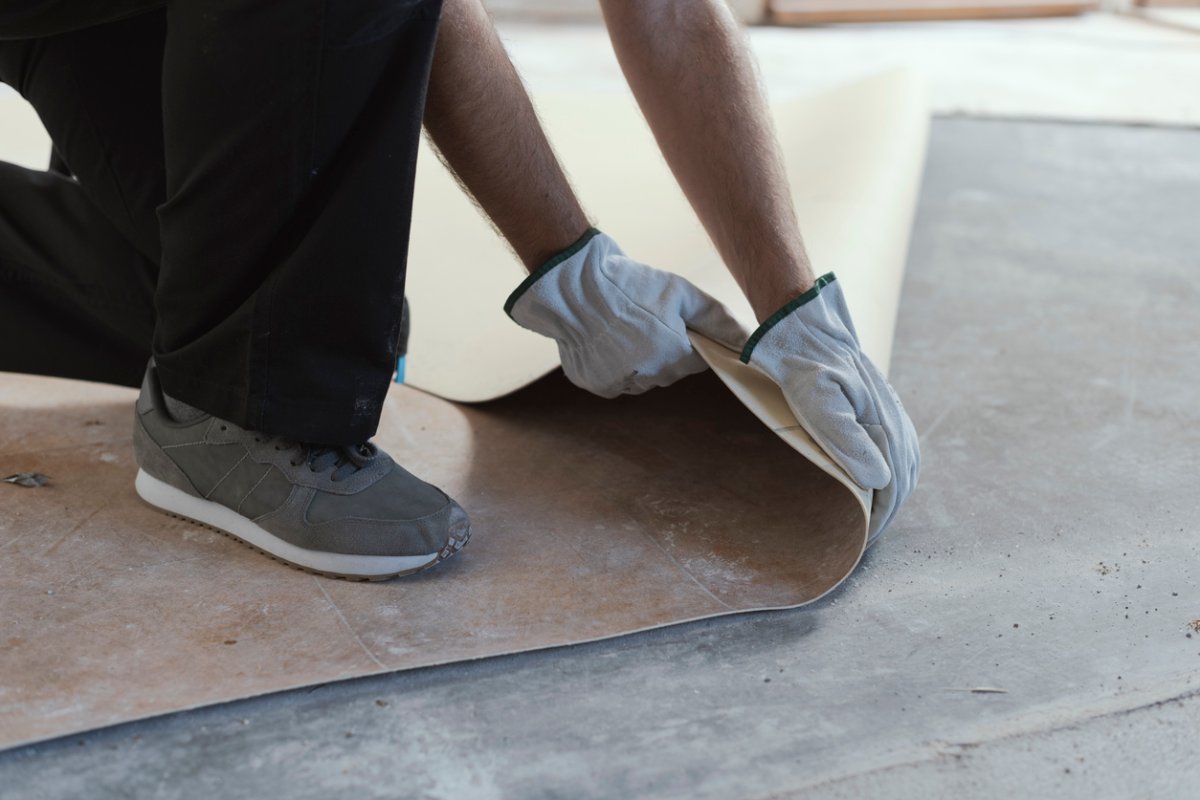
Step 2: Remove the top layer of flooring material.
To fully remove linoleum, you’ll need to tackle both of its layers: The top is a layer of flooring material that should come off fairly easily, and the bottom is a paper backing with adhesive. Removing the latter can be a challenge.
Remove the entire top layer of linoleum first before going back later to pull up any remaining paper backing or adhesive. Start by working your scraper or the edge of your oscillating multi-tool underneath one of your score marks. Then, push forward to bring up the top of the linoleum. Keep working in small sections until you have removed the entire first layer.
Step 3: Remove the underlying paper backing and/or adhesive.
To remove any remaining backing, apply heat to the floor in small sections using a wallpaper steamer (a heat gun or even a hair dryer set on high can also work in a pinch). Soften a small section with your chosen heat source, and scrape up the adhesive, working at a 45-degree angle and being careful not to gouge the subfloor as you work. Move section by section until all the backing and adhesive has been removed.
If you come across particularly stubborn spots, apply some isopropyl alcohol or paint thinner to the area and allow the solvent to sit according to the manufacturer’s instructions. Proceed to scrape away the remainder of the adhesive, again working at a 45-degree angle.
Step 4: Dispose of the old linoleum properly.
Linoleum is made of natural materials. Unless the vintage linoleum flooring contains asbestos, there is no need to take special steps to dispose of it. While it can be bagged and picked up by the regular trash pickup, there are more sustainable alternatives.
Many areas have local recycling centers that will take linoleum. There also are some composting centers around the country that accept linoleum—or you can add asbestos-free linoleum to your backyard composting bin.
Final Thoughts
Updating old flooring like linoleum can have a huge impact on the home’s style. While removing linoleum flooring is a DIY project, it’s best handled by a professional if it contains asbestos. If the floor is asbestos-free, remember that the removal process is a marathon, not a sprint. With patience and the right tools, you can rid your rooms of linoleum and lay the groundwork for a new floor, and a whole new look.
Need help?
Flooring professionals in your area are available to assist—get free, no-commitment estimates today!
FAQ
Q. How do I tell if my floor is vinyl or linoleum?
An easy way to tell if a floor is vinyl or linoleum is to look at the surface and thickness. Vinyl flooring is rarely more than ⅛-inch thick and the pattern is stamped on the top. It’s usually linoleum if the pattern is seen through the thickness of the material.
Q. What is the best floor-adhesive remover?
Isopropyl alcohol or paint thinner can help remove adhesive. However, one of the best adhesive removers on the market is Goo Gone.
Q. Can you put new flooring over old linoleum?
You can, in some instances, lay a new material directly on top of your current linoleum. But be aware that this shortcut will raise the floor by at least ⅛ inch, so the transitions into adjoining rooms may need to be adjusted.
