

We may earn revenue from the products available on this page and participate in affiliate programs. Learn More ›
Plenty of DIYers find themselves eager to start a project only to come to a full stop when confronting rivets. The fasteners’ function is to hold metal against metal for good, so they can be challenging to remove safely without damaging the surrounding material or leaving a raggedy opening.
Luckily, there are techniques to getting rivets out of your way cleanly, whether you’ve got a specialty implement for this purpose at your disposal or simply need to go about it with common hand tools. Follow this guide on how to remove rivets, so you can return to the real task at hand, whether it be reinforcing a backyard shed, removing exterior awnings, restructuring steel-beamed walls or doing repairs on a boat.
Technique 1: Use a Targeted Tool
YOU’LL NEED
– Rivet removal tool
– Power drill
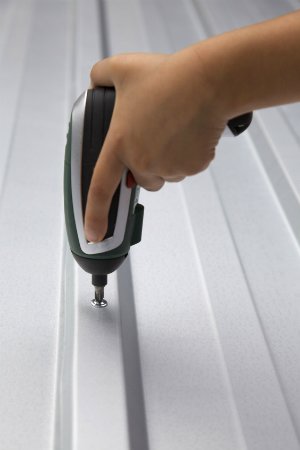
Though they run about $50 to $75, a rivet removal tool that fits onto your power drill might be a smart investment if you’ve got to get rid of many rivets. The tool comes in a set with various guides and drill bits in different sizes (view example on Amazon). If you already have one but lack the right sized bit and guide to fit the rivets for a job, you can likely find them at your local hardware store.
Attach the tool to the opening on your power drill and place the appropriate bit onto the end, fastening it securely. Then simply adjust your drill depth accordingly and drill out the rivet neatly.
Technique 2: Go with a Grinder
YOU’LL NEED
– Grinder
– Power drill
– Hammer
– Punch
A steady hand, patience, and concentration will certainly help the process, too!
- Approach the rivet’s head while keeping the wheel of your grinder parallel to the surrounding surface.
- Hover with the tool so that you touch nothing other than the rivet head itself. Carefully grind off as much as possible. You may need to approach the head from several sides to do away with it entirely.
- Use the hammer and punch to pierce a tiny divot into the top of the rivet to act as a groove to keep the drill in place.
- Bore a hole with a drill bit considerably smaller than the rivet all the way through the center of the fastener, creating a pilot hole.
- Switch out your drill bit for one the same size as the rivet.
- Hold the drill straight over the rivet and drill it to push it out entirely, being careful not to widen the surrounding hole.
Technique 3: Take the Hand Tool Approach
YOU’LL NEED
– Chisel
– Hammer
– Punch
Wedge the sharp end of your chisel underneath the rivet head’s edge. Once you’ve got some leverage there, tap the dull end of the chisel with a hammer until the head falls loose. Place your punch (view example on Amazon) over the top of the rivet remnant and hammer out, using moderate force. This technique isn’t foolproof, so if the rivet doesn’t budge, break out your power drill and follow the steps listed above in Technique 2.
Rivet-free, you can now start your project in earnest! If you need instructions on installing new rivets, look no further.