We may earn revenue from the products available on this page and participate in affiliate programs. Learn More ›
Knowing how to sew on a button is a useful skill for everyone. It’s an easy-to-do task once you get the hang of it, and this simple skill can help save money in the long run. If you know how to hand sew a button, you can reattach buttons on jackets, shirts, sweaters, or pants—no need to take them to a seamster or buy new garments when a button pops off. Read ahead to learn how to sew a button in five simple steps.
Tools & Materials
Bobvila.com may earn a commission from purchases made through these links.
BEFORE YOU BEGIN
When reattaching a button, it’s best to use the button that came with the garment. If you have the button that fell off, keep it in a safe place until you can sew it back on. Many clothing items come with extra buttons—it’s worth saving these pieces in case a button comes off.
If you don’t have an original button, find as close a match as possible. Additionally, use a suitable thread similar to or (ideally) matching the original. Before starting the sewing process, figure out exactly where the button needs to be sewn on. Look for clues like threads or small holes in the fabric to find the original placement and mark the spot with a fabric marking pencil or chalk. Sew the button onto the marked spot using the following steps.
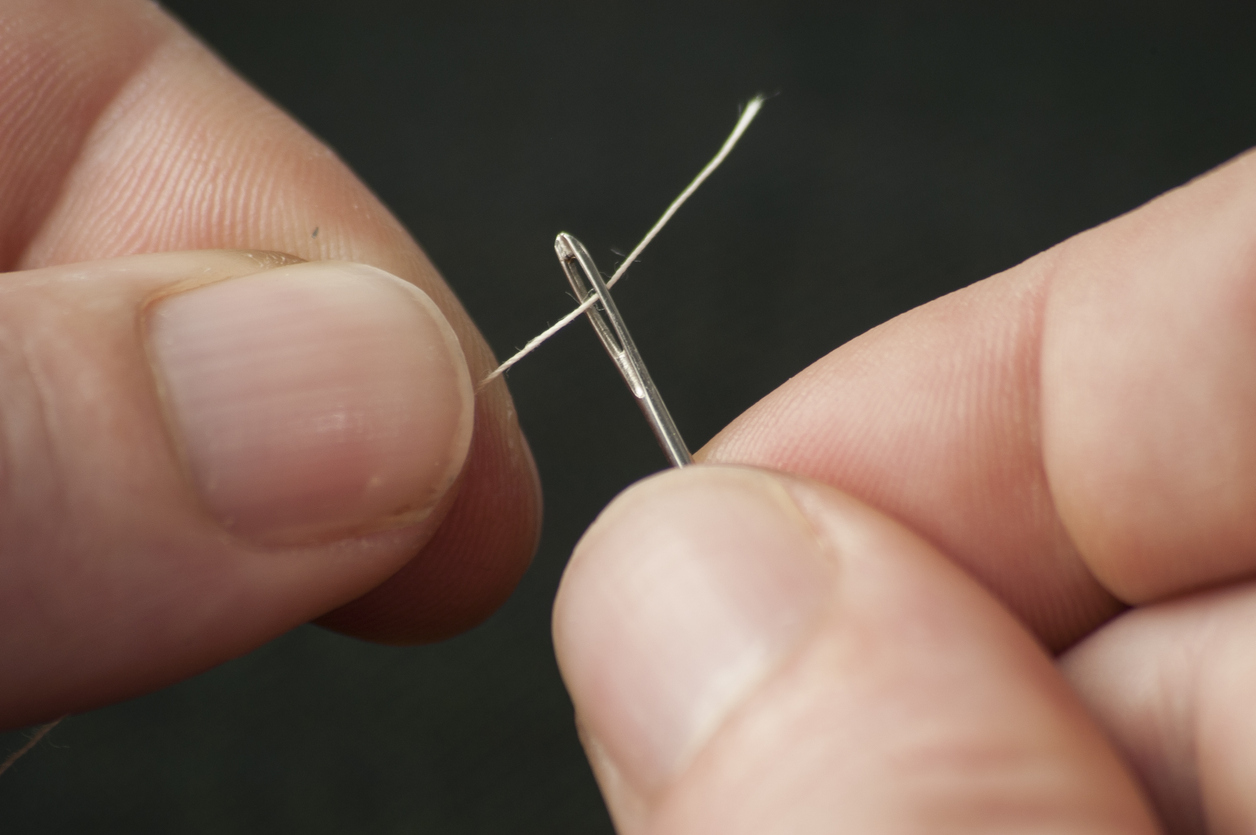
STEP 1: Thread the needle and tie a knot at the end.
Measure out the amount of thread needed, which is roughly around 24 inches long. Insert the thread through the eye of the needle and double it over until there are equal lengths of thread on each side. Many sewing kits come with threaders to help fit the thread into the eye. Doubling over the thread creates a stronger strand better suited to attaching buttons.
Tie a knot at the end of the doubled-over thread. An easy way to tie a knot is to wrap the thread around your index finger several times. Then, roll it off the end of your finger (allowing the thread to twist into a bundle) and pull the knot tight.
STEP 2: Create an anchor point.
“X” marks the spot. Create an “X” anchor point where you plan to sew the button. Besides marking the button’s position, this creates a reinforced anchor for the thread to ensure it keeps the button in place. Start from the back of the fabric and push the needle through to the front of the fabric. Loop the needle front to back a couple of times to create a small “X” where you want the button to be placed.
Related: The Best Sewing Tables for Fabric DIY Projects
STEP 3: Attach the button.
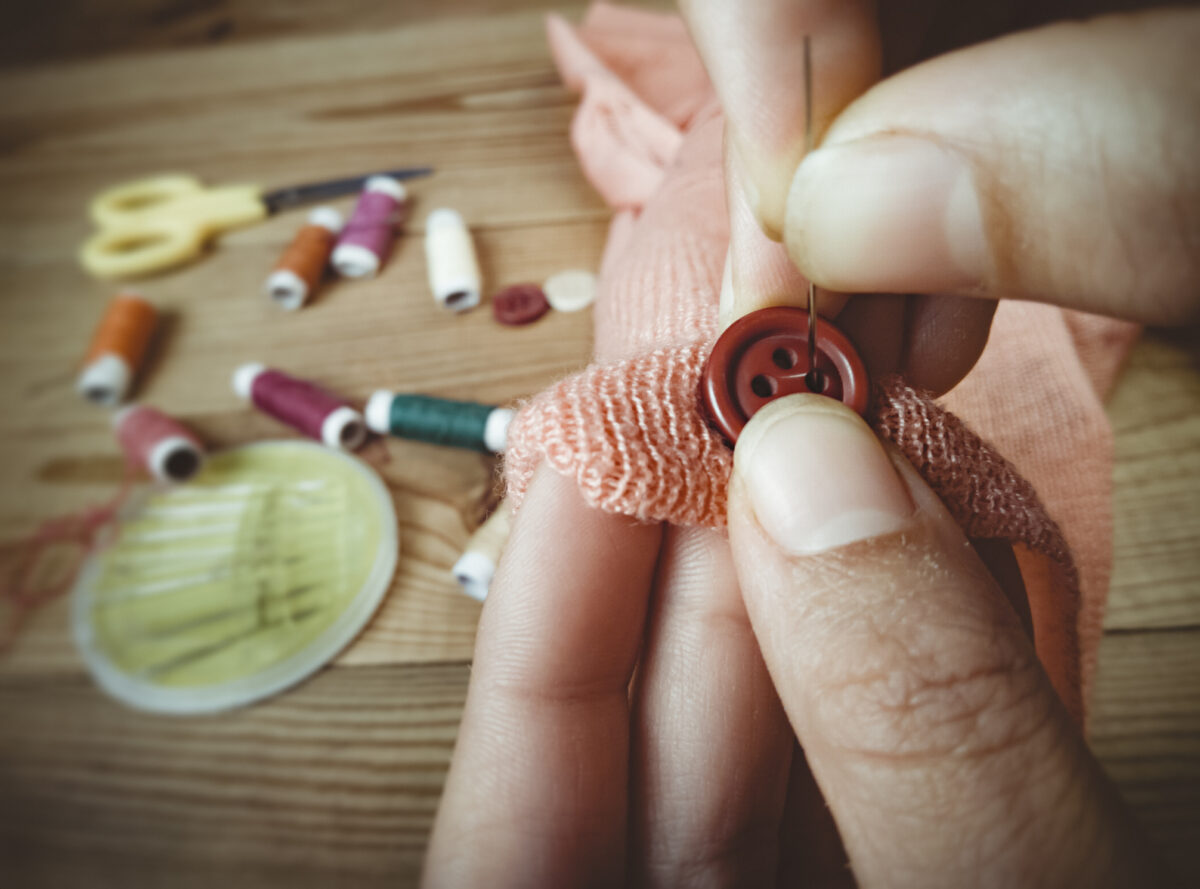
Position the button on the “X.” Begin sewing the button to the garment by pushing the needle through the fabric from behind the button and through the first button hole. Place a spacer (this can be a second sewing needle, a toothpick, or a small pin) across the four button holes.
Cross the thread over the spacer into the second button hole and pull the thread snug. When sewing on a four-hole button, you can choose to create a parallel thread pattern or a crossed “X” thread pattern. Repeat this process a few times—around three passes for each pair of button holes—to ensure the button is attached securely.

STEP 4: Create a shank.
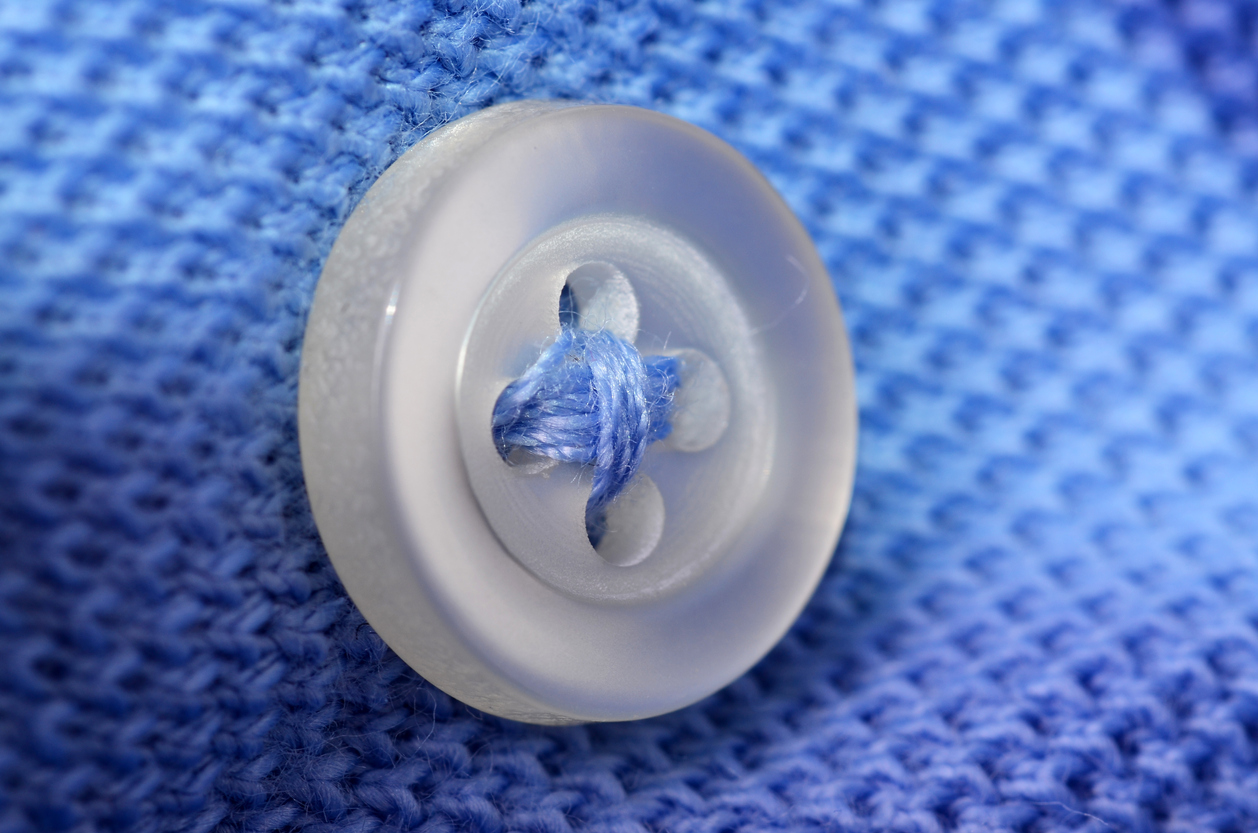
After attaching the button, make one more pass through the fabric, but avoid going into a button hole, bringing out the needle from underneath the button instead. Remove the spacer and create a shank by wrapping the thread around the bundle of threads underneath the button. Six wraps will do the trick to create a sturdy shank.
A shank gives some space between the button and fabric to allow the button to fit nicely into the buttonhole. After wrapping the shank a few times, pull the thread tight and insert the needle into the fabric once more so you can tie it off on the back side of the fabric.
STEP 5: Tie off the thread.
Knot the thread on the back side of the fabric, keeping it as snug to the fabric as possible. Tying off on the back of the fabric keeps the front looking neat and presentable. An overhand loop is the simplest knot type for tying off.
With one finger, pin the thread down against the back of the fabric, right underneath the button. Make a small loop with the doubled-over thread, just beside your finger. Pass the needle through the loop you created and pull the knot tight, keeping the knot as close to the fabric as possible. Repeat this a few times to create one secure knot. Use a small pair of scissors to cut off excess thread when finished.
Final Thoughts
Buttons fall off sometimes, but repairs are easy if you know how to sew a button on pants, shirts, skirts, or other clothing. It only takes a few minutes to reattach a button, and you’ll save the money that would have otherwise been spent on a tailor or replacement garment. Learning how to sew buttons is a lot like riding a bike: once you’ve done it a few times, it’s a useful skill you’ll have for life.
Related: The Best Mini Sewing Machines for Your DIY Projects

