We may earn revenue from the products available on this page and participate in affiliate programs. Learn More ›
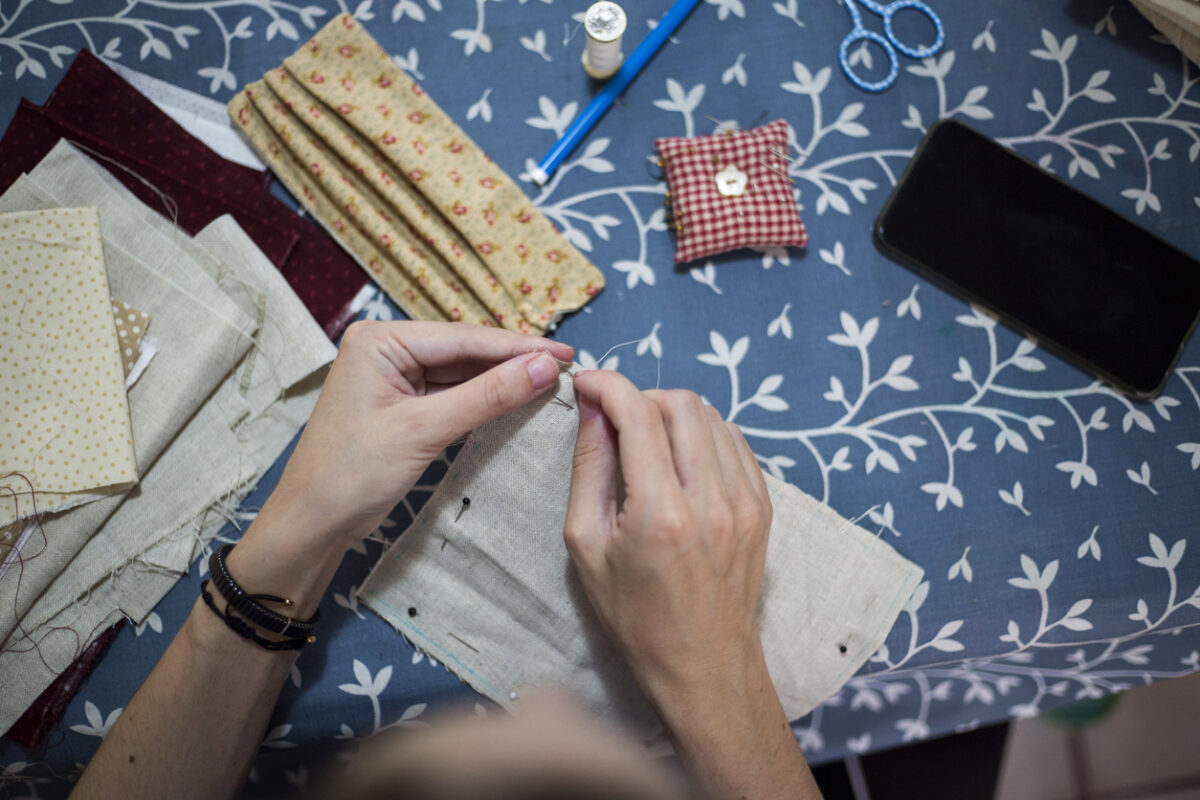
Knowing how to sew by hand is a versatile skill, and once you know the basics, you can build on your knowledge to create a range of functional and beautiful stitches. Hand sewing takes longer than using a sewing machine, but it has its benefits. It’s very cheap to get started, easy to do in a pinch, and gives you excellent control. Plus, knowing how to hand sew can save you money instead of having to go elsewhere for repairs or customizations.
Knowing how to hand sew a seam can make for quick repairs and stronger bonds. We’ve rounded up some key hand-sewing stitches for repairing seams along with adding a decorative border to a DIY project.
Know your hand-sewing needles.
Every successful project starts with the right tools. If you’re learning how to hand sew, the first step is to start with the right sewing needles. Using the wrong needle will make sewing difficult and can result in poor stitching or even broken needles.
Most beginners will start with a sewing kit with various sewing needle sizes and thicknesses. These kits will often have a mix of finer, shorter needles and longer, thicker needles, each with a sharp tip. The key to choosing the right needle is to consider your fabric type.
For finer fabrics, use a finer needle; a large needle might leave unsightly holes in fine fabric. For thicker fabrics, use a thicker and sturdier needle. Too thin a needle will be difficult to use and can bend or break when trying to penetrate thick fabrics. Also, keep in mind that needles will wear down over time. Sewing needles can stay sharp and pointy for only so long, so if a needle isn’t performing as well as before, it might be time to get a new one.
RELATED: 16 Workbench Plans Perfect for Big or Small Home Shops
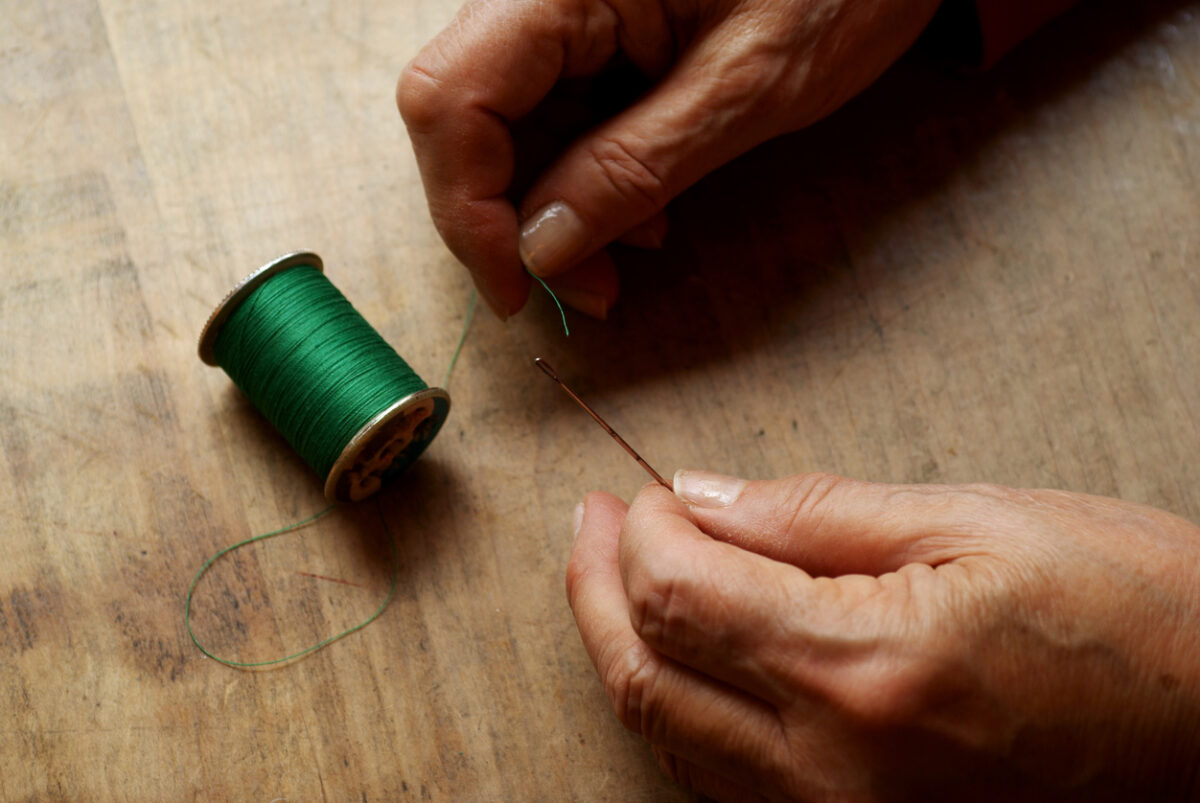
Know your needle-threading basics.
Start with an appropriate amount of thread, which can vary widely depending on your project, fabric type, and thread type. For sewing on a button, cut about 24 inches of thread. For general projects, measure out roughly 2.5 times the length you plan to sew.
Push the thread through the needle eye; a clean cut with sharp sewing scissors at the end of the thread makes it easier to insert the thread into the eye. You can also use a needle threader if you’re having trouble. Continue pulling about 3 inches of thread through the eye for a little slack.
Knot the end of the thread by using several overhand knots or by wrapping the thread around your index finger and twisting it off into a bundle, pulling the bundle tight to create a small knot. Once you’ve knotted the thread, you’re ready to start sewing using one of the basic stitches ahead.
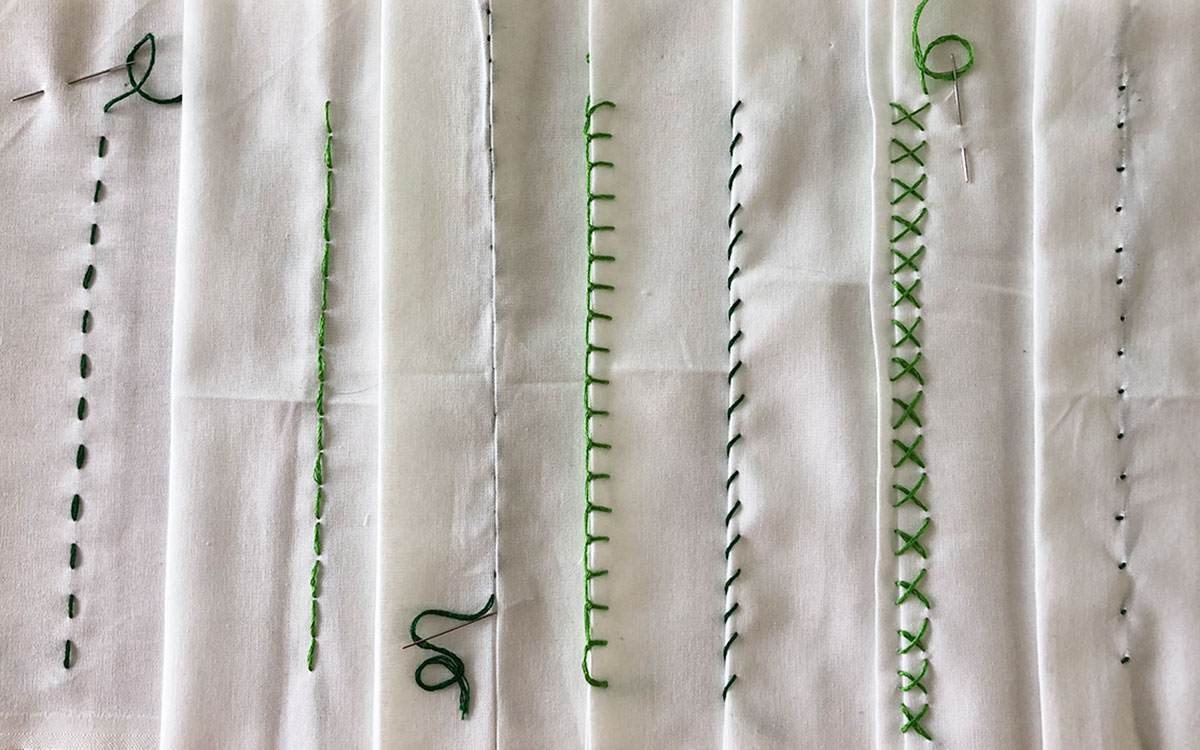
1. Running Stitch
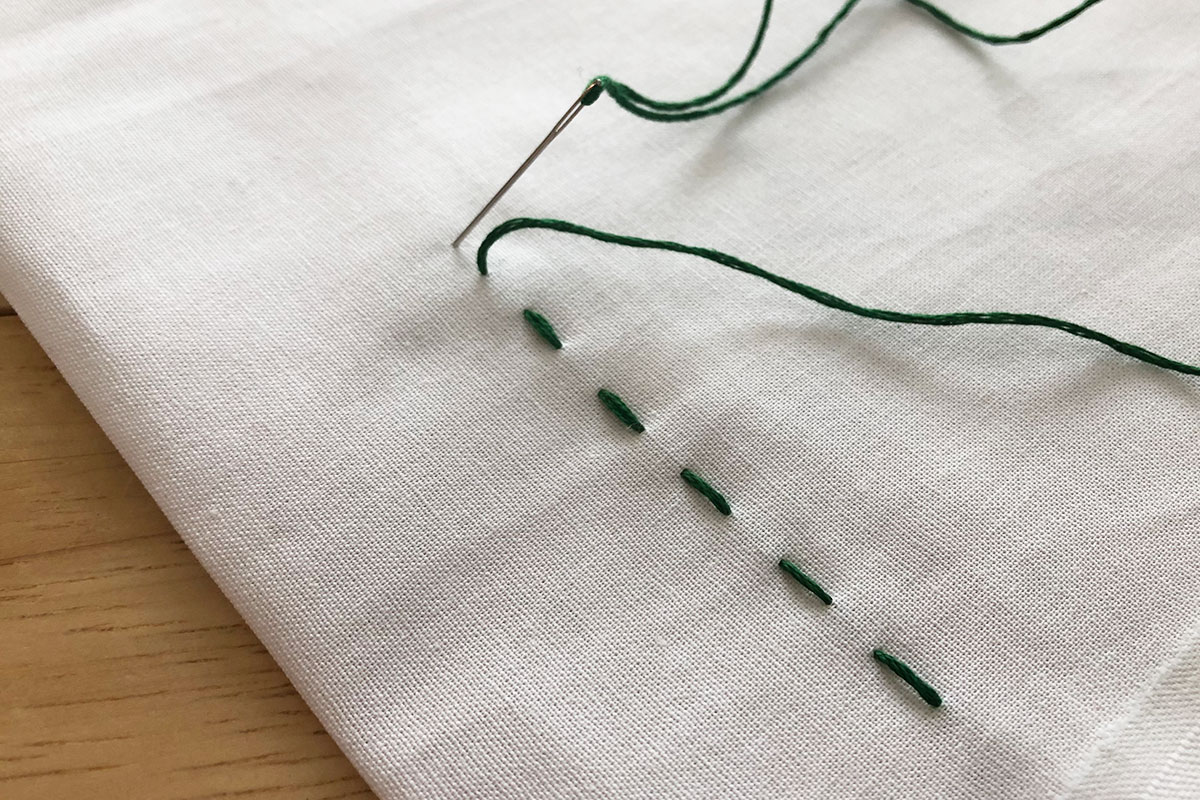
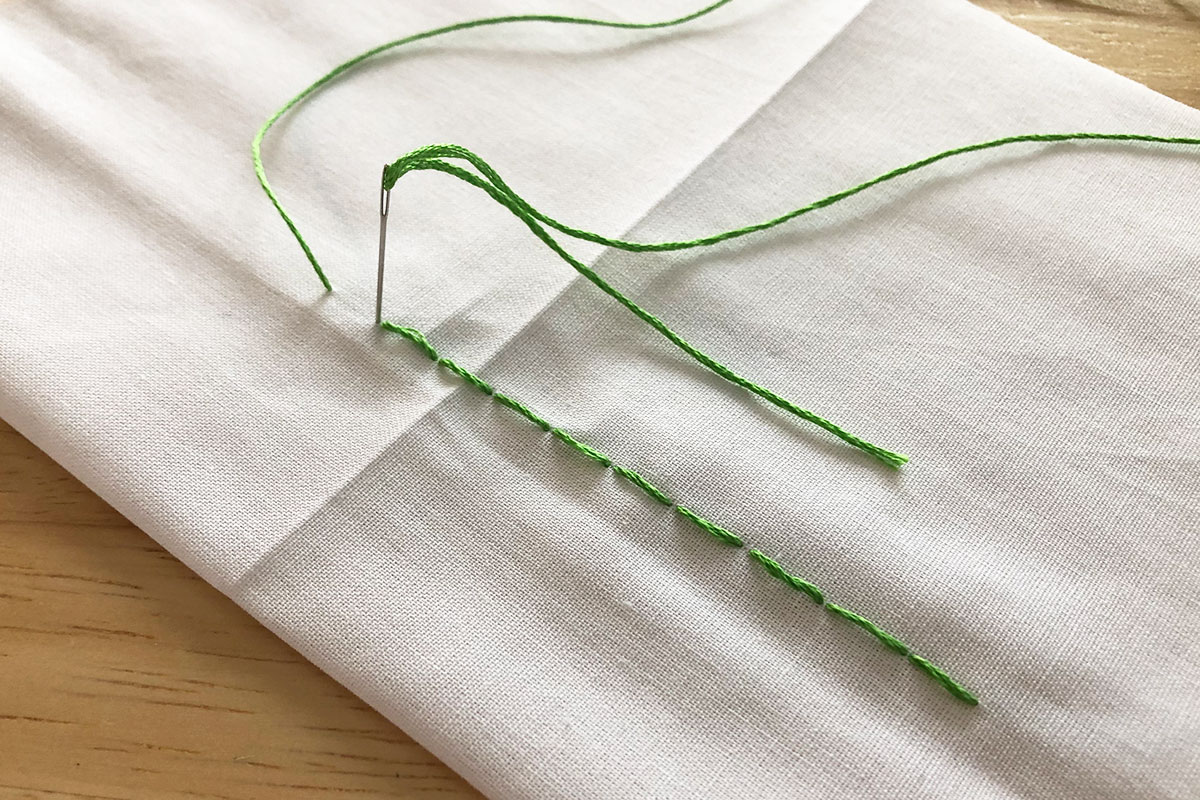
The basic running stitch is a straight stitch used to sew simple seams. The running stitch creates a dashed, straight line. You can keep the length between the stitches short to join together two pieces of fabric or extend stitch length to sew basting stitches (which are used to temporarily hold pieces of fabric together).
- Start at the back side of the fabric, and insert the needle at your starting point. Then, push the needle through to the front of the fabric.
- Move the needle about ½ inch forward (adjust the distance to your needs) along the line you plan to stitch. Insert the needle through the front of the fabric and through to the back side.
- Move another ½ inch forward and repeat this stitch until reaching the end of the area you plan to stitch.
- Keep the stitches as equally spaced as possible for a neater look, and pull each stitch taut as you go.
- Finish your final stitch on the back side of the fabric. To tie off the stitch, knot the thread while keeping it as snug to the fabric as possible. With one finger, pin the thread down against the back of the fabric. Make a small loop with the thread, just beside your finger. Pass the needle through the loop and pull the knot tight, continuing to keep the knot as close to the fabric as possible. Repeat this a few times to create one secure knot. Use a small pair of scissors to cut off the excess thread when finished. The finished stitching will be visible on the front side of the fabric and should look like a long line of dashes.
2. Backstitch
The backstitch is similar to a running stitch, but instead of a line of dashes, this stitch doubles back on itself to create a continuous line. This strong stitch is ideal for joining fabrics and creating strong seams. If you love crafting with fabric, it’s very useful to learn how to backstitch by hand since it’s a foundational hand-embroidery stitch.
- Start at the back side of the fabric and insert the needle through to the front. If joining two pieces of fabric, push the needle through both layers.
- Carry the needle ½ inch forward (adjust the distance to your needs) in a straight line and insert it back through the fabric. Pull the stitch taut.
- Move the needle ½ inch forward and bring it back up through the front of the fabric.
- Bring the needle back toward the first stitch and insert it into the end of the previous stitch, then pull taut.
- Move the needle along another ½ inch past the end of the last stitch and repeat the stitch as many times as needed to create a line. Tie off the stitch on the back side of the fabric to conceal the knot (this process is fully detailed in the Running Stitch section above).
3. Slip Stitch
Also known as a ladder stitch, the slip stitch is often used to join seams together. Since it is a nearly invisible stitch, it’s key for those learning how to sew a seam by hand. The slip stitch is commonly used to join hems together, such as when stitching up a handmade pillow.
- Insert the needle through the inside fold of the hem to the front of the fabric. Stay very close to the hem edge so the stitches will be less visible.
- Line up the opposite hem that you are going to join.
- Insert the needle into the front side of the joining hem, directly across from the first stitch. Try to stitch through the same point on each separate hem; this helps to better hide the stitch when the two edges are joined together.
- The needle should now be on the back side of the second piece of fabric. Move the needle along the fabric about ⅛ of an inch (adjust the distance to your needs) and repeat the stitch, inserting the needle from back to front and into the first hem.
- Repeat these steps down the length of the hem, smoothing the seam and pulling the thread taut as you go to hide the stitch. Tie off the stitch on the back side of the fabric to conceal the knot (this process is fully detailed in the Running Stitch section above).
RELATED: The 25 Smartest and Smallest DIYs You Can Do for Your Home
4. Blanket Stitch

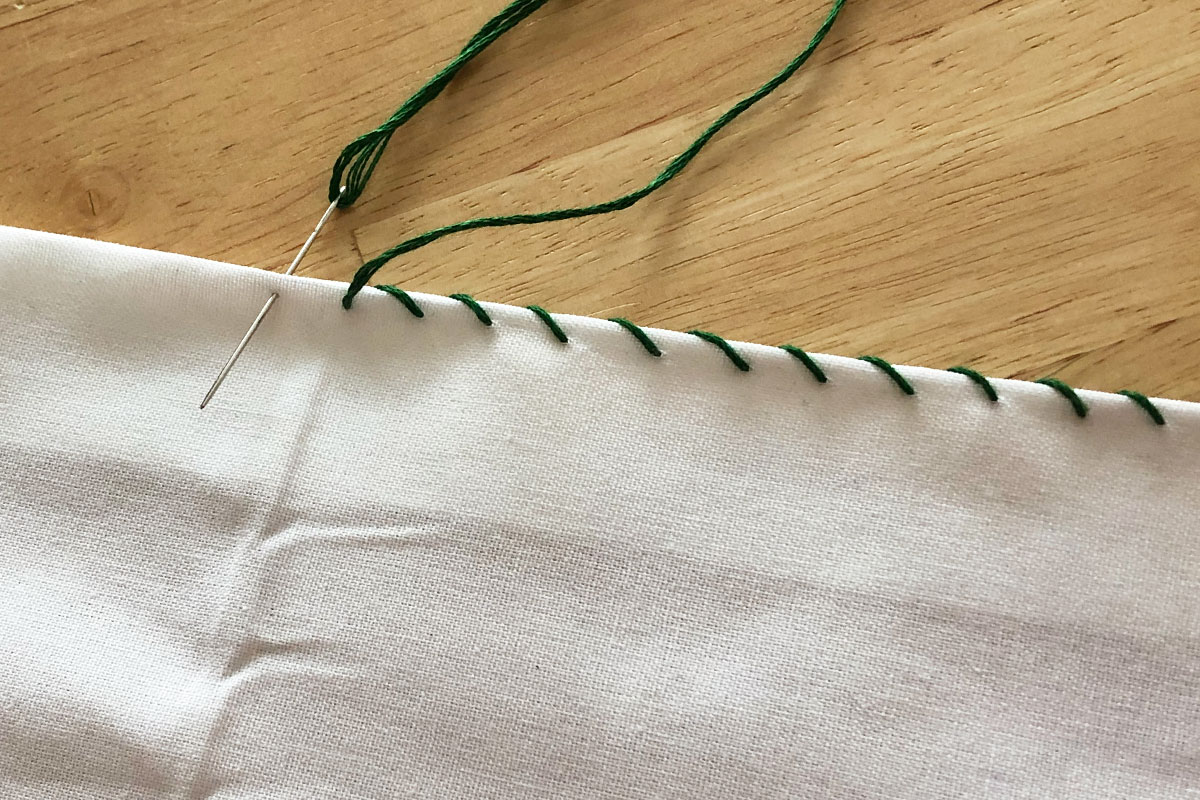
The blanket stitch is a decorative stitch often used to finish seams or join fabrics together. This stitch is intended to be visible and is commonly used to finish the edges of blankets, pillows, and quilts. It can also be used on clothing or other fabric décor. Since it’s a decorative stitch, start with choosing an attractive thread color that matches or coordinates with your project.
- Start from the back side of the fabric (or between the two layers if joining two pieces of fabric together) and send the needle through to the front side.
- Pull the thread through, then circle the needle to the back side of the fabric and insert it through the same spot as the starting point (make sure to insert the needle again from back to front). This will create a loop around the edge of the fabric. Do not pull the loop closed.
- Thread the needle through the loop and then pull the thread taut to close the loop.
- Progress about ¼ inch down the seam (adjust the distance to your needs). Insert the needle through the back side of the fabric again to create a second loop. Once again, do not pull the loop closed.
- Insert the needle through the loop and pull taut.
- Continue this process until you reach the end of the seam. Tie off the stitch on the back side of the fabric to conceal the knot (this process is fully detailed in the Running Stitch section above).
5. Whipstitch
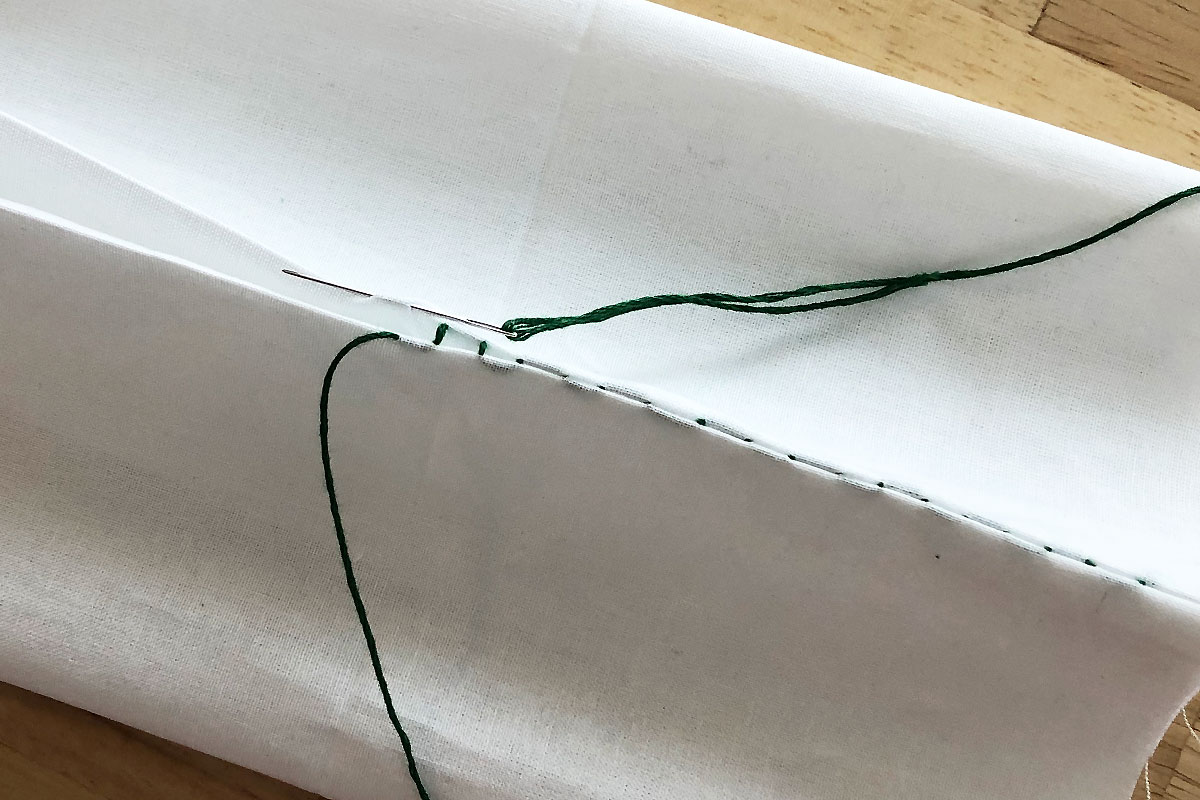
The whipstitch is a seaming stitch that uses small, diagonal stitches. It is essentially invisible on the front side of a project and is excellent for joining two hems together into a durable seam.
- Start from the back side of the fabric or inside a hem to better hide the knot. Insert the needle from the back to the front side of the fabric.
- Line up the second hem or piece of fabric you intend to join.
- Move the needle about ½ inch down the seam and loop it around the edge of the aligned hems, keeping very close to the edge. Bring the needle through the bottom side of the second piece of fabric.
- Continue pushing the needle through both layers and bring it back up through the front of the two hems.
- Continue along the entire length of the hem, pulling taut as you go and keeping close to the edge to reduce the visibility of the stitches. Tie off the stitch on the back side of the fabric to conceal the knot (this process is fully detailed in the Running Stitch section above).
6. Catch Stitch
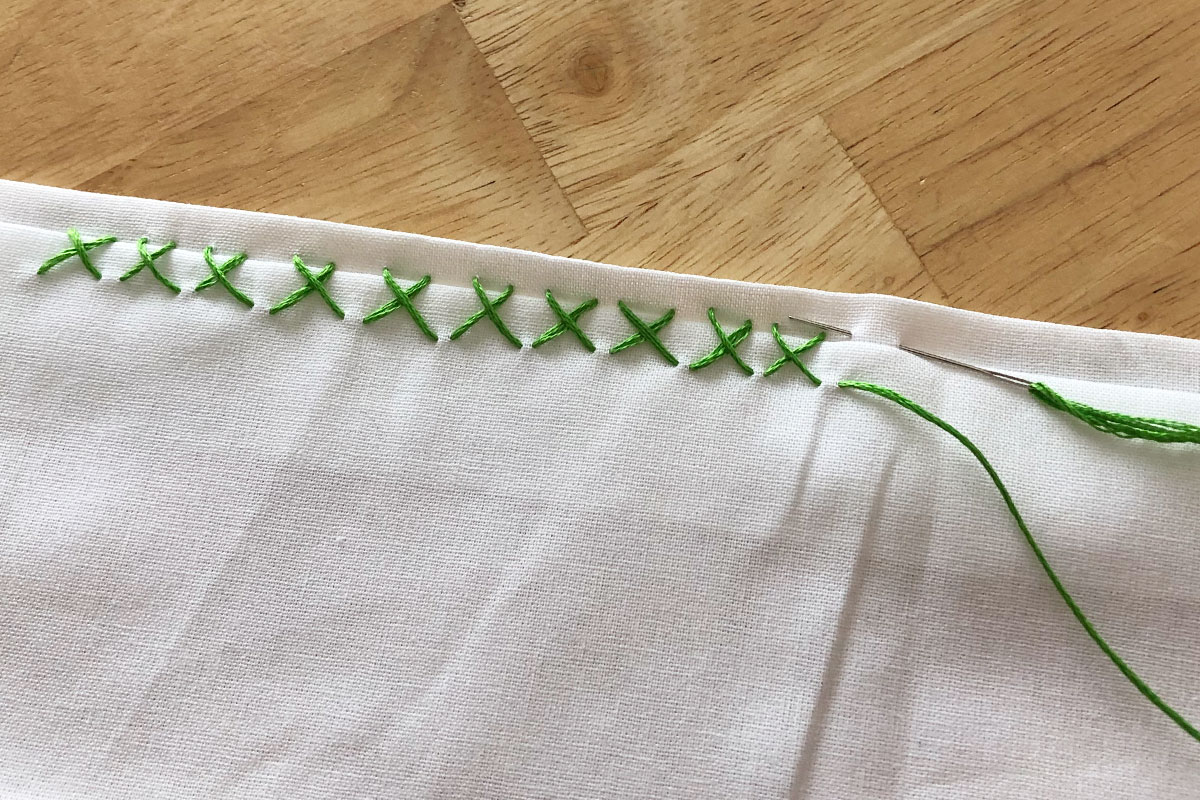
The catch stitch uses small, short stitches to create a zigzag pattern that is hardly visible on the front of the fabric. This stitch is great for securing garment hems and seaming overlapping pieces of fabric. Pressing the fabric before stitching will make it easier to work with.
- Start with the wrong side of the fabric facing up. Insert the needle through the back of the first layer of fabric (the folded edge or overlapping piece of fabric), about ¼ inch from the edge. Pull the thread through.
- Move the needle slightly up and to the right, about ½ inch diagonally, and insert the needle into the back piece of fabric, just above the hem edge. Insert the needle from right to left, through no more than three threads of fabric. This will keep the stitch from being visible on the front side. Pull the thread taut.
- Move the needle slightly down and diagonally to the right and insert the needle back into the folded hem or overlapping piece of fabric. Make sure to only work into the first layer of fabric and not both layers. It’s suitable to work through more than three threads on this side since it won’t be seen from the right side of the project.
- Repeat the stitch until you reach the end of the seam. Tie off the stitch on the back side of the fabric to conceal the knot (this process is fully detailed in the Running Stitch section above).
7. Blind Hem Stitch

As the name suggests, the blind hem stitch is useful for finishing a hem without a visible stitch. This is a great stitch to use for the bottom hem of projects like curtains or clothing, and it is very similar the whip stitch.
- Start with the wrong side of the fabric facing up. Fold the raw edge up and press with an iron. Repeat this step again so you have a folded edge with the raw fabric edge tucked within the hem.
- Insert the needle within the folded hem and bring it through the top of the fold.
- Insert the needle horizontally through the back piece of fabric, just above the folded hem. Work through about three threads of fabric to reduce the visibility of the thread on the front side of the project.
- Next, insert the needle through the top edge of the folded hem, near the first stitch. Work the stitch forward about ½ inch and bring the needle back out through the top of the fold.
- Repeat these steps, pulling the thread taut along the way. Tie off the stitch on the back side of the fabric to conceal the knot (this process is fully detailed in the Running Stitch section above).