We may earn revenue from the products available on this page and participate in affiliate programs. Learn More ›
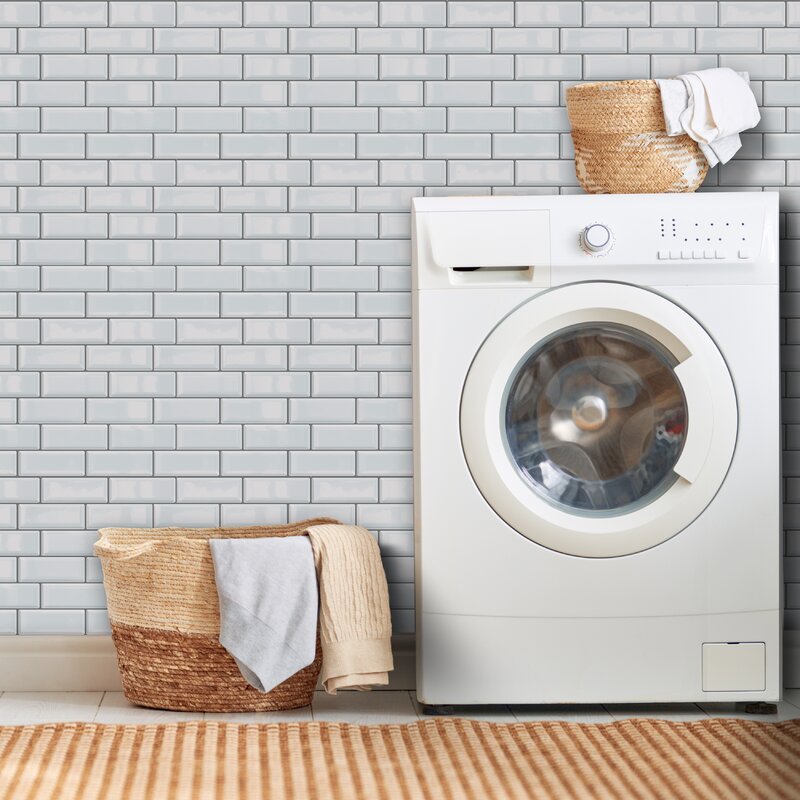
When the kitchen, bathroom, or another room like the basement needs a bit of a facelift, but you don’t have the time or money to spend on laying a tile floor or wall, consider using peel-and-stick tile. Peel-and-stick tile can be made from vinyl, glass, and even metal; the tiles have an adhesive backing that sticks to a variety of surfaces, ensuring a quick and effective floor update or backsplash installation. Learning how to install peel-and-stick tile is easy enough for most DIYers—this isn’t the kind of project that will require hiring a professional.
A word of caution, however: The strong adhesive on the back of the tile can cause problems if the surface isn’t properly prepared or if the area isn’t measured and planned out. These issues can include cracked or broken tiles, twisted tiles, and mismatched patterns. Ahead, learn how to avoid these issues how to use peel-and-stick tile.
DO prepare the wall surface properly.
Before diving into any tiling project, it’s imperative that the wall or floor is properly prepared. A clean level surface allows the tile to stick. To prepare the surface, sand or scrape away any old adhesive or protrusions that may prevent the new tile from lying completely flat, then clean the wall or floor using a degreaser if necessary. Peel-and-stick tiles can be used on painted drywall, existing linoleum, ceramic, concrete, and many other common wall and floor materials.
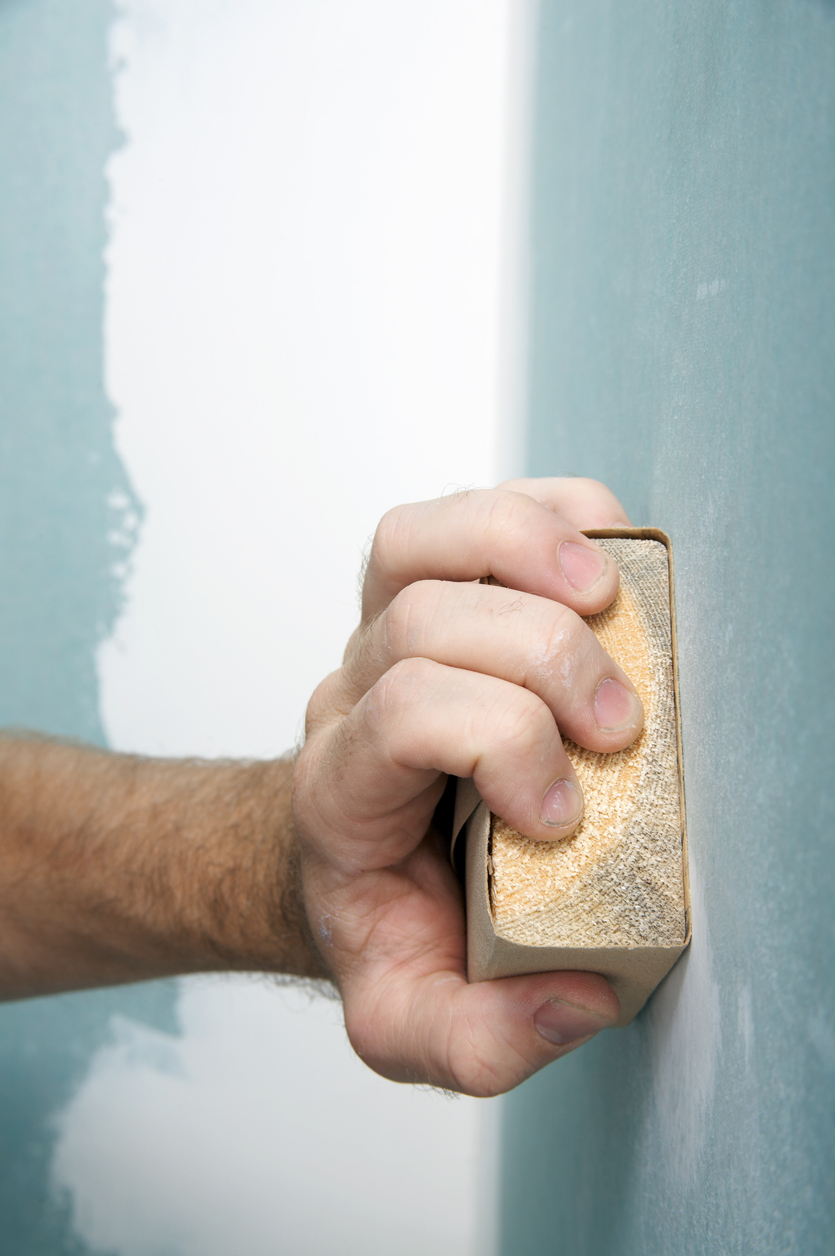
However, if the tile is being installed over existing ceramic or marble, the grout seams need to be flush to the top of the tile. Otherwise, the peel-and-stick tile will adhere to the indentations, leaving an uneven finish. Tiles that don’t stick to the indents will lay flat against the wall, but the gap between the tile and the grout seam still exists. These gaps can be a breeding ground for mold and mildew and they may also cause the tiles to fall off the wall. It’s a better idea to fill the grout lines with more grout before installing the new tile to ensure that you are working with a clean and smooth surface.
RELATED: I Transformed My Living Space Without Picking Up a Paint Brush Thanks to This Easy-to-Use Product
DON’T just start installing from the top of the wall.
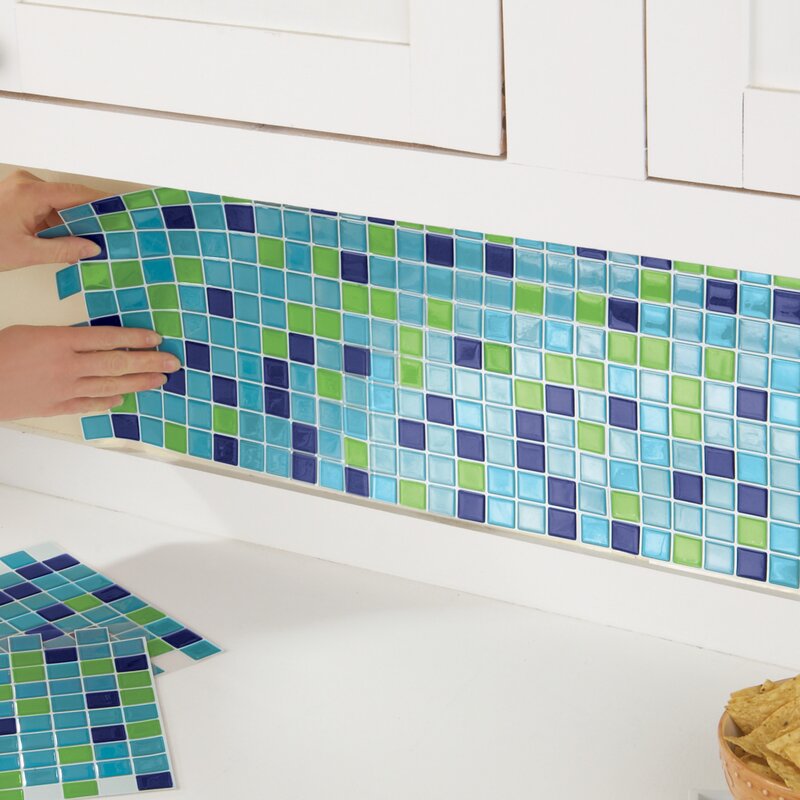
Peel-and-stick tiles are very easy to use, but this simplicity can often lead to mistakes when users decide to dive into the project without properly measuring the space or creating a layout. Whether you are installing peel-and-stick backsplash or floor tiles, you need to measure the whole area first. It’s important to calculate the number of tiles that are necessary for the project, and determine whether there will be any half or partial tiles needed to fill in small gaps along any of the sides.
Here’s how to lay peel-and-stick tile properly: When you have the tiles necessary for the project, place a full row of tiles in position without removing the protective backing. This simple step lets you see how the tiles will lay when they are installed, so you can plan the appropriate layout for the project, visualize how you’ll deal with obstacles, and determine where half or partial tiles should be placed. It’s advised to place these partial tiles in out-of-the-way areas, like a corner or the base of the wall, where the deviation from the pattern isn’t so noticeable.
RELATED: How Much Tile Do I Need? Solved!
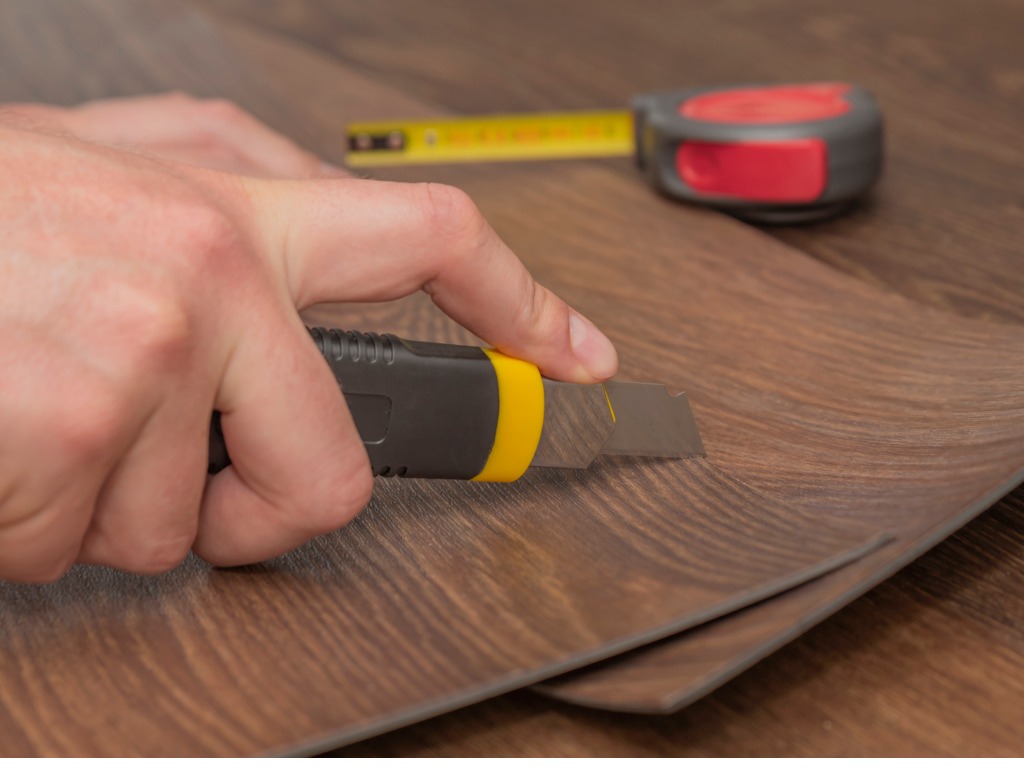
DO use a sharp knife to make precise cuts.
Most peel-and-stick tile installations will require some alterations to the tiles so that they properly fit in the intended area. Whether this is cutting a tile completely in half to fit along the base of a wall or cutting a notch from a corner to allow the tile to fit tightly up against a cupboard, sink, or tub it’s important to understand how to cut peel-and-stick tile before you begin. Our best advice? Use a sharp utility knife to make the cuts.
Dull tools can damage the tile, leaving unsightly scratches and blunt edges. To ensure the precision of the cut, use a sharp utility knife and always place a protective piece of wood (or similar protective material) underneath the tile while cutting. This allows the user to cut cleanly through the tile without having to worry about the knife damaging a workbench, counter, or any other surface.
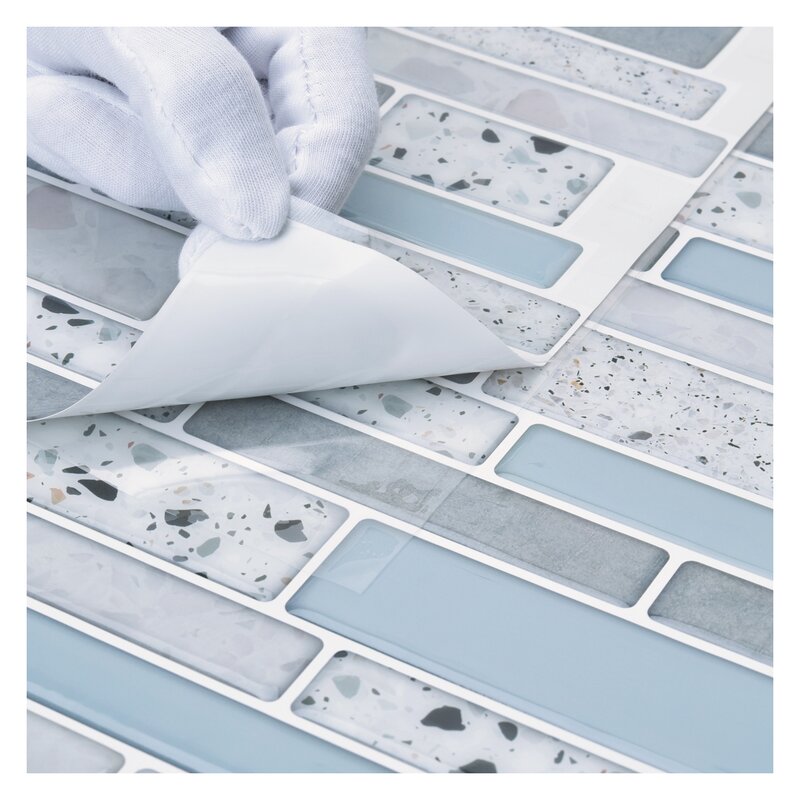
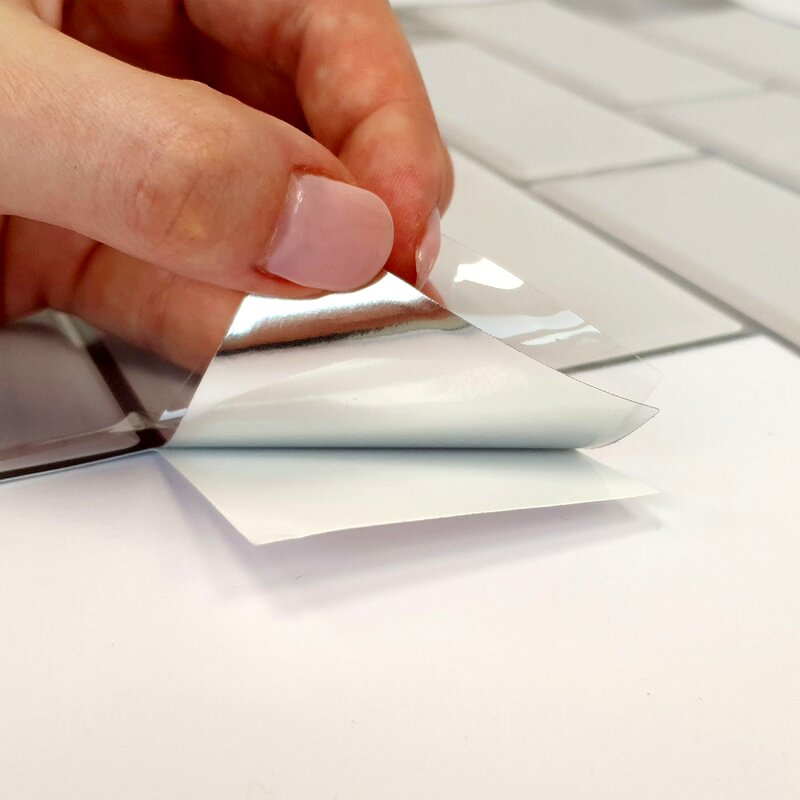
DON’T peel off all backing paper at once.
The paper on the back of peel-and-stick tiles is typically referred to as backing paper. While it may seem appropriate to simply remove the backing and place the tile like you would a sticker, it’s actually a better idea to only peel half of the backing paper. The reason for this is that the backing paper has arrows to indicate the orientation of the tile. For the best results, the tiles should be laid according to the arrows on the backing paper, ensuring that all tiles are installed in the same orientation.
If one tile is facing a different direction than the rest of the tiles, it will likely stand out, though there are patterns that are completely symmetrical on all sides. The backing paper also helps to protect the adhesive, so it’s recommended to peel the backing paper from one edge of the tile, then begin to lay the tile in the proper place and orientation. As the edge makes contact with the surface, continue to remove the paper until the entire back is exposed and the tile is laying flat against the surface of the wall or floor.
RELATED: The Simple and Mess-Free Way to Install Tile
DON’T stretch the peel-and-stick tile too much when installing.
After measuring the surface area for the backsplash, wall, or floor, planning out the exact layout of the tiles, and cutting them to the correct size and shape, the job should be relatively straightforward. Just peel and stick the tiles in the correct place and orientation according to the plan and the result should look as you intended. However, some DIYers put too much force into bending, pressing, and flexing the tiles as they install them, which can cause the tile to stretch.
When the tiles become stretched out, they take up more space than originally intended, creating problems with the installation. The stretched tile is susceptible to breaking and doesn’t fit with the established pattern, so it needs to be removed before the job can be completed. If you choose to leave the stretched tile, expect this damaged piece to stand out from the rest of the project, negatively impacting the aesthetic appearance and the quality of the job.
DO keep extra peel-and-stick tile for future repairs.
Tile manufacturers and the companies that stock these products regularly update available color palettes, patterns, and tile thicknesses, so there is no guarantee that you will be able to find the same type of tile, even if you return just a few weeks later. For this reason, it’s a good idea to invest in extra tiles. Having about 5 percent more tiles than necessary to complete the project helps to ensure that the color and pattern match the existing tiles in case any pieces are ripped off, cracked, chipped, or otherwise broken.
If damage to the existing tile does occur, use a blow dryer to warm up the adhesive, then gently peel the damaged tile off and prepare the surface for the installation of the new tile. In most cases, small patches can be completed without needing to move or reassemble the surrounding tiles. Just make sure that the replacement tile is facing the correct direction so that the repair blends in seamlessly with the existing pattern.
RELATED: Peel-and-Stick Trim 101: How to Achieve a High-End Look for Less
DO use gentle heat for easier removal.
For best results, replace old peel-and-stick tiles before installing a new floor, backsplash, or wall to ensure that the surface is clean and smooth. Newly installed tiles should also be replaced if they become loose, chipped, or broken, but the strong adhesive on the back of the tile can make removal difficult.
To help prevent damage to the wall or floor behind the tiles, use a heat gun or hairdryer to apply gentle heat to each tile. The heat increases the flexibility of the tile and loosens the adhesive, making peel-and-stick tile removal an easier task. A putty knife can help to break through stubborn adhesive without damaging the surface of the wall or floor, though the remaining adhesive will need to be sanded or scraped from the surface before the new tile can be laid.
