We may earn revenue from the products available on this page and participate in affiliate programs. Learn More ›
Healthy soil is key to growing a vigorous lawn. Good soil also reduces runoff, erosion, and leaching of surplus fertilizer, which can help your local environment.
Not all soil is created equal, though; soil amendments might be necessary to achieve the results you desire. But before adding any type of amendment, it’s vital to understand your soil type. That’s achieved through soil testing, which evaluates a soil’s nutrient status. Put simply, soil type is a way to classify soil texture and the amount of sand, silt, or clay in its composition. Understanding your soil type helps guide decisions about which additives to apply for ideal lawn and garden growth.
RELATED: Types of Fertilizer For Your Lawn and Garden
What Is Soil Testing and Why It’s Important
Testing soil will analyze its pH and fertility, all of which contribute to the soil’s capacity to retain moisture and provide nutrients. The results of this “dirt test” provide insight into what amendments—such as compost and fertilizer—are necessary to improve the soil and optimize plant growth.
Soil analysis can help save money on unnecessary fertilizers. Over-treating lawns, for example, can result in an increase of weeds or brown spots of grass where the turf is “burned.” Soil tests can also increase yield. By identifying any nutrient deficiencies, a soil test provides information on which additives you can apply to benefit plant and grass growth.

DIY Lawn Care. Simplified.
Bob Vila has partnered with Sunday to get your lawn exactly what it needs to thrive.
In general, you should test soil every 3 to 5 years—more frequently if you’re trying to make major changes in your soil’s composition. Try to collect soil samples around the same time of year each time for best the comparison.
RELATED: The Best Things You Can Do for Your Lawn
What a Soil Test Measures
A soil sample test examines many factors, including:
- pH: This is the measure of acidity or alkalinity of soil. A pH of 7 is considered neutral, while descending numbers down to 0 represent increasing acidity. As the numbers climb from 7 to 14, this represents greater alkalinity. Soil pH impacts the solubility of minerals or nutrients, and there are steps you can take to raise or lower it.
- Nitrogen: Derived from plant matter, animal manure, and commercial fertilizers, nitrogen is an essential nutrient for plant growth and crop yield. As a major component of chlorophyll and amino acids, it aids in photosynthesis. Nitrogen deficiency is one of the most common soil problems.
- Phosphorus: Associated with complex energy transformations in plants, phosphorus plays a significant role in cell division and new tissue development: i.e., growth. It also promotes winter hardiness, early maturity, and root growth. Without phosphorus, plants can appear discolored and suffer from stunted growth. Furthermore, it’s needed for seed and fruit development.
- Potassium: Another essential nutrient for plant growth, potassium aids in the movement of water and nutrients throughout a plant. It also regulates the opening of the stomata, which enables water, oxygen, and carbon dioxide exchange. Without it, a plant’s growth will be stunted and its yield reduced. Potassium is essential for a healthy root system and helps plants withstand stress.
- Micronutrients: Eight of the 17 nutrients crucial for plant growth are micronutrients, which include chlorine, copper, iron, manganese, molybdenum, zinc, and nickel. They play another important role in plant development and growth.
How to Collect an Ideal Sample for Soil Testing
To get an accurate sampling of your soil, avoid collection when the soil is wet or has been recently fertilized. Once you’ve selected a suitable time, follow these simple steps.
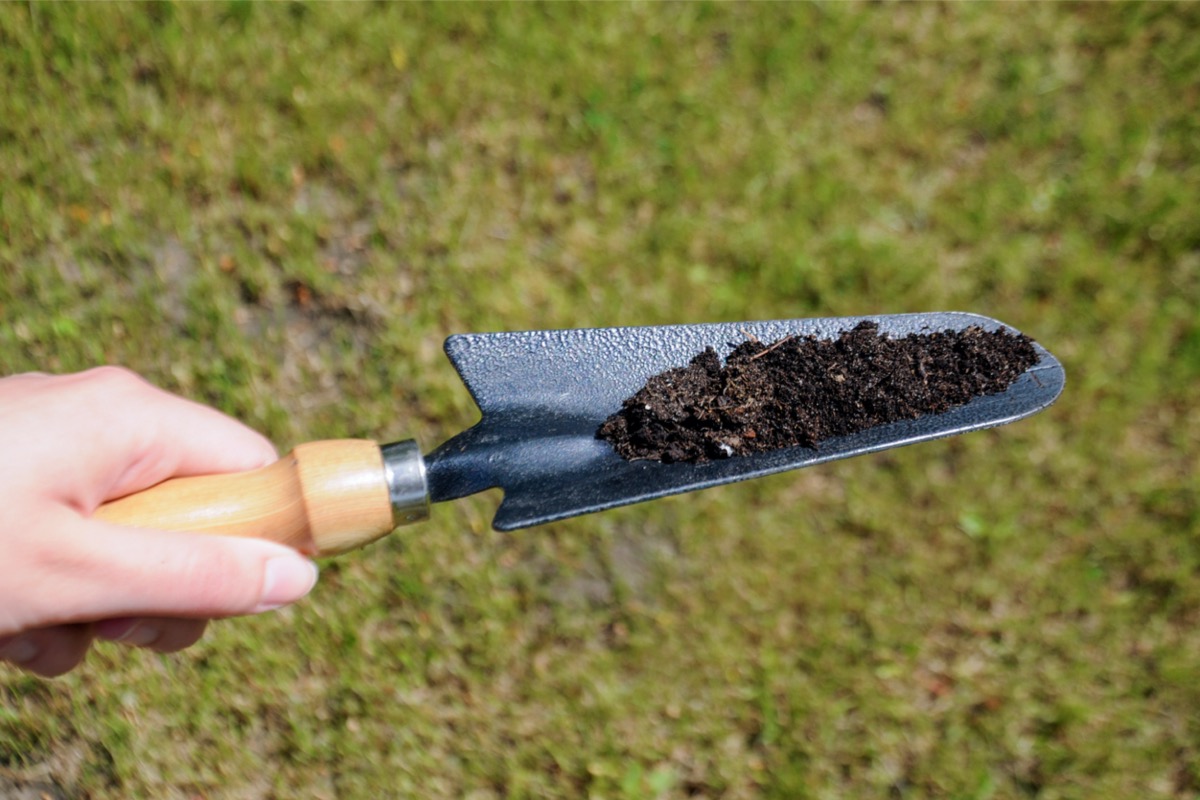
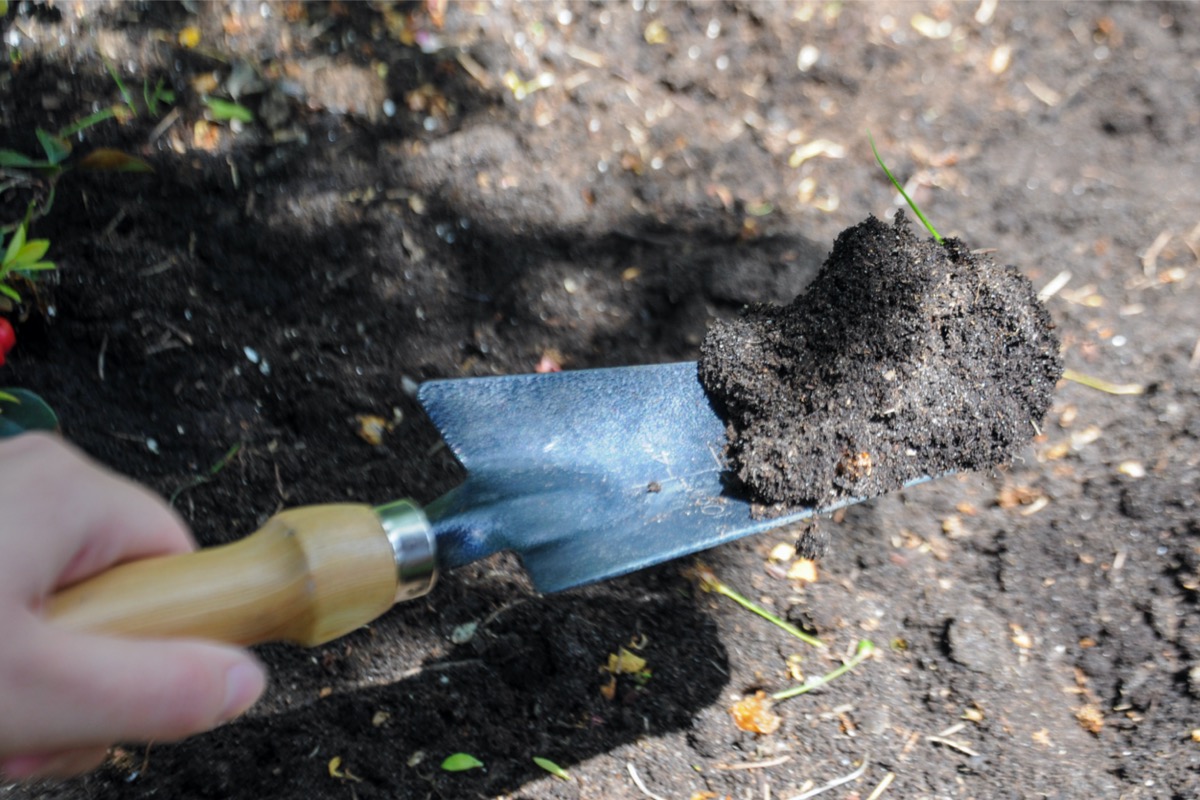
- Using a trowel, take thin slices of soil to the desired depth from random areas.
- Allow it to air-dry at room temperature.
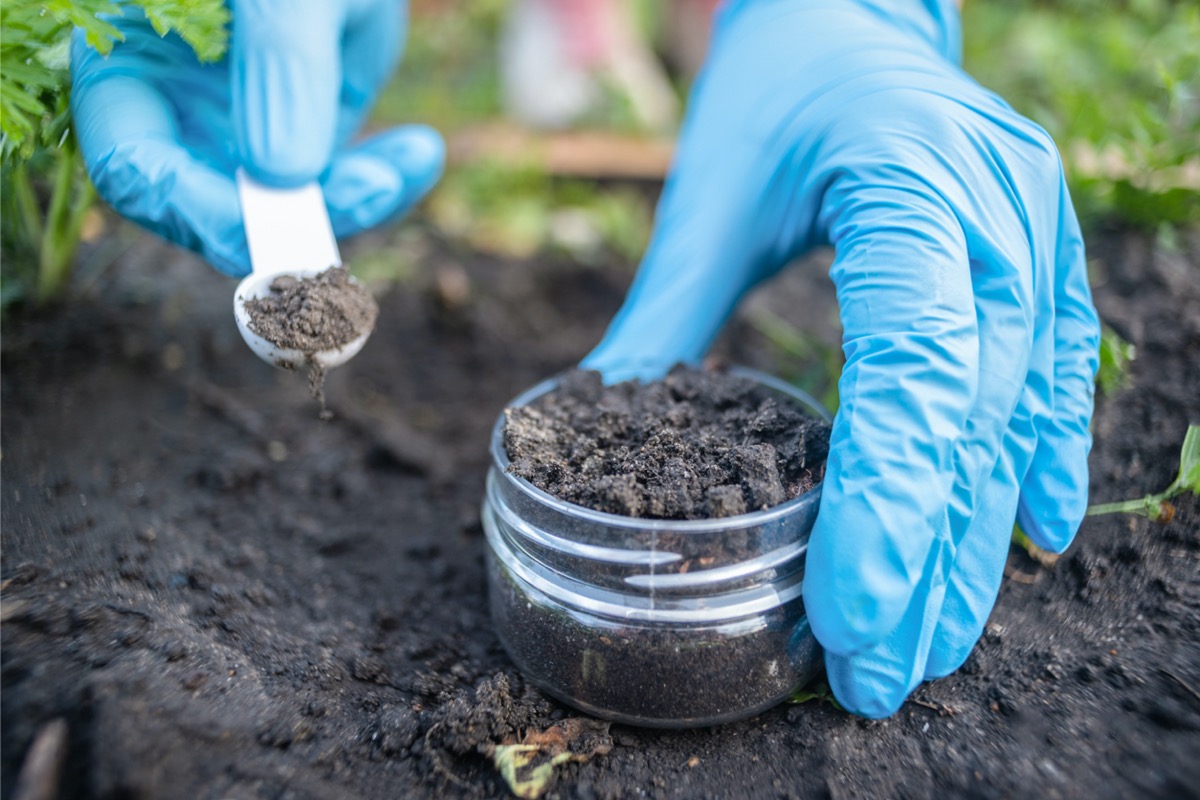
- Mix the entire sample and pour into a clean plastic container, zipper bag, or other secure container.
- Label the container with the sample collection date, type of crop or plant intended for the area, and any relevant field information or history.
If you’re uncertain about how to get your soil tested, you can buy a soil test kit like this option available at Amazon that comes with step-by-step instructions for collection. Locations you can send samples to for testing are also often provided. Soil test kits are also usually available at local extension offices.
RELATED: Improve the Look and Health of Your Grass With One of These Effective Organic Lawn Fertilizers
How to Use Your Soil Test Results
Each company or agency performs soil tests differently, so there is no such thing as a uniform report. However, you should receive the same basic information, no matter where your soil is tested. Based on the results, the report should offer recommendations to help you improve your soil. The below options are a few common remedies.
- If your soil is clay or sandy, add organic matter to it, such as dried leaves, wood chips, straw, or manure from cows, chickens, alpacas, or llamas.
- Compost (including composted manure) in the spring benefits silty soil, as does a layer of dried leaves or mulch in the fall.
- Loamy soil requires only a light layer of mulch in the fall to keep it in great shape.
- Chalky soil will require tilling in composted manure or peat.
- To increase your soil’s pH, apply calcitic limestone.
To correct nutrient levels, select a fertilizer high in the specific nutrient needed. They’re typically listed as N-P-K: nitrogen (N), phosphorus (P), and potassium (K).
Additional Soil Tests You Can DIY

If you want to learn how to test soil yourself, there are several methods you can try easily at home.
To test the pH of your soil, use a red cabbage:
- Boil chopped red cabbage in distilled water until the water turns violet.
- Remove the cabbage and pour the water into a clear container.
- Add a small amount of soil and monitor for color changes. Pink indicates acidic soil; blue-green designates alkalinity. No change means your soil’s pH is neutral.
You can achieve similar results with one part white vinegar to one part water added to some of your soil in a container. Fizzing indicates alkaline soil. Or, add one part baking soda to one part water and a soil sample. If it fizzes, the soil is acidic.
To test soil moisture, give your dirt sample a squeeze. If a handful of soil holds its shape after being squeezed, it’s moist. If it crumbles, it’s not. You can also perform a visual inspection or use a moisture meter like this option available at Amazon (some 3-in-1 moisture probes also test for light and pH) for a more accurate reading.
Finally, you might want to check your soil’s temperature to know if your lawn is ready for seeding. You can place a meat thermometer in the ground for 5 minutes or more to measure its temperature. If the soil temperature is below 45 degrees, it’s too cold to plant. If you’d rather keep your kitchen utensils out of the dirt, you can also use a soil thermometer like this one available at Amazon.
RELATED: 10 Remedies to Rescue a Dying Lawn
DIY Lawn Care. Simplified.
Bob Vila has partnered with Sunday to get your lawn exactly what it needs to thrive.
